
Transform your cordless drill into a multi-purpose powerhouse with these 7 easy DIY projects. From custom shelving to garden organization, you’ll learn practical skills that eliminate expensive contractor fees. Each project includes clear instructions, material lists, and money-saving tips to maximize your tool investment.
Key Takeaways
- Choose the right drill: A 12V-18V cordless drill handles 95% of DIY projects around the home.
- Start simple: Begin with basic projects like spice racks before tackling advanced builds.
- Safety matters: Always wear eye protection and keep batteries charged for optimal performance.
- Versatility is key: Your drill can mix paint, sand surfaces, and even polish cars with the right attachments.
- Save thousands: These DIY ideas replace hundreds of dollars in store-bought items and contractor costs.
- Maintenance extends life: Clean your drill after each use and store batteries properly.
Introduction: Your Cordless Drill Is a DIY Powerhouse
That cordless drill in your garage is probably underworked. Most homeowners use it only for hanging pictures or assembling furniture. But this versatile tool can build entire projects from scratch. You’ll save thousands of dollars by creating custom solutions instead of buying expensive alternatives. This guide shows you exactly how to turn basic materials into functional home improvements. No experience needed. Just grab your drill and follow these simple steps.
Before we start, you need the right tool. Not sure which drill to buy? Check out our guide to the best cordless drill for DIY enthusiasts. The right choice makes all the difference.
Choosing Your Cordless Drill: The Foundation of Success
Not all cordless drills are created equal for DIY projects. Voltage matters. For most home projects, an 18V drill provides the perfect balance of power and weight. Twelve-volt models work great for light tasks but struggle with larger projects. Avoid anything below 10.8V for serious DIY work.
Visual guide about Cordless Drill DIY Ideas That Will Save You Time and Money
Image source: familyhandyman.com
Battery type is crucial. Lithium-ion batteries last longer and weigh less than older nickel-cadmium models. Look for at least two batteries. One charges while you work. This prevents project delays. Battery capacity measured in amp-hours (Ah) determines runtime. A 2.0Ah battery works for small jobs. For bigger projects, grab a 4.0Ah or higher pack.
Understand your drill’s features. Variable speed control lets you adjust torque for different materials. A keyless chuck changes bits in seconds. Hammer function helps with masonry work. These features expand your project possibilities dramatically. Not sure about the difference between drill types? Learn about impact drivers vs hammer drills to choose wisely.
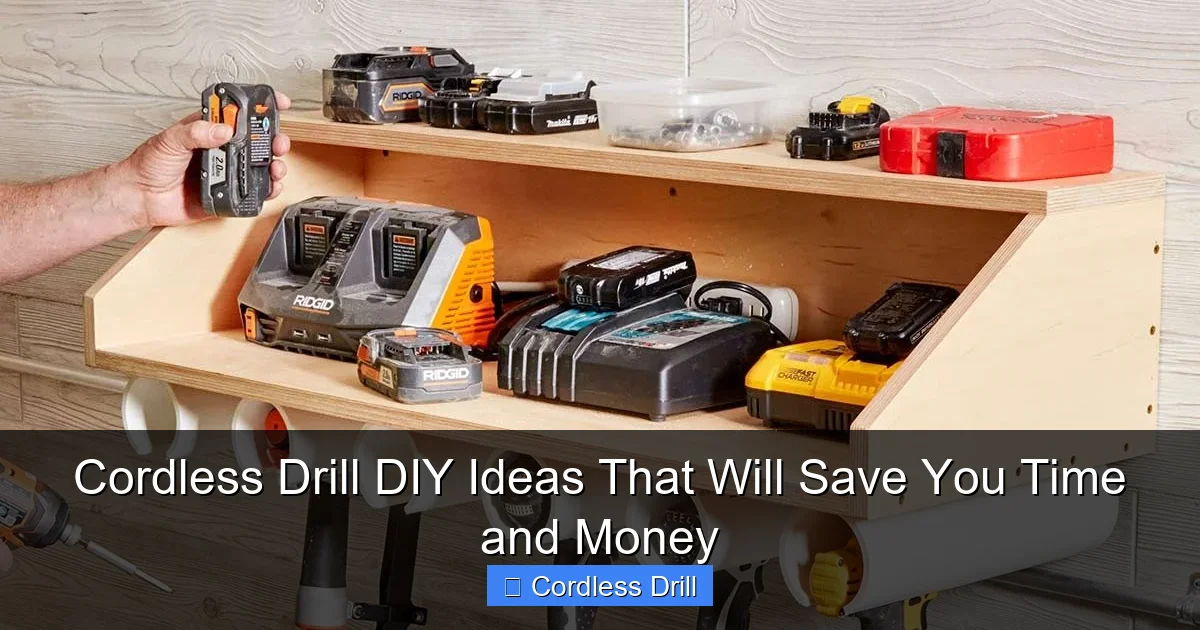
Essential Accessories: Build Your Starter Kit
Your drill needs the right accessories to become a true DIY workhorse. Start with these basics:
Visual guide about Cordless Drill DIY Ideas That Will Save You Time and Money
Image source: diymontreal.com
- Drill bit set: Get a 25-piece combo set with wood, metal, and masonry bits. This covers 90% of projects.
- Driver bits: A 50-piece bit holder with various Phillips, flathead, Torx, and square options.
- Extension bits: Three-inch and six-inch extensions reach tight spaces.
- Sanding attachments: A sanding drum kit turns your drill into a portable sander.
- Paint mixer: This simple attachment mixes paint and thin materials in seconds.
- Right-angle attachment: Perfect for working in cramped corners.
Store everything in a modular case. This keeps bits organized and prevents loss. Label each compartment. You’ll find what you need in seconds, not minutes.
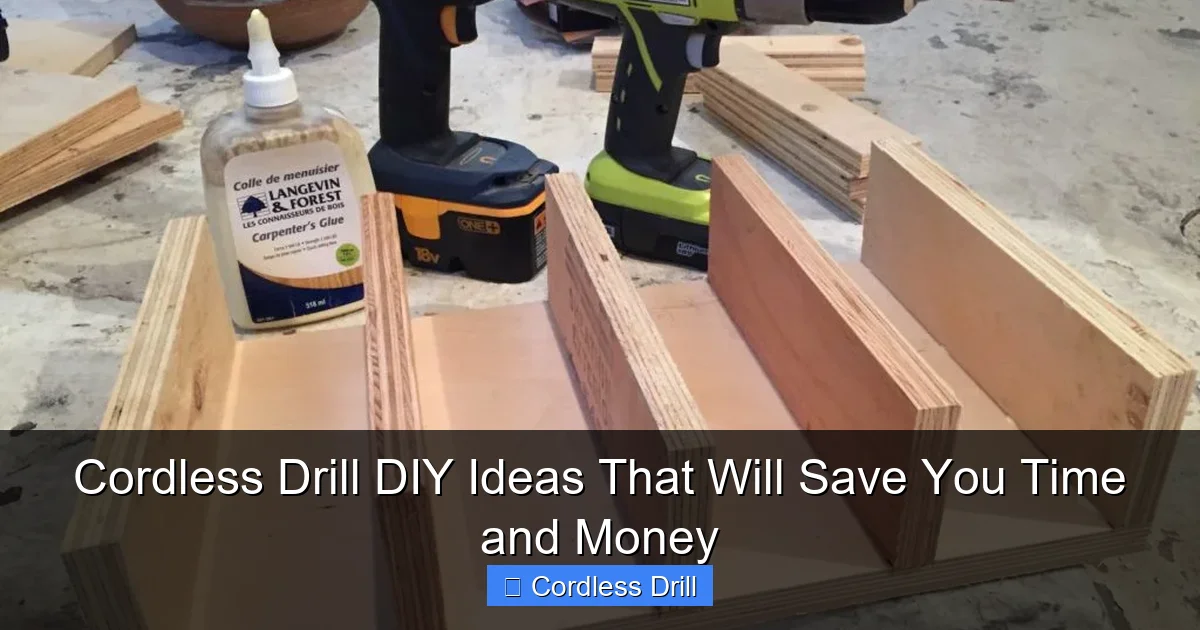
Project 1: Custom Floating Shelves in 30 Minutes
Floating shelves look expensive but cost less than $20 to build. They add storage and style to any room. This project requires minimal woodworking skills.
Visual guide about Cordless Drill DIY Ideas That Will Save You Time and Money
Image source: i.ytimg.com
Gather Your Materials
You need: One 1×8 pine board (length depends on shelf size), wood screws, wood glue, sandpaper, and wall anchors. For tools: your cordless drill, level, stud finder, and measuring tape. Optional: wood stain or paint.
Cut and Prep the Wood
Cut your board to desired length. Most shelves look best at 36-48 inches long. Sand all edges until smooth. Wipe away dust with a damp cloth. If staining, apply now and let dry completely. This prevents mess during installation.
Mark Your Wall Locations
Use a stud finder to locate wall studs. Mark these with a pencil. Studs provide the strongest support. If your shelf spans multiple studs, that’s perfect. For drywall mounting without studs, use heavy-duty toggle anchors. Find our comprehensive guide on drilling into walls for detailed techniques.
Install Hidden Brackets
Flip the shelf upside down. Measure and mark bracket locations 6 inches from each end. Drill pilot holes slightly smaller than your screws. Apply wood glue to bracket contact points. Screw brackets firmly into the wood. Let glue dry for 15 minutes.
Mount to the Wall
Hold the shelf against the wall at your desired height. Use a level to ensure it’s perfectly horizontal. Mark bracket hole locations on the wall. Drill pilot holes into studs or anchors. Screw brackets into wall first, then slide shelf onto brackets. The shelf should lock into place.
Pro tip: Place heavy items on the shelf immediately after installation. This helps the glue set under pressure for maximum strength.
Project 2: Garden Tool Organizer for Under $15
Garage floors become minefields of rakes and shovels. This wall-mounted organizer solves the problem fast. It holds up to 20 tools securely off the ground.
Plan Your Layout
Measure your wall space. Standard spacing fits most tools: 16 inches between mounting points works well. Sketch a simple diagram showing where each tool hangs. This prevents trial-and-error drilling later.
Build the Main Rail
Use a 1×4 board cut to your wall width. Sand all surfaces smooth. Mark drilling points every 4 inches along the board’s center line. These holes will hold the tool hooks. Drill 1/4-inch holes straight through. Countersink the backside so screws sit flush against the wall.
Create Individual Hooks
Cut 6-inch lengths of 3/8-inch steel rod or heavy-duty coat hooks work too. Bend one end at a 90-degree angle using pliers. This creates the hook. The other end gets screwed into the wall rail. For extra grip, wrap rubber tape around the hook portion.
Mount the System
Find wall studs with your stud finder. Position the rail 4 feet off the ground. Drill pilot holes into studs. Screw the rail firmly to the wall. Insert your custom hooks into the pre-drilled holes. Twist them until tight. Test each hook by hanging a tool. Adjust spacing if needed.
Money-saving tip: Repurpose old broom handles by cutting them into hooks. This costs nothing and looks rustic.
Project 3: Battery-Powered LED Work Light
Dark corners in your garage or basement need light. Buying a portable work light costs $50-$100. Building one costs $15 and uses your existing drill battery.
Source Your Components
You need: A 12V LED light panel (available online for $8), a drill battery connector clip, wire connectors, a switch, and a project box. The LED panel should draw less than 2 amps to avoid draining your battery too fast.
Wire the Circuit
Connect the LED’s positive wire to one terminal of your switch. Connect the switch’s other terminal to the battery clip’s positive wire. Connect all negative wires together (LED negative to battery clip negative). Use wire nuts or soldering for secure connections. Test the circuit before final assembly.
Build the Housing
Drill holes in the project box for the switch and LED panel. Mount the switch and LED securely. Place the battery clip inside the box. Make sure it fits snugly without forcing. Close the box and secure with screws.
Mount and Test
Attach the work light to a magnetic strip or screw it directly to your workbench. Clip your drill battery into the connector. Flip the switch. The LED should illuminate instantly. A fully charged battery powers the light for 4-6 hours of continuous use.
Safety note: Never modify the drill battery itself. Always use the connector clip designed for your battery type.
Project 4: Automatic Plant Watering System
Going on vacation means asking neighbors to water plants. This DIY system waters plants for two weeks automatically. It’s perfect for hard-to-reach indoor plants or patio containers.
Assemble the Drip System
You need: A plastic bottle, thin tubing, a drip emitter, and a timer valve. Drill a small hole in the bottle cap. Insert the tubing through the hole. Seal with hot glue to prevent leaks. Attach the drip emitter to the tubing’s end.
Create the Mounting Bracket
Cut a small wooden block (2×2 inches). Drill a hole through the center to hold the bottle neck. Attach two L-brackets to the block’s sides. These brackets screw into your wall or plant shelf. Position the bracket so the bottle sits above the plant.
Install the Timer
Attach the timer valve between the bottle and drip emitter. Most timer valves work with standard garden hose threads. Use thread tape to prevent leaks. Set the timer to release water every 12-24 hours. Adjust the drip rate by squeezing the tubing or using the emitter’s flow control.
Test Before Leaving
Fill the bottle with water. Let the system run for 24 hours. Check for leaks and adjust drip rate. Each ounce of water lasts about one day for a small plant. A one-gallon bottle waters plants for two weeks.
Pro tip: Add food coloring to the water. This helps you see if it’s flowing properly through the clear tubing.
Project 5: Kids’ Adjustable Workbench
Children love helping in the workshop. This scaled-down workbench grows with them. It costs half the price of store-bought versions and builds fine motor skills.
Frame the Base
Use 2×2 lumber for legs and frame. Cut four legs to 24 inches (adjust height for your child’s size). Build a rectangular base frame measuring 24×36 inches. Pre-drill all connection points. Use 3-inch screws to attach legs to frame corners. Brace each leg with diagonal supports for stability.
Create the Work Surface
Cut a 24×36 inch piece of 3/4-inch plywood for the top. Sand all edges until smooth. Round over sharp corners with a router or sandpaper. Attach the top to the frame using pocket hole screws or simple corner brackets. Leave the top slightly loose so you can adjust height later.
Build Adjustable Shelves
Cut two shelves from 1/2-inch plywood (22×12 inches each). Drill a series of 1/4-inch holes along the inside of each leg. These holes accept shelf pins every 2 inches. Insert shelf pins at your desired height. Place shelves on pins. This allows you to change heights as your child grows or projects change.
Add Safety Features
Mount a small vise to the bench edge. Use quick-release clamps instead of traditional vise screws for small hands. Install a magnetic strip above the bench for holding screws and small tools. Paint with non-toxic, child-safe paint. Let dry completely before use.
Parental note: Always supervise children. Mount the workbench to the wall for extra stability using L-brackets hidden underneath.
Project 6: Magnetic Spice Rack for Small Kitchens
Counter space is precious in small kitchens. This magnetic rack mounts inside cabinet doors or on walls. It frees up drawers and looks professional.
Prepare the Rack Frame
Cut a 1×6 board to 24 inches long. Sand smooth. Drill six equally spaced holes (1-inch diameter) along the center. These holes hold spice jars. Countersink the holes slightly so jars sit flush. Alternatively, mount individual small magnets to hold existing spice tins.
Create the Magnet System
For jar-style spices: Glue 1-inch neodymium magnets to the bottom of each spice jar. Glue matching magnets to the rack board at each hole location. The magnets should attract through the wood. Test strength before final gluing. For tins: Glue magnets directly to the back of each tin.
Mount the Rack
For cabinet doors: Position the rack inside the door. Mark screw holes. Drill pilot holes. Use small screws that won’t poke through to the other side. For walls: Find studs. Mount using 2-inch screws. The rack holds up to 10 pounds safely.
Organize Your Spices
Arrange spices alphabetically or by frequency of use. Label each position on the rack. This makes cooking faster. The magnetic system keeps jars secure even when opening the cabinet door.
Space-saving tip: Use test tubes or small glass jars instead of bulky commercial spice containers. They look uniform and hold more than you think.
Project 7: Tool Charging Station
Losing drill batteries is frustrating. This charging station organizes all your power tools in one place. It prevents dead batteries and tangled cords.
Design the Layout
Measure your wall space. Sketch where each tool charger will sit. Include space for spare batteries. Allow 6 inches between chargers for ventilation. Plan for a central power strip location. This design fits most garages: 24 inches wide by 18 inches tall.
Build the Back Panel
Cut a 24×18 inch piece of 1/2-inch plywood. Paint it black to hide scuffs. Mount a power strip to the bottom edge using Velcro strips. This allows easy removal for changes. Drill a 1-inch hole in the panel’s corner for routing power cords.
Install Charger Mounts
Most tool chargers have keyhole slots on the back. Screw small mounting blocks to the plywood at each charger location. The charger slides onto these blocks. For chargers without slots, use heavy-duty Velcro or zip ties to secure them.
Organize Battery Storage
Mount small metal hooks above each charger. Hang spare batteries on these hooks. Label each hook with battery voltage and tool type. Install a small shelf at the top for storing tools while charging. This keeps everything visible and accessible.
Manage Cords
Use adhesive cable clips to route cords neatly along the panel edges. Bundle excess cord length with velcro ties. Plug all chargers into the power strip. Use a smart strip with an on/off switch. This saves electricity when tools aren’t charging.
Organization bonus: Add a small whiteboard above the station. Track which batteries need charging and when tools were last serviced.
Troubleshooting Common Cordless Drill Issues
Even the best cordless drill DIY projects can hit snags. Here’s how to fix common problems fast.
Drill Won’t Hold a Charge
Batteries lose capacity over time. If your battery dies after 15 minutes of use, it’s likely old. Lithium-ion batteries last 3-5 years. Check for physical damage. If the battery swells, replace it immediately. Never use swollen batteries—they’re dangerous. Try cleaning battery contacts with a cotton swab and rubbing alcohol.
Chuck Won’t Tighten Properly
Keyless chucks can become loose from wear. Remove the chuck by unscrewing the screw inside (often reverse-threaded). Clean out debris with compressed air. Apply a drop of thread locker to the screw. Reinstall and tighten firmly. If teeth are stripped, replace the chuck. Most chucks cost $15-$25.
Overheating During Use
Overheating means you’re pushing too hard. Ease pressure on the drill. Let the tool do the work. Check if you’re using the correct bit for the material. Dull bits cause excessive heat. Clean air vents with a toothbrush. Never block vents with your hand or materials. Let the drill cool for 10 minutes if it gets too hot.
Stripping Screw Heads
Stripped screws ruin projects. Prevent this by adjusting your drill’s clutch. Start at the lowest setting. Increase gradually until the screw seats properly. Use the correct driver bit size. Apply firm, steady pressure while drilling. Keep the drill perpendicular to the screw. If a screw strips, remove it with a rubber band between the bit and screw head for extra grip.
Pilot Holes Keep Tearing Wood
Tear-out happens when the drill exits the wood. Place a scrap piece of wood behind your workpiece. Drill through the workpiece into the scrap. This supports the wood fibers. Use a sharp brad-point bit. Keep speed low. Apply consistent pressure. Don’t force the drill through.
Essential Safety Tips for Cordless Drill Projects
Safety isn’t optional. These simple rules prevent injuries and protect your investment.
Protect Your Eyes
Always wear safety glasses. Even small wood chips can cause permanent eye damage. Keep glasses on until you clean the work area completely. Teach children to wear eye protection too.
Secure Your Workpiece
Never hold small items in your hand while drilling. Use clamps or a vise. This keeps both hands free and prevents slips. A slipped drill can cut your hand deeply. For flat pieces, place them on a stable surface with overhang.
Mind Your Battery
Remove batteries before changing bits. This prevents accidental starts. Store batteries in a cool, dry place. Never leave them in direct sunlight or freezing temperatures. Charge batteries on a non-flammable surface. Avoid charging overnight unattended.
Keep the Cord Clear
Even cordless drills have chargers. Keep cords away from drill paths. Tripping over cords causes falls and drops. Use cord covers if running across walkways. Keep work areas clean and dry.
Respect the Material
Different materials need different speeds. High speed for metal and plastic. Low speed for wood and thick materials. Using the wrong speed can crack materials or break bits. When in doubt, start slow. You can always increase speed if needed.
Conclusion: Build Your Way to Savings
These seven cordless drill DIY ideas prove one tool can transform your home. You’ve learned to build shelves, organize tools, create custom lighting, and solve everyday problems. Each project saves money and builds confidence.
Start with the simplest project—the magnetic spice rack or garden organizer. Success here builds skills for bigger builds. Keep your drill charged and accessories organized. A well-maintained tool lasts years longer.
The real power isn’t in the drill. It’s in your hands. You now have the knowledge to tackle hundreds of projects. Don’t stop here. Look around your home. What problem needs solving? Grab your drill and start building. Your wallet will thank you.
