
Your cordless drill is a gateway to countless home upgrades. This guide provides step-by-step instructions for creative DIY projects that transform basic materials into functional decor and furniture. You’ll learn not just what to build, but how to use your drill like a pro for drilling, driving, sanding, and polishing.
Key Takeaways
- Versatility is Key: A cordless drill is more than a hole-puncher; with the right attachments, it can sand, polish, mix, and drive countless fastener types, making it the central tool for most DIY projects.
- Plan and Measure Twice: Successful DIY starts with careful planning. Sketch your idea, create a cut list, and measure all materials meticulously before making any cuts or drilling any holes.
- The Right Tool for the Job: Using the correct drill bit (wood, masonry, metal) and fastener (screw, bolt, wall anchor) is crucial for strength, safety, and a clean finish. Our guide on the best cordless drill can help you choose the perfect model for your projects.
- Prepare Your Workspace: A clean, organized, and well-lit area with a sturdy work surface (like sawhorses) drastically improves safety, accuracy, and enjoyment.
- Safety is Non-Negotiable: Always wear safety glasses, secure your workpiece with clamps, and be mindful of drill torque and battery handling to prevent accidents.
- Embrace the Learning Process: Your first project might not be perfect, and that’s okay. Each build improves your skills, confidence, and understanding of your tools.
Creative Cordless Drill DIY Ideas for Home Projects
Do you have a cordless drill sitting in a toolbox? It’s time to see it as your most powerful creative partner. This versatile tool is the engine behind countless home improvements, from simple repairs to stunning furniture builds. This guide will walk you through several exciting DIY projects, turning your drill from a simple hole-maker into a gateway for creativity. We’ll cover everything from planning to polishing, ensuring you have the confidence to tackle your next project.
Getting Started: Your Drill and Essential Prep
Before we dive into projects, let’s set the stage. A successful DIY experience hinges on preparation.
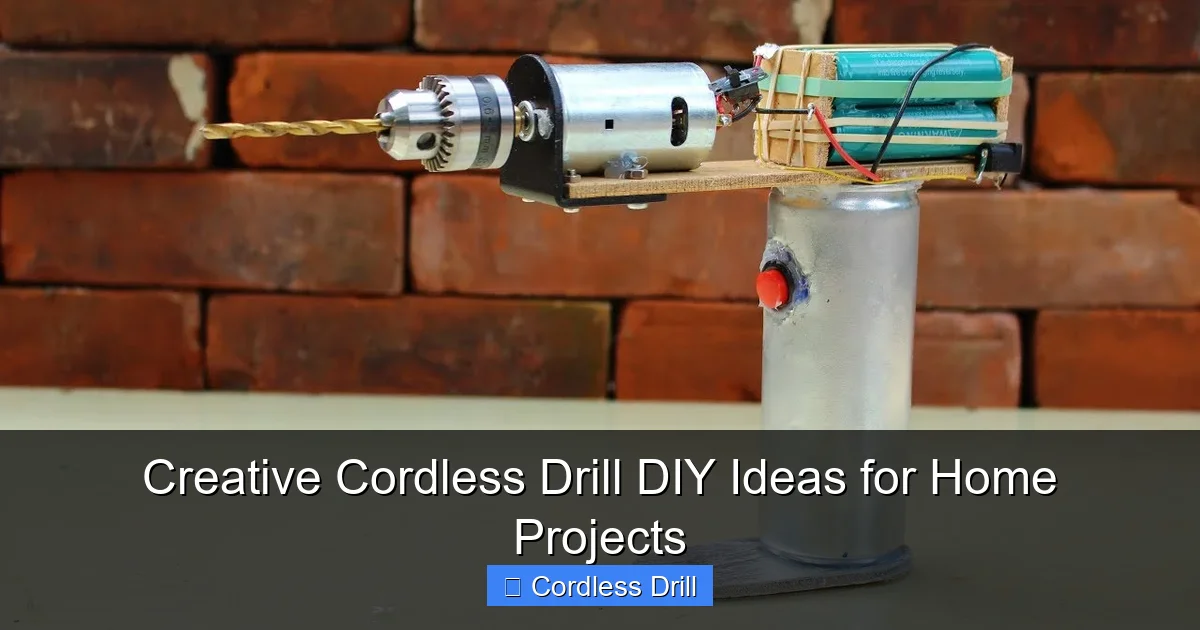
Visual guide about Creative Cordless Drill DIY Ideas for Home Projects
Image source: i.ytimg.com
Know Your Tool
Modern cordless drills are marvels. They can drill holes, drive screws, and with attachments, sand, polish, and mix paint. Familiarize yourself with the clutch settings (which prevent over-driving screws), speed controls, and forward/reverse functions. If you’re unsure about your drill’s capabilities, browsing our comprehensive cordless drill category can provide great insights.
Gather Your Core Toolkit
Beyond your drill, you’ll need:
- Measuring Tape & Square: For accuracy.
- Pencil: For marking.
- Clamps: To secure your work (this is a game-changer for safety and precision).
- Safety Glasses: Non-negotiable eye protection.
- Drill Bits: A set of twist bits for wood and a masonry bit if working with walls.
- Driver Bits: Phillips and flat-head bits that fit your screws.
Prepare Your Workspace
Find a flat, stable surface like a workbench or a pair of sawhorses. Good lighting is essential. Keep your area clean to avoid tripping and to find tools quickly.
DIY Project 1: The Modern Floating Shelf
This project adds clean, sleek storage to any room and is a perfect introduction to precision drilling and hidden supports.
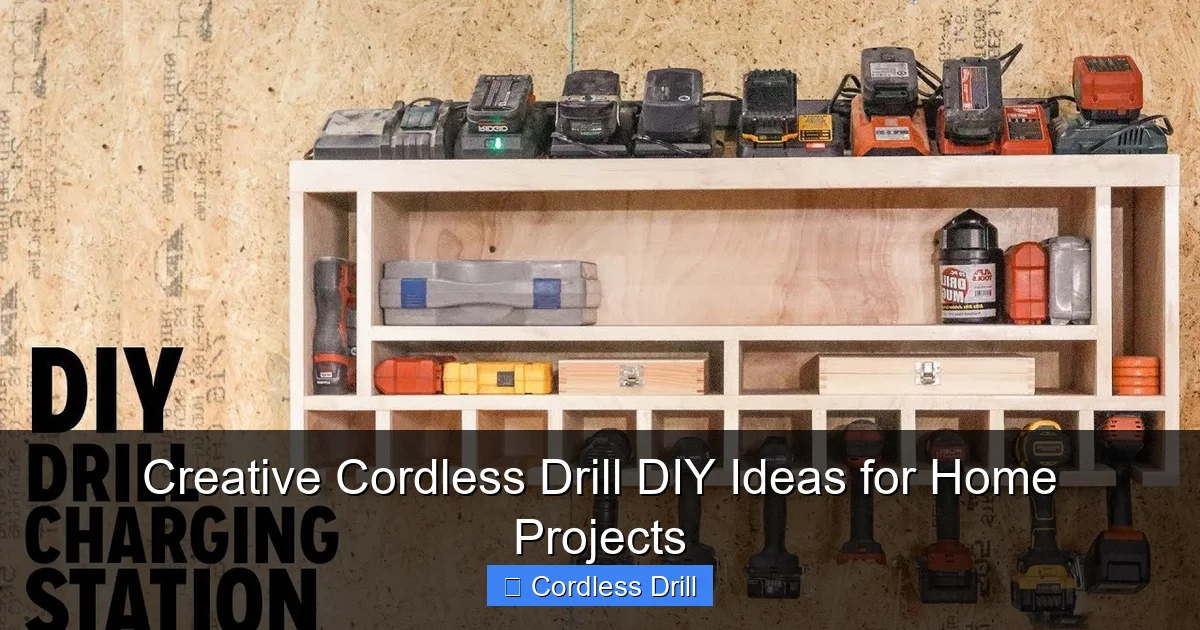
Visual guide about Creative Cordless Drill DIY Ideas for Home Projects
Image source: i.ytimg.com
Materials & Tools
- 1×6 or 1×8 board (length as desired, sanded smooth)
- 2-3 Floating Shelf Brackets (metal rods)
- Wood screws (provided with brackets or #8 1.5″)
- Wall anchors & screws (for drywall)
- Tools: Cordless Drill, Drill Bits (for wood and masonry), Level, Stud Finder, Pencil, Tape Measure
Step-by-Step Instructions
Step 1: Mark and Drill the Shelf
Lay your shelf board upside down on a protected surface. Position the brackets along the back, evenly spaced. Use a square to ensure they are perfectly perpendicular to the shelf’s edge. Mark the holes from the bracket onto the wood. Using a drill bit slightly smaller than your screw shank, drill pilot holes at each mark. This prevents the wood from splitting.
Step 2: Find Wall Studs and Mark
Use a stud finder to locate the wooden studs behind your drywall. You want at least one bracket to screw directly into a stud for maximum strength. Mark the desired height of your shelf on the wall with a level line. Hold the shelf (with brackets attached) up to the line and mark the wall through the bracket holes. If you’re new to wall mounting, our guide on how to use a drill for screws into a wall is an invaluable resource.
Step 3: Install the Brackets
At the wall marks, drill holes for your wall anchors (if not in a stud). Insert the anchors. Have a helper hold the shelf with brackets aligned to the holes, then drive your screws through the bracket and into the wall or anchors. Tighten until the shelf is firm and level.
DIY Project 2: Rustic Wooden Mug Organizer
Free up cabinet space with a charming wall-mounted mug rack. This project practices basic joinery and finishing.
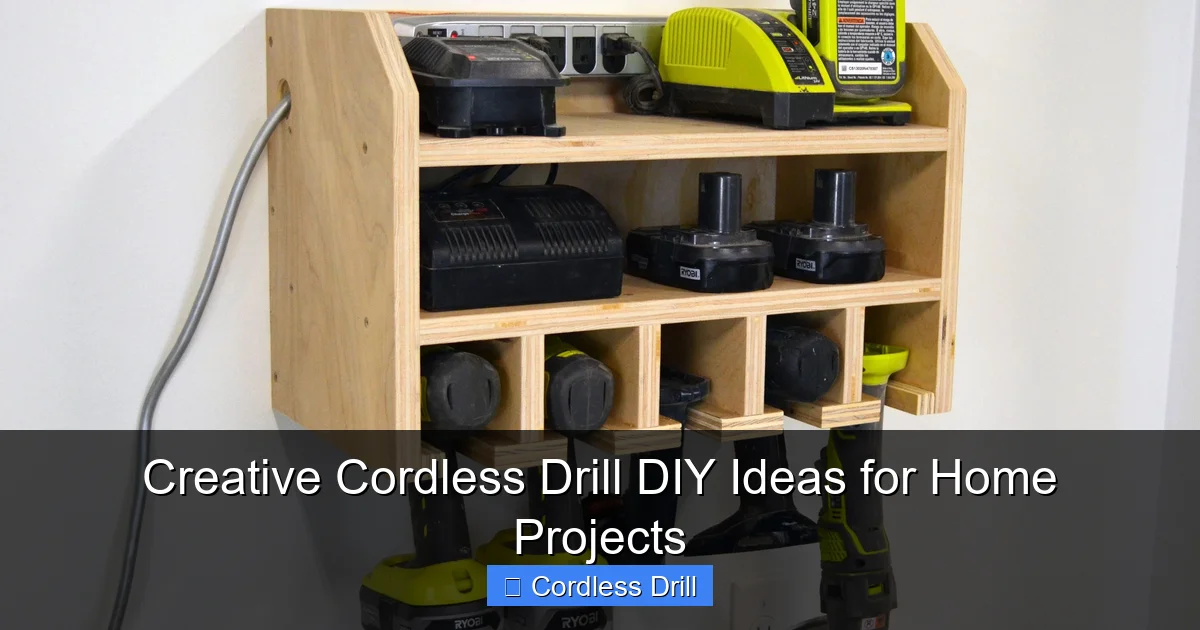
Visual guide about Creative Cordless Drill DIY Ideas for Home Projects
Image source: i.pinimg.com
Materials & Tools
- 1×4 pine board (approx. 24″ long)
- Two ¾” wooden dowels, cut to 10″ lengths
- Wood Glue
- 1 ¼” wood screws
- Sandpaper (or a drill sanding attachment)
- Tools: Cordless Drill, ¾” Spade Bit or Forstner Bit, Clamps, Drill Bits for pilot holes
Step-by-Step Instructions
Step 1: Prepare the Board and Drill Dowel Holes
Sand your 1×4 board smooth. Decide how many mug hooks you want (e.g., 4). Evenly space and mark points for the dowels along the centerline of the board. Using a clamp to secure the board, carefully drill holes at each mark to a depth of about ½” using your ¾” bit. A Forstner bit gives a cleaner, flatter-bottomed hole.
Step 2: Attach the Dowels
Put a small amount of wood glue into each hole. Insert the dowels. Use a damp cloth to wipe away any squeezed-out glue immediately. For extra strength, you can drill a small pilot hole through the side of the board into the dowel and insert a small finishing screw (counter-sunk). Let the glue dry completely as per instructions.
Step 3: Sand, Finish, and Mount
Once dry, give the entire piece a final sanding. You can use your cordless drill with a sanding pad attachment to make this quick and easy. Apply a stain or clear coat if desired. Finally, drill two pilot holes in the back of the board for mounting. Use wall anchors and screws to secure it to the wall in your kitchen.
DIY Project 3: Vertical Pallet Garden Planter
Repurpose a wood pallet into a space-saving garden. This project introduces drilling for drainage and basic assembly.
Materials & Tools
- Clean, un-treated wood pallet
- Landscape fabric
- Staple gun (or drill and small screws)
- Potting soil
- Plants or herbs
- Tools: Cordless Drill, ½” Drill Bit, Saw (to trim pallet if needed), Sanding Attachment
Step-by-Step Instructions
Step 1: Prepare and Line the Pallet
Sand the pallet to remove rough edges. Lay it flat with the slatted side facing up. Line the back, bottom, and sides with landscape fabric, stapling or screwing it securely to the wood. This creates pockets to hold the soil in.
Step 2: Drill Drainage Holes
This is a crucial step for plant health. From the front, use your ½” drill bit to make several holes through the wood slats and fabric in each planting section. Don’t be shy—good drainage prevents root rot.
Step 3: Fill, Plant, and Let it Settle
Stand the pallet vertically against a wall. Start adding soil from the top, packing it into the pockets created by the slats and fabric. As you fill, tuck your plants into the openings between the slats. Water thoroughly and let it lie flat for 1-2 weeks so the roots establish before standing it upright permanently.
Advanced Technique: Using Attachments
Unlock your drill’s full potential. A polishing bonnet can buff wax into a finish on a wooden shelf. A mixing paddle lets you stir paint, mortar, or even cake batter with power. A wire brush attachment can clean rust off old tools. Always start at a low speed when using a new attachment.
Troubleshooting Common Issues
Every DIYer faces hurdles. Here’s how to solve common drill-related problems.
- Stripped Screw Head: Stop immediately. Try a rubber band between the bit and screw, or use a screw extractor bit. Ensure you are using the correct driver bit size and applying firm, straight pressure.
- Drill Bit Wandering on Metal: Use a center punch to make a small dent for the bit to seat in. Start at a slow speed.
- Over-driven Screw: Your clutch setting is too high. Lower the clutch number or use the driver more carefully. A pilot hole that is the right size can also prevent this.
- Drill Not Powerful Enough: For very dense material or large holes, ensure you’re using sharp bits and the correct tool. For concrete or heavy masonry, you might need a specialized tool. Understanding the difference between an impact driver and hammer drill can clarify which tool is right for tougher jobs.
Conclusion: Your DIY Journey Starts Now
Your cordless drill is a ticket to a more personalized, functional, and satisfying home. You’ve learned the steps for building a floating shelf, a mug organizer, and a garden planter. More importantly, you’ve gained the foundational skills—measuring, drilling, driving, and troubleshooting—that apply to *any* project. Start with something small, follow the steps, and don’t fear mistakes. Each twist of the drill bit builds not just furniture, but confidence. Grab your drill, pick a project, and start creating.
