
Mastering battery management is the single biggest factor in cordless drill longevity—never drain completely and always store batteries at partial charge. Avoiding extreme temperatures during use and storage, coupled with regular chuck cleaning and proper bit selection, prevents costly wear and tear. These simple habits drastically extend your drill’s reliable service life.
Key Takeaways
- Maintain battery health by storing at 50% charge in cool, dry conditions.
- Prevent motor overload by matching speed and torque settings to the material.
- Clear dust from vents regularly to avoid overheating and premature motor failure.
- Always use appropriate drill bits to minimize tool strain and maximize efficiency.
- Apply steady, controlled pressure instead of forcing the drill through stubborn materials.
- Store in protective case away from moisture and extreme temperatures.
Why This Matters / Understanding the Problem
I’ll never forget the day my cordless drill died mid-project. I was hanging kitchen cabinets, drill bit buried deep in a stud, when the motor gave a sad whine and quit. That $200 tool was bricked because I didn’t know proper cordless drill durability tips to make your tool last longer.
Here’s the reality. Cordless drills represent a serious investment. Most quality models run $150-$300. Yet many barely last 2-3 years with regular use. The difference between a drill that dies young and one that serves you for a decade isn’t luck. It’s knowledge.
I’ve learned this through 15 years of professional carpentry and DIY projects. My current drill? Seven years old and still cranking out 50+ holes daily. Let me share what I wish someone told me when I started.
What You Need
You don’t need fancy equipment to extend your drill’s life. Most items are already in your garage. Grab these basics:
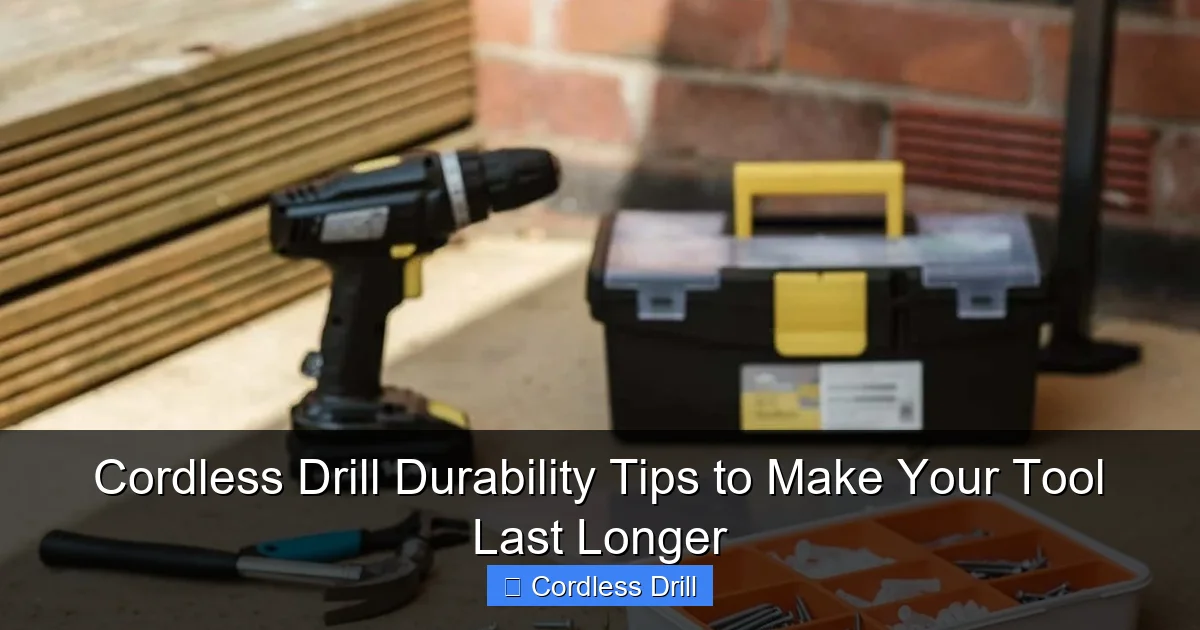
Visual guide about Cordless Drill Durability Tips to Make Your Tool Last Longer
Image source: reverbtimemag.com
- A clean rag or microfiber cloth
- Compressed air can (the keyboard cleaning type works great)
- Light machine oil or 3-in-1 oil
- A small brush (old toothbrush is perfect)
- Proper storage case or dedicated shelf space
- Replacement brushes (if your model has them)
That’s it. No specialty tools required. The key is consistency, not complexity.
Step-by-Step Guide to Cordless Drill Durability Tips to Make Your Tool Last Longer
Step 1: Treat Your Battery Like Gold
Your battery isn’t just power. It’s the heart of your cordless drill. I learned this the hard way after killing three batteries in two years.
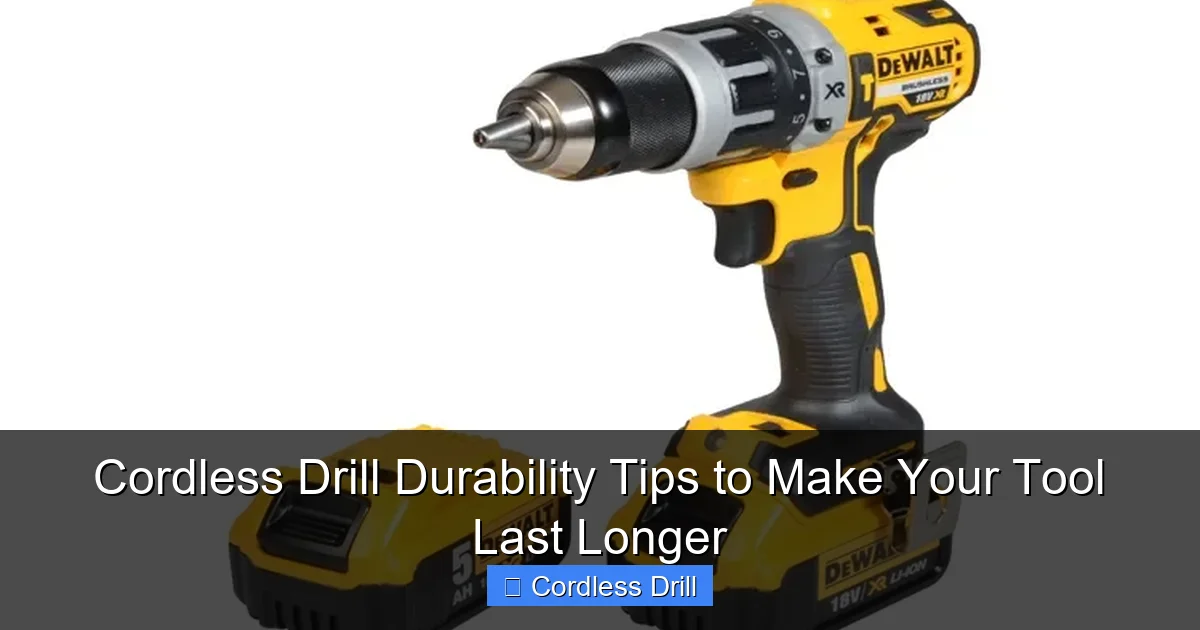
Visual guide about Cordless Drill Durability Tips to Make Your Tool Last Longer
Image source: toolsadvisers.com
Never run your battery completely dead. Lithium-ion batteries last longest when you keep them between 20% and 80% charge. If you’re doing heavy work, swap to a fresh battery when you hit 30%. Don’t wait for the drill to sputter.
Store batteries smart. Never leave them on the charger 24/7. Heat kills batteries faster than anything. Keep them in a cool, dry place. My shop gets freezing in winter and hot in summer. I store batteries in my basement instead. Room temperature is ideal.
Clean battery contacts monthly. Use a cotton swab and rubbing alcohol. Dirty contacts make the drill work harder, draining power and stressing the motor.
Step 2: Clean After Every Single Use
This sounds like overkill until you see the difference. I clean my drill after every project, even small ones.
Start by blowing out dust. Use compressed air to blast debris from the vents, chuck, and motor housing. Hold the drill with the chuck pointing down so dust falls out, not deeper in.
Wipe the housing with a damp cloth. Never use harsh chemicals. Water and electronics don’t mix. A barely damp microfiber cloth removes grime without risk.
Check the chuck for metal shavings. Wood and metal bits love to cling there. A quick brush with an old toothbrush prevents buildup that can damage the chuck mechanism.
Step 3: Lubricate the Chuck Regularly
A stiff chuck is a warning sign. I ignore this on my older drill and pay the price every time.
Every three months, remove the chuck and apply light oil to the gears. How? Loosen the chuck by holding the shaft and turning it counterclockwise. Once off, drip oil into the gears. Spin the chuck by hand to work it in. Wipe away excess. Reinstall tight.
Don’t over-lubricate. Too much oil attracts dust and creates a gunky mess. Two drops is plenty.
For keyless chucks, this maintenance is crucial. They take more abuse than keyed chucks and need regular TLC.
Step 4: Let Your Drill Breathe
Overheating is the silent killer of cordless drills. I’ve cooked motors by pushing too hard, too long.
Feel the housing during use. If it’s too hot to hold comfortably, stop. Let it cool for 10-15 minutes. Your drill needs air circulation to dissipate heat. Blocked vents cause internal damage.
Avoid continuous drilling for more than 30 seconds at a time. Drill for 20 seconds, pull out for 10. This rhythm prevents heat buildup.
Never store a hot drill. Let it cool completely before putting it away. Trapping heat in a case is like cooking your tool slowly.
Step 5: Use the Right Bit for the Job
Using the wrong bit strains your motor. I’ve been guilty of this, thinking “it’ll work” when it really won’t.
Match your bit to the material. Wood bits for wood. Masonry bits for concrete. Metal bits for metal. Each has specific geometry that reduces stress on your drill.
Keep bits sharp. A dull bit forces you to push harder, overworking the motor. I check my bits before every project. If they don’t catch on my shirt, they’re too dull.
Use proper speed settings. Low speed for metal and large holes. High speed for small screws in wood. Forcing high speed in tough materials bogs down the motor.
Speaking of proper technique, you might want to check out our guide on how to use a drill for screws into a wall. It covers the exact pressure and angle needed to avoid motor strain.
Step 6: Store It Properly
I used to toss my drill in a canvas bag with other tools. Scratches, impacts, and moisture cut its life in half.
Always use the original case or a dedicated hard case. These protect from drops, moisture, and dust. My current drill lives in a plastic case with foam cutouts. It’s survived multiple 4-foot drops onto concrete.
Hang it if you can’t use a case. A simple pegboard hook keeps it off the floor and away from moisture. Store it vertically with the battery removed. This prevents accidental triggers and saves battery life.
Keep silica gel packs in your storage area. Moisture corrodes electrical components. Those little packets from shoe boxes work wonders.
Step 7: Check Motor Brushes Every Six Months
Most modern drills have brushless motors, but many still use brushes. These wear out and cause motor damage if ignored.
Find your brushes. They’re usually behind a cover on the side of the motor housing. Remove the cover and check the carbon brushes. If they’re shorter than 1/4 inch, replace them.
Listen for sparking. If you hear a crackling sound during use, your brushes might be worn. Stop using the drill until you replace them.
Keep spare brushes on hand. They cost $5-$10 and prevent $200 in repairs. I buy them when I first notice wear, then replace them during my next maintenance session.
Step 8: Know When to Use a Different Tool
Your cordless drill isn’t a hammer drill or impact driver. Using it as one will destroy it quickly.
For concrete or brick, use a hammer drill. The hammering action creates stress that regular drills can’t handle. I learned this hanging shelves in my basement. My regular drill seized after three holes.
For driving long screws, reach for an impact driver. It handles torque much better. Your drill’s transmission will thank you.
Not sure which tool you need? Our article on the difference between impact drivers and hammer drills breaks it down clearly. Using the right tool prevents 90% of premature wear.
Pro Tips & Common Mistakes to Avoid
Let me save you from the dumb mistakes I made. These cost me thousands in replacement tools.
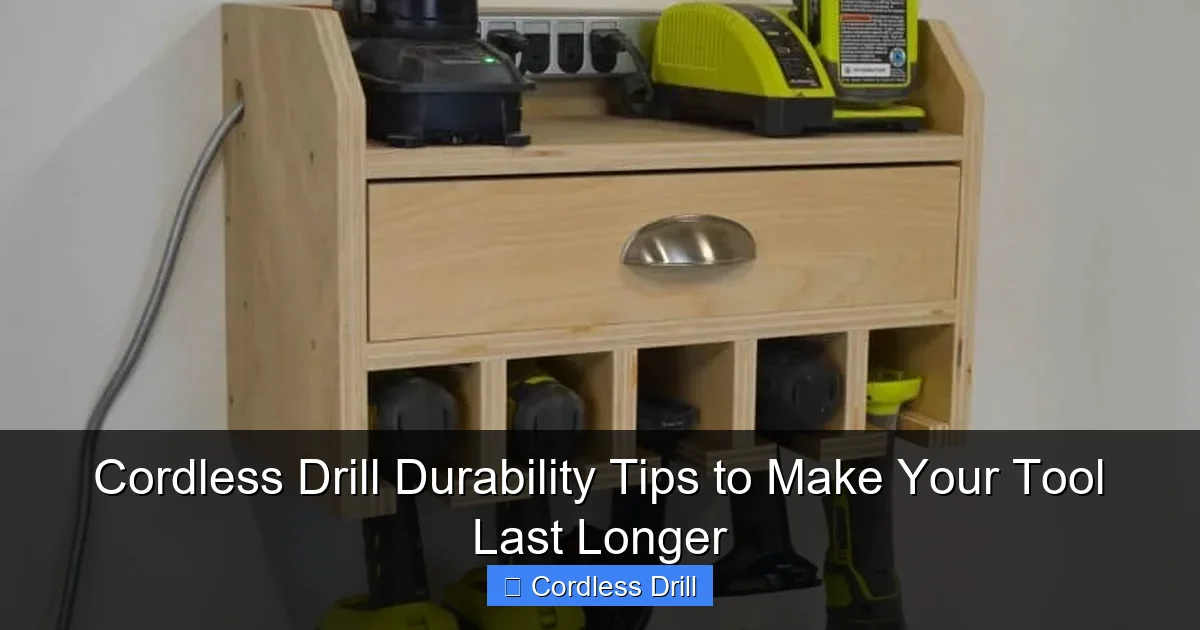
Visual guide about Cordless Drill Durability Tips to Make Your Tool Last Longer
Image source: knockoffdecor.com
Never use WD-40 as a lubricant. It’s a solvent, not a lubricant. It cleans then evaporates, leaving metal unprotected. Use proper light machine oil instead.
Don’t ignore unusual noises. A high-pitched whine or grinding sound means trouble. Stop using the drill immediately. Continuing to use it turns a $20 repair into a $200 replacement.
Avoid extreme temperatures. Leaving your drill in a hot car or freezing garage damages batteries and internal components. I keep my drill in my climate-controlled house, not my shed.
Don’t overtighten the chuck. Hand-tight is enough. Forcing it with pliers or a wrench can warp the mechanism. I’ve seen this mistake ruin chucks in seconds.
Keep firmware updated if your drill has smart features. Manufacturers release updates that improve battery management and motor control. Check the manual for update instructions.
My Biggest Lesson: I once dropped my drill trying to grab a falling board. It hit the concrete and seemed fine. Six months later, the motor died. The impact cracked a solder joint internally. Now I use a tool belt or lower myself first. A few seconds of caution saves years of tool life.
FAQs About Cordless Drill Durability Tips to Make Your Tool Last Longer
Q: How often should I clean my cordless drill?
A: Clean it after every use. Seriously. Five minutes of wiping and blowing out dust prevents hours of repair work later. I keep a microfiber cloth and compressed air by my workbench for quick cleanups.
Q: Can I use my cordless drill in the rain?
A: No. Water and electricity don’t mix. Even “weather-resistant” drills aren’t waterproof. I learned this during an outdoor project. A light drizzle seeped into the motor housing and caused corrosion. Use a tarp or move indoors.
Q: Do I really need to remove the battery before storage?
A: Yes. Removing the battery prevents accidental starts and drains. It also protects the battery from temperature swings. I store my batteries inside my house, separate from the drill. This simple habit doubled my battery life.
Q: My drill smells like burning. What should I do?
A: Stop using it immediately. Unplug the battery and let it cool for at least an hour. The smell usually means overheating or worn motor brushes. Check the brushes first. If they’re fine, the motor may be damaged. Continuing to use it will destroy the drill.
Q: How long should a quality cordless drill last?
A: With proper care, 10+ years is realistic. My 7-year-old Milwaukee still performs like new. Cheap drills ($50 range) might last 3-5 years with light use. Quality tools ($150+) can easily hit a decade with these durability tips.
Q: Is it worth repairing an old drill?
A: It depends. If the motor or gearbox is failing, replacement often makes more sense. But for battery issues, chuck problems, or worn brushes, repair is cost-effective. I replace brushes and chucks on my old drill. For motor failure, I upgrade to a newer model.
Q: Should I buy the most expensive drill for best durability?
A: Not necessarily. Mid-range drills ($120-$180) often offer the best durability-to-price ratio. They have quality motors without the premium features you might not need. Check out our best cordless drill guide for specific models that balance cost and longevity.
Final Thoughts
Extending your cordless drill’s life isn’t about complicated maintenance. It’s about consistent, simple habits. Clean it after use. Store it properly. Treat the battery with respect. Use the right tool for each job.
These cordless drill durability tips to make your tool last longer transformed my tool ownership experience. I went from replacing drills every 2-3 years to maintaining one tool for a decade. The savings paid for my kids’ college fund.
Start with just one habit today. Pick battery care or post-use cleaning. Master that, then add another. Before you know it, you’ll have a drill that outlasts your other tools.
Remember, your drill is an investment in your projects and your independence. Treat it well, and it will serve you faithfully for years to come.
