
This guide unlocks the incredible versatility of your cordless drill. We provide a curated list of inspiring projects, from simple shelving to advanced furniture builds, complete with clear instructions. You’ll gain the confidence and know-how to tackle upgrades all around your home.
Key Takeaways
- Your Drill is a DIY Powerhouse: Beyond just hanging pictures, a cordless drill is the key tool for building, repairing, and customizing your home.
- Start Simple, Build Confidence: Beginner projects like floating shelves or a planter box teach fundamental skills without intimidation.
- Proper Bits are Crucial: Using the correct drill bit (wood, masonry, spade) and driver bit (Phillips, square) is essential for clean results and safety.
- Pilot Holes Prevent Problems: Drilling a small pilot hole before driving screws prevents wood from splitting and ensures accurate placement.
- Clamps are Your Third Hand: Always secure your workpiece with clamps for safety, stability, and professional-looking outcomes.
- You Can Build Real Furniture: With plans and patience, a cordless drill can be the primary tool for constructing tables, benches, and storage solutions.
- Maintenance Ensures Longevity: Keeping your drill’s battery charged (but not overcharged) and storing it properly guarantees it’s ready for your next project.
Discover Inspiring Cordless Drill Home Projects Ideas
Is your cordless drill sitting quietly in a toolbox, only brought out to hang the occasional curtain rod? You’re missing out! This versatile tool is a gateway to a world of creativity, savings, and home improvement pride. Imagine building your own shelves, crafting custom furniture, or adding unique touches that make your house truly yours. All it takes is a bit of know-how and inspiration.
This guide is designed to unlock that potential. We’ll walk you through a spectrum of projects, from quick wins for total beginners to more satisfying builds for the aspiring DIYer. You’ll learn not just what to build, but how to build it correctly and safely. Grab your drill, and let’s transform your space.
Gearing Up: What You Need to Get Started
Before we dive into the projects, let’s ensure you have the right gear. A good cordless drill is, of course, the star of the show. But its supporting cast is just as important.
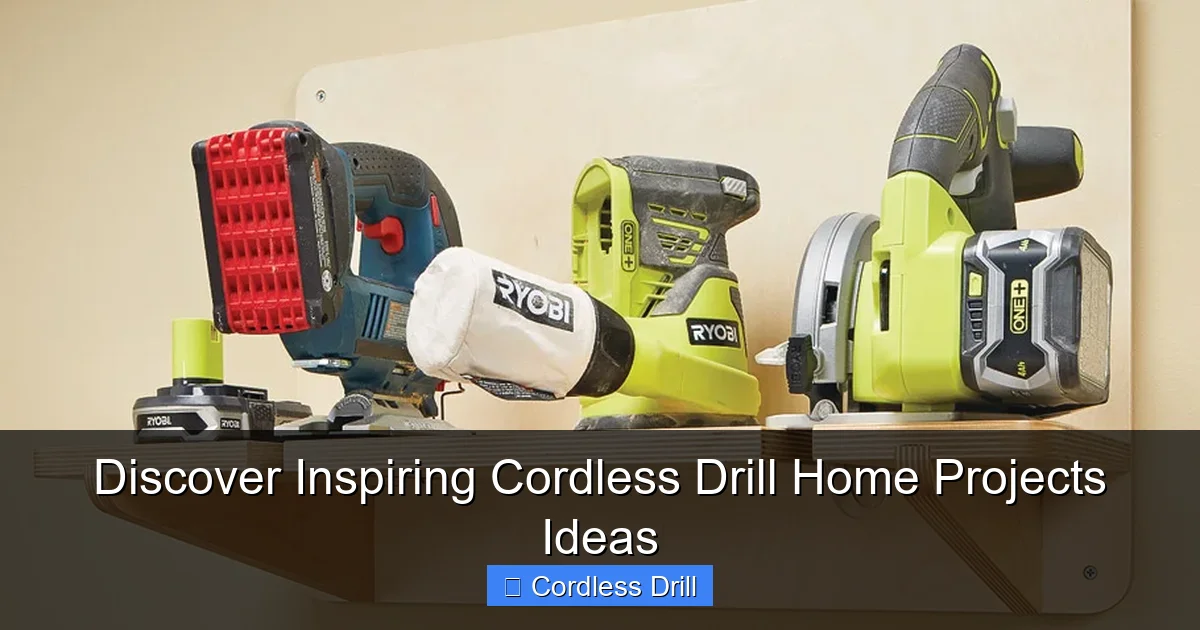
Visual guide about Discover Inspiring Cordless Drill Home Projects Ideas
Image source: s3.amazonaws.com
- The Drill: A 12V or 18V/20V Max drill-driver is perfect for 95% of home projects. It should have a clutch (for driving screws without stripping them) and variable speed.
- Drill Bits: A basic set of twist bits for wood and metal, and masonry bits if you’ll be drilling into brick or concrete.
- Driver Bits: A magnetic bit holder and a selection of #2 Phillips and square drive (Robertson) bits. These are for driving screws.
- Other Essential Tools: A hammer, tape measure, level, speed square, pencil, safety glasses, and hearing protection.
- The Secret Weapon: Clamps: You cannot have too many clamps. They hold your work steady, acting as a crucial second (or third) pair of hands.
Beginner Projects: Build Your Skills
These projects are low-cost, low-risk, and high-reward. They focus on fundamental skills like measuring, drilling pilot holes, and driving screws.
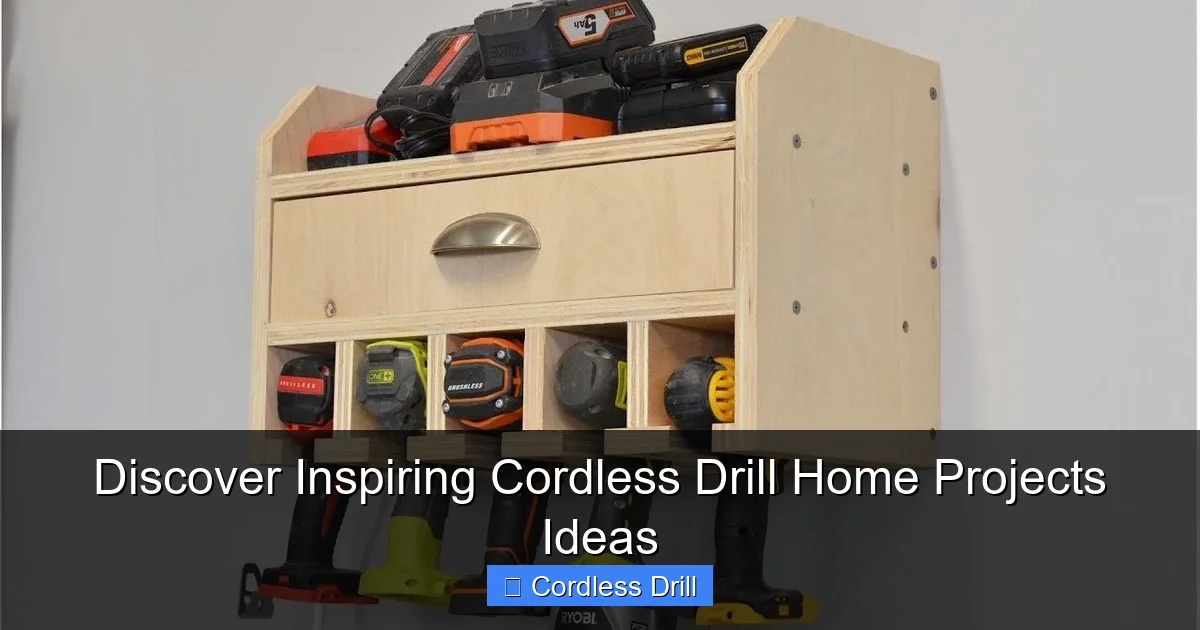
Visual guide about Discover Inspiring Cordless Drill Home Projects Ideas
Image source: i.pinimg.com
1. The Classic Floating Shelf
Floating shelves look modern and are surprisingly simple. You’ll create a sturdy bracket from wood that gets secured to the wall studs, then slide a hollow shelf box over it.
Steps:
- Cut a 2×4 to your desired shelf length. This is your bracket.
- Locate and mark the wall studs. Pre-drill two holes through the 2×4 bracket.
- Hold the bracket level against the wall and drill pilot holes into the studs using a masonry bit if going into drywall/studs, or follow our guide for how to use a drill for screws into a wall.
- Drive long, sturdy screws through the bracket into the studs.
- Build a three-sided box from 1×6 or 1×8 pine boards using wood glue and screws. Ensure the inside dimension is slightly larger than your bracket.
- Slide the box over the bracket and secure it from the bottom with a few discrete screws.
Tip: Use a level at every step. A crooked shelf is very noticeable.
2. Simple Wooden Planter Box
Add greenery to your patio or porch. This box uses basic butt joints.
Steps:
- Cut your boards: two for the long sides, two for the short ends, and one for the bottom.
- Pre-drill holes to prevent splitting. Apply wood glue to the ends of the side boards.
- Clamp the sides together at a right angle and screw them together from the outside.
- Attach the bottom piece by screwing up through it into the sides.
- Drill several drainage holes in the bottom using a spade bit or large drill bit.
Tip: Use cedar or redwood for natural rot resistance, or seal interior-grade pine with a waterproof stain.
Intermediate Projects: Expand Your Capabilities
Ready for more? These projects involve more steps and precision but result in functional, beautiful pieces for your home.
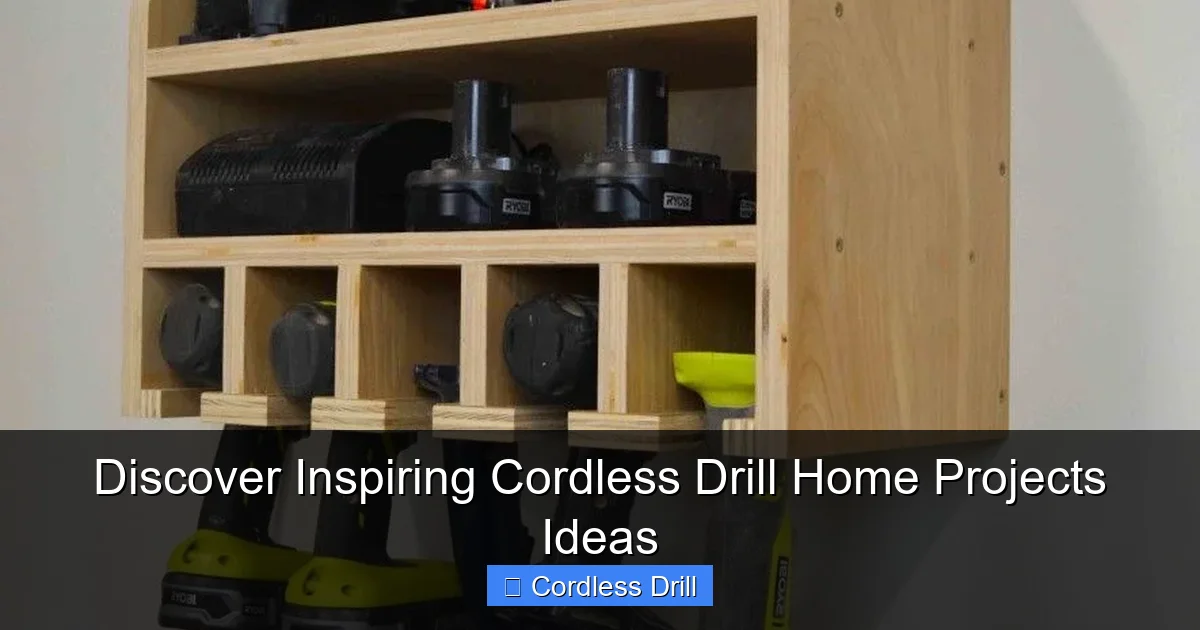
Visual guide about Discover Inspiring Cordless Drill Home Projects Ideas
Image source: i.pinimg.com
3. Entryway Bench with Storage
A perfect spot to put on shoes with hidden storage for hats and gloves. This builds on the planter box skills but adds a hinged lid.
Steps:
- Build a sturdy box, just like the planter, but to the dimensions of a bench (e.g., 48″ long, 18″ deep, 18″ tall). Use thicker 2x lumber or plywood for strength.
- Reinforce the corners with wood glue and screws. Add a center support leg underneath for stability.
- Build a lid frame from 1x2s and attach a plywood top. Sand all edges smooth.
- Attach sturdy hinges to the back of the box and the lid with your drill.
- Install a lid support hinge to prevent it from slamming down, and a simple latch at the front.
- Add cushioning on top for comfort.
Tip: A pocket-hole jig (used with your drill) can make creating strong, hidden joints on this project much easier.
4. Custom Picture Frame Ledges
Display photos, art, or kids’ drawings without putting holes in them. These are like mini floating shelves with a lip.
Steps:
- Cut a 1×4 (the back) and a 1×2 (the lip) to the same length.
- Sand the edges of the 1×2 to create a slight, rounded profile.
- Apply wood glue to the long edge of the 1×2. Align it flush with the bottom edge of the 1×4’s face.
- Clamp securely and reinforce with small finish nails or brads, or drill pilot holes and use thin screws.
- Sand, paint, or stain. Mount to the wall by drilling through the back 1×4 into wall studs.
Advanced Projects: Craft Real Furniture
With careful planning, your cordless drill can build heirloom-quality pieces. These projects require precise cuts and patience.
5. Farmhouse-Style Wooden Coffee Table
This project uses common 2x4s and 2x6s to create a rugged, attractive table. The key is sanding and finishing to make construction lumber look beautiful.
Steps:
- Build the tabletop: Arrange 2×6 boards side-by-side. Use wood glue and pocket holes (or brackets underneath) to join them into a solid panel.
- Build the apron: Create a rectangular frame from 2x4s that will sit underneath the tabletop, connecting the legs. Attach it with screws from below.
- Build the legs: Use sturdy 4×4 posts or create tapered legs from glued 2x4s. Attach them to the inside corners of the apron with long screws or lag bolts.
- Sand, sand, sand! Start with coarse grit and work to fine grit to smooth all rough lumber edges.
- Apply a wood stain and several coats of polyurethane for protection.
Tip: Understanding your tool’s capabilities is key here. For very large lag bolts, you might wonder about tool choice. Learn about the difference between an impact driver and a hammer drill; an impact driver is better for high-torque fastening like this.
Essential Skills & Troubleshooting
Drilling the Perfect Pilot Hole
This is the #1 skill for clean woodworking. The pilot hole should be slightly smaller than the screw’s core (the part without threads). It guides the screw and prevents the wood fibers from splitting.
Troubleshooting Common Problems
- Stripped Screw Head: You’re using the wrong bit size or type, or applying too much drill torque. Use fresh bits, ensure a perfect fit, and use the drill’s clutch on a lower setting.
- Drill Won’t Penetrate: You’re using a wood bit on metal or masonry. Ensure you have the correct, sharp bit for the material.
- Screw Won’t Go in Straight: You didn’t drill a pilot hole, or you started at an angle. Keep the drill perfectly perpendicular to the work surface.
- Wood Splits: The screw is too close to the end of the board, or the pilot hole is too small/nonexistent. Drill a pilot hole and keep screws at least 1″ from board ends.
Conclusion: Your Home, Your Creation
Your cordless drill is more than a tool—it’s an instrument of creation. The projects outlined here are just the beginning. Each successful build boosts your confidence and skills, paving the way for more complex and personalized creations. Remember, every expert was once a beginner who decided to try. Start with the simple shelf, embrace the mistakes as learning moments, and enjoy the profound satisfaction of looking at your home and saying, “I built that.” For more guides, tips, and tool insights, explore our full cordless drill category. Now, go make something amazing.
