
This guide reveals the incredible versatility of your cordless drill beyond basic indoor tasks. You’ll learn step-by-step methods for building garden beds, installing outdoor lighting, mixing materials, and numerous other essential outdoor projects. Mastering these techniques will save you time, effort, and money on your next DIY venture.
Your cordless drill is a powerhouse of potential, waiting to be unleashed beyond the walls of your workshop. For the savvy DIYer, it’s the ultimate outdoor companion, capable of tackling a huge array of projects that can enhance, repair, and beautify your yard, garden, and patio. This guide will walk you through essential techniques and creative uses, turning your trusty drill into an indispensable tool for outdoor mastery.
Key Takeaways
- Unlock Versatility: A cordless drill is far more than a screwdriver; with the right accessories, it becomes a power mixer, planter, cleaner, and polisher for countless outdoor jobs.
- Preparation is Key: Success outdoors starts with inspecting your workspace, selecting the proper drill bits and accessories, and ensuring your battery is fully charged.
- Master Basic Techniques: Fundamental skills like pilot hole drilling, proper screw driving, and using a paddle mixer are the foundation for almost every outdoor project.
- Safety Cannot Be Compromised: Always wear protective eyewear, be mindful of hidden utilities, and secure your workpiece to prevent injury and ensure clean results.
- Accessories Multiply Power: Investing in a few key extras like wire brush attachments, auger bits, and a sturdy paddle mixer dramatically expands your drill’s functionality in the yard.
- Battery Management is Crucial: For longer projects, have a spare battery charging and store batteries at room temperature to maintain optimal power and lifespan outdoors.
Gearing Up: Pre-Project Preparation
Before you head outside, a little prep goes a long way. Start with your tool. If you’re in the market for an upgrade or just starting out, our guide to the Best Cordless Drill can help you choose the right model for outdoor demands.
Inspect Your Drill and Battery
Check that your drill is clean and in good working order. Fully charge your battery—and if you have a spare, charge that too. Outdoor projects often take longer than expected.
Gather Essential Accessories
Your drill’s true power lies in its attachments. For outdoor work, ensure you have:
- Drill Bits: High-speed steel (HSS) bits for wood, masonry bits for concrete/brick, and spade/paddle bits for larger holes.
- Driver Bits: A variety of Phillips and square-drive bits in different lengths.
- Specialty Attachments: A wire brush, buffing/polishing pad, and a paddle mixer are incredibly useful.
Safety First
Always wear safety glasses. Consider work gloves and sturdy shoes. Be absolutely sure of what’s behind your work surface—use a utility locator service before any project that involves digging or drilling into the ground.
Project 1: Building a Raised Garden Bed
This is a perfect starter project that yields fantastic results.
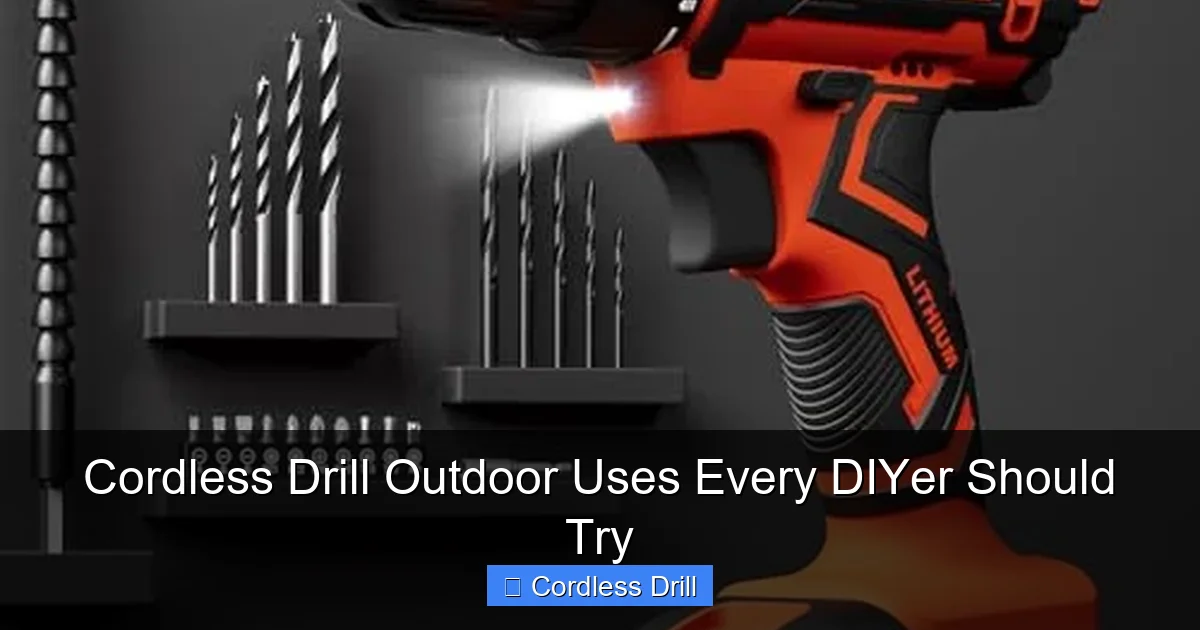
Visual guide about Cordless Drill Outdoor Uses Every DIYer Should Try
Image source: m.media-amazon.com
Step 1: Cut and Dry-Fit Lumber
Cut your boards (cedar or pressure-treated pine are good choices) to size. Lay them out on a flat surface in their final rectangular shape to ensure everything fits.
Step 2: Drill Pilot Holes
This is critical to prevent the wood from splitting. Where each board will connect, clamp them together. Select a drill bit slightly smaller than the diameter of your screws. Drill straight through the first board and just into the second at each connection point. For a deep dive into this fundamental skill, see our comprehensive guide on using a drill for screws.
Step 3: Drive the Screws
Insert long, weather-resistant deck screws (2.5 to 3 inches) into your pilot holes. Use a clutch setting on your drill that prevents over-driving and countersinking the screw head just below the wood surface.
Step 4: Assemble and Position
Fully assemble the frame, then move it to its final sunny location. Line the bottom with cardboard to suppress weeds before filling with soil.
Project 2: Installing Outdoor Lighting & Fixtures
Add ambiance and security by mounting lights, hooks, and house numbers.
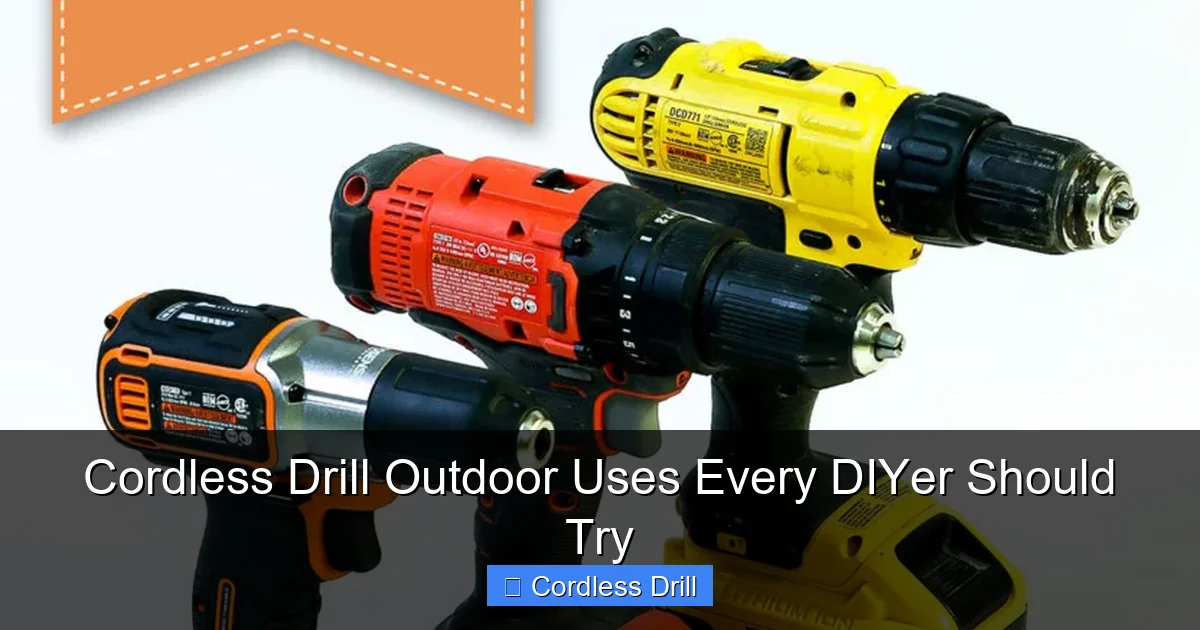
Visual guide about Cordless Drill Outdoor Uses Every DIYer Should Try
Image source: prettyhandygirl.com
Step 1: Plan and Mark
Decide on placement. Use a level to mark where mounting holes need to go. For brick or siding, mark with a pencil. For deck posts, you can mark directly.
Step 2: Choose the Right Bit and Technique
For Wood: Use a standard twist bit. For Masonry (brick, stucco): You must use a masonry bit and, often, a hammer drill function. If your drill doesn’t have this, a regular drill will work slowly with a masonry bit. Understanding the tool is key; learn more about the difference between an impact driver and a hammer drill to choose the right tool for future masonry projects.
Step 3: Drill and Anchor
Drill your hole to the depth required by your wall plug or anchor. Insert the plastic anchor, then drive the screw through your fixture and into the anchor. Tighten until the fixture is snug.
Project 3: The Ultimate Power Mixer
Skip the back-breaking stirring with this simple trick.
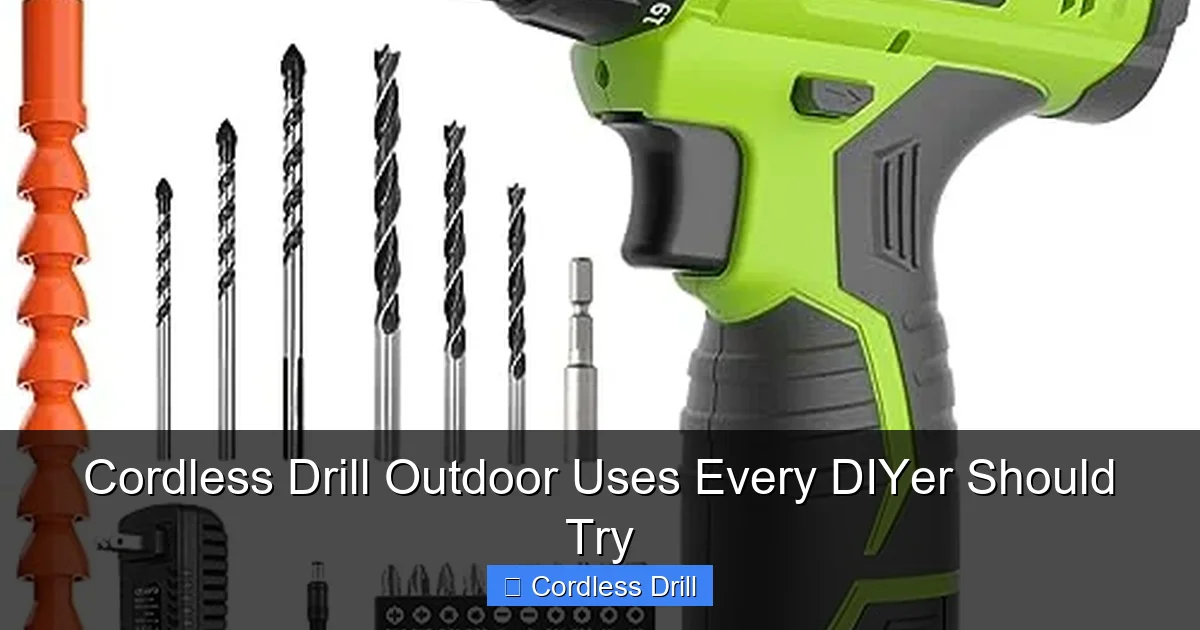
Visual guide about Cordless Drill Outdoor Uses Every DIYer Should Try
Image source: m.media-amazon.com
Step 1: Attach the Paddle Mixer
Securely insert the paddle mixer attachment into your drill chuck. These are inexpensive and widely available.
Step 2: Prepare Your Materials
Add water to your mixing bucket first, then slowly add the dry material (concrete, mortar, potting soil, paint). This reduces dust and makes mixing easier.
Step 3: Mix Thoroughly
Submerge the paddle in the mix. Use a LOW speed setting to start, slowly increasing to avoid splatter. Move the paddle around the bucket to incorporate all material. Mix until you achieve a uniform, lump-free consistency.
Tip: Use an old 5-gallon bucket and clean your mixer immediately after use.
Project 4: Drilling Perfect Planting Holes
Planting bulbs, seedlings, or small shrubs has never been faster.
Step 1: Select an Auger Bit
Garden auger bits come in various diameters and lengths. They attach directly to your drill chuck. A 2-inch by 7-inch auger is versatile for most planting.
Step 2: Drill into Soil
Hold the drill firmly with both hands. Apply steady, moderate pressure and let the auger’s flute do the work, pulling the soil up and out. Clear the bit frequently.
Step 3: Plant as Usual
Drop your plant or bulb into the clean, perfectly formed hole, backfill with soil, and water.
Project 5: Cleaning and Restoration Tasks
Revive outdoor furniture and surfaces without intense scrubbing.
For Rust and Grime:
Attach a stiff wire brush cup to your drill. Run it at a medium speed over metal furniture, grill grates, or tools to scrub away rust and baked-on debris. Always wear a mask and goggles for this.
For Polishing:
Switch to a buffing or polishing pad attachment. Apply a metal polish or car wax to the surface, then use the drill on a low-to-medium setting to buff it to a shine. Great for boat fittings, classic car trim, or metal patio sets.
Project 6: Simple Deck and Fence Repairs
Keep your wooden structures safe and looking great.
Re-securing Loose Boards:
Identify any wobbly deck boards or fence pickets. Drive new, longer screws next to the old, possibly failed nails or screws to pull the board down tight to the joist or rail.
Pre-drilling for Hardwoods:
When working with dense woods like ipe or for screws near the end of a board, always drill a pilot hole first to prevent splitting.
Drill Know-How: Tips for Success
- Clutch is Your Friend: Use the adjustable clutch on your drill when driving screws. Start low and increase until the screw drives to the perfect depth without stripping.
- Battery Care: Don’t leave batteries in extreme heat or cold. For cold weather use, keep the battery in your pocket until you need it to preserve runtime.
- Right Tool for the Job: While a standard drill-driver handles most tasks, knowing when you need more power is crucial. For heavy-duty fastening or masonry, you might need a more specialized tool from our cordless drill category guides.
Troubleshooting Common Outdoor Issues
Problem: Drill won’t penetrate masonry.
Solution: You are likely using a standard bit. Switch to a carbide-tipped masonry bit. If possible, engage the hammer drill function on your tool.
Problem: Screw keeps stripping.
Solution: Ensure you’re using the correct driver bit size. Apply more downward pressure and use a slower speed. A pilot hole may be necessary.
Problem: Battery drains extremely fast.
Solution> Cold temperatures sap battery life. Try to keep the battery warm. Also, using high torque settings (like for mixing) consumes power quickly. Have a spare ready.
Conclusion: Your Yard, Transformed
Your cordless drill is a ticket to a more functional and beautiful outdoor space. From the practicality of building a garden bed to the satisfaction of polishing a piece of patio furniture, the skills you’ve learned here will serve you for years. Start with one simple project, master the technique, and you’ll soon see your yard not as a list of chores, but as a canvas for your DIY creativity. Grab your drill, charge that battery, and head outside—your next project awaits.
