
Mastering your cordless drill as a screwdriver is the key to efficient, professional-looking DIY projects. This guide provides essential tips, from choosing the right drill and bit to mastering the clutch setting and applying the correct pressure. You’ll learn how to avoid common mistakes and achieve perfect, secure screwdriving every time.
Key Takeaways
- Choose the Right Tool for the Job: Not all drills are equal for driving screws. A dedicated impact driver is superior for large or long screws, while a standard drill is fine for light-duty tasks.
- Master the Clutch Setting: This feature prevents over-driving and stripping screws. Start with a low setting and increase until the screw seats properly without sinking too deep.
- Use Sharp, Correctly Sized Bits: A worn or mismatched bit is the leading cause of cam-out and stripped screw heads. Always match the bit type (e.g., PH2, S2) precisely to the screw.
- Apply Steady, Forward Pressure: Let the drill’s torque do the work. Maintain firm pressure directly in line with the screw until the clutch disengages to ensure clean driving.
- Pilot Holes Are Your Best Friend: For hardwoods, near edges, or with large screws, a pilot hole guides the screw, prevents splitting, and drastically reduces effort.
- Start Screws Slowly and Straight: Begin at a slow speed to establish the thread and ensure the screw is perfectly perpendicular to your workpiece to avoid crooked drives.
Essential Cordless Drill Screwdriver Tips for DIY Success
So you’ve got a shiny new cordless drill and a project full of screws to drive. It seems simple, right? Just pull the trigger. But anyone who’s ever stripped a screw head, split a piece of wood, or driven a screw in crooked knows there’s more to it. Using a cordless drill as a screwdriver is a foundational DIY skill. Doing it right means stronger projects, less frustration, and a professional finish.
This guide will walk you through everything you need to know. We’ll cover choosing your tool, setting it up, and executing the perfect drive. You’ll learn pro tips and how to avoid common pitfalls. Let’s turn that powerful tool in your hand into a precision instrument for driving screws.
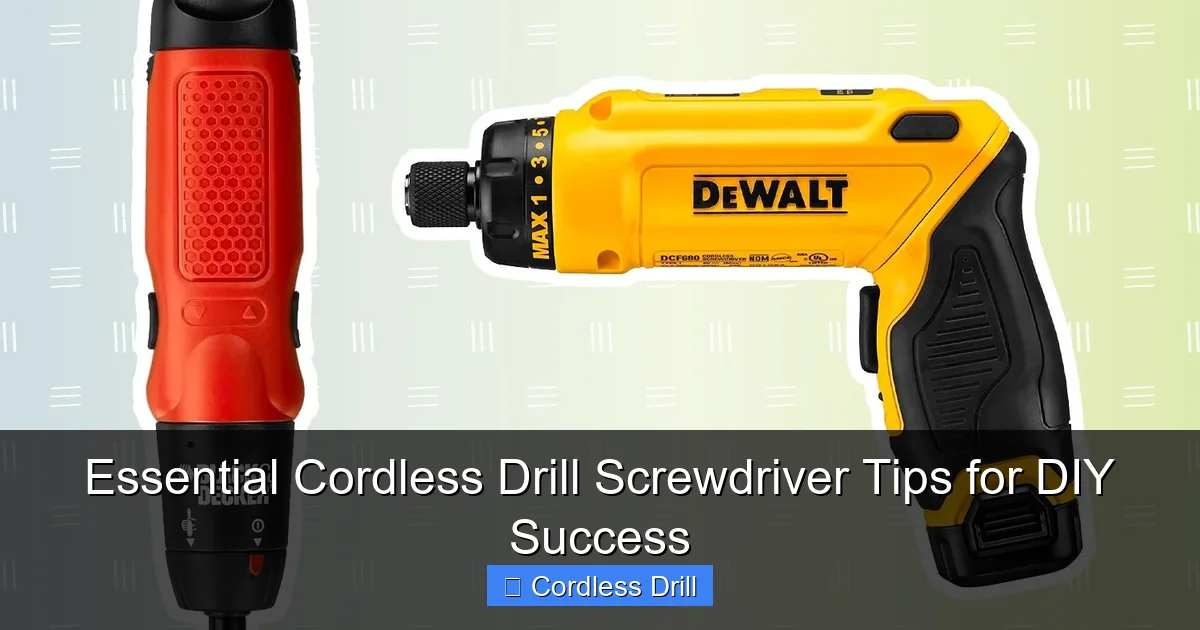
Step 1: Gear Up – Choosing and Preparing Your Drill
Success starts with the right tool set up correctly. This isn’t just about grabbing any drill.
Visual guide about Essential Cordless Drill Screwdriver Tips for DIY Success
Image source: thespruce.com
Selecting Your Driver: Drill vs. Impact Driver
First, know your tool. A standard cordless drill uses rotational force (torque). It’s versatile and has a clutch to prevent over-driving. It’s perfect for light to medium screwdriving into wood, drywall, and assembling furniture.
For driving long screws (like deck screws), lag bolts, or working with hardwoods, an impact driver is king. It combines rotation with concussive blows (impacts). This makes it much harder to strip screws and allows you to drive with less physical effort. Understanding the difference between an impact driver and a hammer drill is crucial, as they are designed for completely different tasks.
Understanding the Clutch (The Most Important Setting)
The numbered collar near the chuck is your clutch. It controls how much torque the drill applies before it disengages (makes a clicking sound and stops driving). This prevents you from sinking a screw too deep or stripping its head. For screws, you should always be using a clutch setting, not the drill icon.
- Start Low: Begin on a low number (like 3-5). Drive a test screw into scrap material.
- Adjust Up: If the clutch disengages before the screw is flush, increase the setting by one and try again.
- Perfect Setting: The ideal setting lets the screw seat snugly and then disengages. For delicate materials like drywall, use a very low setting.
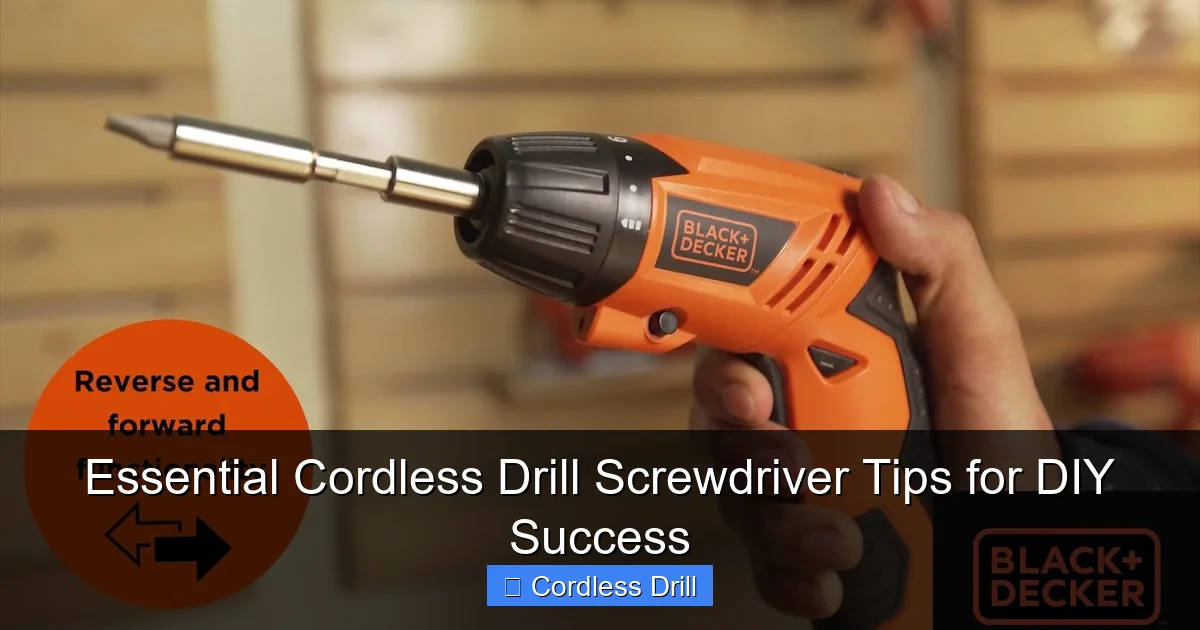
Speed and Direction Settings
Your drill has two (or more) speed gears. Gear 1 (low speed, high torque) is for screwdriving. It gives you more control. Gear 2 (high speed) is for drilling large holes. Always start screws in the low-speed setting. Also, double-check the forward/reverse switch is set to forward (usually marked with an arrow). It’s an easy mistake to make!
Step 2: The Perfect Match – Bits and Screws
This is where most projects go wrong. A mismatched bit is a recipe for stripped screws and ruined work.
Visual guide about Essential Cordless Drill Screwdriver Tips for DIY Success
Image source: i.ytimg.com
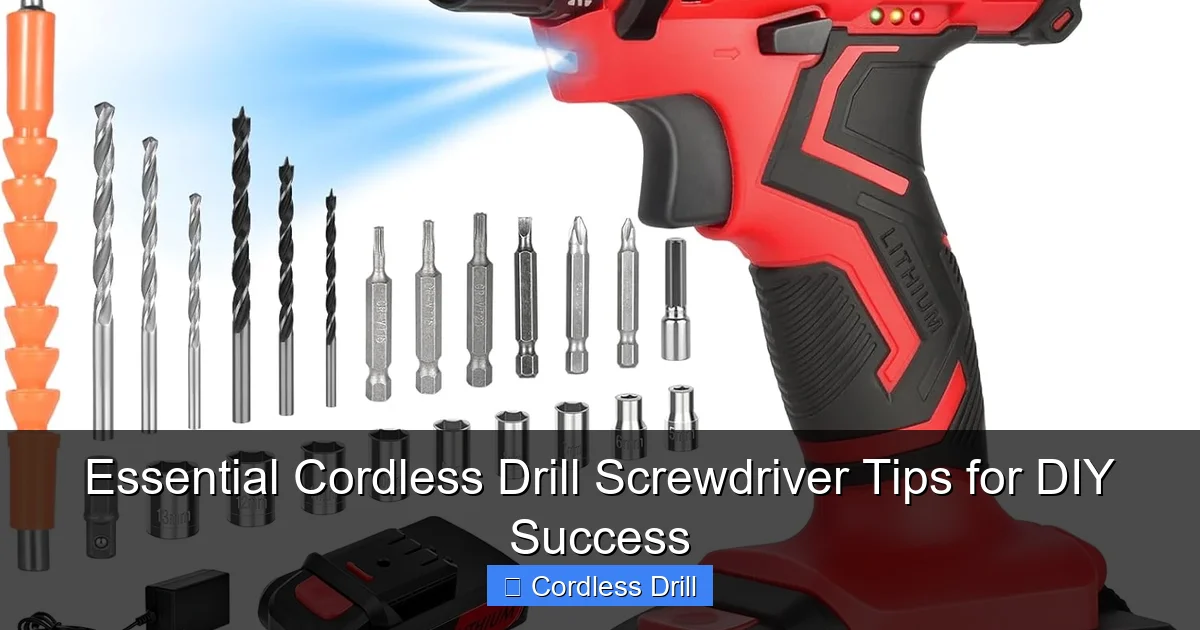
Matching the Bit to the Screw Head
Screw heads and bits are precision-mated. Using the wrong one damages both.
- Phillips (PH): Common but prone to cam-out (slipping). Use PH1, PH2, or PH3 bits.
- Pozidriv (PZ): Looks like Phillips but has extra ticks. Do not mix with Phillips! Use PZ bits for better grip.
- Square (Robertson): Common in North America. Excellent grip with little cam-out. Sizes #1, #2, #3.
- Torx (Star): Six-point star shape. Provides the best torque transfer and is very strip-resistant. Sizes T10, T15, T20, etc.
Tip: Invest in a high-quality set of impact-rated bits. They are made from harder steel (often labeled S2) and have a special torsion zone that absorbs stress, making them last much longer, even in a standard drill.
Securing the Bit: The Chuck
A loose bit will wobble and ruin the screw head. For a keyless chuck, insert the bit fully, then tighten the chuck by hand until snug. Give it an extra firm twist to make sure it’s secure. Don’t use a drill with a wobbly bit.
Step 3: The Art of Driving – Technique is Everything
Now, with the right tool and bit, let’s drive a screw perfectly.
Visual guide about Essential Cordless Drill Screwdriver Tips for DIY Success
Image source: m.media-amazon.com
Starting the Screw Straight (The Secret to Success)
A crooked start means a crooked screw. Apply firm, straight pressure with the drill. Start at a very slow trigger squeeze to “walk” the screw into the material and establish threads. Once it’s started straight, you can increase speed slightly.
Let the Tool Do the Work
You don’t need to push with all your might. Apply steady, forward pressure and let the drill’s torque pull the screw in. Pushing too hard can bend the screw or cause the bit to slip.
The Final Touch: Setting the Screw
As the screw head nears the surface, ease off the trigger. The final half-turn should be slow and controlled to let the clutch do its job and seat the screw flush without damaging the material. For sensitive finishes, drive the screw just shy of flush and finish with a few careful turns by hand with a screwdriver.
Step 4: Pro Tips for Specific Situations
Always Drill Pilot Holes
This is the #1 tip for clean, split-free results, especially in hardwoods, near the end of a board, or with large screws. A pilot hole should be slightly smaller than the screw’s shank (the solid core). It guides the screw and reduces the splitting force. Our guide on how to use a drill for screws into a wall covers piloting for different wall types, a critical step.
Countersinking and Counterboring
For a flush finish, you often need to recess the screw head.
- Countersink: Creates a conical recess so a flat-head screw sits flush. Use a dedicated countersink bit or a combo drill/countersink bit.
- Counterbore: Drills a wider hole that allows a wood plug to hide the screw entirely for a seamless look.
Driving into Metal
You must drill a pilot hole in metal. Use a sharp metal drill bit (like cobalt or titanium nitride-coated) and a slow speed. Apply light pressure and use a cutting oil to keep the bit cool. Start the screw slowly to engage the threads.
Step 5: Troubleshooting Common Screwdriving Problems
- Stripped Screw Head: Cause: Worn bit, mismatched bit, or too much torque. Fix: Use a fresh, correct bit. For removal, try a rubber band between the bit and screw, a dedicated screw extractor, or locking pliers on the exposed shank.
- Screw Won’t Go In / Drill Stalls: Cause: No pilot hole in dense material, blunt screw tip, or drill underpowered. Fix: Drill a pilot hole, use a sharper screw (like a self-drilling “Tek” screw for metal), or ensure your best cordless drill has enough torque for the job.
- Screw Goes in Crooked: Cause: Not starting straight, or material pushing the screw. Fix: Start slower with more focused pressure. For two-piece connections, clamp pieces together first.
- Over-Driven Screw: Cause: Clutch set too high or holding the trigger too long. Fix: Lower the clutch setting. Develop a trigger-finger reflex to release as soon as the screw is seated.
Conclusion: Drive with Confidence
Mastering your cordless drill for screwdriving transforms it from a noisy tool into a precise extension of your skill. Remember the fundamentals: the right clutch setting, a sharp and correct bit, and a steady hand. Start every screw slow and straight, and don’t be afraid to drill a pilot hole—it’s a sign of a careful craftsperson, not a novice.
With these essential cordless drill screwdriver tips, you’ll tackle any project from building a shelf to installing cabinets with greater speed, less fatigue, and flawless results. Now, go forth and drive!
