
Seeing sparks from your cordless drill can be alarming, but it’s often a fixable problem. This guide explains the common causes of sparking, such as worn carbon brushes, a dirty commutator, or faulty battery connections, and provides clear, step-by-step instructions on how to diagnose and repair the issue yourself. Understanding these reasons can prevent tool damage and ensure your safety during use.
Key Takeaways
- Some sparking is normal: Brief, blue sparks inside the motor vents during high load are typical for brushed motors.
- Excessive sparking is a warning sign: Large, white/yellow sparks, smoke, or a burning smell indicate a problem that needs immediate attention.
- Worn carbon brushes are the #1 culprit: These consumable parts create sparking as they wear down and must be replaced.
- Dirt and carbon dust cause trouble: A buildup on the motor’s commutator can lead to poor contact and increased sparking, requiring cleaning.
- Battery and electrical issues are critical: Loose terminals, damaged wiring, or a failing switch can create dangerous sparking points.
- Professional repair is sometimes needed: For complex electrical faults, damaged armatures, or if you’re unsure, consult a qualified technician.
- Prevent sparking with good maintenance: Regular cleaning, proper storage, and using the right tool for the job extend your drill’s life.
Cordless Drill Sparking Reasons and How to Fix Them
You’re in the middle of a project. Your cordless drill is buzzing away. Then you see it—a flash of light from the motor housing. Sparks. Your heart might skip a beat. Is this normal? Is my drill about to catch fire? Should I keep using it?
Don’t panic. Sparking in a cordless drill is a common issue. Sometimes it’s harmless. Other times, it’s a cry for help from your tool. This guide will walk you through all the reasons why your drill sparks. We’ll separate normal operation from danger signs. Then, we’ll give you clear steps to fix the problem yourself. By the end, you’ll know exactly what to do. You can get back to work safely and confidently.
Is Sparking Normal? Understanding Brushed Motors
First, you need to know what’s inside your drill. Many cordless drills use a “brushed” DC motor. This motor has two key parts that touch: the carbon brushes and the commutator.
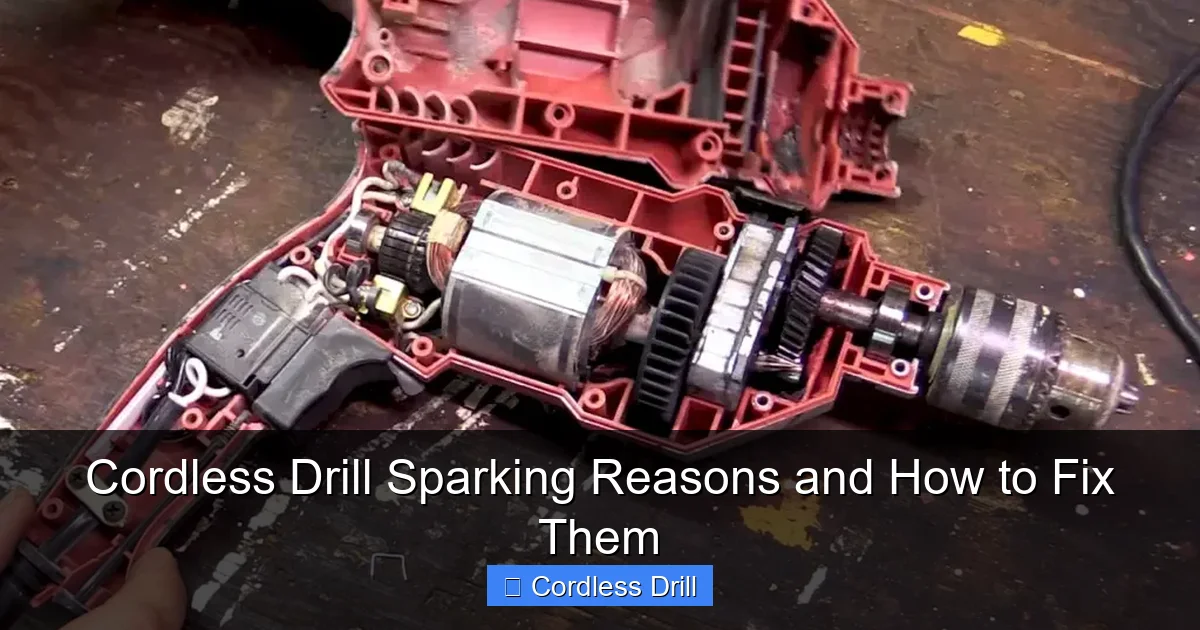
Visual guide about Cordless Drill Sparking Reasons and How to Fix Them
Image source: toolsprofy.com
The brushes press against the spinning commutator. This contact transfers electricity to make the motor turn. This rubbing contact is where sparks are born. A small, blue spark at this point is completely normal. It happens most when the motor starts, stops, or works under heavy load.
Normal Sparking: Brief, small, blue sparks visible inside the motor vents only during operation.
Abnormal (Bad) Sparking:
- Large, white, or yellow sparks
- Sparks that shoot out of the vents
- Continuous sparking even at low speed
- Accompanied by a burning smell or smoke
- Sparks from the battery compartment or trigger area
If you see the “bad” kind, stop using the drill immediately. Unplug the battery. Let’s find out why it’s happening.
Reason 1: Worn-Out Carbon Brushes (The Most Common Cause)
Carbon brushes are consumable parts. They wear down over time like brake pads on a car. As they get shorter, the spring pushes them to maintain contact. When they get too short, the contact becomes uneven and intermittent. This causes excessive arcing and sparking.
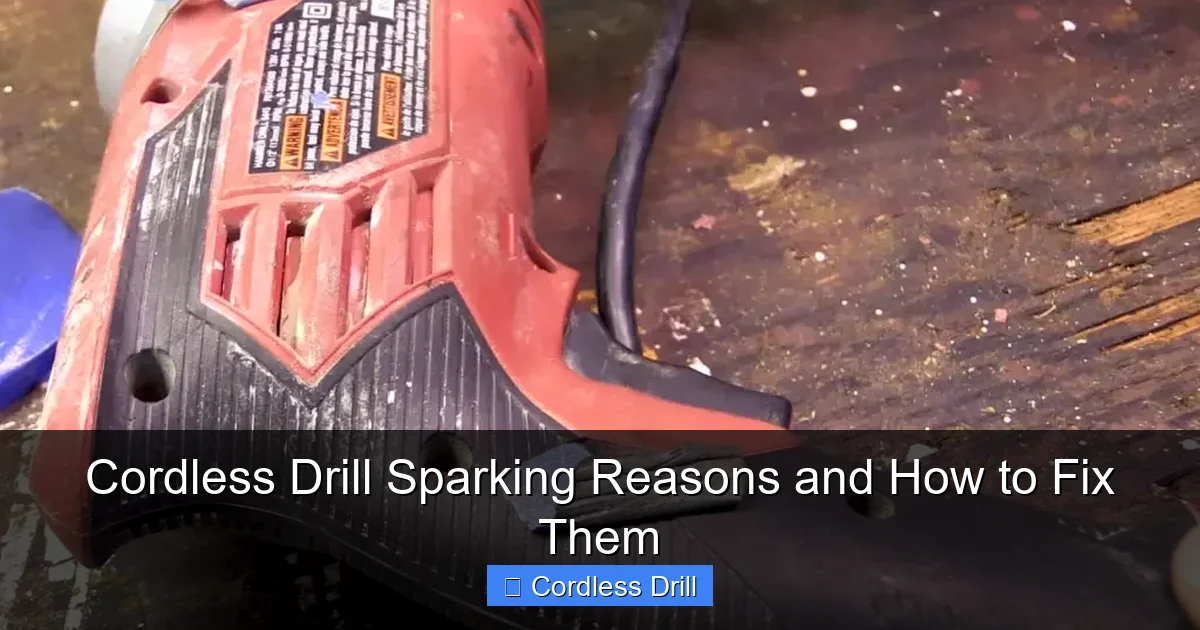
Visual guide about Cordless Drill Sparking Reasons and How to Fix Them
Image source: toolsprofy.com
How to Check and Replace Worn Brushes
Tools Needed: Screwdriver, replacement brushes (check your drill’s model number).
Step 1: Access the Brush Holders. Unplug the battery. Look for small, removable plastic caps on the sides of the motor housing. Sometimes you need to open the main housing. Refer to your user manual for the best way.
Step 2: Remove the Old Brushes. Carefully pull out the brush and its spring assembly. Note how it’s oriented.
Step 3: Inspect. A new brush is typically 10-12mm long. If yours is less than 5mm, it needs replacing. The end should be curved smoothly from contact. If it’s chipped, uneven, or covered in debris, replace it.
Step 4: Install New Brushes. Insert the spring, then the new brush into the holder. Ensure it moves freely. The curved end should face where it will contact the commutator.
Step 5: Reassemble and Test. Put the caps or housing back on. Insert the battery. Run the drill at low speed (no load) for a minute. This helps “seat” the new brushes. The sparking should be greatly reduced.
Reason 2: Dirty or Damaged Commutator
The commutator is the copper cylinder at the end of the motor’s armature. Brushes slide on it. Over time, carbon dust from the brushes, plus general dirt and metal flakes, can coat the commutator. This dirty layer stops good electrical contact. The current has to jump gaps, causing sparking. Deep grooves or burned spots are signs of damage.
Visual guide about Cordless Drill Sparking Reasons and How to Fix Them
Image source: toolstutor.com
How to Clean the Commutator
Warning: This requires more disassembly. If you’re uncomfortable, seek help.
Tools Needed: Screwdrivers, fine sandpaper (400-grit or finer), isopropyl alcohol, cotton swabs, compressed air.
Step 1: Disassemble to Access the Armature. Remove the battery. Open the drill’s housing to expose the motor and armature. You may need to disconnect wires. Take a photo first to remember where they go.
Step 2: Inspect the Commutator. Look for a black, sooty film, grooves, or discolored (bluish/burnt) copper segments.
Step 3: Clean Lightly. For just dirt, use a cotton swab dipped in isopropyl alcohol. Gently rub the copper segments until they shine. Let it dry completely.
Step 4: Sand if Necessary. For light scoring, wrap the fine sandpaper around the commutator. Spin the armature by hand to polish the surface evenly. Do not sand aggressively. You just want to remove the top layer of gunk and oxidation. Clean all dust with compressed air after.
Step 5: Reassemble and Test. Reconnect everything, close the housing, and test. If the commutator is deeply grooved or has melted segments, the entire armature likely needs replacement. This is often a job for a pro.
Reason 3: Battery and Electrical Connection Problems
Sparking isn’t always inside the motor. Faulty connections in the power path are serious. They can cause big, dangerous sparks.
- Loose Battery Terminal: The battery doesn’t sit snugly. This causes arcing when the drill is bumped.
- Corroded Terminals: A white or green crusty buildup on the battery or drill contacts increases resistance and heat.
- Damaged Internal Wiring: Wires can break or short from fatigue or pinching.
- Faulty Trigger Switch: A worn switch can arc internally.
How to Fix Electrical Connections
Step 1: Inspect the Battery & Drill Terminals. Look for dirt, corrosion, or bent pins. Clean contacts with a dry cloth. For corrosion, use a tiny bit of electrical contact cleaner on a cotton swab. Never use water.
Step 2: Check for a Loose Fit. Does the battery wobble? The locking mechanism might be worn. Sometimes the plastic housing of the drill or battery is cracked. If it’s loose, it’s a major hazard.
Step 3: Listen and Feel the Trigger. Does the drill speed respond smoothly? Or does it crackle, jump, or spark from the trigger area? A faulty trigger usually requires replacement.
Step 4: When to Call a Pro: If you suspect internal wiring or a bad switch, and you’re not experienced with electronics, take it to a repair shop. Working on live circuits is risky.
Reason 4: Overloading the Drill
Pushing a drill beyond its limits is hard on the motor. Trying to drill large holes in metal or dense hardwood without a pilot hole, or using a dull bit, forces the motor to draw too much current. This can cause intense, brief sparking. Continuous overload can lead to permanent damage.
The Fix: Use the right tool for the job. For heavy-duty tasks, ensure you’re using a powerful enough cordless drill from the start. Know when to use a hammer drill for masonry or an impact driver for long screws. Let the tool work at its own pace. Don’t force it. Keep your drill bits sharp. For driving screws into walls, proper technique is key, as outlined in our guide on how to use a drill for screws into a wall.
Troubleshooting: A Step-by-Step Diagnostic Guide
Follow this flow when you see sparks:
- STOP & UNPLUG: Immediately remove the battery.
- IDENTIFY SPARK LOCATION: Motor vents, battery area, or switch?
- CHECK THE SIMPLE STUFF FIRST: Is the battery fully seated and clean? Is the bit stuck or the drill overloaded?
- INSPECT BRUSHES: If sparks are from the motor, brushes are the first suspect. Check and replace if needed.
- INSPECT INTERNALS: If brushes are good, consider commutator cleaning. This requires disassembly.
- TEST WITH CARE: After any repair, test the drill with the battery, running at no load for a short time in a safe area.
- CONSULT A PROFESSIONAL: If the problem persists, or if you find damaged windings or complex wiring issues, seek professional repair. It’s cheaper than a new drill or a fire.
Prevention: How to Stop Sparking Before It Starts
Good habits keep your drill healthy.
- Perform Regular Checkups: Every few months, clean the exterior vents and battery contacts.
- Listen to Your Tool: Unusual noises, smells, or performance drops are early warnings.
- Use Quality Batteries and Chargers: Off-brand power sources can cause electrical issues.
- Store Properly: Keep your drill in a dry, cool place. Avoid moisture and dust.
- Understand Your Drill’s Limits: Knowing the difference between a drill and a hammer drill helps you choose the correct tool and avoid overloading.
Conclusion
Sparking in your cordless drill doesn’t have to mean the end of its life. Most often, it’s a simple maintenance issue like worn carbon brushes or a dirty commutator. By understanding the common reasons—from normal motor operation to dangerous electrical faults—you can diagnose the problem safely. Start with the easiest fixes: check the battery connection and inspect the brushes. Work your way up to cleaning the motor internals if you feel confident.
Remember, your safety is the top priority. If you see large sparks, smoke, or smell burning, stop immediately. If a repair seems beyond your skill level, there’s no shame in taking it to a professional technician. A well-maintained drill is a safe, reliable, and long-lasting partner for all your projects. Now that you know what to look for and how to fix it, you can tackle that sparking issue with confidence and get back to building what matters.
