
This cordless drill troubleshooting guide solves your power tool problems quickly. We cover battery issues, chuck jams, trigger failures, and performance fixes. Follow our step-by-step solutions to get your drill working in minutes.
Key Takeaways
- Battery problems cause most issues: Check charge level, contacts, and battery health first in any cordless drill troubleshooting.
- Prevent chuck problems: Clean the chuck regularly and tighten bits properly to avoid slippage and wobbling.
- Overheating is fixable: Let your drill cool down and clean vents to restore normal operation.
- Trigger issues are often simple: Check for debris and ensure proper connection before replacing the trigger.
- Regular maintenance prevents 80% of problems: Clean after each use and store batteries correctly.
- Know when to seek help: Motor and gearbox problems usually need professional repair.
Introduction: Your Complete Cordless Drill Troubleshooting Guide
Is your cordless drill acting up? You’re not alone. Most DIYers and pros face drill problems at some point. This cordless drill troubleshooting guide helps you diagnose and fix issues fast. We cover everything from dead batteries to motor failures. You’ll learn simple solutions that save time and money. No technical expertise needed. Let’s get your drill back to work.
Before we start, remember safety first. Always remove the battery before inspecting your drill. Wear safety glasses when testing. Keep your workspace clean and dry. These steps prevent accidents and make troubleshooting easier.
Step 1: Basic Power Checks
Most cordless drill problems start with power issues. Let’s check the basics first. This approach saves time and avoids complex fixes.
Visual guide about Cordless Drill Troubleshooting Guide Solve Issues Quickly
Image source: h2diamondtools.com
Check Your Battery Charge
Your battery might just be empty. Plug the charger in and wait 30 minutes. Most chargers show a light when charging. If the light doesn’t come on, try a different outlet. Test the battery in the drill after charging. If it still won’t start, move to the next step.
Watch for these signs of a bad battery:
– Won’t hold charge for more than an hour
– Feels hot during charging
– Shows corrosion on contacts
– Makes a clicking sound when inserted
For more help choosing replacements, check our guide on the best cordless drill batteries and models.
Inspect Battery Contacts
Battery contacts connect power to your drill. Dirt or corrosion breaks this connection. Remove the battery and look at the metal contacts inside the drill. They should be clean and shiny. If you see dirt or rust, clean them gently with a cotton swab and rubbing alcohol. Let them dry completely before reinserting the battery.
Also check the contacts on the battery itself. Wipe them clean with a dry cloth. Bent contacts need careful straightening with needle-nose pliers. Be gentle to avoid damage.
Test the Charger
A faulty charger won’t power your battery. Check the charger’s LED light. If it doesn’t turn on, the charger might be dead. Try charging another battery with the same charger. If that battery charges, your original battery is likely bad. If no batteries charge, replace the charger.
Look at the charger cord for damage. Frayed wires or bent plugs are fire hazards. Stop using damaged chargers immediately.
Step 2: Fix Performance Problems
Your drill turns on but doesn’t perform well? Let’s fix that. Performance issues make drilling frustrating and ineffective.
Visual guide about Cordless Drill Troubleshooting Guide Solve Issues Quickly
Image source: h2diamondtools.com
Weak Drilling Power
Several things cause weak power. First, check your drill bit. A dull bit needs sharpening or replacement. Second, test the drill on scrap wood. If it works well there, the problem is the material, not the tool.
Check for overheating. A hot motor reduces power. Let the drill cool for 15 minutes. Clean the air vents with compressed air. Blocked vents cause overheating and power loss.
Gear settings matter too. Your drill has speed settings. Low speed has more torque for big holes. High speed works for small screws. Using the wrong setting feels like weak power. Check your manual for proper settings.
Overheating Issues
Overheating stops your drill fast. Feel the motor housing after 2 minutes of use. If it’s too hot to touch, the drill is overheating. This usually happens from blocked vents or overuse.
Stop using the drill immediately. Let it cool for 30 minutes. Use compressed air to clean vents. Hold the can upright and spray in short bursts. Don’t let debris blow deeper inside.
Avoid overloading the drill. Let the tool do the work. Don’t push too hard. Use sharp bits. Dull bits make the motor work harder and overheat faster.
Strange Noises
Grinding, clicking, or squealing noises mean trouble. Turn off the drill right away. Strange sounds often come from the gearbox or motor.
Check for loose parts. Tighten all visible screws. Listen for the noise location. If it’s coming from the chuck, remove the bit and test again. If the noise continues, the gearbox might need lubrication or replacement.
Never ignore strange noises. They usually get worse and can damage your drill completely.
Step 3: Solve Chuck and Bit Problems
Chuck problems prevent proper bit use. A good chuck holds bits tight and centered. Let’s fix common chuck issues.
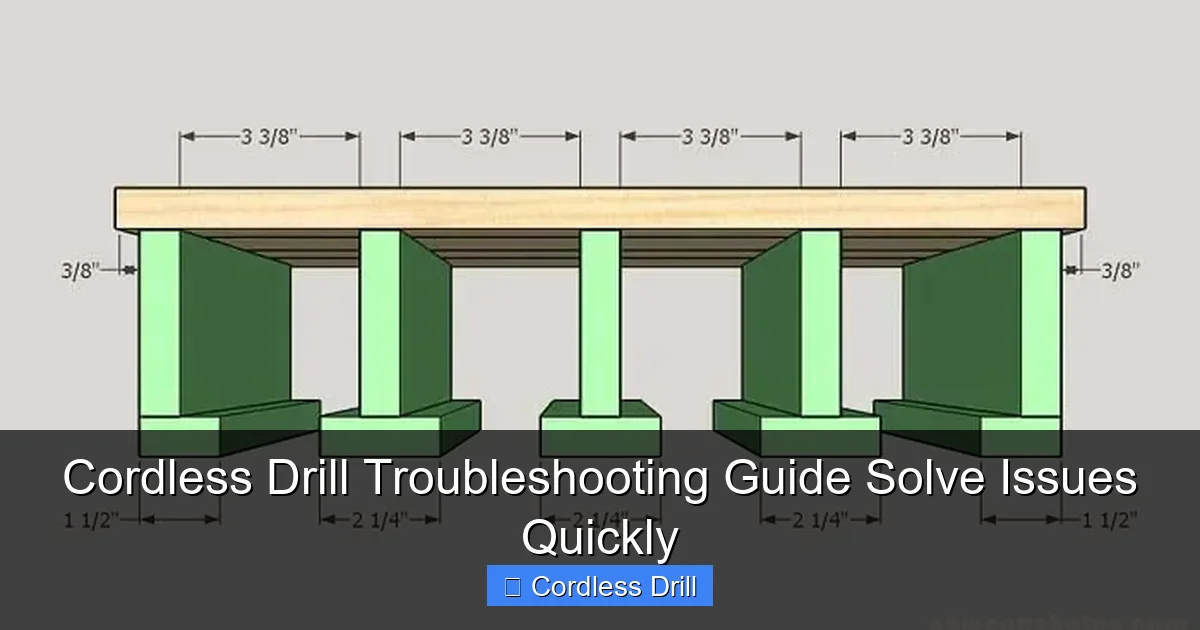
Visual guide about Cordless Drill Troubleshooting Guide Solve Issues Quickly
Image source: i1.wp.com
Bit Won’t Stay Tight
A slipping bit is dangerous and annoying. First, remove the bit and clean the chuck. Dirt inside the jaws prevents a tight grip. Use a brush and compressed air to clean.
Check the bit shank. It should be clean and undamaged. Rust or burrs prevent proper grip. Clean the shank with fine sandpaper.
Reinsert the bit and tighten the chuck. Most chucks tighten by hand. Hold the drill steady and turn the chuck clockwise. For keyed chucks, use the key to tighten each jaw evenly. Test the grip by pulling on the bit. It should not move.
Chuck Won’t Open or Close
A stuck chuck won’t accept bits. This usually happens from dirt or damage. First, try opening it by hand. Wear gloves for better grip. Turn the chuck counterclockwise to open.
If it won’t budge, clamp the drill in a vise. Protect the housing with soft jaws. Use a strap wrench on the chuck. Turn slowly and gently. Too much force breaks the chuck.
For keyed chucks, make sure the key is inserted correctly. A missing or wrong key prevents operation. If the chuck is damaged, replacement is the best option. Most chucks unscrew from the drill spindle.
Bit Wobbling
A wobbly bit makes crooked holes. Check if the bit is centered. Insert the bit and look at it spin. A wobble means the bit or chuck is bad.
First, remove and reinsert the bit. Make sure it’s seated fully. Tighten the chuck evenly. For three-jaw chucks, tighten each jaw a little at a time. This centers the bit better.
If wobbling continues, check the bit. A bent bit wobbles. Replace bent bits immediately. Also check the chuck for wear. Worn jaws don’t hold bits well. A new chuck solves this problem.
Step 4: Fix Trigger and Speed Control
The trigger controls your drill’s speed and direction. Problems here affect all operations. Let’s troubleshoot trigger issues.
Trigger Not Responding
Press the trigger and nothing happens? First, check the battery. A dead battery means no response. If the battery is good, look for debris around the trigger. Dirt and dust can jam it.
Remove the battery and inspect the trigger area. Use compressed air to blow out debris. Don’t use liquids. Let the drill dry completely before testing.
If the trigger feels loose or mushy, it might be disconnected internally. This needs disassembly. Most drills have a plastic housing held by screws. Remove the screws carefully and check the trigger connection. Reconnect any loose wires. If the trigger is damaged, replace it.
Speed Control Problems
Your drill only works at one speed? Or the speed changes randomly? This is a trigger or controller issue. First, test the variable speed. Press the trigger gently. The drill should start slow and speed up as you press harder.
If speed doesn’t change, the trigger sensor is faulty. This sensor tells the motor how fast to run. Replacement triggers are available online. Match the part number from your drill.
For two-speed drills, check the speed selector switch. This switch changes gear ranges. Make sure it’s fully engaged in low or high. A partially engaged switch causes problems. Clean around the switch with compressed air.
Forward/Reverse Not Working
The direction switch controls forward and reverse. If it won’t change direction, check its position. Make sure it’s fully pushed to the left or right. A centered switch won’t work.
Test both directions. If one works but not the other, the switch might be dirty. Remove the battery and clean around the switch. Use compressed air and a small brush.
If neither direction works, the motor might be stalled. Remove the bit and try again. A stuck bit can lock the motor. Also check for error codes. Some drills blink lights when there’s a problem.
Step 5: Advanced Cordless Drill Troubleshooting
Basic fixes didn’t work? Let’s try advanced troubleshooting. These steps need more skill. Take your time and be careful.
Motor Problems
A bad motor means no power. First, listen for a humming sound when you press the trigger. A hum means power is reaching the motor but it won’t turn. This could be a brush issue.
Most cordless drill motors have carbon brushes. These wear out over time. Remove the motor housing and inspect the brushes. Worn brushes are short and black. Replace them with new ones of the same size.
If there’s no hum and no movement, the motor might be dead. Test with a multimeter. Set it to ohms and touch the motor terminals. A reading of zero or infinite ohms means a bad motor. Motor replacement is expensive. Consider buying a new drill instead.
Gearbox Issues
The gearbox transfers power from motor to chuck. Problems here cause grinding noises and weak operation. First, check the gear setting. Make sure it’s fully engaged.
If gears grind when shifting, the clutch might be worn. The clutch slips under load. This feels like losing power. Test by drilling a small hole. If the clutch slips, the drill stops turning even with the trigger pressed.
Gearbox repair needs special tools. Most users replace the entire gearbox. This involves removing the chuck and motor. Follow a video tutorial for your specific model. Use the correct grease when reassembling.
Electrical Component Checks
Modern drills have electronic controllers. These manage speed, direction, and battery protection. A failed controller means no operation.
Look for burn marks or melted plastic on the controller board. A burnt smell means it’s dead. Controller replacement needs soldering skills. If you’re not comfortable with electronics, take the drill to a repair shop.
Check all wire connections. Vibration loosens wires over time. Look for frayed or broken wires. Solder and heat shrink tubing fix most wire problems.
Step 6: Preventive Maintenance Tips
Prevention beats repair every time. Good maintenance keeps your drill working for years. Let’s build good habits.
Regular Cleaning
Clean your drill after every use. Wipe the housing with a damp cloth. Dry it completely. Use compressed air on vents and chuck. This removes dust that causes problems.
Deep clean monthly. Remove the battery and chuck. Clean all parts with a brush. Use a degreaser on the gears. Reassemble with fresh grease. This takes 30 minutes but prevents hours of troubleshooting.
Battery Care
Battery health affects drill performance. Never drain batteries completely. Recharge when power drops to 20%. Store batteries at room temperature. Cold temperatures damage them.
Clean battery contacts monthly. Use a dry cloth or alcohol swab. Keep batteries in their case when not in use. This prevents short circuits.
For long storage, charge batteries to 50%. A full charge degrades batteries over time. Check stored batteries every 3 months. Recharge if they drop below 30%.
Proper Storage
Store your drill in a dry place. Moisture causes rust and electrical problems. Use the original case or a tool box. Keep bits organized in the case. This prevents loss and damage.
Hang the drill if possible. This keeps it off dirty floors. Store batteries separately from the drill. This prevents accidental activation.
Keep your drill away from extreme temperatures. Don’t leave it in a hot car or cold garage. Temperature extremes damage motors and batteries.
When to Seek Professional Help
Some problems need expert attention. Don’t risk your safety or waste money on DIY fixes that fail.
Call a repair shop if:
– The motor is burned out
– Gearbox replacement seems too complex
– Electronic controller needs replacement
– You smell burning plastic
– The drill sparked during use
Most manufacturers have authorized service centers. They offer warranties on repairs. Using non-authorized shops might void your drill’s warranty.
Consider replacement cost. If repair costs exceed 50% of a new drill’s price, buying new is smarter. Modern drills are more efficient and have better batteries.
For more information on choosing a new tool, read our guide on the best cordless drill models for different needs.
Conclusion: Your Drill Will Last Longer Now
You now have a complete cordless drill troubleshooting guide. Most problems are simple fixes. Check batteries first, then move to chuck and trigger issues. Regular maintenance prevents most problems. Clean your drill, care for batteries, and store properly.
Remember safety. Remove batteries before working on your drill. Wear eye protection. Don’t force parts. If a repair seems too hard, get professional help.
Your cordless drill is a valuable tool. With these tips, it will serve you for years. Keep this guide handy for quick reference. Share it with friends who have drill problems. Happy drilling!
Understanding the difference between tools also helps. If you’re unsure whether you need a drill or impact driver, check our comparison of impact driver vs hammer drill to make the right choice.
🎥 Related Video: Troubleshooting and Repair: Guide for Dewalt DCD796 18V Cordless #Brushless #Drill #Speed #Issue
📺 Power Tools Repair
Full video @powertoolsrepair https://youtu.be/xZskgmGjQcQ Troubleshooting and Repair: Guide for Dewalt DCD796 18V …
