
Unlock the full potential of your cordless drill with our expert guide. You’ll learn essential techniques, safety protocols, and pro tips for flawless drilling and driving every single time. Perfect results guaranteed.
Key Takeaways
- Know your drill: Understanding speed settings, torque control, and battery care is essential for success.
- Safety is non-negotiable: Always wear eye protection and secure your workpiece before starting.
- Match bits to materials: Using the right drill bit for wood, metal, or masonry prevents damage and ensures clean holes.
- Start slow: Begin drilling at low speed to create a pilot groove, then increase power gradually.
- Mind your battery: Proper charging and storage extend battery life and project runtime significantly.
- Let the tool work: Apply steady, moderate pressure. Forcing the drill causes bit breakage and poor results.
- Regular maintenance: Clean your drill after each use and store it properly for long-term reliability.
Introduction: Your Path to Cordless Drill Mastery
You’ve got a cordless drill in your hands. It looks simple enough. But hidden beneath that sleek exterior are features that can make or break your project. This guide unlocks every secret. You’ll learn exactly how to use your cordless drill for perfect results every single time. No more stripped screws. No more messy holes. Just professional-quality work.
We cover everything from unboxing to advanced techniques. Whether you’re hanging shelves or building a deck, these steps ensure success. Let’s get started.
1. Getting to Know Your Cordless Drill Components
The Essential Parts Every User Should Recognize
Before you pull the trigger, meet your tool. The chuck holds bits in place. Most cordless drills use a keyless chuck you can tighten by hand. The trigger controls speed. Light pressure equals slow speed. Full press delivers maximum power.
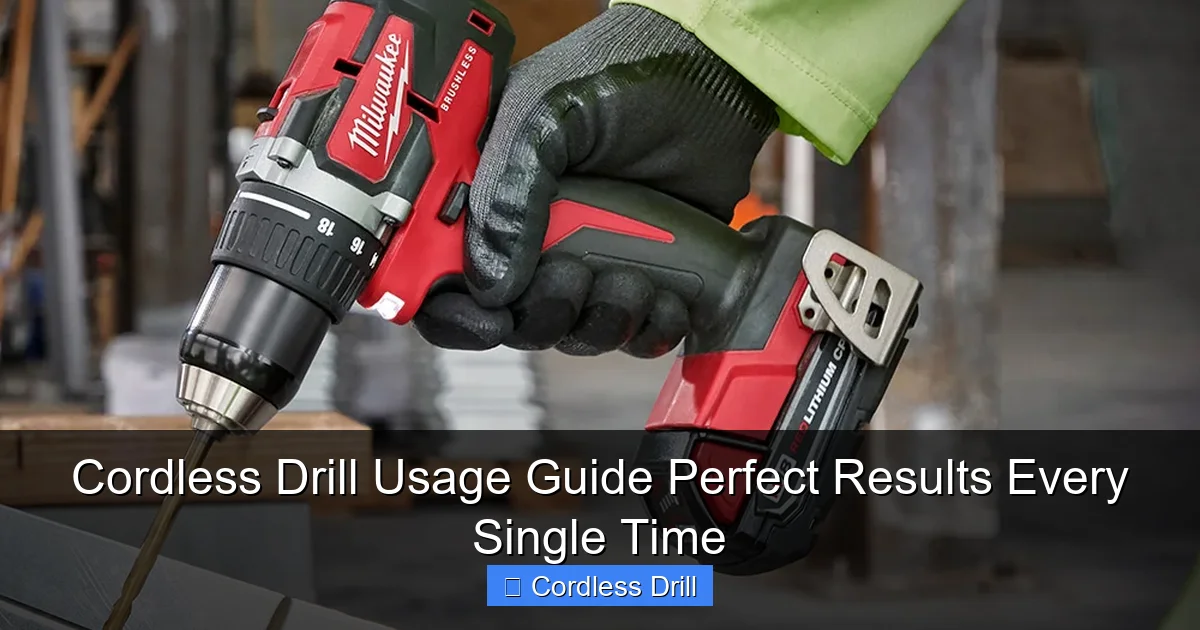
Visual guide about Cordless Drill Usage Guide Perfect Results Every Single Time
Image source: contentgrid.homedepot-static.com
Direction buttons let you drill forward or reverse. Forward drives screws in. Reverse removes them. The torque collar sits behind the chuck. This adjusts how much force the drill applies before stopping. It’s crucial for driving screws without stripping them.
The battery pack powers everything. Modern drills use lithium-ion batteries. They’re lightweight and hold charges well. Check the voltage rating. Higher voltage means more power for tough jobs. An 18V drill works for most home projects. For heavy-duty work, consider a best cordless drill with 20V or more.
Most drills have a built-in LED light. It illuminates your work area when you pull the trigger. This is a small feature that makes a huge difference in dim spaces.
2. Safety First: Protecting Yourself and Your Project
Personal Protective Equipment You Need
Safety goggles are mandatory. Flying debris can blind you. Even a tiny wood chip hurts eyes. Wear them every single time. No exceptions.

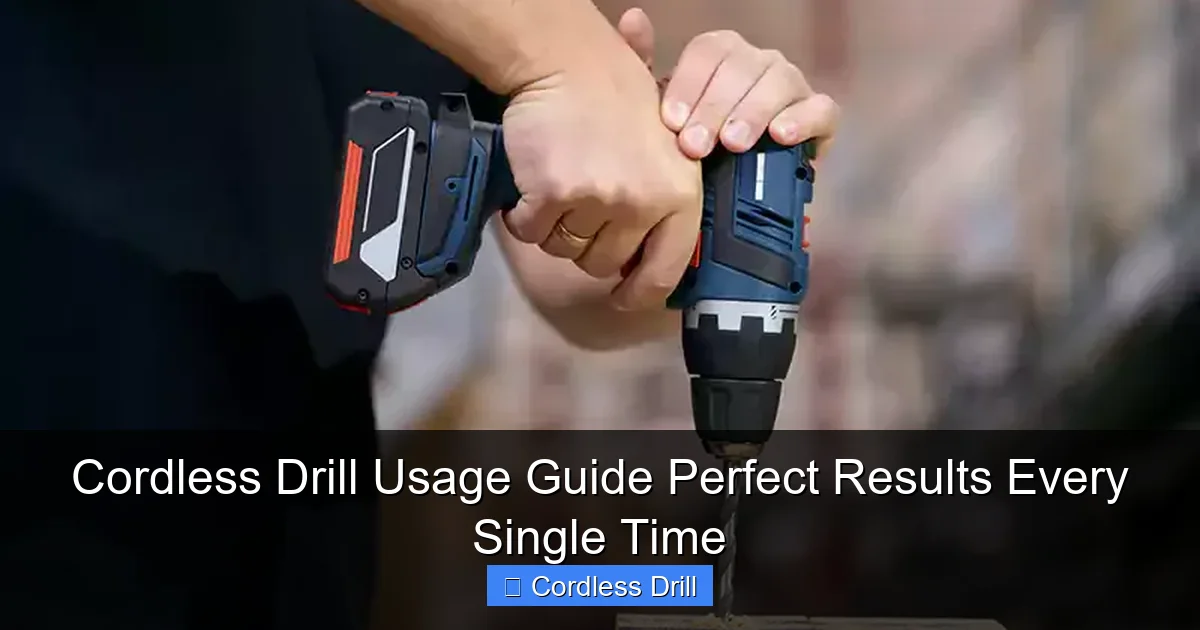
Visual guide about Cordless Drill Usage Guide Perfect Results Every Single Time
Image source: cf.shopee.sg
Work gloves protect your hands. But remove them when drilling small pieces. Gloves can get caught in rotating parts. Use your best judgment. A dust mask helps when drilling into masonry or old wood. You don’t want to breathe silica dust or old paint particles.
Secure your workpiece with clamps. Never hold small items with your fingers. Your drill can slip. This causes injury and ruins your project. A stable workbench or sawhorse is ideal.
Workspace Safety Checklist
- Clear the area of tripping hazards
- Ensure good lighting
- Keep children and pets away
- Check for hidden electrical wires
- Know your drill’s power cord location if using a hybrid model
Before drilling walls, use a stud finder. You need to know where electrical wires might hide. Drilling into a live wire is dangerous. It also ruins your drill bit.
3. Battery Power: Charging and Maintenance
Initial Battery Setup
New batteries arrive partially charged. Plug yours in overnight before first use. This “topping off” extends battery life. Use only the charger that came with your drill. Generic chargers can damage lithium-ion cells.
Visual guide about Cordless Drill Usage Guide Perfect Results Every Single Time
Image source: mydecorative.com
Listen for the click when inserting the battery. It should seat firmly on the drill base. A loose battery won’t power the tool properly. Remove the battery when not in use. This prevents accidental starts.
Maximizing Battery Life
Lithium-ion batteries hate extreme heat. Don’t leave them in your hot car or direct sunlight. Store them in a cool, dry place. Room temperature is perfect.
Drain the battery completely before recharging. This prevents memory effect. Many modern chargers have a conditioning mode. Use it monthly to balance the cells.
Carry a spare battery for big jobs. Swap them when one gets warm. Let each battery cool for five minutes before charging. This simple step adds years to battery life.
4. Selecting the Perfect Drill Bits
Understanding Bit Materials
High-speed steel (HSS) bits work for wood and metal. They’re affordable and durable. For masonry, you need carbide-tipped bits. These have a hard tungsten carbide tip that grinds through concrete.
Titanium-coated bits last longer. The coating reduces friction and heat. They’re great for repetitive drilling in metal. Diamond-tipped bits are for tile and glass. They’re expensive but necessary for clean holes in hard materials.
Matching Bits to Materials
Wood bits have a sharp point and wide flutes. They remove sawdust quickly. Use brad-point bits for precise holes in woodworking. For metal, use twist bits with a 118-degree point angle. Apply cutting fluid for holes larger than 1/4 inch.
Masonry bits look like twist bits with a flat, hard tip. They’re designed for hammer drills. If your cordless drill has a hammer function, use these for brick and concrete. For regular drilling without hammer action, they won’t work well.
Always match bit size to your pilot hole. A 1/8-inch bit works for most small screws. Larger projects need bigger bits. Keep a bit index organized. You’ll save time searching mid-project.
5. Setting Up for Perfect Results
Speed Control Explained
Low speed (0-500 RPM) is for driving screws. High speed (1,000-2,000 RPM) is for drilling holes. Your drill has a two-speed gearbox. Switch between them based on the job.
Start drilling at low speed to create a pilot groove. This prevents the bit from wandering. Once the hole is established, increase speed. For metal, use slower speeds than wood. Heat builds up quickly in metal. Slow speed reduces bit dulling.
Variable speed triggers give you precise control. Practice on scrap material first. Learn how much pressure equals what speed. This muscle memory makes perfect holes every time.
Torque Settings Demystified
Torque is rotational force. The collar has numbers from 1 to 20 plus a drill symbol. Lower numbers stop the drill sooner. This prevents stripping screw heads.
For soft wood, start at setting 3-5. Hard wood needs 6-8. Metal requires 2-4 because it’s easier to strip. Drywall screws need very low torque, around 2-3. The drill symbol is for actual drilling, not driving screws.
Test your setting on a scrap piece. Drive a screw until it’s flush. If it strips, lower the number. If it won’t drive fully, increase it. This one setting makes the biggest difference in your results.
6. Mastering Drilling Techniques
Drilling into Wood
Mark your spot with a pencil and awl. The awx creates a small dent for the bit to grip. Clamp the wood securely. Start at low speed, then increase. Apply steady pressure. Let the bit do the work. Don’t force it.
Back the bit out occasionally to clear sawdust. This prevents binding and overheating. For deep holes, use a depth stop. Most drills have an adjustable rod on the side. Set it to your desired depth.
Drill through the material in one smooth motion. Don’t stop halfway. Stopping can create a ragged hole. For plywood, place scrap wood behind it. This prevents tear-out on the backside.
Drilling into Metal
Metal needs a center punch mark. This prevents the bit from skating across the surface. Use a hammer and punch to make a small dimple. Secure the metal in a vise.
Start at very low speed. Apply cutting fluid for larger holes. This keeps the bit cool and extends its life. Use light, steady pressure. Too much force breaks bits.
Clear metal shavings frequently. They can clog the flutes and stop the drill. A magnet pick-up tool helps retrieve metal fragments from blind holes.
Drilling into Masonry
Only use the hammer function for masonry. Switch your drill to hammer mode. This combines rotation with a hammering action. It’s the only way to drill concrete effectively.
Hold the drill at a 90-degree angle. Start slowly to create a guide hole. Then increase speed and pressure. Let the hammer action do the work. Don’t push too hard. This overheats the motor and breaks bits.
Blow dust out of the hole frequently. Use a small brush or compressed air. Deep holes in concrete require patience. Work in short bursts to prevent motor burnout.
7. Driving Screws Like a Professional
Choosing the Right Driver Bit
Phillips bits come in #1, #2, and #3 sizes. #2 fits most wood screws. Use the exact size that matches your screw head. A loose fit strips the screw instantly.
Flathead bits are less common now. Square and Torx bits are gaining popularity. They provide better grip and less cam-out. Buy a multi-bit set with all common types.
Always insert the bit fully into the chuck. A shallow insertion causes wobbling and bit breakage. Tighten the chuck firmly by hand. Give it an extra twist with the provided tool if needed.
Perfect Screw Placement
Start screws by hand first. Turn them two or three threads into the material. This keeps them straight. Then engage the drill at the lowest speed.
Keep the drill perpendicular to the surface. Angled drilling creates oval holes and weak joints. Apply firm, steady pressure while driving. This keeps the bit seated in the screw head.
Stop when the screw is flush or slightly below the surface. Don’t overdrive. For finished surfaces, use the depth stop collar. Set it so screws sit just below the material. Fill the hole with wood filler later.
For wall applications, this technique is crucial. Learn more about how to use a drill for screws into a wall to avoid common mistakes like hitting studs at the wrong angle.
8. Troubleshooting Common Problems
Why Your Drill Isn’t Starting
Check the battery first. Is it charged? Does it click into place? Remove it and reinsert it firmly. Check for dirt on the battery contacts. Wipe them with a dry cloth.
If the battery is fine, inspect the trigger. Dirt can jam the switch. Compressed air can clean it. If the drill still doesn’t start, the motor brushes might be worn. This requires professional service.
For models with a safety switch, make sure it’s disengaged. Some drills have a lock-out button to prevent accidental starts. Read your manual to locate it.
Dealing with Stripped Screws
Rubber bands help. Place a wide rubber band over the screw head. Press your bit into the rubber. The added grip often catches enough material to turn the screw.
For severely stripped screws, use a screw extractor. Drill a small pilot hole into the screw center. Insert the extractor bit in reverse mode. It bites into the metal and backs the screw out.
Prevent stripping by always using the correct bit size and torque setting. Start screws at low speed until they’re seated. Then increase speed if needed.
Bit Slipping in Chuck
Clean the chuck interior. Old oil and debris prevent proper grip. Open the chuck fully and wipe it with a rag. Insert the bit and tighten in three stages. Open, tighten a little, open more, tighten more, then final tighten.
Check for worn chuck jaws. If they’re grooved or rounded, replace the chuck. A slipping chuck ruins your work and is dangerous.
9. Maintenance and Long-term Care
Cleaning Your Drill
Wipe down your drill after every use. Remove dust and debris from vents and chuck. Use a soft brush for stubborn grime. Never use water or solvents. These damage electrical components.
Clean the battery contacts monthly. Use a cotton swab and rubbing alcohol. Let it dry completely before reinserting the battery.
For heavy use, consider a blower brush. These remove dust from deep inside without disassembly. Keep your drill in its case when not in use. This prevents dust buildup.
Storage Best Practices
Store batteries at 40-50% charge. Full charge or complete discharge damages lithium-ion cells. Remove batteries from the drill for long-term storage.
Keep drills in a temperature-controlled area. Garages that get very hot or cold aren’t ideal. A closet in your home is better. Use silica gel packs in your tool case to control moisture.
Organize bits in a separate case. Don’t dump them loose in your drill box. They can damage the drill’s finish and get lost. A labeled bit index saves time on future projects.
Conclusion: Your Projects Await
You now have everything needed for cordless drill success. Practice these techniques on scrap material first. Muscle memory develops quickly. Within a few projects, you’ll work faster and more accurately.
Remember the key points: safety first, right bit for the material, proper torque settings, and regular maintenance. Your cordless drill is a precision tool. Treat it well and it will serve you for years.
Start with simple projects like hanging pictures or assembling furniture. As your confidence grows, tackle bigger jobs. Before you know it, you’ll be the go-to person for home repairs. Happy drilling!
🎥 Related Video: How to correctly lock your drill bit. *New Drills*
📺 Darrens DIY
Some don’t know about this on new drills.
