
This guide provides essential cordless drill waterproof tips to shield your valuable tool from moisture damage. You’ll learn how to assess your drill’s limits, apply protective measures, and adopt safe practices for working in damp environments. Following these steps can prevent costly repairs and extend your drill’s lifespan.
Key Takeaways
- Know Your Drill’s IP Rating: Understand the Ingress Protection (IP) code to know its official water and dust resistance limits before exposing it to any moisture.
- Prevention is the Best Protection: The most effective waterproofing is avoiding direct exposure. Use tarps, pop-up tents, and plan work around the weather whenever possible.
- Seal Vulnerable Points Proactively: Apply dielectric grease to battery contacts and use silicone sealant on casing seams to create a moisture barrier against splashes and humidity.
- Use Protective Gear: Employ simple, removable barriers like waterproof drill bags, plastic wrap, or balloon covers for the drill body to handle unexpected wet conditions.
- Prioritize Battery Safety: Batteries are the most sensitive component. Always store them in a dry, climate-controlled place and inspect them regularly for moisture or damage.
- Dry Thoroughly After Exposure: If your drill gets wet, immediate and complete drying with absorbent materials and airflow is crucial to prevent internal corrosion.
- Integrate Waterproofing into Routine Maintenance: Make moisture checks, seal inspections, and proper storage a regular part of your tool care habit for long-term protection.
Cordless Drill Waterproof Tips To Protect Your Tools
Your cordless drill is a powerhouse for DIY projects and professional jobs. But water is its silent enemy. A sudden rain shower, high humidity, or a damp worksite can lead to rust, electrical shorts, and a dead tool. Don’t let moisture cut your project short or kill your investment.
This guide is your complete resource for cordless drill waterproof tips. We’ll walk you through simple, effective strategies to protect your drill. You’ll learn how to prepare your tool, use it safely in risky conditions, and save it if it gets wet. Let’s keep your drill running smoothly for years to come.
Understanding Your Drill’s Limits: The IP Rating
Before you take any drill near water, you need to know its battle stats. This comes from its IP (Ingress Protection) rating. You’ll find this code, like “IP54,” in the manual or on the tool’s label.
Visual guide about Cordless Drill Waterproof Tips To Protect Your Tools
Image source: img.joomcdn.net
The first digit after “IP” refers to solid particle protection (like dust). The second digit is for liquid protection. For waterproofing, we care about that second number.
- IPX0: No protection. Keep it dry.
- IPX1 to IPX3: Protects against light drips and spraying water. Not for rain.
- IPX4: Splash-proof from all directions. Can handle a light shower.
- IPX5 and IPX6: Protected against water jets. Good for outdoor use in rain.
- IPX7 and IPX8: Submersible for short periods or constant immersion. Rare for drills.
Most standard cordless drills are IP54 or lower. This means they can handle splashes but are not designed for direct, heavy water exposure. Knowing this stops you from overestimating your tool’s ability.
Step 1: Prevention and Preparation
Your first line of defense is avoiding the problem altogether. Smart planning is a core cordless drill waterproof tip.
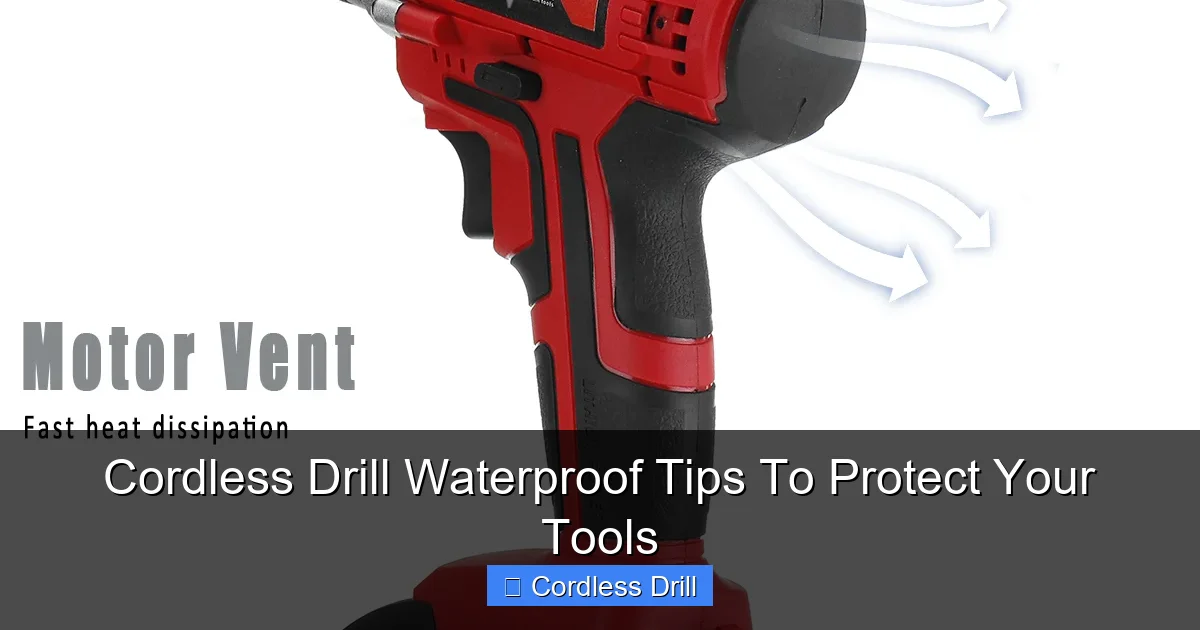
Visual guide about Cordless Drill Waterproof Tips To Protect Your Tools
Image source: imgaz.staticbg.com
Check the Weather and Plan Accordingly
Always check the forecast before starting an outdoor project. If rain is likely, postpone or have a solid shelter plan. This simple step saves more tools than any other.
Create a Dry Workspace
If you must work in damp conditions, create a dry zone. Use a pop-up canopy, a tarp hung overhead, or even work in an open garage. Keep your drill, batteries, and case under cover when not actively in your hand. This is also a great time to remember general worksite safety, like ensuring your ladder is on stable ground, which you can read about in our guide on essential safety tips for climbing ladders.
Use a Quality Tool Bag or Case
Store and transport your drill in a padded, water-resistant bag or a hard case with a rubber gasket. This protects it from accidental spills in your vehicle and overnight dew.
Step 2: Proactive Protective Measures
For times when prevention isn’t enough, a little preparation on the tool itself makes a huge difference.
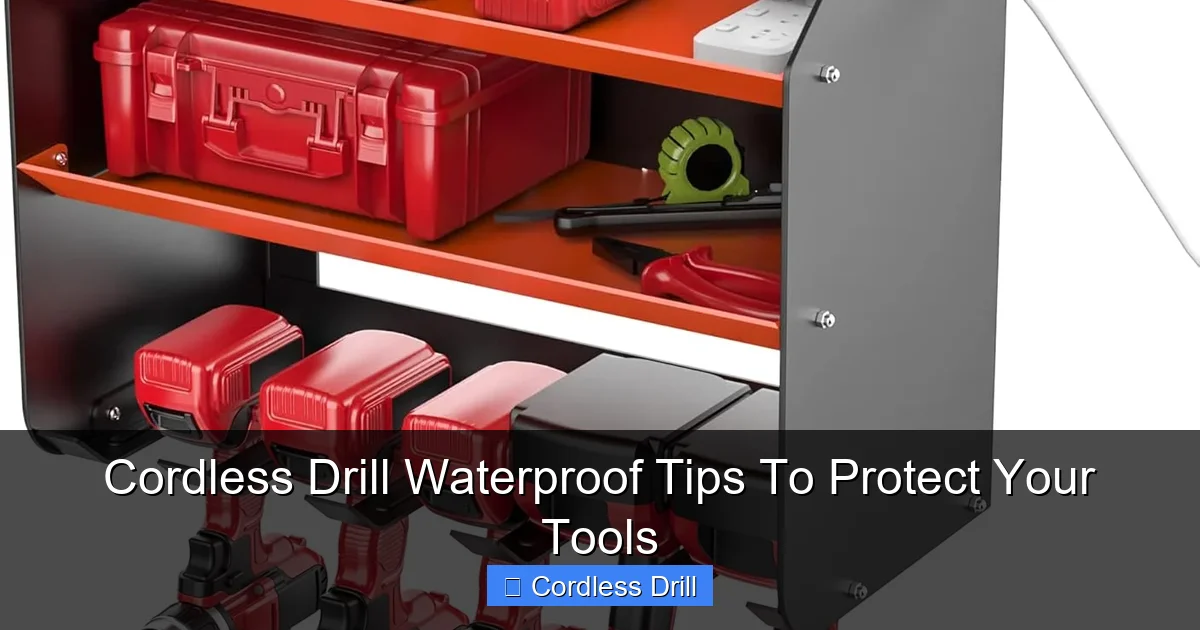
Visual guide about Cordless Drill Waterproof Tips To Protect Your Tools
Image source: m.media-amazon.com
Apply Dielectric Grease to Battery Contacts
This is one of the best cordless drill waterproof tips you can do. Dielectric grease is a non-conductive silicone grease.
- Disconnect the battery.
- Apply a very thin layer to the metal contacts on both the battery and the drill.
- Reconnect. This grease repels moisture, prevents corrosion, and still allows perfect electrical connection.
Seal Case Seams with Silicone Sealant
Inspect your drill’s body. Look for seams where the two halves of the housing meet. A tiny bead of clear, flexible silicone sealant along these seams (avoiding vents and moving parts) can block water ingress from splashes. Let it cure fully before use.
Protect the Chuck and Vents
While you can’t seal the chuck, you can keep it dry when stored. A small plastic bag secured with a rubber band over the chuck end works. For vents, never block them during use, but ensure the drill is stored in a way that prevents water from dripping directly into them.
Step 3: Using Your Drill in Damp Conditions
When you’re on the job and things are wet, these practical tips will keep you working safely.
Use a Waterproof Drill Bag or Sleeve
You can buy flexible, clear waterproof bags designed for drills. You insert the drill, seal the bag around the chuck, and your drill body stays dry while the bit works. It’s perfect for working in rain or very wet environments.
The DIY Plastic Wrap and Rubber Band Method
In a pinch, tightly wrap the body of your drill (except the chuck and trigger area) in plastic cling wrap. Secure it with rubber bands. It’s a cheap, effective barrier for short-term exposure to mist or spray. For a more focused task like driving screws in a damp wall, ensure you’re using the right technique, which you can master with our comprehensive guide on how to use a drill for screws into a wall.
Employ the “Balloon Trick”
Stretch a standard latex balloon over the drill body. Poke a hole for the chuck to come through. It forms a surprisingly tight, waterproof skin. Just ensure it doesn’t interfere with the trigger or vents.
Keep a Dry Towel Handy
Always have an absorbent towel nearby. Frequently wipe down the drill, your hands, and the work surface. This minimizes the amount of water that can find its way into the tool.
Step 4: Battery Care – The Most Critical Component
The battery is the heart of your cordless system and the most sensitive to water. If you’re investing in a top-tier tool, you want to protect its power source. This is especially true when choosing from the best cordless drill options available.
Never Submerge or Expose Batteries to Direct Water Flow
This should be obvious, but it’s worth stating. Even “water-resistant” drills rarely have waterproof batteries. Keep them dry at all costs.
Store Batteries in a Climate-Controlled Environment
Don’t leave batteries in a damp shed or a hot, humid truck. Store them in a dry, room-temperature place inside your home or shop. Use the original plastic cases to protect the contacts.
Inspect Contacts Regularly
Before charging, quickly check the battery contacts for any signs of moisture, dirt, or corrosion (a white or green powdery substance). Wipe contacts clean and dry with a soft cloth if needed.
Step 5: What To Do If Your Drill Gets Wet
Accidents happen. If your drill takes a plunge or gets soaked, don’t panic. Immediate action can save it.
Immediate Response: Remove Power and Dry
1. Remove the Battery Immediately. Do not press the trigger.
2. Shake Out Excess Water. Hold the drill firmly and shake it to eject water from vents and the chuck.
3. Disassemble What You Can. Remove the battery, and if comfortable, remove the drill bit.
4. Pat Dry with Towels. Use clean, dry towels to absorb all surface moisture.
The Detailed Drying Process
Surface drying isn’t enough. You need to pull moisture from inside.
Use Absorbent Materials: Bury the drill (with battery removed) in a container of uncooked rice or silica gel packets for 24-48 hours. These materials pull moisture from the air inside the tool.
Airflow is Key: Place the drill in a warm, dry area with good airflow, like near a fan (not a heater). Let it sit for several days.
Do NOT Use Heat Guns or Hair Dryers: Intense heat can melt internal plastics and warp components, causing more damage than the water.
Testing After a Water Incident
After at least 72 hours of drying, carefully reattach the battery. Listen for odd sounds, smell for burning, and watch for smoke. If anything seems off, disconnect immediately. It may need professional service.
Step 6: Long-Term Maintenance for Moisture Resistance
Make these checks part of your regular tool maintenance routine to ensure ongoing protection.
- Monthly Inspection: Check seals, look for cracks in the housing, and ensure vents are clear of debris.
- Re-apply Dielectric Grease: Every 6-12 months, or if you see corrosion, clean and re-grease the battery contacts.
- Proper Seasonal Storage: If storing tools for winter, clean them thoroughly, apply protective grease, and store in a sealed container with desiccant packs in a dry location.
Troubleshooting Common Water-Related Issues
Problem: Drill won’t start after getting damp.
Solution: Remove battery. Dry everything thoroughly for multiple days. Try a different, fully charged battery to rule out a battery issue.
Problem: Intermittent power or strange behavior.
Solution: This often points to internal corrosion or water in the switch. This requires disassembly by a professional technician.
Problem: Visible corrosion on battery terminals.
Solution: Disconnect battery. Clean terminals gently with a cotton swab and isopropyl alcohol. Let dry completely. Apply dielectric grease before reconnecting.
Conclusion
Protecting your cordless drill from water isn’t about finding a magic “waterproof” switch. It’s about a strategy of knowledge, prevention, and smart habits. By understanding your drill’s IP rating, taking simple steps like using dielectric grease and protective covers, and knowing how to react if it gets wet, you add years to its life.
Remember, your drill is a powerful ally in your projects. Treat it with care, and it will repay you with reliable performance, whether you’re building a deck in the sun or making quick repairs on a drizzly afternoon. Start applying these cordless drill waterproof tips today to safeguard your tool and your peace of mind.
