
This guide unlocks the power of your hammer drill’s clutch. You’ll learn what the clutch does, why it’s crucial for safety and control, and how to use its settings for tasks from driving screws into drywall to drilling into tough masonry. Mastering the clutch is the key to transforming from a basic user to an expert.
Does your hammer drill feel like an unpredictable beast? Do you live in fear of stripping screw heads or driving a screw right through a piece of wood? The secret to taming this powerful tool lies in a feature many overlook: the hammer drill clutch.
Think of the clutch as the smart brain of your drill. It’s the component that gives you expert-level control, turning a brute-force tool into a precise instrument. This guide is your key to unlocking that control. We’ll walk through everything, from “What is this dial with numbers?” to advanced techniques for flawless results. By the end, you’ll use your hammer drill clutch with the confidence of a pro.
Key Takeaways
- The Clutch is Your Control Center: It disengages the drill’s motor from the chuck when a set resistance is met, preventing damage to screws, bits, materials, and your wrist.
- Low Numbers for Delicate Work: Use low clutch settings (1-5) for driving small screws into soft materials like drywall or assembling furniture to avoid stripping.
- High Numbers for Heavy-Duty Tasks: Use high clutch settings (10+) for driving large screws into dense wood or when you need maximum torque before disengagement.
- The Drill Icon Bypasses the Clutch: Use the drill mode (often a drill bit icon) when you need consistent power for drilling holes, as the clutch is inactive in this setting.
- Start Low and Adjust Up: Always begin with a lower clutch setting and increase it until the screw is driven flush. This is the safest way to find the perfect setting.
- Hammer Mode is Separate: The clutch controls rotation torque. The hammer function (hammer icon) controls a percussive action for masonry and is used independently or combined with the drill mode.
- Maintenance is Simple: Keep your clutch mechanism clean and occasionally check for smooth operation to ensure reliable torque control for years to come.
What is a Hammer Drill Clutch and Why Does It Matter?
At its core, a drill clutch is a torque-limiting device. It sits between the motor and the chuck (where you insert the bit). When you’re driving a screw and it meets a certain resistance, the clutch “slips.” This means the motor keeps spinning, but the chuck and screw stop. You’ll hear a distinct clicking or ratcheting sound.
Why is this so important? Without a clutch, the drill would keep applying rotational force until something gives. That “something” is usually your screw head (stripped), your material (damaged), your drill bit (broken), or your wrist (strained). The clutch prevents all of this. It’s a crucial safety and precision feature, especially on powerful hammer drills. If you’re unsure about the fundamental differences that give a hammer drill its power, our guide on the difference between a hammer drill and regular drill explains it in detail.
Understanding Your Clutch Dial and Collar
Locate the adjustable ring or dial near the chuck of your drill. It will have numbers (1 through 10, 15, or 20+) and several icons.
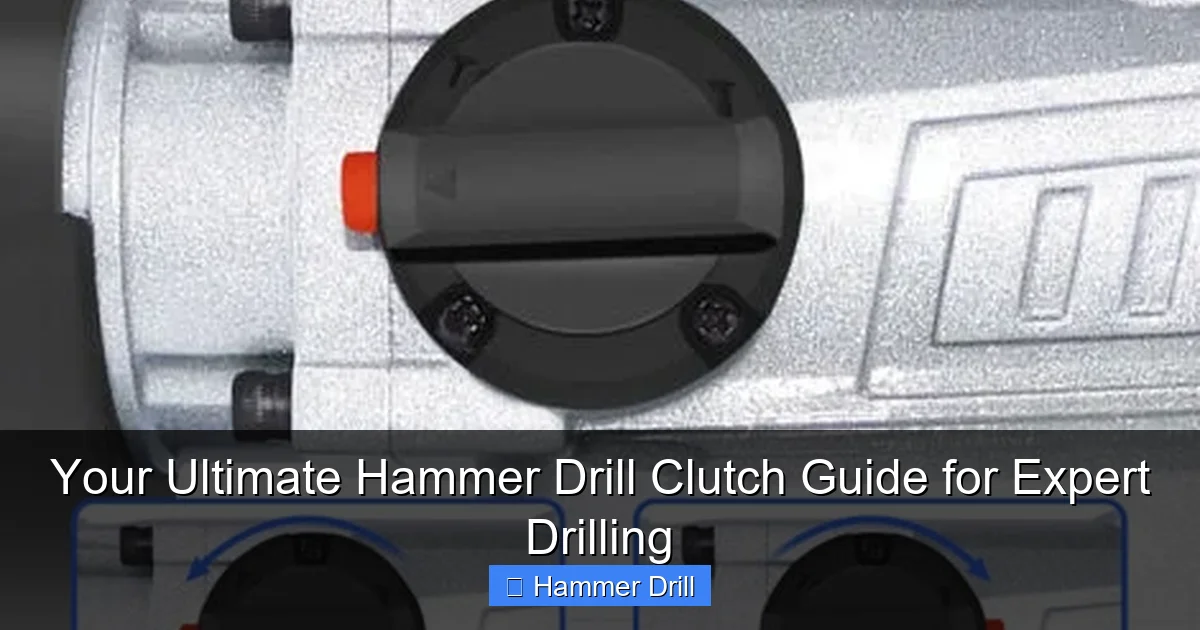
Visual guide about Your Ultimate Hammer Drill Clutch Guide for Expert Drilling
Image source: cdn.manomano.com
- The Numbers: These represent torque settings. 1 is the lowest torque (lightest clutch engagement), and the highest number is the maximum torque before the clutch slips. These are relative, not a unit of measure like Newton-meters, unless specified by the manufacturer.
- The Drill Icon (⚫/⚙️): This setting bypasses the clutch entirely. All power from the motor goes directly to the chuck. Use this for drilling holes in wood, metal, or masonry (when combined with hammer mode), where you need constant rotation power.
- The Hammer Icon (🔨): This activates the hammering/pounding action for breaking into concrete, brick, or stone. It is independent of the clutch. You often select Hammer mode, Drill mode, or a combination (Hammer+Drill) for masonry work.
Your Step-by-Step Guide to Using the Hammer Drill Clutch
Follow this process to achieve perfect, consistent results every time you drive a screw.
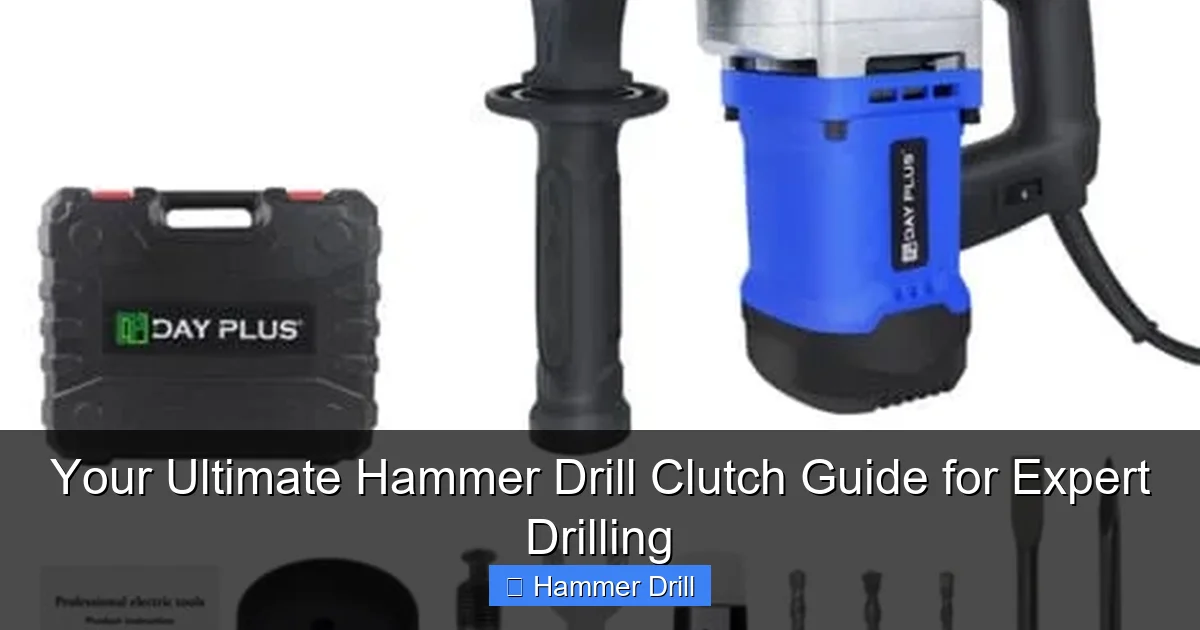
Visual guide about Your Ultimate Hammer Drill Clutch Guide for Expert Drilling
Image source: cdn.manomano.com
Step 1: Select the Right Bit and Mode
Before touching the clutch, ensure you have the correct bit securely locked in the chuck. For driving screws, use a driver bit that fits the screw head perfectly. A loose bit will cam out and strip the head regardless of your clutch setting. If your project involves mounting something on a wall, our comprehensive guide on how to use a drill for screws into a wall covers everything from finding studs to choosing anchors.
Rotate the collar so the drill icon aligns with the indicator arrow. This ensures you are in standard drilling mode with the clutch active. Do not use the hammer icon for driving screws.
Step 2: Start with a Low Clutch Setting
This is the golden rule. Turn the numbered dial to a low setting, like 3 or 4. It’s always safer to start too low than too high. You can’t “unstrip” a screw, but you can always add more torque.
Step 3: Perform a Test Drive
Drive your screw into a scrap piece of your actual material or an inconspicuous area. Apply firm, steady pressure and pull the trigger.
Step 4: Observe and Adjust
- If the clutch clicks and the screw stops before it’s flush: The setting is too low. Increase the clutch number by 1 or 2 and try again.
- If the screw drives flush and then the clutch clicks: Perfect! You’ve found the ideal setting for this screw and material combination. You can proceed with identical screws.
- If the screw drives too deep, strips, or you feel no clutch engagement: The setting is too high. Decrease the number immediately. If there’s no clicking even at the highest number, you may be in “drill” mode. Check your collar setting.
Step 5: Work Your Way Through the Project
With your ideal setting found, drive all identical screws. If you change screw size or material (e.g., from drywall to a stud), return to Step 2 and find the new optimal setting.
Clutch Setting Scenarios: A Practical Guide
Here’s a cheat sheet for where to start with your clutch dial:
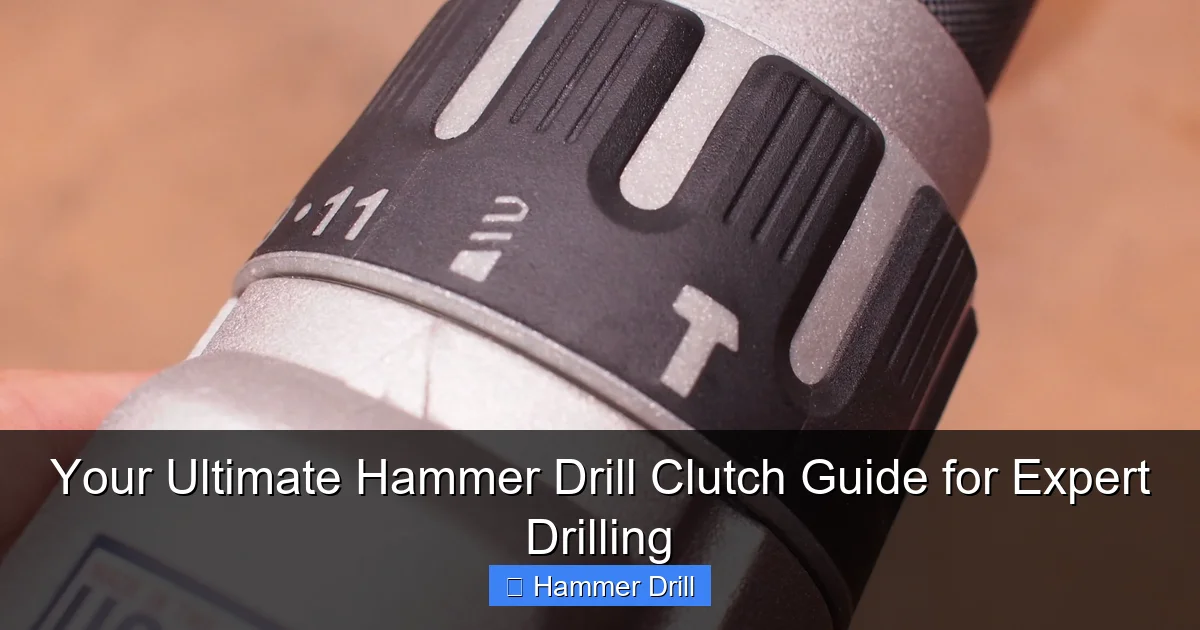
Visual guide about Your Ultimate Hammer Drill Clutch Guide for Expert Drilling
Image source: pop.h-cdn.co
- Setting 1-3: Assembling electronic enclosures, installing outlet covers, driving tiny screws into soft pine or drywall without anchors.
- Setting 4-7: General woodworking assembly, driving #8 or #10 screws into pine or plywood, installing cabinet hardware. This is a very common range for DIY tasks.
- Setting 8-12: Building a deck, driving large lag bolts or structural screws into hardwood or engineered lumber.
- Setting 13+ (Max): For the toughest jobs where you need all the torque your drill can muster before slipping, like driving large screws into very dense hardwoods. When you need this much rotational force, it’s important to know your tool’s full capabilities. For heavy-duty applications, choosing a powerful model from a list of the best cordless drill options can make all the difference.
- Drill Icon: Any time you are drilling a hole (with a twist bit, spade bit, hole saw, or masonry bit). Remember, for masonry, you often select both the Drill icon AND the Hammer icon.
Clutch vs. Hammer Mode: Clearing the Confusion
This is a major point of confusion. They control two completely different actions:
- Clutch (The Numbered Dial): Controls rotational force (torque). It decides how hard the drill twists before stopping.
- Hammer Mode (The Hammer Icon): Controls a forward pounding action. It makes the bit jab in and out rapidly while spinning, to chisel through brittle material like concrete.
You use the clutch for driving screws. You use hammer mode (often with the drill mode) for making holes in masonry. They can be used independently or together. For a deeper dive into how these functions compare to other tools, see our article explaining the difference between impact driver and hammer drill.
Troubleshooting Common Clutch Problems
Is your clutch not working as expected? Let’s fix it.
- Problem: The clutch clicks immediately, even on high settings, and won’t drive a screw.
Solution: You are likely in “reverse” (the 🔄 icon). The clutch works in reverse too! Switch the direction selector to forward (⬇️ icon). - Problem: No clicking sound on any setting; the drill acts like it’s in drill mode.
Solution: Double-check that the numbered dial is aligned with the indicator, not the drill icon. The mechanism may also be gummed up with dust. - Problem: Inconsistent clicking or slippage under light load.
Solution: Your clutch mechanism may be dirty or worn. Internal springs or plates can fail. Consider professional service. - Problem: The drill stalls instead of the clutch clicking.
Solution: The task may require more torque than your drill can produce. You are asking for more power than the motor’s maximum, so it bogs down. Use a lower gear (if equipped) or a more powerful tool.
Maintenance Tips for Your Drill’s Clutch
A little care goes a long way. After dusty jobs (like drilling concrete), blow out the front of the drill near the collar with compressed air. This prevents abrasive dust from getting into the clutch mechanism. Avoid dropping your drill, as impacts can misalign the internal clutch plates. Periodically, with the battery removed, rotate the clutch dial through all settings to feel for any grinding or stickiness. It should turn smoothly.
Conclusion: Drill with Confidence
Mastering your hammer drill clutch is what separates a novice from an expert. It’s not a mysterious complication—it’s your best friend for clean, safe, and professional-looking work. Remember the core principle: start low, test, and adjust up. Use the clutch numbers for control when driving fasteners, and use the drill/hammer modes for the raw power needed to make holes. With this knowledge, you’re no longer just operating a tool; you’re commanding it. Now go forth and drill with precision and confidence!
🎥 Related Video: The Most MISUNDERSTOOD Feature On Your Drill
📺 LRN2DIY
You know I love my drills… here are the ins and outs of your drill clutch- learn what not to do, and how to make the most of this …
