
Applying bone-crushing pressure is the cardinal hammer drill sin professionals avoid, as forcing the tool shatters bits, damages materials, and negates the hammer mechanism’s efficiency. Savvy users let the tool do the work with steady, moderate pressure while maintaining perfect bit alignment for clean, controlled holes every time. Mastering this fundamental technique prevents costly errors and ensures optimal performance from both drill and accessory.
I still remember the first time I tried to drill into concrete. I grabbed my regular drill, pushed hard, and ended up with a smoking motor and a headache. That’s when I learned why hammer drills exist—and why using one wrong can turn a simple project into a disaster.
Let me save you that frustration. After years of drilling holes in everything from brick to concrete, I’ve seen every mistake in the book. The good news? These errors are easy to avoid once you know what to watch for.
Key Takeaways
- Select the correct mode: Use hammer drill mode only for masonry, not wood or metal.
- Wear proper safety equipment: Always protect eyes, ears, and lungs from dust and debris.
- Let the tool do the work: Apply steady pressure without forcing it to prevent bit damage.
- Secure your workpiece: Clamp materials to avoid slipping and ensure precise drilling.
- Use sharp masonry bits: Dull bits overheat motors and create poor-quality holes.
- Check for hidden hazards: Locate electrical wires and pipes before drilling into walls.
- Maintain correct drilling angle: Hold the drill perpendicular to the surface for optimal results.
Why This Matters / Understanding the Problem
Here’s the thing about hammer drills: they’re incredibly powerful, but that power comes with a learning curve. I’ve watched DIYers crack walls, strip bits, and even damage their tools because they didn’t understand the basics.
The most common issue? People treat a hammer drill like a regular drill. But these tools work differently. That hammer action mechanism pounds the bit forward while it rotates, making it perfect for masonry but terrible for wood or metal if you use the wrong setting.
Understanding the difference between a drill and a hammer drill isn’t just technical—it’s the difference between a clean hole and a costly repair. When you know what makes these tools unique, you’ll avoid the hammer drill common mistakes that plague beginners.
Let’s talk about what you’re up against. Using too much pressure can shatter concrete. Wrong bits will overheat and break. Wrong settings can ruin your material. But once you know these pitfalls, you’ll drill like a pro.
What You Need
Before we dive into the steps, let’s gather our gear. You don’t need fancy equipment, but you do need the right basics.
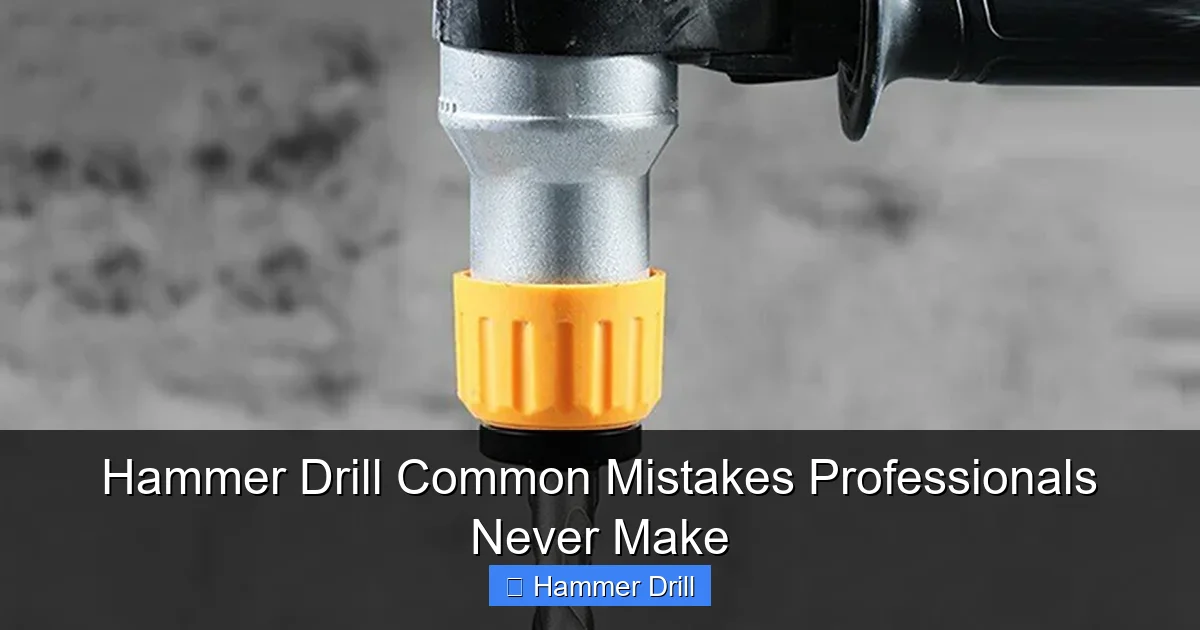
Visual guide about Hammer Drill Common Mistakes Professionals Never Make
Image source: coinchtools.com
- Hammer drill – Corded or cordless, 7-10 amps is ideal for most jobs
- Masonry drill bits – SDS or chuck-style with carbide tips
- Safety glasses – Non-negotiable, flying debris is no joke
- Dust mask – Concrete dust is nasty stuff
- Work gloves – Protect those hands
- Clamps or vice – To secure your workpiece
- Tape measure and pencil – For marking your hole
- Shop vacuum or brush – For cleanup
Optional but helpful: a center punch to make a starter divot, and a depth gauge if you’re drilling precise holes. If you’re in the market for a new drill, check out my guide to the best cordless drill options.
Step-by-Step Guide to Hammer Drill Common Mistakes Professionals Never Make
Now let’s walk through the exact process I use to avoid those costly errors. These steps will help you sidestep the hammer drill common mistakes that turn easy projects into nightmares.
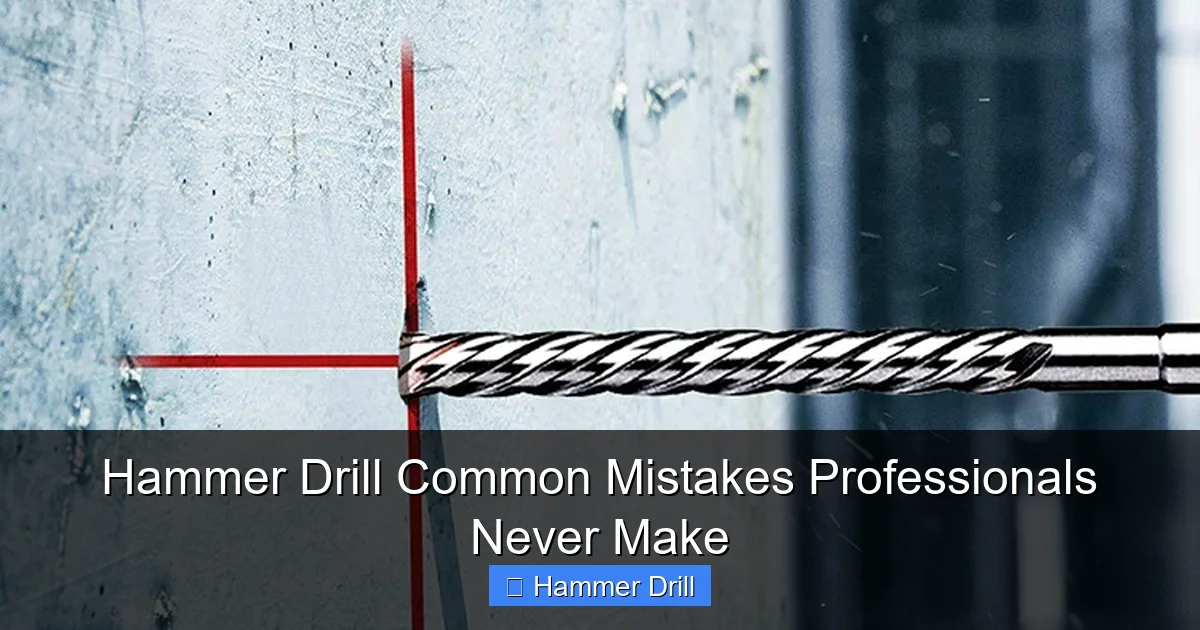
Visual guide about Hammer Drill Common Mistakes Professionals Never Make
Image source: coinchtools.com
Step 1: Choose the Right Drill Mode Every Single Time
This is mistake number one, and I’ve made it myself. That hammer mode switch looks innocent, but using it wrong ruins materials fast.
Most hammer drills have three settings: drill only, hammer drill, and sometimes hammer only. For concrete and masonry, you want hammer drill mode. For wood or metal, switch back to regular drill mode. It’s that simple.
Here’s what I do: before I even touch the trigger, I double-check the mode selector. I’ve drilled into wood with hammer mode on more than once—it creates a terrible, splintered mess. Save yourself the frustration and make this a habit.
Not sure which mode you need? Think about the material. If it’s rock-hard like concrete, brick, or stone, use hammer mode. Everything else? Regular drill mode works better.
Step 2: Match Your Drill Bit to the Material Exactly
Using the wrong bit is like trying to cut steak with a butter knife—it just won’t work, and you’ll damage both the bit and your project.
Masonry bits have carbide tips and flutes designed to remove dust while hammering. Regular twist bits will overheat and snap in concrete. I learned this the hard way when a $20 bit shattered and sent shards flying.
For concrete and brick, use carbide-tipped masonry bits. For stone, you might need a specialized bit. And always check that the bit shank matches your chuck type—SDS bits won’t fit a regular chuck.
Pro tip: if the bit feels wrong or makes a grinding noise, stop immediately. That’s your warning sign that you’ve got the wrong bit for the job.
Step 3: Apply Steady, Moderate Pressure—Let the Tool Do the Work
Here’s where ego gets in the way. We think pushing harder makes the hole faster. In reality, too much pressure can crack concrete, bend bits, and wear out your drill prematurely.
The right technique is surprisingly light. Apply firm, steady pressure—about what you’d use to hold a pencil. The hammer mechanism inside does 90% of the work. Your job is just to guide it straight.
I use the “two-handed hold” method: one hand on the handle, one on the side grip. This gives me control without excessive force. If the drill isn’t biting, you’re either using the wrong bit or the wrong mode—not applying enough pressure.
Watch for the dust. If it’s coming out in a steady stream, you’re good. If dust stops flowing, you’re either pushing too hard (pinning the bit) or going too slow.
Step 4: Secure Your Workpiece Like It’s Valuable
An unsecured workpiece is a dangerous workpiece. I once drilled into a loose brick that spun like a top, nearly taking my fingers with it. Not fun.
Always clamp your material down. For walls, make sure you’re drilling into solid framing, not just drywall. For floors, clear the area and make sure the surface won’t shift.
Here’s a trick I use: place a scrap piece of wood behind the drilling area. This prevents blowout on the backside and gives you a cleaner hole. It’s especially helpful for brittle materials.
If you’re drilling overhead, take extra precautions. Use a step ladder that’s stable, and never work alone if possible. Gravity works against you when bits get stuck.
Step 5: Master Speed and Trigger Control
That variable speed trigger isn’t just for show—it’s your precision control. Starting slow prevents the bit from walking off your mark. I always begin at the lowest speed until I have a good groove started.
For most masonry, medium speed works best. Too fast creates excess heat. Too slow reduces the hammering effectiveness. I aim for that sweet spot where the hammer clicks are steady and rhythmic.
When you hit rebar or a tough spot, ease off the trigger slightly. Don’t fight through it—this is how bits break. Instead, reposition slightly or switch to a smaller bit to go around the obstacle.
Remember: slow and steady wins the race. Rushing leads to mistakes, and mistakes lead to broken tools and ruined projects.
Step 6: Keep Your Bit Cool and Clean
Overheating is the silent killer of drill bits. I’ve seen bits turn blue from heat, which ruins the carbide tips instantly. The fix is simple: stop and let things cool down.
Every minute or so, pull the bit out and clear the dust from the hole. This does two things: it prevents dust buildup that can seize the bit, and it lets air circulate to cool everything down.
For deep holes, I use the “peck drilling” method. Drill for 2-3 seconds, pull out to clear dust, repeat. It feels slower, but you won’t have bits snapping off mid-hole.
Keep an eye on the bit temperature. If it’s too hot to touch, it’s too hot to use. Give it five minutes to cool, or run cold water over it if you’re in a hurry.
Step 7: Check for Hidden Hazards Before You Drill
This is where I sound like a broken record, but it’s saved me more times than I can count. Always check for wires, pipes, and studs before drilling.
Use a good stud finder with AC detection. For concrete walls, assume there’s rebar unless you know otherwise. Drilling into live wire is dangerous, and hitting rebar can ruin your bit.
I have a ritual: locate, mark, then double-check. I’ll even tap the wall to listen for changes in sound that might indicate hollow spots or obstructions.
If you’re unsure, drill a small pilot hole first. Better to make a tiny mistake than a huge one. And when in doubt, call a professional—your safety isn’t worth the risk.
Step 8: Maintain Your Chuck and Bits Regularly
A dirty chuck leads to wobbling bits, which leads to oversized, crooked holes. I clean my chuck every few months with a dedicated chuck brush and some degreaser.
Check your bits for wear. Dull carbide tips won’t cut effectively and will overheat faster. I keep a spare set so I never have to use a worn bit.
Store bits properly in a case or rack. Dropping them on the floor can chip the carbide tips, creating weak points that snap under pressure.
Finally, keep your drill’s air vents clear. Overheating the motor reduces its lifespan and power. A quick blast of compressed air every few months keeps things running cool.
Pro Tips & Common Mistakes to Avoid
After years of hammer drilling, I’ve developed some habits that separate good results from bad. Let me share what I’ve learned the hard way.

Visual guide about Hammer Drill Common Mistakes Professionals Never Make
Image source: i.pinimg.com
Mistake: Using hammer mode on wood. I did this trying to drill through a stud quickly. The result? A splintered mess that ruined the wood. Hammer mode is for masonry only. For wood, use regular drill mode with a wood bit.
Pro tip: Mark your depth. Use tape on the bit or the drill’s depth gauge. This prevents drilling too deep and hitting pipes or wires behind the wall. I’ve saved myself countless headaches with this simple trick.
Mistake: Ignoring dust buildup. Pushing through without clearing dust is how bits get stuck. I learned this when a bit seized so hard I had to cut the anchor out. Now I clear dust every 30 seconds.
Pro tip: Use a center punch. A small divot keeps the bit from walking. It takes two seconds and makes your holes perfectly accurate. I keep a punch in my pocket at all times.
Mistake: Wrong bit angle. Drilling at anything but 90 degrees creates oval holes and can break bits. Use a square or guide to keep things straight. I’ve made this mistake on overhead work—never again.
Pro tip: Start with a pilot hole. For deep holes, drill a small guide hole first. It centers your larger bit and prevents wandering. This is especially helpful for precision work.
Warning: Never force a hammer drill. If it’s not cutting, something is wrong—wrong bit, wrong mode, or you’ve hit steel. Forcing it damages the tool and can cause injury.
Understanding the difference between impact driver and hammer drill tools also helps. Impact drivers are for driving screws, not drilling masonry. Using the wrong tool is a fast track to frustration.
FAQs About Hammer Drill Common Mistakes Professionals Never Make
Q: Can I use a regular drill instead of a hammer drill for concrete?
A: You can try, but you’ll regret it. Regular drills aren’t designed for masonry. The motor will strain, bits will break, and you’ll waste time. For anything harder than soft brick, you need a hammer drill. It’s not worth the false economy.
Q: How much pressure should I apply when hammer drilling?
A: Less than you think. Apply enough pressure to keep the bit engaged—about 10-15 pounds of force. Let the hammer mechanism do the work. If you’re using your body weight to push, you’re using too much pressure.
Q: Why does my hammer drill smoke when drilling concrete?
A: Overheating from excessive speed or pressure. The motor or bit is working too hard. Stop immediately, let things cool, and check your technique. Use slower speeds and moderate pressure. If it continues, your drill may be failing.
Q: Can I use hammer drill bits in a regular drill?
A: Yes, but only in regular drill mode. Masonry bits will work in wood or metal, but they’re not optimal. The carbide tips are overkill and the flute design isn’t right for chip removal in non-masonry materials. Use the right bit for each job.
Q: How do I know if I’ve hit rebar?
A: The drill will suddenly slow down and make a grinding noise. You might feel vibration changes. Stop immediately—drilling into rebar ruins bits fast. Reposition your hole a few inches over. If you must drill through rebar, use a rebar-cutting bit specifically designed for that purpose.
Q: Should I use water to cool the bit?
A: Only if your drill and bit are designed for wet drilling. Most consumer hammer drills aren’t. Water can damage the motor and create electrical hazards. Dry drilling with proper pecking technique is safer and more effective for most DIY jobs.
Q: What’s the best speed for hammer drilling?
A: Medium-low speed is ideal. Around 500-1000 RPM works for most concrete drilling. High speeds create heat and wear out bits faster. Start slow to create your groove, then increase slightly. Let the hammer action do the work, not high RPM.
🎥 Related Video: How to repair Makita Drill | Makita HammerDrill Armature replace |Armature check #machine #hammer
📺 LMT TOOL, CHIRAWA
How to repair Makita Drill | Makita HammerDrill Armature replace |Armature check #machine #hammer Hammer Drill Machine …
Final Thoughts
Here’s the bottom line: hammer drills are simple tools that become complicated when we overthink them or ignore their basics. The hammer drill common mistakes professionals never make are all about respect—respect for the tool, the material, and your own safety.
Start with the right mode and bit. Apply light, steady pressure. Clear dust regularly. Check for hazards. These simple rules will transform your results from frustrating to fantastic.
Remember, every pro was once a beginner who took the time to learn the fundamentals. Don’t rush. Don’t force it. And when in doubt, stop and reassess. Your next hole—and your next project—will be better for it.
Now grab your drill, follow these steps, and drill with confidence. You’ve got this.
