
Learn how to use a hammer drill for concrete like a pro. This guide covers everything from choosing the right tool and bits to step-by-step drilling techniques. Perfect for DIY beginners, you’ll get safety tips and troubleshooting advice to ensure your concrete projects succeed every time.
Key Takeaways
- Choose the right hammer drill: Understand the difference between hammer drills and regular drills to select the proper tool for concrete work.
- Wear essential safety gear: Always use safety glasses, dust masks, and hearing protection when drilling concrete.
- Use proper masonry bits: Select carbide-tipped bits designed specifically for concrete and masonry.
- Master the drilling technique: Apply steady pressure at the correct angle and use the hammer function for effective concrete penetration.
- Control depth and speed: Start slow, then increase speed while monitoring depth for precise holes.
- Maintain your tools: Clean your hammer drill and bits after each use to extend their lifespan.
Introduction: Your Journey to Perfect Concrete Holes
Drilling into concrete seems intimidating. Many DIYers avoid concrete projects because they fear damaging walls or buying expensive tools. This fear stops you from installing shelves, mounting TVs, or hanging heavy decorations. But here’s the truth: drilling concrete becomes simple with the right knowledge and tools.
This complete hammer drill concrete guide removes the mystery. You’ll learn exactly how to choose, set up, and use a hammer drill for professional results. We cover safety, technique, troubleshooting, and maintenance. By the end, you’ll confidently tackle any concrete drilling project in your home.
No prior experience needed. Just follow our step-by-step instructions and you’ll drill perfect holes every single time.
Understanding Hammer Drills: How They Work
Before you touch a tool, understand what makes a hammer drill special. Regular drills spin only. Hammer drills spin AND hammer. This dual action is what breaks through tough concrete.
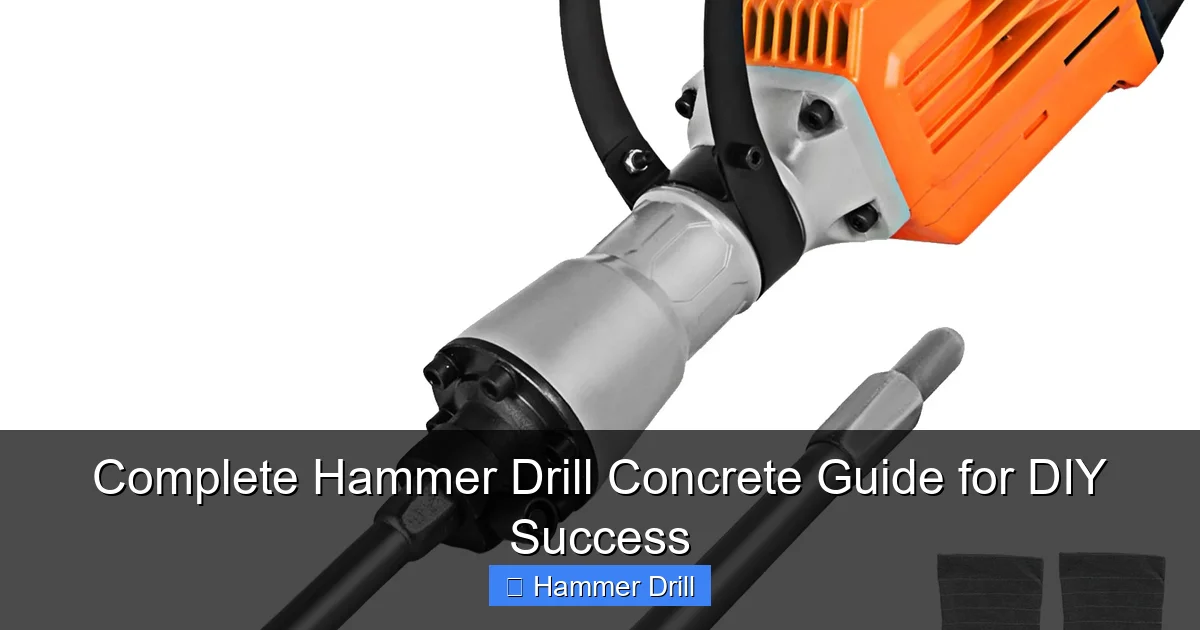
Visual guide about Complete Hammer Drill Concrete Guide for DIY Success
Image source: d2qc09rl1gfuof.cloudfront.net
How Hammer Drills Work
Hammer drills combine rotational force with a rapid back-and-forth hammering motion. Imagine a small hammer hitting the back of the drill bit thousands of times per minute while it spins. This pulverizes concrete as the bit cuts through it. The hammering action happens inside the drill mechanism, so you only feel the vibration.
Most hammer drills offer multiple modes. The “hammer drill” mode activates both spinning and hammering. The “drill” mode provides only spinning for wood or metal. Always use hammer mode for concrete.
Hammer Drill vs Regular Drill
Understanding the difference between a hammer drill and regular drill is crucial. A standard drill simply rotates. It works great for wood, drywall, and metal. But it will overheat and fail when you try to drill concrete. The hammer function provides the impact energy needed to fracture concrete.
Think of it like this: a regular drill is like a screwdriver. A hammer drill is like a screwdriver that also taps the screw with a hammer. That tapping action makes all the difference when working with brittle materials like concrete.
For a deeper comparison, check out our guide on the difference between a drill and a hammer drill. It covers all the technical details you need to know.
Impact Driver vs Hammer Drill
Many people confuse impact drivers with hammer drills. They both have impact actions, but they work differently. Impact drivers deliver impacts around the circumference of the bit. Hammer drills deliver impacts directly forward, into the material.
Impact drivers are best for driving screws and fasteners. Hammer drills are designed specifically for drilling holes in masonry. Using an impact driver for concrete drilling will likely damage the tool and produce poor results.
Learn more about the difference between impact driver and hammer drill to avoid tool confusion.
Essential Safety Gear: Protect Yourself First
Concrete drilling creates dust, noise, and flying debris. Skipping safety gear risks serious injury. Always wear protection before starting.
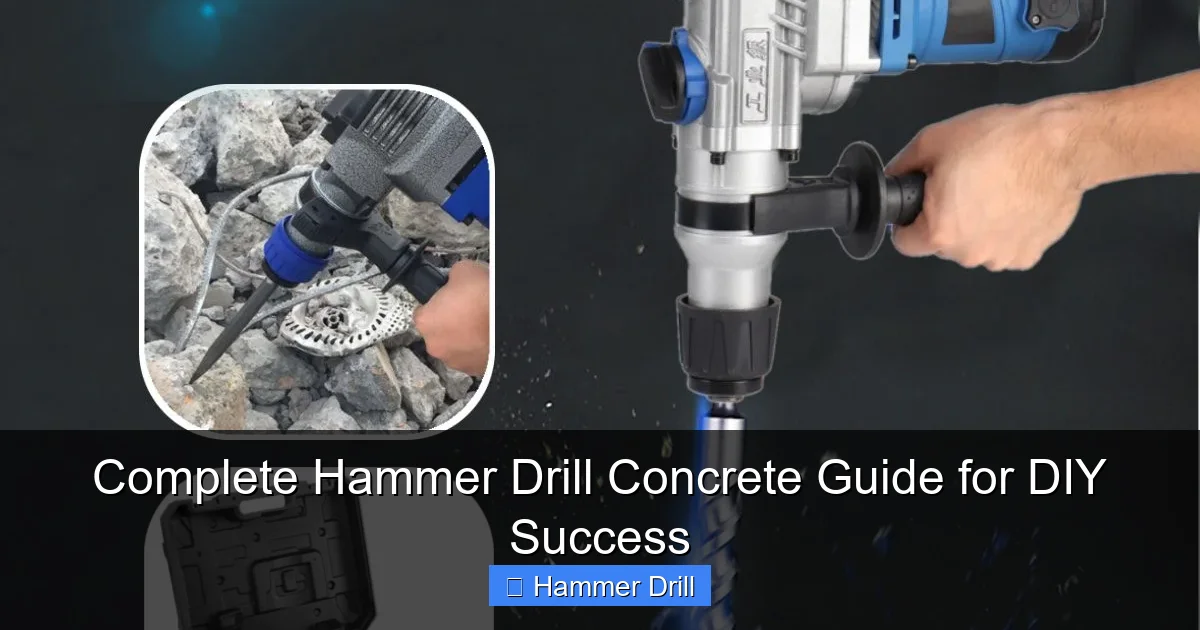
Visual guide about Complete Hammer Drill Concrete Guide for DIY Success
Image source: img.staticbg.com
Personal Protective Equipment
Safety glasses are non-negotiable. Concrete chips can fly into your eyes at high speed. Choose glasses with side shields for complete protection.
Dust masks prevent you from breathing concrete dust. Concrete contains silica, which can cause serious lung damage. Use at least an N95 respirator mask. For heavy drilling, upgrade to a P100 mask with replaceable filters.
Hearing protection is essential. Hammer drills can exceed 100 decibels. That’s louder than a chainsaw. Wear earplugs or earmuffs. For maximum protection, use both together.
Heavy gloves protect your hands from vibration and sharp edges. Choose padded work gloves that still allow good grip control.
Long sleeves and pants protect your skin from dust and debris. Concrete dust is alkaline and can cause skin irritation.
Workspace Safety
Clear the area around your drilling spot. Remove furniture, tools, and tripping hazards. Cover nearby objects with plastic sheeting to protect them from dust.
Check for hidden hazards before drilling. Use a stud finder with AC wire detection to locate electrical wires and pipes inside walls. Drilling into a live wire can be fatal. Drilling into a water pipe can cause flooding.
Ensure good lighting. You need to see your marks clearly. Use a work light if natural light is insufficient.
Keep a firm stance with feet shoulder-width apart. Maintain balance throughout the drilling process. This gives you control and reduces fatigue.
Choosing the Right Hammer Drill for Your Project
Not all hammer drills are equal. Choosing the wrong one leads to frustration and failed projects. Consider these factors before buying or renting.
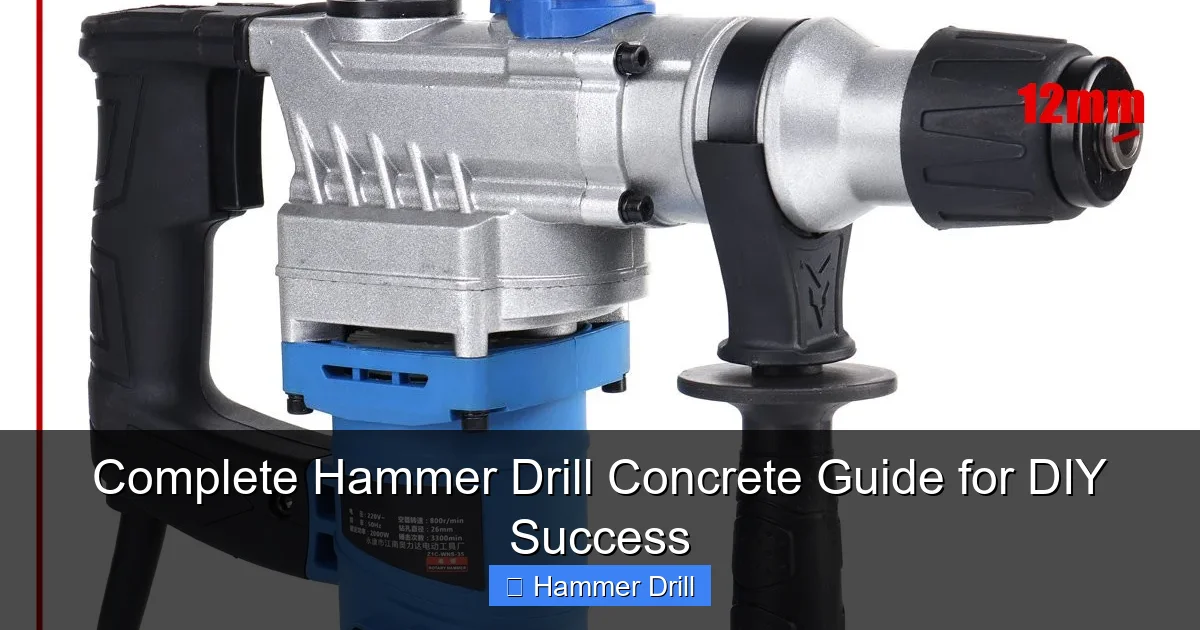
Visual guide about Complete Hammer Drill Concrete Guide for DIY Success
Image source: img.staticbg.com
Corded vs Cordless
Corded hammer drills provide constant power. You never wait for batteries to charge. They handle heavy-duty concrete work without slowing down. The downside is limited mobility and needing an outlet nearby.
Cordless hammer drills offer freedom of movement. Modern lithium-ion batteries provide impressive power. But battery life limits extended drilling sessions. You may need multiple batteries for large projects.
For occasional DIY use, a cordless model is convenient. For frequent concrete drilling or large projects, consider a corded drill. Check our best cordless drill guide for top recommendations.
Power and Performance
Look at these specifications when comparing models:
- Voltage: Cordless drills range from 12V to 20V. Higher voltage means more power. For concrete, 18V or 20V is ideal.
- Amps: Corded drills typically range from 5 to 10 amps. Higher amps handle tougher concrete.
- Impact rate: Measured in blows per minute (BPM). Higher BPM drills faster but creates more vibration.
- Chuck size: Most hammer drills use 1/2-inch chucks. This accepts larger bits for bigger holes.
For DIY concrete projects, a 6-amp corded drill or 18V cordless drill provides plenty of power without being overwhelming.
Additional Features
Variable speed control lets you adjust drilling speed. Start slow to create a guide mark, then increase speed.
Depth gauge helps you drill consistent hole depths. Essential for installing anchors or bolts.
Side handle reduces vibration and gives you better control. Most quality hammer drills include one.
LED light illuminates your work area. Very helpful when drilling in dark corners or inside cabinets.
Selecting the Correct Drill Bits: Masonry Bit Mastery
Using the wrong bit ruins your drill and damages concrete. Masonry bits are specifically designed for concrete, brick, and stone.
Masonry Bits Explained
Masonry bits have three key features that regular bits lack:
- Carbide tip: The hardened tip actually cuts the concrete. Usually made of tungsten carbide.
- Spiral flutes: These channels remove dust from the hole as you drill.
- Wider shank: Provides stability and prevents bending under pressure.
Never use regular wood or metal bits on concrete. They will dull instantly and likely break.
Size and Type Selection
Choose bit size based on your project needs:
- Small holes (1/4″ to 3/8″): For light-duty anchors and small screws.
- Medium holes (1/2″ to 5/8″): Most common for shelving brackets and curtain rods.
- Large holes (3/4″ and up): For pipe installations and large anchors.
For reinforced concrete with rebar, use bits specifically labeled for “rebar-cutting” or “SDS-plus” systems. These have tougher carbide tips.
Buy bits from reputable brands. Cheap bits dull quickly and can shatter. Look for sets that include the sizes you need most often.
Step-by-Step Concrete Drilling: Your Action Plan
Follow these steps for perfect holes every time. Practice on a scrap piece of concrete first if possible.
Marking Your Spot
Measure twice, drill once. Use a pencil or marker to make a clear dot where you want the hole. For better accuracy, place a small piece of masking tape over the spot. This prevents the drill bit from “walking” when you start.
Use a center punch or nail to create a small indentation at your mark. This gives the drill bit a place to start and improves accuracy. For tile-covered concrete, the indentation prevents tile cracking.
Setting Up the Drill
Insert the masonry bit into the chuck. Tighten it securely using the chuck key. A loose bit can slip or fall out during drilling.
Attach the side handle to the drill. This gives you better control and reduces vibration fatigue. Position it on the side that feels comfortable for your dominant hand.
Set the drill to hammer mode. This is usually marked with a hammer icon. Some drills have separate switches for hammer function. Consult your manual if unsure.
Adjust the depth gauge if your drill has one. Set it to the desired hole depth. This prevents drilling too deep and hitting pipes or wires behind the wall.
Drilling Technique
Position yourself comfortably with a firm stance. Hold the drill with both hands. Keep your arms slightly bent to absorb vibration.
Start with the drill bit at a 90-degree angle to the concrete surface. Apply light pressure and pull the trigger. Begin at low speed to create a small groove or pilot mark. This prevents the bit from wandering.
Once you have a starting groove, increase speed to medium. Apply steady, firm pressure. Let the drill do the work. Don’t force it. Excessive pressure can overheat the bit or damage the drill.
Pull the bit out every 10-15 seconds to clear dust from the hole. This prevents clogging and overheating. You’ll hear the drill sound change when dust builds up.
Continue drilling until you reach your desired depth. Keep the drill perpendicular to the surface throughout. Drilling at an angle creates an oval hole and weakens your anchor.
Depth Control
For through-holes (drilling completely through concrete), mark the bit with tape at your desired depth. This visual cue helps you stop at the right spot.
For blind holes (not going all the way through), use the depth gauge or marked tape. Counting rotations is another method. Most bits advance about 1/8″ per full rotation in concrete.
When you near your depth, reduce pressure slightly. This prevents the bit from breaking through unexpectedly and damaging the opposite side.
Advanced Techniques for Professional Results
These techniques handle challenging situations and improve your efficiency.
Drilling Into Reinforced Concrete
Reinforced concrete contains steel rebar. Hitting rebar can damage standard bits. If you encounter rebar, switch to a rebar-cutting bit or an SDS-plus system.
Drill slowly when you feel resistance. The carbide tip needs time to cut through steel. Apply steady pressure without forcing. If the bit gets stuck, reverse the drill direction slightly to free it.
Consider using a hammer drill with a “hammer only” mode for tough rebar encounters. This maximizes impact energy while minimizing rotation that can bind the bit.
Creating Multiple Holes
For evenly spaced holes, use a template. Cut a piece of cardboard or wood to your desired spacing. Mark through the template onto the concrete.
Drill the first hole as a reference. Then measure from that hole to place subsequent marks. This ensures accuracy even if your template moves.
For many holes in one area, work in a pattern that prevents stress concentration. Drill holes in a checkerboard pattern rather than all in a row. This prevents concrete cracking between holes.
Cleaning Up
After drilling, blow out dust using compressed air or a shop vacuum. Remove the loose dust first with a brush, then vacuum. Clean holes provide better anchor holding power.
Wipe the concrete surface around the hole with a damp cloth. This removes dust that can interfere with adhesives or anchors.
Clean your drill bit by brushing off concrete residue. Store bits in a protective case to prevent damage to the carbide tips.
Troubleshooting Common Issues
Even with proper technique, problems can occur. Here’s how to solve them.
Drill Not Making Progress
If your drill spins but doesn’t advance, the bit is likely dull. Stop drilling and inspect the carbide tip. If it’s rounded or chipped, replace the bit.
Another cause is insufficient pressure. Apply more steady force. But don’t lean on the drill excessively. Let the hammer mechanism work for you.
Check that you’re in hammer mode. If the hammer function isn’t engaging, the drill will just spin and overheat. Listen for the distinctive hammering sound.
Bit Getting Stuck
Bits can get stuck when drilling too deep too fast. Dust builds up and jams the flutes. Prevent this by pulling the bit out frequently to clear debris.
If a bit is stuck, don’t force it. Reverse the drill direction while gently wiggling the bit. This breaks up the dust plug. Apply penetrating oil around the bit if it’s really stuck, wait 10 minutes, then try again.
Never yank a stuck bit. You can damage the drill’s chuck or break the bit, creating a dangerous situation.
Excessive Vibration
Too much vibration makes drilling difficult and uncomfortable. It can also damage the drill. Worn or damaged bits cause excess vibration. Replace the bit if it’s bent or the tip is damaged.
Drilling at an angle creates uneven forces and increases vibration. Keep the drill perpendicular to the surface. Use the side handle to help stabilize the tool.
Some vibration is normal. But if it suddenly increases or becomes painful, stop drilling. Investigate the cause before continuing.
Maintenance and Care: Extend Your Tool’s Life
Proper maintenance keeps your hammer drill working for years. It also ensures consistent performance on every project.
Cleaning Your Drill
After each use, brush off concrete dust from the drill body. Pay special attention to vents and the chuck area. Use compressed air to blow dust out of hard-to-reach places.
Wipe the drill with a damp cloth to remove stubborn residue. Never use solvents that can damage plastic parts. Dry thoroughly before storage to prevent rust.
Check the chuck periodically. Remove the chuck and clean out dust and debris. Apply a small amount of lithium grease to the chuck mechanism to keep it operating smoothly.
Bit Maintenance
Clean masonry bits after each use. Brush off concrete residue with a wire brush. Soak bits in warm water if concrete has hardened on them. Never use solvents on carbide tips.
Inspect bits for damage. A chipped or rounded carbide tip won’t cut effectively. Replace damaged bits immediately. Dull bits overheat and can damage your drill.
Store bits in a protective case or organizer. This prevents damage to the tips and keeps them organized for easy selection.
Storage Tips
Store your hammer drill in a dry place. Moisture causes rust and electrical problems. Use the original case or a sturdy tool box.
Remove batteries from cordless drills before storage. This prevents battery drain and potential damage from leaking batteries.
Keep bits and accessories organized in the same case. This ensures you have everything you need for your next project.
Conclusion: You’re Ready to Drill Successfully
Drilling concrete doesn’t have to be scary or frustrating. You now have all the knowledge needed for successful concrete projects. Remember to prioritize safety, choose the right tools, and follow proper technique.
Start with a practice hole on scrap concrete if possible. This builds confidence and helps you get comfortable with your drill’s vibration and sound.
Take your time on the first few holes. Speed comes with experience. Focus on accuracy and proper technique. Soon you’ll be drilling like a professional.
Your hammer drill will handle any concrete project you tackle. From hanging shelves to installing security cameras, you’re now equipped for DIY success. Happy drilling!
🎥 Related Video: Drill Settings Guide: How to Choose the Right Setting For Your Project
📺 Georgina Bisby DIY
Choosing the right drill setting is crucial for a successful drilling project. This video explains how to select the correct setting based …
