
Transform your weekends with the power of a hammer drill. This guide unlocks exciting DIY projects, from building a garden trellis to creating mounted shelving, with clear, step-by-step instructions. You’ll learn essential techniques, safety tips, and how to choose the right materials to successfully tackle masonry and woodworking tasks.
Key Takeaways
- Master the Modes: Knowing when to use drill-only, hammer-only, or rotary hammer action is crucial for material safety and project success.
- Start with Simple Masonry: Beginner-friendly projects like a brick herb garden or concrete planter build confidence in handling concrete and brick.
- Your Drill is a Woodworker, Too: With the right bits and settings, a hammer drill can be used for precise joinery in projects like a sturdy workbench.
- Prep and Patience Prevent Problems: Proper marking, pilot holes, and starting at low speed are non-negotiable steps for clean, accurate, and safe results.
- Safety is the First Project: Always wear eye protection, a dust mask, and hearing protection. Secure your workpiece and understand your tool’s functions before starting.
- Bit Selection is Key: Using a masonry bit for concrete or a spade bit for wood is not a suggestion—it’s a requirement for efficiency and tool longevity.
Discover Fun Hammer Drill DIY Ideas for Weekend Projects
Is your hammer drill sitting in its case, waiting for the occasional picture hook? It’s time to unleash its full potential. This powerhouse tool is your ticket to a world of satisfying weekend projects that go far beyond basic drilling. It combines rotation with a pounding action, making it uniquely suited for tough materials like concrete, brick, and stone. But it’s also a capable ally in woodworking. This guide will walk you through several fun, achievable DIY ideas, complete with step-by-step instructions. You’ll gain the confidence to tackle masonry and complex builds, turning your house into a home, one project at a time.
Understanding Your Tool: The Hammer Drill Basics
Before we dive into projects, let’s ensure we’re speaking the same language. A hammer drill has a special mechanism that pushes the bit forward in rapid, short pulses while it spins. This “hammering” action is what cracks into masonry. Most models have a selector switch:
Visual guide about Discover Fun Hammer Drill DIY Ideas for Weekend Projects
Image source: i.ytimg.com
- Drill-only: Standard rotation for wood, metal, plastic.
- Hammer Drill: Rotation + hammering for concrete, brick, stone.
It’s vital to use the correct setting. Using hammer mode on wood will shred it. Using drill mode on concrete will burn out your bit and motor. If you’re ever unsure about how it differs from its cousins, our article on the difference between a hammer drill and regular drill clears up any confusion. For heavy, repetitive masonry work, you might graduate to a dedicated rotary hammer, but for most weekend tasks, a quality hammer drill is perfect. Consider a best cordless drill for maximum versatility and ease of movement on these projects.
Weekend Project 1: Rustic Brick or Concrete Block Herb Garden
Skill Level: Beginner
Core Skill: Drilling into masonry for drainage.
This project is a fantastic introduction to masonry work. It’s simple, practical, and teaches you how to handle brick or concrete blocks with confidence.
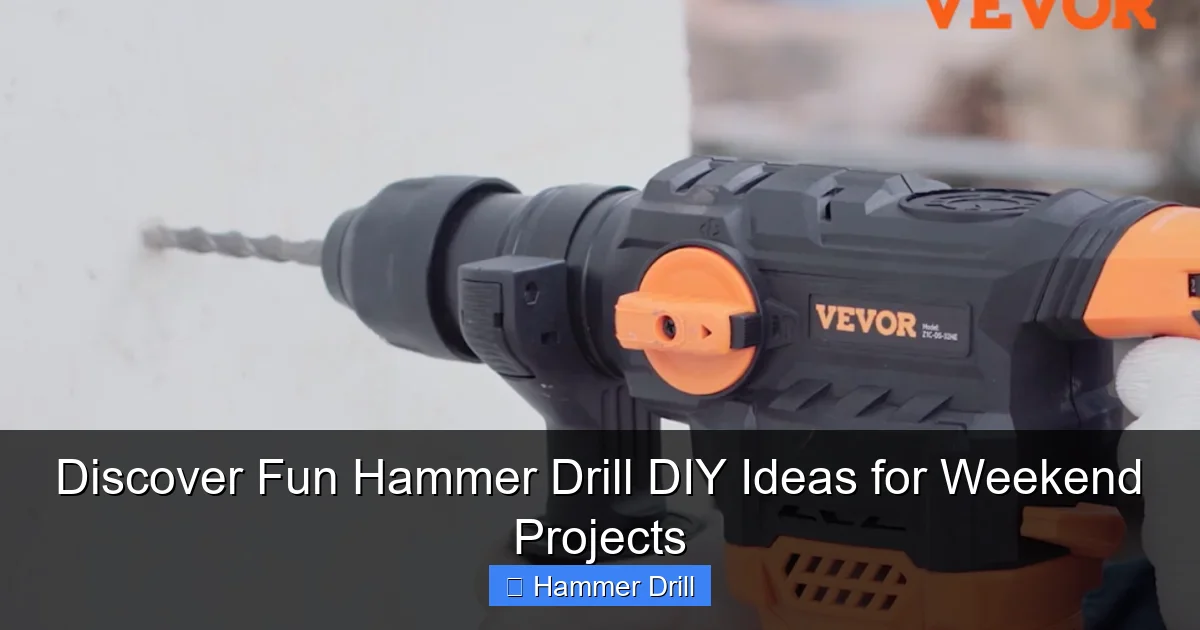
Visual guide about Discover Fun Hammer Drill DIY Ideas for Weekend Projects
Image source: diy-ideas.oss-accelerate.aliyuncs.com
Materials & Tools Needed:
- Concrete blocks or bricks (cinder blocks work great)
- Hammer drill
- Masonry drill bit (3/8″ or 1/2″ diameter)
- Safety glasses, dust mask, gloves
- Chalk or pencil
- Potting soil and herb plants
Step-by-Step Instructions:
Step 1: Plan and Mark. Lay your block or brick on a stable, flat surface. Decide where you want drainage holes. For a block, marking the center of each bottom compartment is ideal. Use chalk or a pencil to make clear dots.
Step 2: Secure and Drill. Put on your safety gear. Set your hammer drill to the hammer mode. Place the tip of the masonry bit on your mark. Hold the drill firmly, start at a slow speed to create a guide dent, then apply steady pressure. Don’t force it; let the tool do the work. Drill completely through the material.
Step 3: Clean and Assemble. Blow out the dust from the holes. Arrange your blocks or bricks in your desired pattern—a straight line, L-shape, or stacked pyramid. You can leave them loose or use construction adhesive for a permanent structure.
Step 4: Plant! Fill with potting soil and plant your favorite herbs or succulents.
Weekend Project 2: Mounted Wooden Wall Shelving with Masonry Anchors
Skill Level: Beginner to Intermediate
Core Skill: Installing heavy-duty anchors into brick or concrete walls.
Floating shelves are stylish, but mounting sturdy bracketed shelves into a masonry wall ensures they can hold serious weight, like books or kitchen supplies.
Visual guide about Discover Fun Hammer Drill DIY Ideas for Weekend Projects
Image source: i.ytimg.com
Materials & Tools Needed:
- Wooden shelf board (cut to size)
- Metal L-brackets (2 or more)
- Hammer drill
- Masonry drill bit (size matched to your anchors)
- Heavy-duty masonry anchors (like sleeve anchors or wedge anchors)
- Level, tape measure, pencil
- Wrench for tightening anchors
Step-by-Step Instructions:
Step 1: Find Studs or Go Masonry. If your wall is drywall over studs, you’d use a different technique. For brick or concrete, we’re anchoring directly into it. Hold your first bracket where you want it, use a level to make it straight, and mark the screw holes with a pencil.
Step 2: Drill Anchor Holes. With your hammer drill in hammer mode, drill holes at each mark to the depth and diameter specified by your anchor instructions. Vacuum out the holes to ensure a clean fit.
Step 3: Set the Anchors. Insert the anchor sleeves into the holes. Place the bracket over the holes, lining up the bolts. Tap the bolts gently to start them, then use your wrench to tighten them securely. The anchor will expand behind the wall, creating a rock-solid hold. Repeat for all brackets.
Step 4: Attach the Shelf. Place your wooden shelf on the brackets. From underneath, drill pilot holes up through the bracket into the wood, then secure with wood screws. For a deeper guide on securing to walls, see our comprehensive post on how to use a drill for screws into a wall.
Weekend Project 3: Build a Simple Garden Trellis
Skill Level: Intermediate
Core Skill: Wood joinery and securing structures into the ground.
Create a beautiful support for climbing peas, beans, or cucumbers. This project uses the hammer drill for both wood (drill mode) and potential ground anchoring (hammer mode).
Materials & Tools Needed:
- Wooden posts (4×4 or 2×2 for a smaller trellis)
- Lattice panel or thinner cross-pieces (1x2s)
- Hammer drill
- Spade bit or wood drill bits
- Exterior wood screws
- Post hole digger (optional)
- Quick-setting concrete (optional, for permanent install)
Step-by-Step Instructions:
Step 1: Build the Frame. Construct a simple rectangular frame from your posts. Lay it on a flat surface. Where cross-pieces or lattice will attach, mark your screw points. Switch your hammer drill to drill-only mode. Drill pilot holes to prevent the wood from splitting.
Step 2: Assemble. Screw the cross-pieces or lattice securely to the frame using exterior screws.
Step 3: Install. For a temporary seasonal trellis, you can simply push the legs into soft soil. For a permanent fixture, dig post holes. If you need to drill into hard, rocky soil at the bottom of the hole to set the post, you can use your hammer drill with a long masonry bit. Set the posts, check for level, and backfill with soil or concrete.
Weekend Project 4: Custom Concrete Planter or Stepping Stone
Skill Level: Intermediate
Core Skill: Drilling precise, clean holes in cured concrete.
Buying concrete forms is easy, but customizing them adds a personal touch. Drilling a drainage hole or creating a pattern requires a steady hand.
Materials & Tools Needed:
- Pre-cast concrete planter or stepping stone
- Hammer drill
- Diamond-tipped hole saw or core bit (for large holes) / Masonry bit (for small holes)
- Spray bottle with water
- Clamp or stable work surface
Step-by-Step Instructions:
Step 1: Mark and Secure. Clearly mark where you want the hole. Clamp the concrete item firmly. Never hold it between your knees.
Step 2: Drill with Care. Put on all safety gear—concrete dust is nasty. Start your hammer drill on a low speed in hammer mode. Use the spray bottle to keep the bit and drilling area wet. This reduces dust, cools the bit, and prevents the concrete from cracking. Apply light, consistent pressure.
Step 3: Finish and Clean. Once the hole is through, clean the piece thoroughly with water to remove all dust residue before planting or placing it in your garden.
Hammer Drill DIY Troubleshooting & Pro Tips
Even with the best plans, you might hit a snag. Here’s how to handle common issues.
- The drill isn’t biting / just spinning: You’re likely in drill-only mode on masonry. Stop! Check and switch to hammer mode. Also, ensure you’re using a sharp masonry bit.
- Excessive vibration or grabbing: You might be applying too much side pressure, or the bit is jammed. Keep the drill straight. If it grabs in wood, you’re likely using a spade bit at too high a speed; start slower.
- Overheating drill or bit: You’re pushing too hard. Ease up. For masonry, pull the bit out occasionally to clear dust. For metal or wood, use a cutting lubricant or simply go slower.
- Hole is too big for anchor: The anchor is now useless. You have two options: 1) Use a larger anchor designed for that hole size. 2) Fill the hole with epoxy or anchor cement, let it set, and drill a new, correctly-sized hole in the hardened filler.
- Cracking brick or concrete: This can happen from too much pressure, a dull bit, or drilling too close to an edge. Always start at low speed, use a sharp bit, and stay at least 1-2 inches from any edge.
Pro Tip Collection:
- Use a center punch to make a small dent on metal or masonry before drilling. It stops the bit from “walking.”
- When drilling deep holes in masonry, mark your desired depth on the bit with tape so you know when to stop.
- Keep a dedicated set of bits for masonry. Using them on metal or wood will ruin the carbide tip.
- Let the tool work. Your job is to guide it and control the speed, not to muscle it through.
Conclusion: Your DIY Journey Starts Now
Your hammer drill is more than a tool for hanging blinds; it’s a key that unlocks durable, professional-looking projects around your home. You’ve learned to build gardens, mount shelves, create structures, and customize hard materials. Remember, success lies in understanding your tool’s functions, respecting the material you’re working with, and prioritizing safety above all else. Start with the brick herb garden to build confidence, then work your way up to that wall shelving unit. Each completed project will add skill to your hands and beauty to your space. So, pick a project, grab your safety glasses, and have a productive, fun DIY weekend!
