
This guide unlocks the secrets to maximizing your hammer drill’s power and lifespan. You will learn how to choose the perfect bit, set the ideal speed and torque, apply expert drilling technique, and perform essential maintenance. Follow these hammer drill efficiency tips to complete projects faster, with less effort, and protect your valuable tool.
Key Takeaways
- Match the Bit to the Material: Using a masonry bit for concrete or a wood bit for timber is non-negotiable for speed, clean holes, and bit longevity.
- Let the Tool Do the Work: Apply steady, moderate pressure. Excessive force can stall the drill, overheat the motor, and dull bits prematurely.
- Master the Settings: Understanding when to use drill-only, hammer-only, or hammer-drill mode, along with correct speed and clutch settings, is key to control and efficiency.
- Maintenance is Non-Optional: Regular cleaning, chuck inspection, and proper battery care (for cordless models) prevent failures and ensure peak performance.
- Sharp Bits are Everything: A dull bit requires more power, creates excess heat, and drastically slows progress. Inspect and replace bits at the first sign of wear.
- Safety Enables Efficiency: Proper PPE, secure workpieces, and using accessories like a mobile ladder with handrails safely prevent accidents that halt productivity.
Boost Your Hammer Drill Efficiency Tips Today
Does your hammer drill feel slow? Do you struggle with stuck bits or burned-out motors? You are not alone. Many DIYers and pros miss out on their tool’s full potential. A hammer drill is a powerhouse, but using it wrong wastes time and energy. It can even break your tool.
This guide is your solution. We will walk through simple, actionable hammer drill efficiency tips. You will learn to drill faster, cleaner, and with less strain. We cover everything from choosing a bit to advanced technique. Let’s turn your hammer drill into a precision tool that saves the day.
Understanding Your Hammer Drill’s Power
First, know your tool. A hammer drill combines two actions. The motor spins the bit. A hammering mechanism pounds it forward. This punch-spin motion crushes masonry. It is perfect for concrete, brick, and stone.
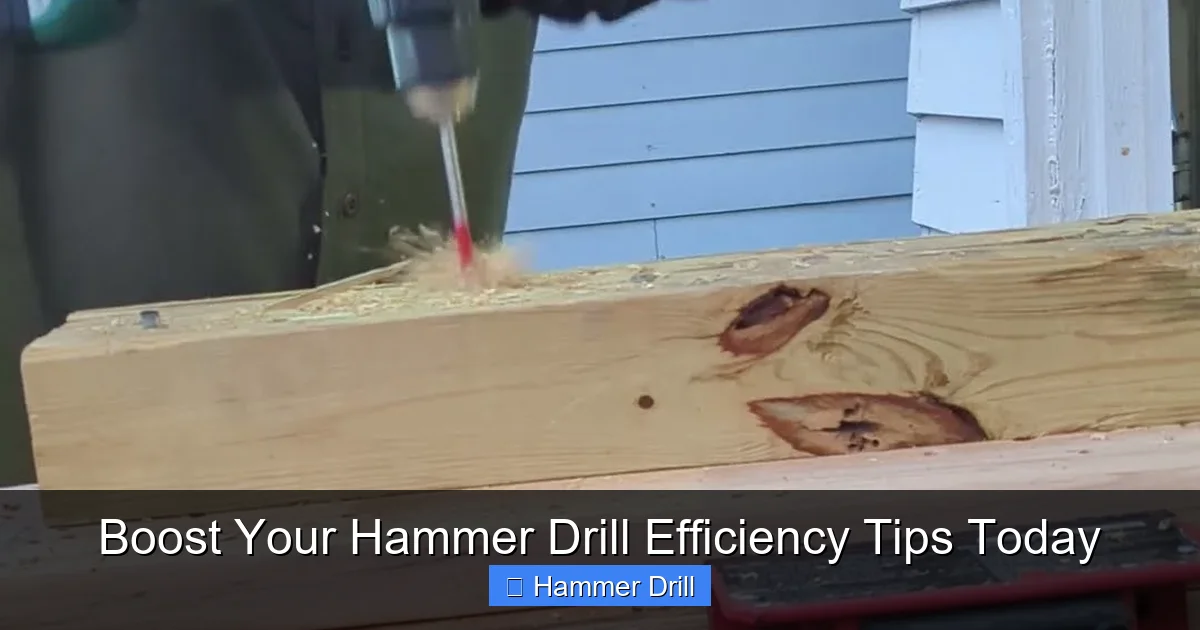
Visual guide about Boost Your Hammer Drill Efficiency Tips Today
Image source: i.ytimg.com
It is crucial to know this is not the same as an impact driver and hammer drill. An impact driver delivers rotational force for driving screws. A hammer drill delivers impacts for drilling. Using the wrong tool for the job is the first efficiency killer.
Also, know if you have a corded or cordless model. Corded offers constant power. Cordless offers unmatched freedom. For the best cordless drill power, look for high-voltage batteries (18V or more) and brushless motors.
The Three Essential Modes
- Drill Mode (Symbol: drill bit): Spinning only. Use this for wood, metal, or driving screws.
- Hammer Mode (Symbol: hammer): Hammering action only. Rarely used, sometimes for light chiseling.
- Hammer-Drill Mode (Symbol: drill bit + hammer): The main event. Spinning and hammering together for masonry.
Picking the right mode is your first efficiency win.
Step 1: Preparation – The Foundation of Efficiency
Great results start before you pull the trigger. Rushing leads to mistakes.
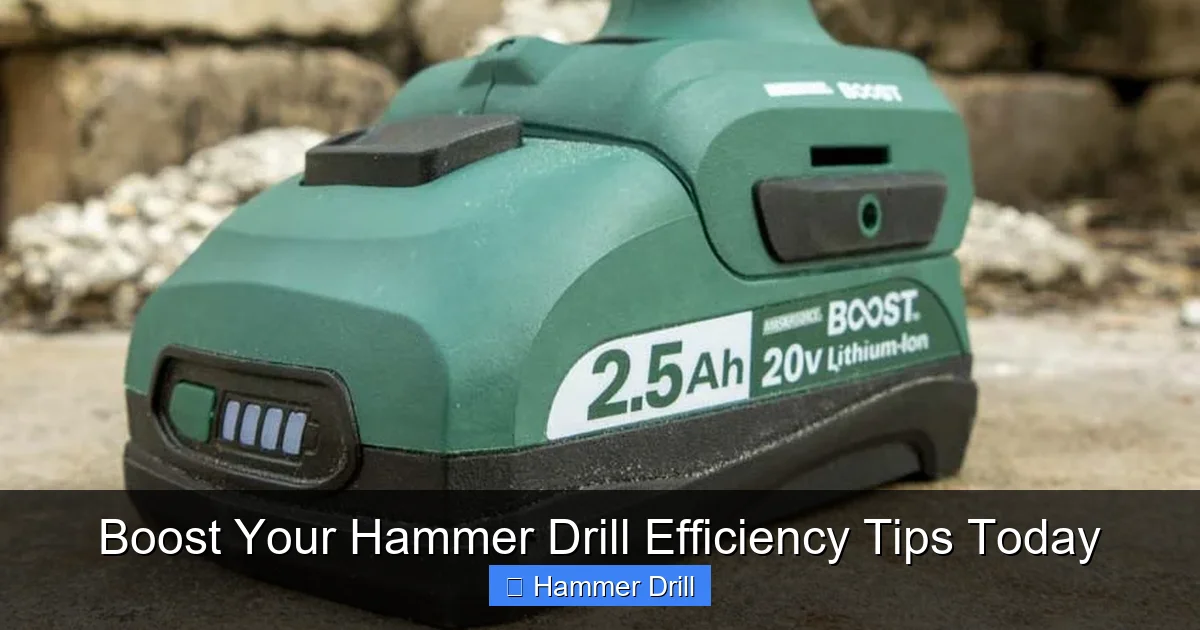
Visual guide about Boost Your Hammer Drill Efficiency Tips Today
Image source: protoolreviews.com
Gather the Right Gear
You need your hammer drill, the correct bits, and safety gear. Always wear safety glasses and a dust mask. Hearing protection is smart for long jobs. Have a vacuum or brush ready to clear dust from holes. Dust clogs the flute of the bit, causing friction and heat.
Secure Your Workpiece and Yourself
Clamp down your material. A shifting workpiece is dangerous and ruins holes. Ensure your footing is stable. If working high, use proper equipment. Review our guide on essential safety tips for climbing ladders before starting.
Mark and Pilot Punch
Use a pencil and a square to mark your hole. Then, take a center punch and a regular hammer to make a small dimple. This gives the drill bit a place to start. It prevents “bit walking.” Your bit will not skate across the surface. You get a clean, accurate hole on the first try.
Step 2: Selecting and Installing the Perfect Bit
The bit is where the work happens. A bad bit destroys efficiency.
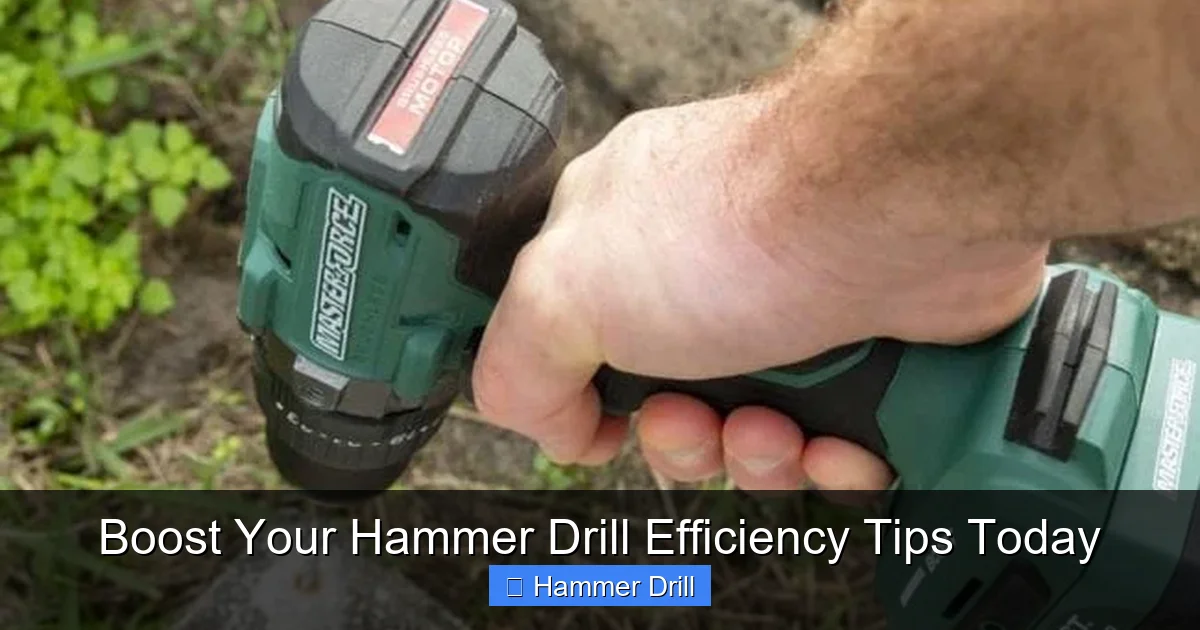
Visual guide about Boost Your Hammer Drill Efficiency Tips Today
Image source: protoolreviews.com
Choosing the Correct Bit Type
- Masonry Bits (Carbide Tip): For concrete, brick, block. The carbide tip is hard enough to grind through stone.
- Wood Bits (Auger or Spade): For drilling into timber. Never use these in hammer mode.
- Metal Bits (HSS Twist): For drilling steel or aluminum. Use drill mode only.
Using a wood bit on concrete will destroy it in seconds. Always match the bit to the job. If you are unsure about which drill to use for a task, our article on the difference between a hammer drill and regular drill clarifies their roles.
Checking Bit Condition and Size
Inspect the bit’s tip. Is the carbide sharp or rounded over? A dull bit must work 10 times harder. It creates heat and slows you down. Replace worn bits immediately. Also, use the smallest bit that will do the job. Drilling a larger hole than needed wastes energy. For big holes, step up sizes gradually.
Installing the Bit Securely
Open the chuck, insert the bit as far as it will go, and tighten it firmly by hand. For keyless chucks, give it an extra squeeze. A wobbly bit makes an oversized, messy hole and can damage the chuck.
Step 3: Dialing In the Perfect Settings
Your hammer drill has dials and collars for a reason. They give you control.
Speed Selection (Variable Trigger)
Start slow. Press the trigger lightly to begin drilling at a low speed. This helps the bit engage precisely in your pilot punch. Once the hole is started, you can increase speed. For hard materials like concrete, a medium speed is often best. High speed generates too much heat.
Torque/Clutch Setting
If your drill has a clutch (numbered collar), use it. For drilling, set it to the drill symbol. This disengages the clutch and gives full torque. The clutch is for driving screws to prevent stripping. Setting it too low while drilling will cause the clutch to slip and stop the bit.
Hammer Mode Selection
Remember: Hammer-drill mode for masonry. Drill mode for everything else. Some drills have an adjustable hammer force. Start with a lower setting for softer brick, higher for reinforced concrete.
Step 4: Mastering Drilling Technique
This is the heart of efficiency. Good technique saves your energy and your tool.
The Correct Pressure and Stance
Hold the drill with both hands. Apply steady, firm pressure straight into the wall. Let the hammer action do the crushing. You are just guiding it. Do not lean your whole body weight on it. Too much pressure binds the bit, overheats the motor, and wears you out.
Clearing Dust (The “Pecking” Method)
For deep holes, use the “pecking” method. Drill for 5-10 seconds, then pull the bit out slightly while it’s still spinning. This pulls dust out of the hole. Push back in and continue. A clean hole drills faster and prevents the bit from getting stuck.
Using a Guide for Perfection
For perfectly straight holes, especially when using a drill for screws into a wall, use a drill guide or a simple block of wood clamped at the right angle. This eliminates wandering and rework.
Step 5: Essential Maintenance for Long-Term Efficiency
A clean, well-maintained drill performs better and lasts decades.
Post-Use Cleaning
After each use, wipe down the drill body. Use compressed air or a small brush to clean dust out of the chuck and vents. Dust inside the tool traps heat and grinds down moving parts.
Chuck Inspection and Care
Periodically, open and close the chuck to ensure it moves smoothly. If it gets gritty, you can clean it with a degreaser. A worn chuck will not hold bits tightly, destroying accuracy.
Battery Care (Cordless Drills)
Do not let batteries drain completely. Store them in a cool, dry place. Use the manufacturer’s charger. Rotate between multiple batteries if you have them. A healthy battery delivers full power.
Motor Brushes (Corded Drills)
On corded drills, the motor brushes wear down. If you see sparks inside the vent or the motor struggles, it might be time to replace them. Consult your manual.
Step 6: Troubleshooting Common Efficiency Problems
Things go wrong. Here is how to fix them fast.
Problem: Drill is Slow and Overheating
Solution: You are likely using a dull bit or the wrong bit. Stop immediately. Let the tool cool. Install a new, sharp, correct bit. Check that you are in hammer-drill mode for masonry.
Problem: Bit is Stuck in the Hole
Solution: Do not force the trigger. Switch the drill to reverse (hammer mode OFF). Gently rock the drill side-to-side while pulling back. The “pecking” method prevents this.
Problem: Hole is Ragged or Oversized
Solution: Your bit is wobbling. Ensure the bit is tightly secured in the chuck. Also, you may be applying uneven side pressure. Practice holding the drill straight.
Problem: Drill Won’t Start or Loses Power
Solution (Cordless): Check the battery charge. Ensure it’s clicked in fully. Try a different battery.
Solution (Corded): Check the power outlet and cord for damage. Ensure the cord is not partially unplugged.
Conclusion: Work Smarter, Not Harder
Efficiency is not just about speed. It is about precision, tool longevity, and personal safety. By following these hammer drill efficiency tips, you transform a brute-force tool into an instrument of control.
Start with the right bit. Set your drill correctly. Use smart technique. Maintain your tool. Each step builds on the last. You will finish projects quicker. Your drill will last longer. You will feel less fatigue. Take these tips to your next job. You will be amazed at the difference. Now go drill some perfect holes!
