
Master your hammer drill with these efficiency tips that cut project time in half. This guide covers essential techniques, proper maintenance, and expert tricks to get the most from your tool. Save money on bits and repairs while delivering professional results every time.
Key Takeaways
- Right bit selection: Choose carbide-tipped masonry bits for concrete and brick to prevent premature wear and wasted effort.
- Proper speed control: Use lower speeds (300-600 RPM) for hammer drilling to maximize efficiency and bit life.
- Regular maintenance: Clean air vents and lubricate moving parts monthly to keep your hammer drill running smoothly.
- Correct pressure: Apply steady, moderate pressure. Let the hammer mechanism do the work instead of forcing it.
- Battery management: Keep spare batteries charged and rotate them to extend overall battery life and runtime.
- Safety first: Wear eye protection and secure workpieces to prevent accidents that cause delays and injuries.
Introduction: Get More Done with Less Effort
Your hammer drill is a powerful tool, but are you using it efficiently? Many DIYers and professionals waste hours struggling with poor technique, wrong settings, or neglected maintenance. This guide reveals proven hammer drill efficiency tips that save time and money. You will learn how to choose the right bits, master advanced drilling techniques, and maintain your tool for peak performance. Stop fighting your tools and start working smarter.
Understanding Your Hammer Drill for Maximum Efficiency
Before diving into efficiency tips, you need to understand what makes your hammer drill unique. This knowledge prevents mistakes that waste time and damage materials.
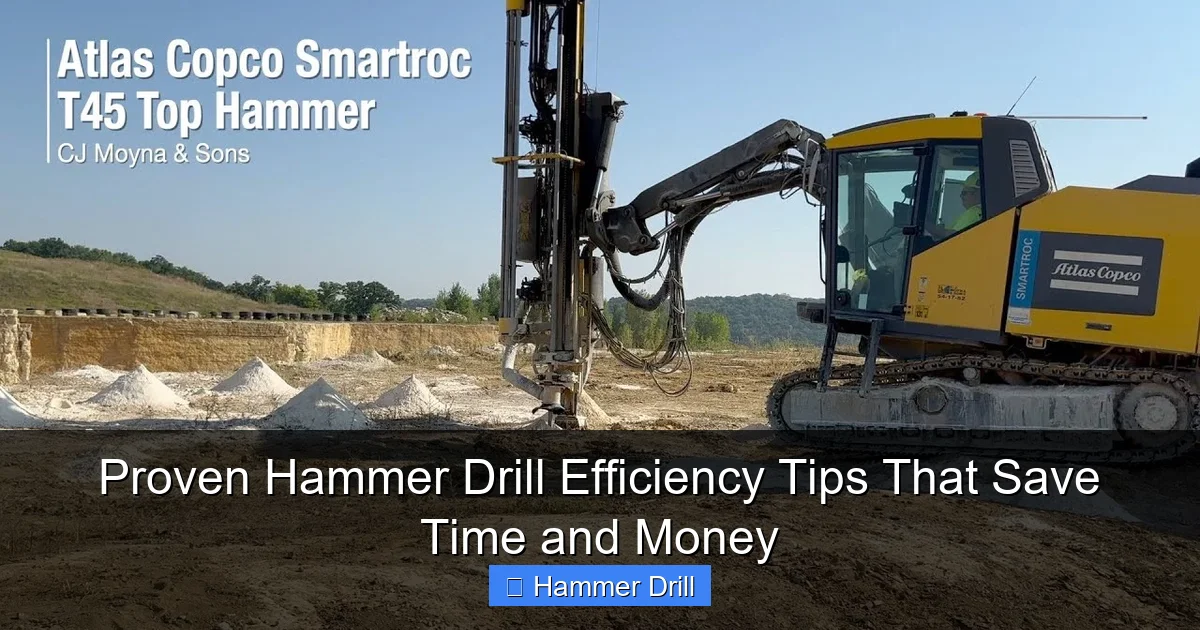
Visual guide about Proven Hammer Drill Efficiency Tips That Save Time and Money
Image source: i.ytimg.com
Know the Difference: Hammer Drill vs Regular Drill
Many people confuse hammer drills with regular drills. A standard drill simply rotates. A hammer drill adds a rapid hammering action that pounds the bit forward while it spins. This dual action breaks through tough materials like concrete and brick. Using a regular drill for masonry work will frustrate you and burn out your motor. For more details on the technical differences, check out our guide on the difference between a drill and a hammer drill. Understanding this distinction helps you select the right tool for each task.
Corded vs Cordless: Which is More Efficient?
Corded hammer drills deliver consistent power without battery anxiety. They work best for long projects or heavy-duty jobs. Cordless models offer freedom to move around job sites. Modern lithium-ion batteries provide impressive runtime. For maximum efficiency, choose a cordless model with at least 18 volts. Keep a spare battery charging while you work. This eliminates downtime. If you need recommendations, explore our cordless drill category to find top-performing models.
Essential Setup Tips for Hammer Drill Efficiency
Proper setup takes seconds but saves minutes per hole. Skipping these steps leads to stripped bits, damaged materials, and wasted effort.
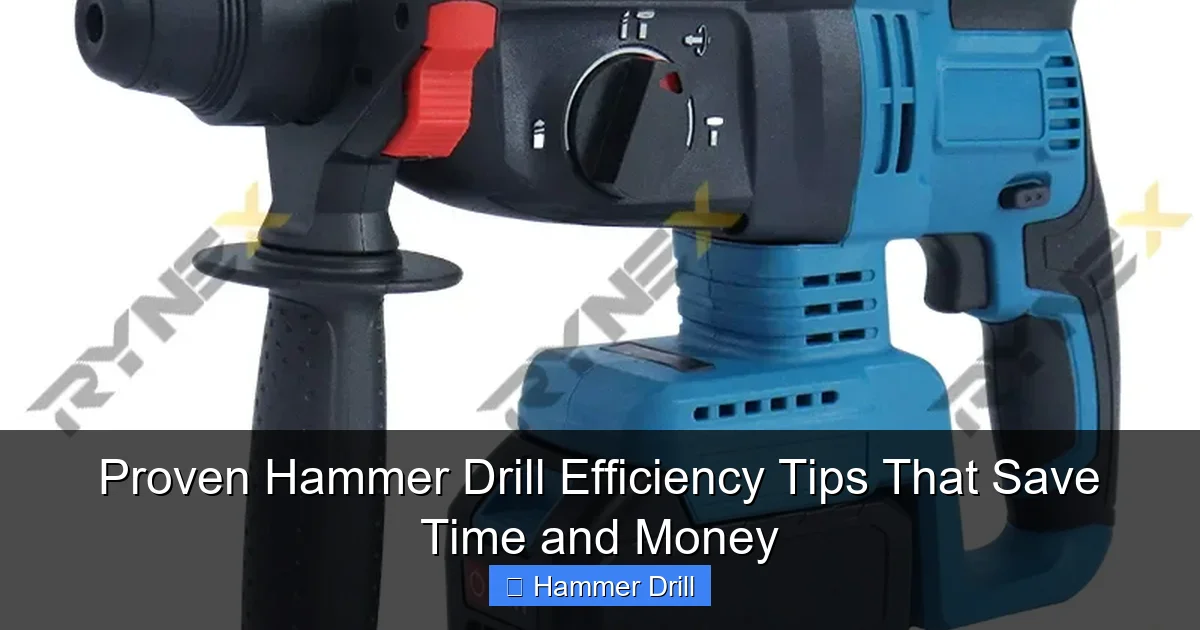
Visual guide about Proven Hammer Drill Efficiency Tips That Save Time and Money
Image source: shopcdnpro.grainajz.com
Choose the Right Drill Bits
Not all bits are created equal. Masonry bits have carbide tips designed for hammer action. Using wood or metal bits in hammer mode will break them quickly. For concrete, choose a bit with a sharp carbide tip and flutes that clear dust efficiently. SDS bits work best for heavy-duty rotary hammer drills. For standard hammer drills, use shank masonry bits. Match the bit diameter to your anchor size. A 3/16-inch bit works for most light-duty anchors. Larger holes need bigger bits. Buying quality bits upfront saves money because they last longer and drill faster.
Proper Bit Installation Technique
Push the bit firmly into the chuck until it clicks. Give it a gentle tug to ensure it’s secure. A loose bit spins in the chuck, creating friction and heat. This damages both the bit and chuck. Clean the bit shank before inserting it. Wipe away dust or oil that could prevent a tight grip. Tighten the chuck evenly using all three jaws. An off-center bit drills crooked holes and wears prematurely. Take an extra 10 seconds to install bits correctly. This prevents frustrating delays and expensive replacements.
Adjust Speed and Torque Settings
Most hammer drills have variable speed triggers and torque adjustment rings. For hammer drilling, set the speed low—between 300 and 600 RPM. Higher speeds overheat bits and reduce hammering effectiveness. Adjust torque to match your material. For concrete, use maximum torque. For softer brick, reduce torque to prevent cracking. If your drill has a dedicated hammer mode, engage it. This activates the internal hammering mechanism. Using the wrong mode wastes power and damages materials. Always start with a test hole in an inconspicuous area to fine-tune settings.
Advanced Techniques to Save Time
Master these techniques to drill faster, cleaner, and with less fatigue. Small adjustments make a big difference in overall efficiency.
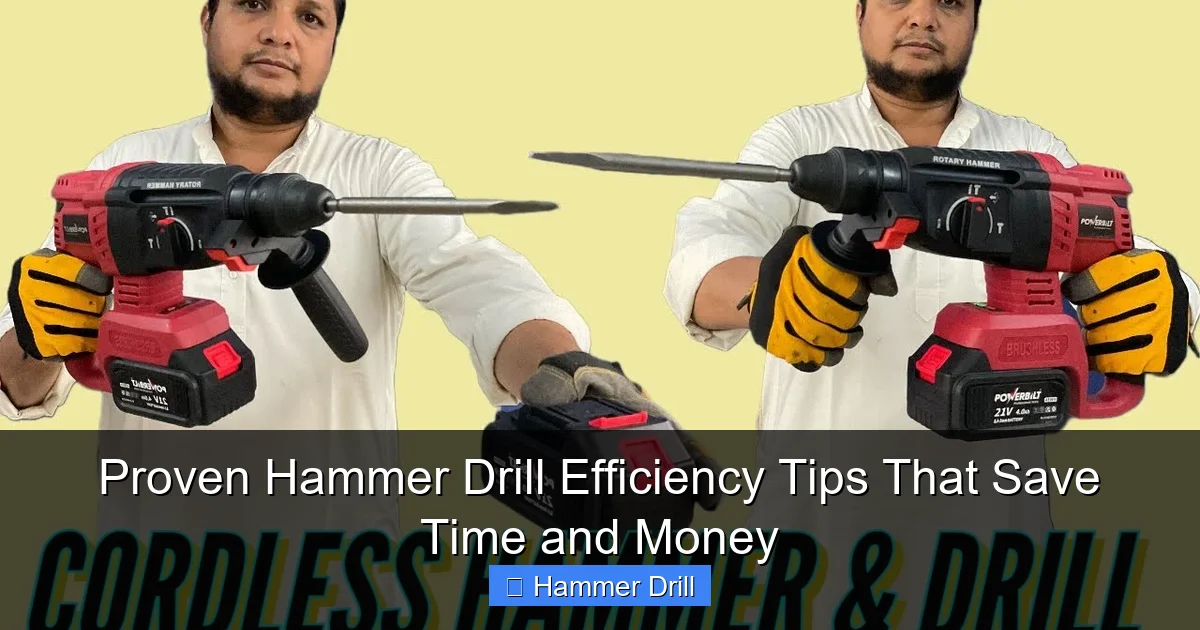
Visual guide about Proven Hammer Drill Efficiency Tips That Save Time and Money
Image source: i.ytimg.com
The Hammering Action: When and How to Use It
Use hammer mode only for masonry, concrete, brick, or stone. For wood, metal, or plastic, switch to standard drill mode. The hammering action will damage softer materials. Apply steady, moderate pressure. Let the hammer mechanism do 80% of the work. Pushing too hard slows drilling and overheats the motor. Pull the bit out every 10-15 seconds to clear dust. This prevents clogging and maintains speed. For deep holes, use a step-bit approach. Drill partially, clear dust, then go deeper. This method drills faster than trying to go all the way in one pass.
Pilot Holes: Are They Necessary?
For most masonry work, pilot holes aren’t needed. The hammer action creates its own path. However, pilot holes help when you need extreme precision. Start with a small bit, then step up to your final size. This technique prevents bit wandering on smooth surfaces. For tile work, a pilot hole reduces cracking. Use a diamond-tipped bit for the pilot, then switch to your standard masonry bit. While this adds a step, it saves time fixing cracked tiles or misplaced holes.
Drilling Angles and Pressure
Hold the hammer drill perpendicular to your work surface. Angled drilling causes bits to bind and break. Use both hands for control. Grip the handle firmly but not too tight. Excessive grip force causes fatigue. Let your arms absorb the vibration, not your hands. For overhead work, use a stud finder to locate joists. Mark centers clearly. Drilling into rebar or metal mesh ruins bits quickly. Knowing where to drill prevents costly mistakes. Apply pressure evenly throughout the drilling process. Stopping and starting wastes time and creates uneven holes.
Maintenance for Long-Term Efficiency
Well-maintained tools work faster and last longer. Spending 10 minutes monthly on maintenance prevents hours of downtime and expensive repairs.
Regular Cleaning Routine
After each use, blow dust out of the air vents with compressed air. Clogged vents cause overheating and reduce motor efficiency. Wipe the housing with a damp cloth to remove dust buildup. Check the chuck for debris. Bits slip when the chuck is dirty. Remove the chuck occasionally and clean its teeth with a wire brush. Built-up grime prevents proper bit grip. Store your hammer drill in a dry, dust-free case. Moisture and dust are the two biggest enemies of power tools.
Lubrication and Care
Lubricate the chuck mechanism every three months. Apply a few drops of lightweight oil to the moving parts. Work the chuck back and forth to distribute the oil. Wipe away excess to prevent dust attraction. For corded models, check the power cord for cracks or fraying. Damaged cords create fire hazards and voltage drops. For cordless models, clean the battery contacts with a cotton swab and rubbing alcohol. Dirty contacts cause poor power transfer and reduced runtime.
Battery Maintenance for Cordless Models
Lithium-ion batteries perform best when kept between 20% and 80% charge. Avoid fully draining them. Store batteries at room temperature. Extreme cold or heat reduces capacity permanently. Keep spare batteries on the charger while working. Rotate them every few holes to distribute wear evenly. This extends the overall life of your battery pack. Replace batteries when runtime drops below 70% of original performance. Old batteries strain the motor, reducing efficiency.
Troubleshooting Common Efficiency Killers
When your hammer drill slows down, these quick fixes restore peak performance. Learn to identify problems before they become major issues.
Bit Overheating and Slipping
Overheating bits turn blue and lose hardness. They stop cutting and waste time. If your bit gets hot, stop drilling. Let it cool completely. Apply cutting oil to masonry bits for extra lubrication. This reduces heat and extends bit life. A slipping bit indicates a worn chuck or improper installation. Clean the chuck and reinstall the bit. If problems persist, replace the chuck jaws. Worn jaws cost $10-$15 and take 15 minutes to install. This small investment saves hours of frustration.
Poor Performance in Hard Materials
If your drill struggles in concrete, check the hammer mode. Some drills have separate switches for hammer action. Make sure it’s engaged. Dull bits cause poor performance. Replace bits when the carbide tip appears rounded. Using dull bits takes three times longer and strains the motor. For very hard concrete, use a rotary hammer drill instead. These tools deliver more impact energy. If you need to drive screws into walls after drilling, follow our guide on how to use a drill for screws into a wall to avoid stripping them.
Excessive Vibration Issues
Too much vibration indicates problems. Check for bent bits first. A bent bit creates uneven holes and damages the motor. Replace bent bits immediately. Loose handles cause vibration. Tighten all handles and screws. Worn motor bearings create a grinding vibration. If you feel this, stop using the drill. Take it to a service center. Continuing to use a drill with bad bearings destroys the tool. Regular maintenance prevents 90% of vibration issues.
Safety Practices That Save Time
Safety isn’t just about avoiding injuries. Smart safety practices also prevent mistakes that cause rework and delays.
Proper PPE Setup
Wear safety glasses at all times. Masonry drilling creates fine dust and flying chips. A single chip can cause an eye injury that stops work completely. Use a dust mask or respirator. Concrete dust is harmful to breathe. Stopping to treat respiratory issues wastes days. For large projects, use a vacuum system. Collecting dust at the source keeps your workspace clean and reduces cleanup time. Hearing protection is essential. Extended exposure to hammer drill noise causes hearing damage. Protect your ears and stay focused on the task.
Workspace Preparation
Clear your work area before starting. Remove obstacles that force you to reposition frequently. Use a stud finder to map out your drilling area. Mark centers with a pencil. Clear markings prevent guesswork and misplaced holes. Secure loose materials with clamps. Trying to hold something while drilling leads to crooked holes and dropped tools. Good lighting is crucial. Shadows hide imperfections and cause mistakes. Set up bright, direct lighting over your work area. Taking 5 minutes to prepare prevents 30 minutes of fixing errors.
Conclusion: Work Smarter, Not Harder
Efficient hammer drilling comes down to three things: the right tool, proper technique, and regular maintenance. By following these proven tips, you will complete projects faster, save money on replacement bits, and extend your tool’s lifespan. Remember to choose quality bits, maintain proper speed settings, and keep your drill clean. These simple habits transform frustrating drilling sessions into smooth, professional work. Start implementing these tips today and feel the difference in your next project.
