
Choosing the right hammer drill is crucial for both DIY projects and professional work. This guide breaks down every essential feature you need to understand, from power sources and impact energy to chuck types and clutch settings. By the end, you’ll be equipped to select the perfect hammer drill for your specific tasks and budget.
Key Takeaways
- Power Source Defines Freedom and Power: Corded drills offer unlimited runtime for heavy-duty work, while cordless models provide unmatched portability for most jobs.
- Impact Energy is Your Breaking Force: Measured in joules, this is the key spec for drilling into masonry. Higher joules mean faster drilling in harder materials like concrete.
- Multiple Modes Are Non-Negotiable: A true hammer drill must have at least three modes: drill-only (for wood/metal), hammer-only (for light chiseling), and hammer-drill (for masonry).
- Chuck Type Affects Bit Changes and Precision: Keyed chucks offer maximum grip for heavy use, while keyless chucks provide quick, tool-free bit changes for convenience.
- Ergonomics and Vibration Control Prevent Fatigue: A comfortable grip, well-balanced design, and anti-vibration technology are essential for user comfort and control during extended use.
- Don’t Overlook the Clutch and Speed Settings: The clutch prevents over-driving screws, while variable speed gives you precision for different materials and starting holes.
- Battery Voltage and Ah Matter for Cordless: Higher voltage (18V-36V) means more power, while higher Amp-hours (Ah) mean longer runtime between charges.
Read Our Hammer Drill Essential Features Guide Now
So, you need to drill into brick, concrete, or stone. A regular drill just won’t cut it. You need the percussive power of a hammer drill. But walk into a store or browse online, and you’re hit with a wall of specs: volts, amps, joules, BPM, RPM, chucks, and clutches. It’s enough to make anyone’s head spin.
Don’t worry. You’re in the right place. This guide is your friendly roadmap. We’ll walk through every essential feature of a hammer drill. We’ll explain what it means, why it matters, and how it affects your work. By the end, you won’t just buy a tool. You’ll make a confident, informed choice that saves you time, money, and frustration on your next project. Let’s get started.
1. The Heart of the Tool: Power Source (Corded vs. Cordless)
This is your first and biggest decision. It dictates where you can work and how hard you can push the tool.
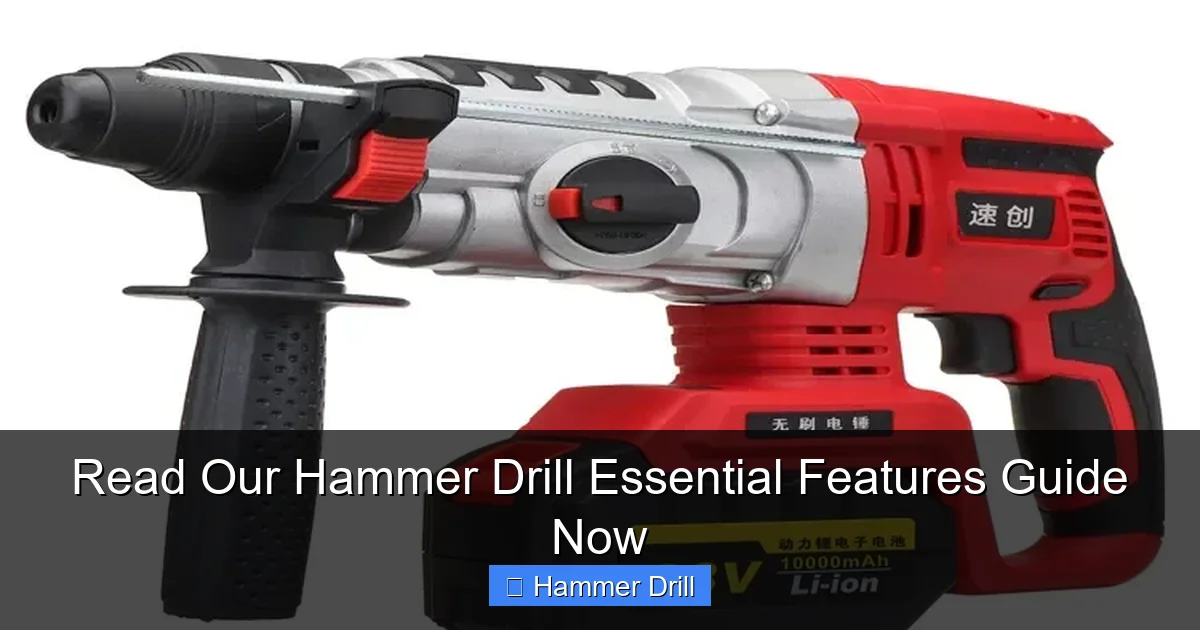
Visual guide about Read Our Hammer Drill Essential Features Guide Now
Image source: toolsadvisers.com
Corded Hammer Drills: The Powerhouse
Plugged directly into an outlet, corded models deliver consistent, unlimited power. There’s no battery to run flat in the middle of a job. They are typically more powerful for their size and cost, making them ideal for heavy-duty, continuous work like breaking up tile, drilling large anchor holes, or extensive masonry work. The cord is a limitation, but for shop work or jobs near an outlet, they are incredibly reliable workhorses.
Cordless Hammer Drills: The Freedom Fighters
Cordless drills run on rechargeable battery packs, offering complete freedom of movement. Modern lithium-ion batteries are powerful and long-lasting. This is the go-to choice for most DIYers and pros for general drilling, overhead work, and jobs without easy outlet access. When choosing a cordless model, you’re also often buying into a “tool ecosystem” (like DeWalt, Makita, or Milwaukee), allowing you to share batteries with other tools. For a deep dive into top-performing cordless options, check out our roundup of the best cordless drill models available.
2. The Punch Behind the Drill: Impact Energy
This is the most important spec for a hammer drill. Impact energy, measured in joules (J), tells you how hard the tool “hammers” with each blow. Think of it as the strength of the punch.
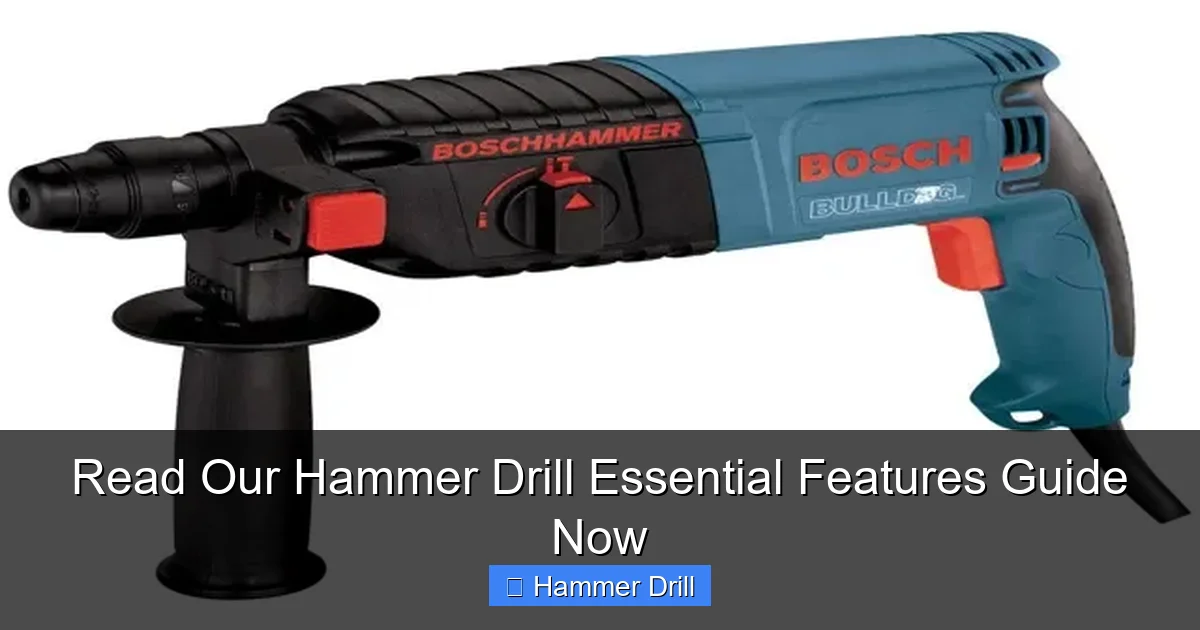
Visual guide about Read Our Hammer Drill Essential Features Guide Now
Image source: ourhometools.com
- 1.0 – 2.0 Joules: Good for light masonry, brick, and soft concrete. Perfect for common DIY tasks like hanging shelves on a brick wall.
- 2.0 – 4.0 Joules: A solid mid-range for more frequent masonry work and harder concrete. Ideal for serious DIYers and light professional work.
- 4.0+ Joules: Heavy-duty territory. Designed for professional contractors drilling into reinforced concrete, stone, and other tough materials all day long.
Tip: Higher joules generally mean faster drilling in hard materials. But remember, more power also means more weight and vibration.
3. Understanding the Modes: When to Use What
A versatile hammer drill should have multiple operational modes. This flexibility is what makes it more useful than a standard drill.
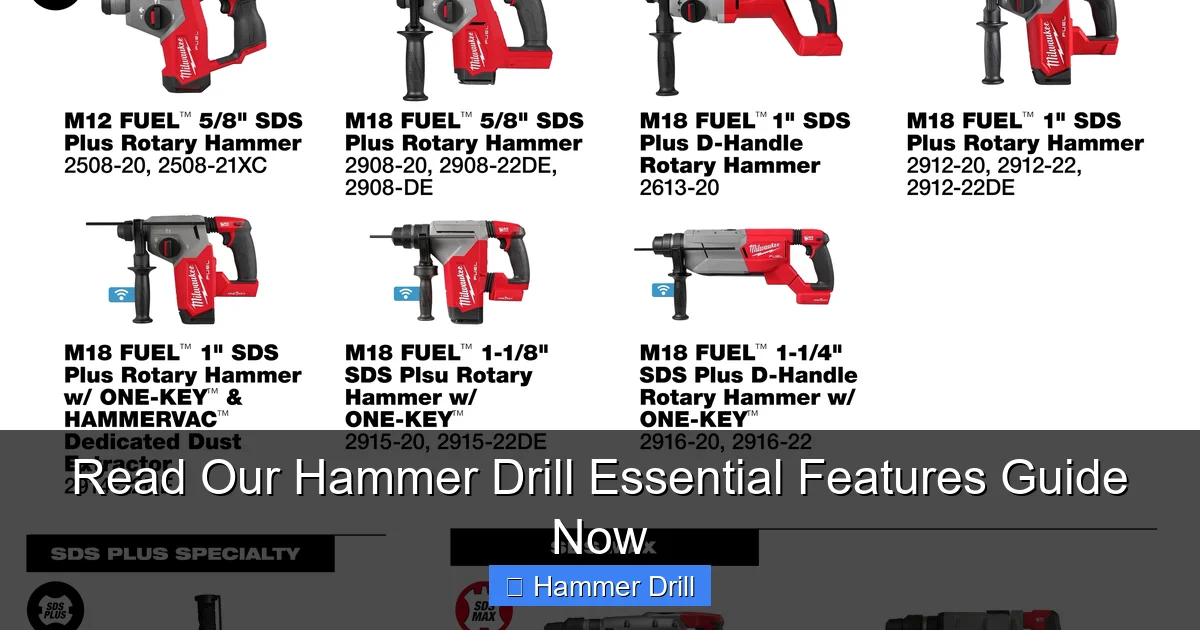
Visual guide about Read Our Hammer Drill Essential Features Guide Now
Image source: milwaukeetool.com
Drill-Only Mode
This turns off the hammering action. Use this mode for drilling into wood, metal, plastic, or driving screws. It functions just like a regular drill. If you’re preparing for a project that involves both masonry and other materials, understanding the full capabilities of your drill is key. For instance, after drilling your anchor hole, you might need to use a drill for screws into a wall using this very mode.
Hammer-Drill Mode
This is the primary function. The drill bit rotates and hammers forward simultaneously. This combination of grinding and pounding is what allows you to bore into masonry materials like concrete, brick, and stone.
Hammer-Only Mode
The motor disengages the rotation, and the tool just hammers in and out. This mode is used with specific chisel and point bits for light demolition tasks: chipping away tile, breaking up small patches of concrete, or removing mortar.
4. The Connection Point: Chuck Type and Size
The chuck is the clamp that holds the drill bit in place. The type you choose affects convenience and performance.
Keyed Chuck
Requires a special key to tighten and loosen the jaws. They provide the strongest, most secure grip on the bit, which is crucial for high-torque applications and preventing slippage under heavy hammering. The downside is that you must keep track of the chuck key.
Keyless Chuck
You tighten and loosen it by hand. This allows for incredibly fast bit changes without fumbling for a key. Most modern cordless hammer drills feature keyless chucks. For maximum grip on a keyless chuck, make sure to tighten it firmly by hand.
Chuck Size
This refers to the maximum shank diameter the chuck can hold. The most common sizes are 1/2-inch and 3/8-inch. A 1/2-inch chuck is more robust and can handle larger masonry bits, making it the standard for serious hammer drill work.
5. Feeling the Force: Ergonomics and Vibration Control
You will feel every hammer blow. Good ergonomics are not a luxury; they are a necessity for control and safety.
- Handle and Grip: Look for a comfortable, rubberized grip. A well-balanced tool feels lighter and reduces wrist fatigue. Some models have a secondary auxiliary handle for two-handed control during heavy drilling.
- Anti-Vibration Technology: Higher-end models feature internal counterweights or spring systems that dampen the vibrations transferred to your hands and arms. This dramatically reduces fatigue and the risk of long-term issues like vibration white finger.
- Weight: Consider where you’ll use it. A heavier, more powerful drill might be fine for waist-level work, but for overhead drilling, a lighter cordless model is a blessing.
Safety Note: When using any power tool for overhead or elevated work, always prioritize a stable platform. While we’re focusing on the drill itself, knowing essential safety precautions when using a ladder is a critical part of any successful and safe project.
6. Control is Key: Variable Speed and Clutch
These features give you finesse to match the power.
Variable Speed Trigger
The harder you squeeze the trigger, the faster the drill spins. This is vital for precision. You start a hole slowly to prevent the bit from “walking” across the surface. You then increase speed once the bit is engaged. It also allows you to match speed to material (slower for metal, faster for wood).
Adjustable Clutch
The clutch is a torque-control setting, usually a numbered dial near the chuck. When the drill senses a certain resistance (like when a screw is fully seated), it disengages the drive with a clicking sound. This prevents you from over-tightening and stripping screws or damaging materials. While crucial for screwdriving, the clutch is typically not used in hammer-drill mode for masonry.
7. For Cordless Models: Understanding Battery Specs
If you go cordless, you need to speak “battery.”
- Voltage (V): Think of this as the “power potential.” Common ratings are 12V, 18V/20V Max, and 36V. Higher voltage generally means more power and torque for tougher jobs. 18V/20V Max is the sweet spot for most users.
- Amp-Hours (Ah): Think of this as the “gas tank.” A 2.0Ah battery has less capacity than a 5.0Ah battery. Higher Ah means longer runtime between charges. Having two batteries is a great strategy—use one while the other charges.
8. Hammer Drill vs. The Others: Knowing Your Tool
It’s easy to get confused. Is this the same as an impact driver or a rotary hammer? Not quite. Understanding the difference will ensure you get the right tool. For a detailed breakdown, we have a dedicated guide that explains the difference between impact driver and hammer drill. In short, an impact driver delivers rotational blows for driving long screws and bolts, not for drilling into masonry. For an even more fundamental comparison, you can see how a hammer drill differs from a standard drill in its core function.
9. Troubleshooting Common Hammer Drill Issues
Even the best tools can have off days. Here’s how to solve common problems.
Drill Isn’t Hammering
Check the mode selector. Make sure it’s set to the hammer-drill icon, not just “drill.” If it’s in the correct mode and still not hammering, there may be an internal mechanical issue requiring service.
Slow Drilling or Overheating
You might be using a dull bit. Masonry bits wear out. Inspect the carbide tip. A dull bit creates excessive friction and heat. Use the correct bit. Ensure you’re using a carbide-tipped masonry bit, not a wood or metal bit. Apply less pressure. Let the tool do the work. Forcing it creates heat and wears the bit faster. Pull the bit out occasionally to clear dust from the hole.
Excessive Vibration or Wobbling
Tighten the chuck. A loose bit is the most common cause. Check the bit. The bit itself could be bent or damaged. Try a different bit. Secure the auxiliary handle. If your drill has one, make sure it’s locked tightly to the body.
Conclusion: Putting It All Together
Phew! That was a lot of information. But now you’re armed with knowledge. You understand that impact energy (joules) is your key spec for masonry. You know why three modes are essential. You can make an informed choice between the constant power of a corded drill and the portable freedom of a cordless system.
Before you buy, think about your most common projects. Are you hanging a few pictures on a brick wall? A mid-range cordless model with 1.5-2.0 Joules will be perfect. Are you building a patio or installing a mailbox post? Look for something with more power, around 3.0 Joules. For daily professional use, you’ll want a high-joule, durable tool from a trusted brand.
Remember, the best hammer drill is the one that fits your hands, your projects, and your budget. Use this guide as your checklist. Compare a few models. Read reviews. Now, go forth and conquer that concrete with confidence!
