
This hammer drill essential features guide reveals the 7 critical components every user must understand before buying or operating. Learn how hammer action, variable speed, torque settings, and safety features work together to deliver professional results. We cover everything from basic mechanics to advanced troubleshooting in simple, easy-to-follow steps.
Key Takeaways
- Hammer Action Mechanism: The core feature that creates the pounding motion for drilling through tough materials like concrete and masonry.
- Variable Speed Control: Essential for matching drill speed to material type and bit size for clean, accurate holes.
- Power Source Selection: Choose between corded models for maximum power or cordless for portability based on your project needs.
- Chuck Types Matter: Standard keyless chucks work for most bits, while SDS chucks provide faster bit changes for heavy-duty tasks.
- Torque Settings Prevent Damage: Adjustable torque rings protect materials and bits by limiting rotational force.
- Safety Features Protect Users: Clutch systems, vibration control, and lock-on buttons reduce fatigue and prevent injury.
- Proper Technique Is Crucial: Let the drill do the work, apply steady pressure, and use depth stops for consistent results.
Introduction: Why Understanding Hammer Drill Features Matters
You’re standing in the hardware store, surrounded by dozens of power tools, and you need to drill into concrete. A regular drill just won’t cut it, but which hammer drill should you choose? The hammer drill essential features guide exists because these tools have complex specifications that directly impact performance, safety, and project success.
This comprehensive guide breaks down every critical feature into simple, understandable terms. Whether you’re a weekend warrior hanging shelves or a professional contractor tackling structural work, knowing these features will save you time, money, and frustration. We’ll explore the mechanical differences between regular drills and hammer drills, decode technical specifications, and provide real-world usage tips that you can apply immediately.
Understanding Hammer Drill Basics
Before diving into specific features, let’s establish what makes a hammer drill unique. Many people confuse these tools with impact drivers or standard drills, but each serves distinct purposes.
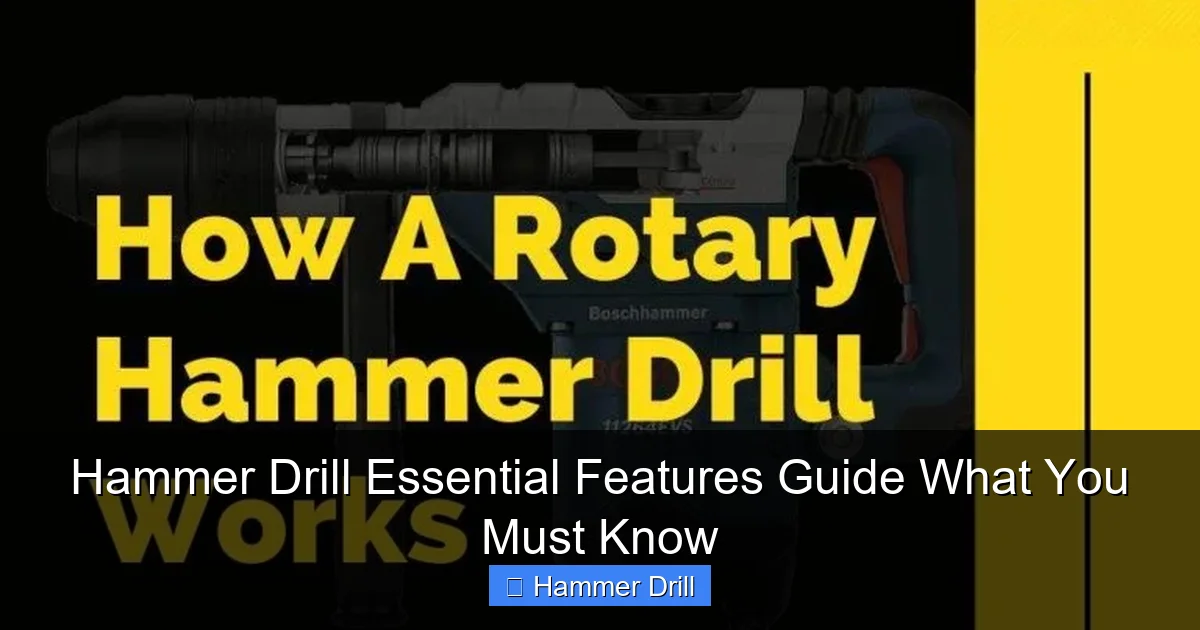
Visual guide about Hammer Drill Essential Features Guide What You Must Know
Image source: cordlessrotaryhammer.com
What Is a Hammer Drill?
A hammer drill is a specialized power tool designed to bore holes into hard materials like concrete, brick, and stone. Unlike regular drills that only rotate, hammer drills combine rotational force with a rapid back-and-forth hammering action. This dual mechanism allows the tool to pulverize brittle materials while simultaneously cutting through them.
The hammer drill essential features guide starts here because understanding this fundamental action is crucial. The hammering motion typically occurs at 20,000 to 50,000 blows per minute, creating the force needed to break through surfaces that would destroy standard drill bits.
How Hammer Drills Work
Inside the tool, a hammer drill uses either a crank mechanism or an electromagnetic clutch to create the hammering action. When you activate hammer mode, gears inside the drill drive a rotating cam that pushes the chuck forward and backward at high speed. This action happens independently of your own pressure, which means you can let the tool do most of the work.
For lighter materials like wood or metal, you can disable the hammer function and use the tool as a standard drill. This versatility makes hammer drills valuable additions to any toolkit.
Common Applications
Hammer drills excel in construction and renovation projects. They’re essential for installing anchors in concrete walls, running electrical conduits through masonry, mounting heavy fixtures, and creating holes for plumbing pipes. If you’re planning to drill into walls for screws, understanding whether you need hammer mode is critical.
Essential Feature 1: Hammer Action Mechanism
The hammer action is the defining characteristic of these tools. Without this feature, you simply have a regular drill. Let’s examine what makes this mechanism tick.
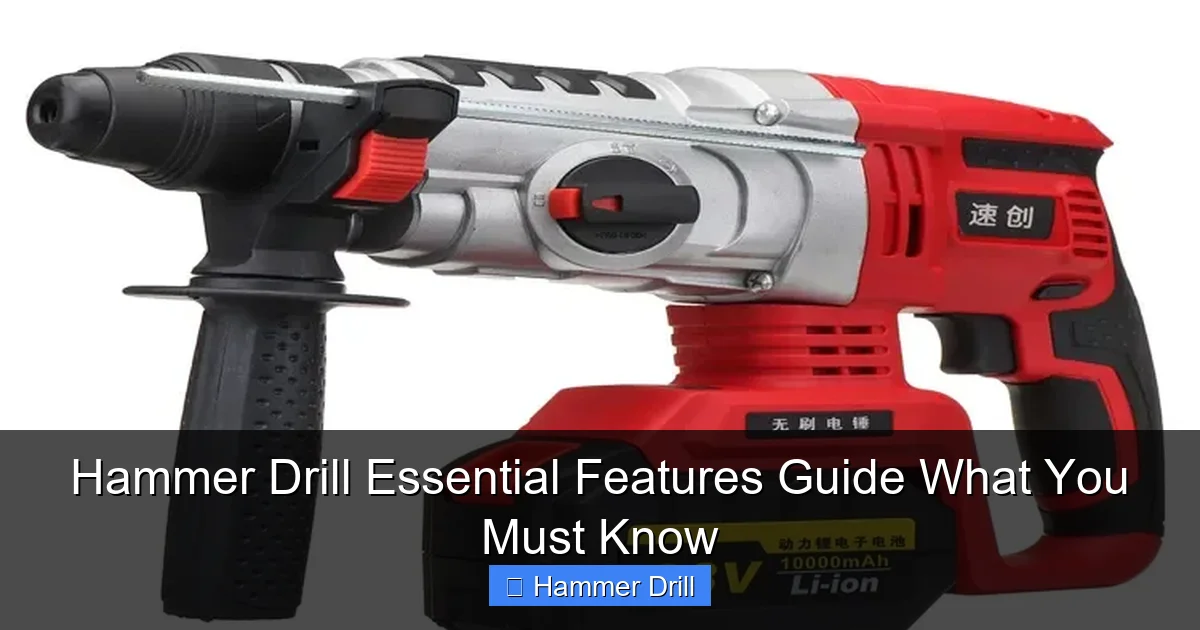
Visual guide about Hammer Drill Essential Features Guide What You Must Know
Image source: toolsadvisers.com
Understanding Hammer Mechanism
The hammer mechanism consists of two metal plates that alternately separate and collide inside the drill. When the plates come together, they drive the bit forward. When they separate, the bit retracts slightly. This rapid cycle creates the hammering effect that chips away at hard materials.
Most modern hammer drills offer three modes: drill only (rotation), hammer only (percussion), and hammer drill (rotation plus hammer). The hammer drill essential features guide recommends looking for clear mode selection dials that prevent accidental switching during operation.
Types of Hammer Action
There are two primary hammer action systems: cam-action and electromagnetic. Cam-action systems use mechanical gears to create hammering and are most common in DIY and light professional tools. They’re durable and affordable but produce more vibration.
Electromagnetic hammer systems use solenoid technology for smoother operation. These are typically found in heavy-duty rotary hammers and premium hammer drills. They deliver less user fatigue but come at a higher price point.
When to Use Hammer Mode
Activate hammer mode only when drilling into masonry, concrete, or brick. Using hammer action on wood or metal will damage both your material and the drill bit. For materials softer than concrete, switch to standard drill mode to preserve your equipment and achieve cleaner holes.
If you’re uncertain whether you need hammer mode, test on a scrap piece first. The sound and vibration will be noticeably different between modes.
Essential Feature 2: Variable Speed Control
Speed control might seem simple, but it’s one of the most important hammer drill features for achieving professional results. Different materials and bit sizes require different rotational speeds.
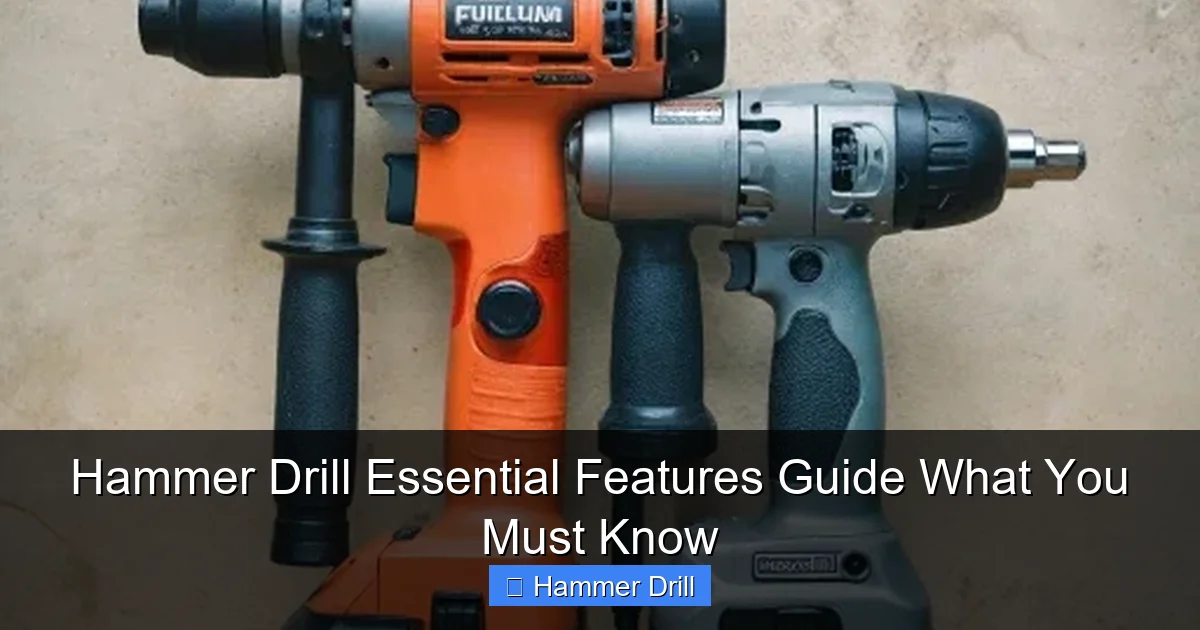
Visual guide about Hammer Drill Essential Features Guide What You Must Know
Image source: cordless-drill-set-guru.com
Why Speed Matters
High speeds work best for small bits in soft materials. Low speeds provide more torque for large bits in hard materials. Using the wrong speed can cause bit breakage, poor hole quality, or motor burnout. Variable speed triggers allow you to adjust on the fly, giving you precise control for start-ups and tricky spots.
Look for drills with speed ranges between 0-1,000 RPM for heavy-duty work and 0-3,000 RPM for versatile applications. The ability to dial in exact speeds prevents material damage and extends bit life.
Speed Settings Explained
Most hammer drills feature a variable speed trigger that responds to pressure. Press lightly for slow speeds, press fully for maximum speed. Some models include a speed limiter switch that locks in a specific RPM range, which is useful for repetitive tasks requiring consistency.
Two-speed gearboxes are common in mid-range to professional tools. Low gear typically ranges 0-1,200 RPM for hammer drilling, while high gear reaches 2,500-3,000 RPM for regular drilling in wood and metal.
Choosing the Right Speed
For concrete with a 1/4-inch bit, start at 500 RPM. For 1-inch holes in brick, reduce to 200-300 RPM. Wood and metal require higher speeds: 1,500-2,500 RPM depending on bit size. Always start slow to position the bit, then increase speed once the hole is established.
The hammer drill essential features guide suggests practicing on scrap material to develop a feel for proper speeds. You’ll hear when the drill is working too hard and smell if bits are overheating from excessive speed.
Essential Feature 3: Power Source Options
Power sources define where and how you can use your hammer drill. The choice between corded and cordless models affects performance, convenience, and project scope.
Corded vs Cordless
Corded hammer drills deliver consistent, maximum power without battery limitations. They’re ideal for heavy-duty, prolonged use where outlet access isn’t a problem. However, cords create tripping hazards and limit mobility.
Cordless models offer freedom of movement but trade off power and runtime. Modern lithium-ion batteries have improved dramatically, with many 18V and 20V models matching corded performance for DIY tasks. For professional work, consider carrying spare batteries to avoid downtime.
Voltage and Amp Ratings
Cordless hammer drills range from 12V to 36V. Higher voltage means more power for tough materials. For most homeowners, 18V or 20V models handle concrete and masonry effectively. Professionals working daily with large bits should consider 28V or 36V tools.
Corded drills measure power in amps, typically ranging from 5 to 10 amps. A 7-amp drill provides good DIY performance, while 9-10 amp models suit professional applications. Wattage (volts × amps) gives a more complete power picture, with 700-1,000 watts being standard for home use.
Battery Technology
Lithium-ion batteries dominate the market, offering lighter weight, no memory effect, and longer runtimes than older nickel-cadmium types. Look for batteries with 4.0 Ah or higher capacity for extended use between charges.
Some manufacturers offer brushless motors that increase efficiency and extend battery life by 30-50%. While more expensive upfront, brushless hammer drills pay off through longer tool life and better performance.
When comparing models, check if the best cordless drill options include fast chargers that can recharge batteries in 30-60 minutes rather than hours.
Essential Feature 4: Chuck Types and Sizes
The chuck is the clamping device that holds your drill bits. Not all chucks are created equal, and understanding the differences ensures you can use the right bits for each task.
Keyless Chuck Systems
Most hammer drills feature keyless chucks that you tighten by hand. These chucks typically accommodate bits with shanks up to 1/2 inch in diameter. Quality keyless chucks have three hardened jaws that grip bits securely without slipping during hammer action.
Look for chucks with rubber over-molding for better grip and corrosion resistance. Some premium models feature self-tightening chucks that increase grip pressure as torque increases, preventing bit slippage during high-load applications.
Chuck Capacity
Chuck capacity refers to the maximum bit shank diameter the chuck can accept. Standard hammer drills have 1/2-inch chucks, suitable for most drilling tasks. Heavy-duty models may offer 5/8-inch or larger capacities for specialty bits.
Never force a bit that’s too large for your chuck. This can damage the chuck mechanism and create dangerous conditions. Check your drill’s specifications before purchasing large-diameter bits.
SDS vs Standard Chucks
SDS (Slotted Drive System) chucks are specialized quick-change systems found on some hammer drills and most rotary hammers. SDS bits have grooves that lock into the chuck without twisting, allowing faster changes and better power transfer.
Standard chucks work with universal drill bits, while SDS systems require specific SDS bits. Some hammer drills include both chuck types or offer interchangeable chucks. For occasional use, standard chucks suffice. For frequent heavy-duty work, SDS systems save time and reduce user fatigue.
Essential Feature 5: Torque Settings
Torque is rotational force, and controlling it prevents damage to materials, bits, and the drill itself. This feature is often overlooked by beginners but proves essential for professional results.
What Is Torque?
Torque measures how much rotational force the drill can apply to a bit. Higher torque allows drilling larger holes in harder materials. However, excessive torque can strip screw heads, split wood, or crack masonry.
Hammer drills typically produce 30-150 inch-pounds of torque, depending on model and speed setting. The hammer drill essential features guide emphasizes that torque is more important than speed for driving screws and bolts.
Adjustable Torque Rings
Most hammer drills include a torque adjustment ring near the chuck with numbered settings. These settings limit maximum torque output. Start with lower numbers (2-5) for driving small screws into soft materials. Increase to higher numbers (15-20) for large lag bolts or hard materials.
The numbers don’t correspond to specific torque values but provide relative control. Refer to your drill’s manual for recommended settings based on screw size and material type.
Practical Torque Applications
When installing anchors in concrete, use high torque settings to ensure proper embedment. For attaching fixtures to brick, reduce torque to prevent cracking. In wood, start low and increase as needed to avoid splitting.
Some advanced models feature electronic torque control that senses resistance and automatically adjusts output. This prevents overdriving and provides consistent results across different materials.
Essential Feature 6: Depth Stop and Adjustable Handle
Depth stops and auxiliary handles might seem like simple additions, but they dramatically improve accuracy, safety, and user comfort during extended use.
Depth Stop Functionality
A depth stop is a rod or collar that limits how far the drill can penetrate. This is crucial for tasks like installing through-bolts, wiring conduits, or creating consistent anchor holes. To use it, loosen the adjustment ring, set your desired depth by measuring from the bit tip, then tighten.
Without a depth stop, you risk drilling too deep, damaging hidden pipes or wires, or creating inconsistent holes that compromise your project’s integrity. Most hammer drills include this feature, but verify its presence before purchasing.
Auxiliary Handle Benefits
The auxiliary handle (or side handle) provides a second grip point, giving you better control during high-torque operations. This is especially important when hammer drilling, as the tool can twist unexpectedly. Look for 360-degree rotating handles that lock at multiple angles.
Handles with vibration dampening reduce user fatigue during prolonged use. Some models include quick-release mechanisms for rapid repositioning without tools.
Ergonomics and Control
Proper hand positioning maximizes control and minimizes fatigue. Hold the main handle with your dominant hand and the auxiliary handle with your non-dominant hand. Apply steady, moderate pressure—let the hammer action do the work. Never force the drill.
The hammer drill essential features guide recommends testing handle comfort before buying. Your hands should feel natural, not strained, when gripping both handles. Over time, poor ergonomics can cause repetitive stress injuries.
Essential Feature 7: Safety Features
Power tools demand respect, and modern hammer drills include multiple safety features that protect both users and workpieces. Understanding these features prevents accidents and extends tool life.
Clutch Systems
The slip clutch is a critical safety component that disengages the motor when the bit binds or hits excessive resistance. Without this feature, a stuck bit could twist your wrist violently or damage the drill’s gears. Most drills offer 15-25 clutch settings.
Test the clutch by driving a screw into a hard surface. When the screw is flush, the clutch should slip audibly. If it doesn’t, adjust to a lower setting. Proper clutch use prevents stripped screws, damaged bits, and personal injury.
Vibration Control
Hammer drills generate significant vibration, which can cause hand-arm vibration syndrome (HAVS) with prolonged exposure. Look for models with anti-vibration technology, including isolated handles, dampened mechanisms, and soft-grip surfaces.
For DIY users working occasionally, basic vibration control suffices. Professionals should invest in premium models with advanced dampening systems and limit continuous use to 15-20 minute intervals.
Lock-on Buttons
Lock-on buttons allow you to maintain continuous operation without holding the trigger. This is useful for large projects requiring many holes but creates a safety hazard if the drill becomes uncontrolled. Always disable the lock when not needed.
Some models include electronic triggers with variable speed control and lock functions, giving you both precision and convenience. The hammer drill essential features guide advises using lock-on features only when the drill is securely positioned and you have clear control.
Step-by-Step: Choosing the Right Hammer Drill
Now that you understand the essential features, let’s apply this knowledge to selecting the perfect hammer drill for your needs.
Assess Your Needs
Start by listing your typical projects. Are you hanging shelves occasionally, or are you remodeling a basement with concrete walls? For light DIY work, a 12V or 18V cordless model with basic features suffices. For professional construction, prioritize power, durability, and advanced safety features.
Consider material types: concrete requires full hammer action, while occasional masonry work might only need hammer capability for specific tasks. If you primarily drill wood and metal, a regular drill with hammer function for emergencies could save money.
Compare Key Specifications
Create a comparison chart of 3-5 models you’re considering. Note voltage/amps, speed ranges, chuck size, torque settings, weight, and included accessories. Don’t forget to check battery platform compatibility if you already own other cordless tools from the same brand.
Read user reviews focusing on durability and real-world performance. Professional reviews often test vibration levels, accuracy, and reliability under load—critical factors not apparent from specifications alone.
Test Before You Buy
If possible, handle potential purchases in-store. Check grip comfort, balance, and ease of mode switching. The auxiliary handle should install and adjust easily. Chuck operation should feel smooth and secure.
Ask store staff for a demonstration. Listen to the motor sound—smooth operation indicates quality manufacturing. Excessive noise or grinding suggests internal issues. The hammer drill essential features guide recommends trusting your instincts; if a tool feels wrong, keep looking.
Practical Usage Tips
Owning a quality hammer drill is only half the battle. Proper technique ensures safety, accuracy, and longevity of both tool and bits.
Proper Drilling Technique
Always mark your drilling location with a pencil or awl. Use a center punch to create a small indentation that prevents the bit from wandering on hard surfaces. Start at a 45-degree angle to establish the hole, then gradually straighten to 90 degrees.
Apply steady, moderate pressure. Too little pressure causes bit slippage and poor progress. Too much pressure overloads the motor, increases vibration, and risks bit breakage. Let the hammer mechanism work at its own pace.
Bit Selection Guide
Use carbide-tipped masonry bits for concrete and brick. These bits have spiral flutes that remove debris while hammering. For wood and metal, use standard high-speed steel bits with the hammer function turned off.
Match bit size to your task: 1/8-inch bits for small anchors, 1/2-inch for conduit, and 1-inch or larger for pipe installation. Always wear safety glasses when drilling, as masonry bits can throw sharp fragments.
Maintenance Routine
Clean your drill after each use. Blow out dust from vents and chuck mechanisms using compressed air. Wipe down surfaces with a dry cloth. Check the chuck for wear and ensure it tightens securely.
Lubricate moving parts according to your manual’s schedule. For cordless models, remove batteries before storage. Store in a dry place with moderate temperature to prevent battery degradation and internal corrosion.
Troubleshooting Common Issues
Even quality tools encounter problems. Knowing how to diagnose and fix common issues saves time and repair costs.
Drill Not Hammering
If your hammer drill won’t hammer, first verify you’ve engaged hammer mode. Some models require separate switches for rotation and hammer functions. If the mode is correct, check for worn internal components.
A burnt smell indicates motor overload. Stop immediately and inspect for jammed bits or excessive pressure. Worn carbon brushes or damaged hammer mechanism components often require professional service.
Overheating Problems
Overheating occurs from continuous use, blocked vents, or high ambient temperatures. If your drill becomes too hot to touch, stop for 15-20 minutes to cool. Ensure you’re using appropriate speeds and not applying excessive pressure.
Check air vents for dust buildup and clear them regularly. For cordless models, allow batteries to cool as well—heat reduces battery performance and lifespan.
Chuck Issues
Chucks that won’t tighten, slip during use, or won’t release bits need attention. Clean the chuck mechanism and inspect jaws for wear or damage. Lubricate lightly with tool oil, but avoid over-lubrication which attracts dust.
If jaws are damaged or excessively worn, replace the chuck. Most manufacturers sell chuck replacement kits with instructions. A failing chuck compromises safety and performance, so address issues promptly.
Conclusion: Mastering Your Hammer Drill Investment
The hammer drill essential features guide has equipped you with the knowledge to select, operate, and maintain these powerful tools effectively. Understanding hammer action, variable speed, torque control, and safety features transforms a confusing purchase decision into an informed investment.
Remember that the most expensive tool isn’t always the best choice. Match features to your specific needs, prioritize safety and ergonomics, and practice proper technique. With this knowledge, you’ll tackle concrete, brick, and masonry projects with confidence while protecting yourself and your equipment.
Keep this guide handy for reference when shopping or troubleshooting. As you gain experience, you’ll develop preferences for certain features and techniques that work best for your projects. Happy drilling!
