
Hammer drills are essential for drilling into tough materials like concrete and masonry. This guide breaks down every important hammer drill feature, from hammer mechanisms to chuck types, helping you make an informed purchase decision. You’ll learn how to match drill features to your specific project needs.
Key Takeaways
- Hammer Mechanism: The defining feature that combines rotary motion with rapid hammering action (measured in BPM) to break through hard materials.
- Speed Control: Variable speed triggers and multiple gear settings allow you to match RPM to material type and project requirements.
- Chuck Types: 1/2-inch keyless chucks are standard, but SDS chucks offer faster bit changes for heavy-duty work.
- Power Sources: Corded models provide unlimited power for professionals, while 18V-20V cordless hammer drills offer DIY flexibility.
- Torque Settings: Adjustable clutches (typically 15-30 settings) prevent screw stripping and provide control for different materials.
- Handle Design: D-handles with anti-vibration technology reduce fatigue during extended use in tough materials.
- Additional Features: LED lights, depth stops, and brushless motors add convenience and extend tool life.
Introduction: Why Understanding Hammer Drill Features Matters
Buying a hammer drill without knowing its features is like buying a car without checking the engine. You might get somewhere, but you won’t know why it works or how to make it work better. This guide will walk you through every important hammer drill feature, explaining what each one does and why it matters for your projects.
Whether you’re hanging shelves in concrete or tackling a major renovation, understanding these features will help you choose the right tool and use it correctly. We’ll cover everything from basic hammer mechanisms to advanced features that separate good drills from great ones.
Understanding Hammer Drill Basics
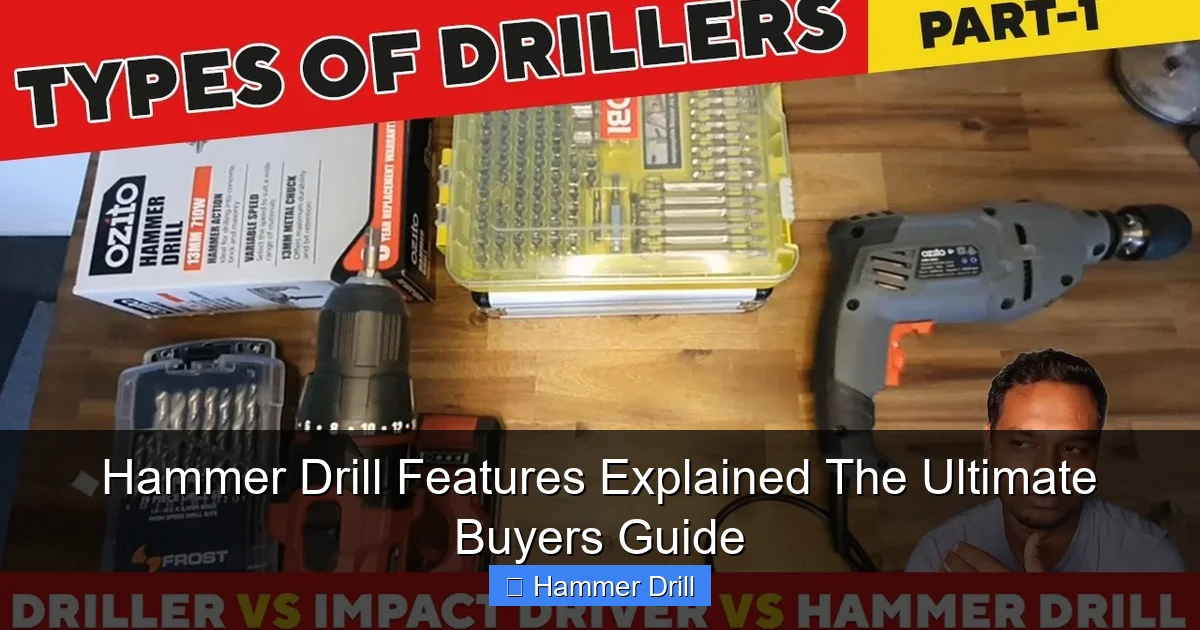
Before diving into specific features, let’s clarify what makes a hammer drill different from other power tools. A hammer drill looks similar to a regular drill but works differently when you need to bore into hard materials.

Visual guide about Hammer Drill Features Explained The Ultimate Buyers Guide
Image source: tool.com
What Makes It a Hammer Drill
The key difference is in the name. A hammer drill literally hammers while it drills. Inside the tool, a clutch mechanism creates a rapid back-and-forth motion that delivers thousands of tiny hammer blows per minute. This action breaks up concrete, brick, and stone while the drill bit simultaneously grinds away material.
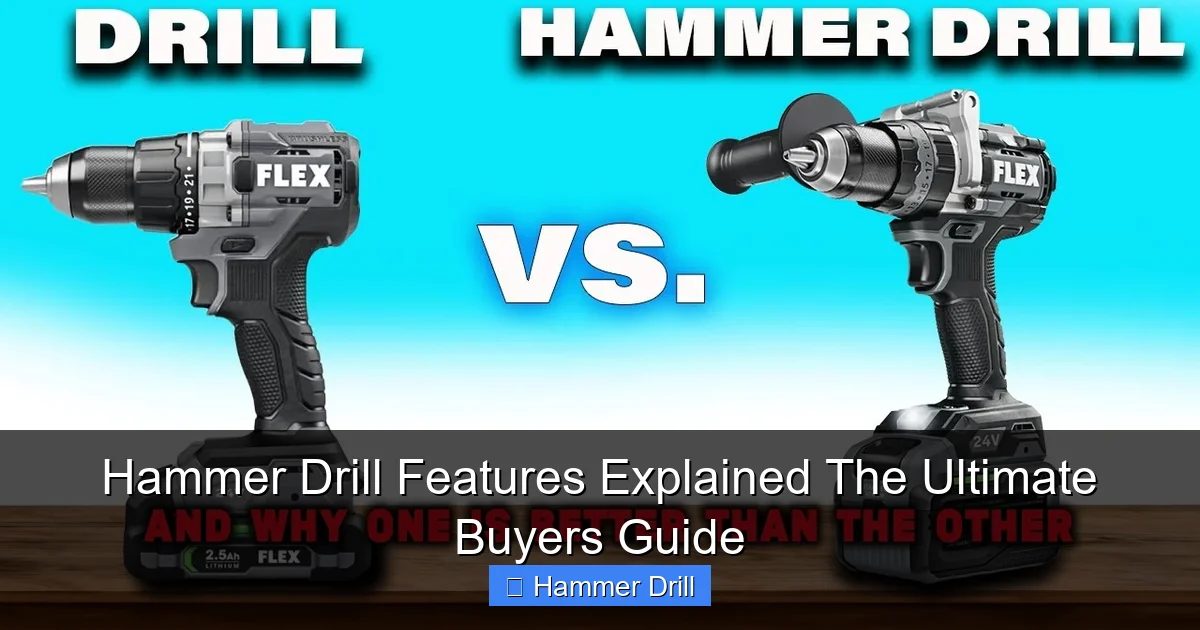
Regular drills simply spin. They work great for wood, metal, and plastic, but they’ll struggle or fail completely with masonry. If you’re confused about the differences, our guide on the difference between a hammer drill and regular drill explains this in detail.
When Should You Use a Hammer Drill
Use a hammer drill for any project involving concrete, brick, block, or stone. Common tasks include:
- Hanging shelves on concrete walls
- Installing electrical boxes in masonry
- Anchoring furniture to garage floors
- Running cables through basement walls
- Mounting outdoor fixtures on brick
For wood, metal, or plastic projects, switch to regular drill mode if your hammer drill has one, or use a standard drill/driver.
Key Feature #1: The Hammer Mechanism Explained
This is the heart of every hammer drill. Without this feature, you just have a regular drill. Understanding how it works helps you choose the right tool and use it effectively.
Visual guide about Hammer Drill Features Explained The Ultimate Buyers Guide
Image source: i.ytimg.com
How Hammer Action Works
Inside your hammer drill, a set of gears called a hammer clutch creates the pounding action. When you engage hammer mode, these gears click together and apart rapidly. This creates a forward-and-back motion that delivers impact force while the bit continues spinning.
Think of it like a tiny jackhammer built into your drill. The hammering action breaks up the material while the rotating flutes of the drill bit carry away dust. This combination makes drilling into concrete possible without overheating your tool or yourself.
Impact Rate (BPM)
Hammer drills list their impact rate in blows per minute (BPM). Entry-level models offer 1,500-3,000 BPM, while professional-grade tools can reach 5,000 BPM or more. Higher BPM means faster drilling in tough materials, but it also means more vibration and heat.
For most DIY projects, a hammer drill with 2,500-3,500 BPM provides the best balance of power and control. Professionals working all day might prefer higher BPM ratings for speed, accepting the trade-off in vibration.
Hammer Mode vs. Drill Mode
Most hammer drills feature a mode selector switch that lets you choose between hammer drill, regular drill, and sometimes just hammer action (for chipping). This versatility makes one tool suitable for multiple tasks.
When installing a TV mount, you might use regular drill mode to drive screws into wood studs, then switch to hammer mode for concrete anchors. This eliminates the need for two separate tools. Some budget models only offer hammer drill mode, which works fine but isn’t ideal for precision work in softer materials.
Key Feature #2: Speed Settings and Variable Control
Speed control might seem simple, but it’s one of the most important hammer drill features for getting professional results. Using the wrong speed can damage materials, bits, or your drill.
Visual guide about Hammer Drill Features Explained The Ultimate Buyers Guide
Image source: i.ytimg.com
Variable Speed Trigger
Every quality hammer drill includes a variable speed trigger. The harder you press, the faster the drill spins. This gives you fingertip control for starting holes precisely and adjusting speed based on resistance.
When drilling into concrete, start slow to create a guide hole, then increase speed as the bit bites. For driving screws, use low speed for control and to prevent stripping. Practice on scrap material to get comfortable with how your trigger responds.
RPM Ranges Explained
Hammer drills list speed in revolutions per minute (RPM). Most models offer two speed ranges:
- Low range (0-800 RPM): Perfect for large bits, driving screws, and high-torque tasks
- High range (800-1,500+ RPM): Ideal for small bits and fast drilling in softer materials
Two-speed drills automatically shift between ranges based on load, or you can manually select with a switch. Single-speed models are simpler but less versatile. For general use, a two-speed hammer drill provides the flexibility most projects need.
Matching Speed to Material
Different materials require different speeds. Here’s a quick reference:
- Concrete/brick: 500-800 RPM in hammer mode
- Wood: 800-1,500 RPM in drill mode
- Metal: 300-600 RPM in drill mode
- Driving screws: 200-400 RPM
Using too high a speed in concrete can overheat the bit and wear out your hammer mechanism faster. Too slow in wood will cause splintering and poor hole quality. Check your drill’s manual for recommended speeds with specific bit types.
Key Feature #3: Chuck Types and Sizes
The chuck is the part that holds your drill bits. It’s the interface between your tool and the work, so its design and quality significantly impact performance and convenience.
Standard Chuck Types
Most consumer hammer drills use a 1/2-inch keyless chuck. This means you can tighten and loosen bits by hand without tools. Keyless chucks offer convenience but can slip under heavy load if not tightened properly.
Some professional models still use keyed chucks that require a small wrench for tightening. These provide maximum grip strength and are less likely to loosen during heavy hammering. If you work with large bits or heavy loads, a keyed chuck might be worth the extra time.
SDS Chuck Systems
For heavy-duty concrete work, consider a rotary hammer with SDS (Slotted Drive System) chuck. SDS chucks use a special bit design that slides in and locks automatically. No tightening required.
SDS bits are more expensive, but the system allows faster bit changes and better power transfer. If you’re drilling many holes in concrete daily, an SDS rotary hammer beats a standard hammer drill. For occasional use, a standard 1/2-inch chuck works fine.
Chuck Size Compatibility
Chuck size determines the maximum bit shank diameter your drill can accept. Standard sizes include:
- 1/4-inch: Light-duty, compact drills
- 3/8-inch: Mid-range, good for DIY
- 1/2-inch: Standard for most hammer drills, accepts all common bits
Always ensure your chuck size matches the bits you plan to use. A 1/2-inch chuck can accept smaller bits with adapters, but a 3/8-inch chuck can’t handle larger 1/2-inch shanks. For versatility, choose a 1/2-inch chuck.
Key Feature #4: Power Source Options
Power source determines where and how you can use your hammer drill. The choice between corded and cordless affects performance, convenience, and cost.
Corded Hammer Drills
Corded models plug into standard outlets and deliver consistent, unlimited power. They’re ideal for professional use or projects where you’ll be drilling many holes in a single location.
Most corded hammer drills draw 6-10 amps and run on 120V power. Higher amp ratings mean more power for tough materials. The main advantage is never running out of battery mid-project. The downside is managing extension cords and limited portability.
Cordless Hammer Drills
Cordless hammer drills run on rechargeable batteries, typically lithium-ion. Voltage ratings range from 12V to 20V, with higher voltage providing more power and faster drilling.
For most DIY projects, an 18V or 20V hammer drill offers the best balance of power and weight. Light-duty tasks like hanging pictures might only need a 12V model. If you’re considering cordless, check out our best cordless drill recommendations for top models across all categories.
Battery Considerations
Amp-hour (Ah) ratings determine runtime. A 2.0Ah battery lasts about half as long as a 4.0Ah battery under the same load. For serious projects, buy a hammer drill that includes at least two batteries, or plan to purchase a spare.
Lithium-ion batteries are lighter, hold charge longer, and have no memory effect. They cost more but last longer than older NiCad batteries. If you already own other cordless tools, choose a hammer drill that uses the same battery platform to save money.
Key Feature #5: Torque Settings and Clutch
Torque is rotational force. Your hammer drill’s torque setting controls how much twisting force it delivers before the clutch slips. This prevents damage to screws, bits, and materials.
Understanding Torque Ratings
Torque is measured in inch-pounds (in-lbs) or foot-pounds (ft-lbs). Entry-level hammer drills offer 300-500 in-lbs, while professional models can exceed 1,000 in-lbs. Higher torque means you can drive larger screws and drill bigger holes.
For concrete work, you’ll use less torque than for wood projects. The hammer action does most of the work in masonry, so you don’t need maximum torque. In wood, higher torque drives screws faster and more efficiently.
Adjustable Clutch Settings
The clutch is a collar near the chuck with numbered settings (usually 15-30 positions). Each number represents a different torque threshold. Setting 1 delivers low torque for small screws, while higher numbers allow more force for larger fasteners.
To set your clutch, start with a low number and test on scrap material. Increase until the screw sits flush without stripping. This prevents cam-out (when the bit slips out of the screw head) and protects delicate materials from damage.
Practical Torque Applications
Here’s how torque settings work in real projects:
- Setting 3-5: Small screws in drywall or soft wood
- Setting 8-12: Medium screws in studs or concrete with anchors
- Setting 15-20: Large lag screws in framing
- Drill mode (no clutch): Pure drilling without torque limitation
When drilling in hammer mode, the clutch typically disengages since you’re not driving screws. Always switch back to drill mode when you need maximum power without clutch intervention.
Key Feature #6: Handle Design and Vibration Control
Handles might seem like a minor feature, but they dramatically affect comfort, control, and safety during extended use. Poor ergonomics lead to fatigue and mistakes.
Handle Types
Most hammer drills feature a pistol grip with the trigger in the handle. This design offers good control for general drilling. For heavy hammering, many models include a D-handle on the front that you grip with your second hand.
The D-handle provides better leverage when pushing against tough materials. Some models let you rotate the D-handle for right- or left-handed use. For overhead work, a pistol grip alone might be more comfortable. Consider the types of projects you’ll tackle most often.
Vibration Control Technology
Hammer drills create significant vibration that can cause hand fatigue and white finger syndrome with prolonged use. Anti-vibration technology uses rubber isolators or counterweights to reduce transmitted vibration by 30-50%.
Look for models with “AVS” (Anti-Vibration System) or similar branding. While these cost more, they’re worth it if you use your hammer drill regularly. Less vibration means more control, cleaner holes, and less fatigue at the end of the day.
Weight and Balance
Hammer drills typically weigh 4-7 pounds without battery. Heavier models often have more power, but they’re harder to maneuver in tight spaces. Cordless models add 1-2 pounds with a battery.
Test the balance by holding the drill as if you’re drilling. The weight should feel centered, not nose-heavy. A well-balanced hammer drill reduces wrist strain and improves accuracy, especially during overhead work.
Key Feature #7: Additional Features That Matter
Beyond the core features, several extras can make your work easier, safer, and more professional. These features separate basic tools from premium ones.
LED Work Lights
LED lights illuminate your work area when drilling in dark corners, basements, or inside walls. They’re powered by the drill’s battery and turn on automatically with the trigger.
Positioning varies by model. Some LEDs mount near the chuck, while others shine from the base. Test the light angle before buying. A good LED should illuminate the exact spot where the bit contacts the material without casting shadows.
Depth Stops
Depth stops let you drill holes to a precise, consistent depth. This is essential for installing anchors, running cables, or any project requiring repeatable hole depths.
Most hammer drills include an adjustable rod that attaches to the side handle. Set it to your desired depth, and the rod hits the surface when you reach the right depth. For production work, this feature saves time and ensures consistency.
Belt Clips and Bit Holders
Side-mounted belt clips let you hang your drill when not in use, keeping it accessible and off the ground. Some models include magnetic bit holders on the side, giving you quick access to commonly used bits.
These features are small but valuable for professionals working on ladders or scaffolding. They prevent dropping tools and reduce trips to your tool bag. DIY users benefit too when working in cluttered garages.
Brushless Motors
Brushless motors eliminate the carbon brushes found in traditional motors. This reduces maintenance, increases efficiency, and extends battery life by 15-30%.
Brushless hammer drills cost more upfront but last longer and perform better under load. They’re especially valuable for cordless models where battery life matters most. Look for “brushless” in the product description or model name.
How to Choose the Right Hammer Drill for Your Needs
With so many features available, choosing the right hammer drill can feel overwhelming. Focus on your most common projects and prioritize features accordingly.
DIY vs. Professional Use
For occasional home projects, a 20V cordless hammer drill with a 1/2-inch keyless chuck and basic features offers the best value. You’ll pay $80-150 and get plenty of power for hanging shelves, mounting TVs, and light concrete work.
Professionals need durability, power, and reliability. Look for 18V cordless models with brushless motors, anti-vibration systems, and at least two batteries. Expect to pay $200-400 for a quality pro-grade tool.
Material Types and Frequency
What will you drill most often? For concrete and masonry, prioritize BPM rating and hammer mechanism quality. For wood and metal, focus on speed control and torque settings.
If you drill daily, invest in a rotary hammer with SDS chuck. For weekly projects, a standard hammer drill works. For monthly tasks, a budget model with basic features is fine. Match your purchase to how often you’ll use the tool.
Budget Considerations
Hammer drills range from $50 for basic corded models to $500+ for professional cordless kits. Set a budget based on your needs, then prioritize features within that range.
At $100-150, you get a capable DIY hammer drill with most essential features. At $200-300, you add brushless motors, better vibration control, and more accessories. Above $300, you’re paying for professional durability and maximum performance.
Troubleshooting Common Hammer Drill Issues
Even quality tools develop problems. Understanding these issues helps you fix them quickly or know when to seek professional repair.
Overheating Problems
If your hammer drill gets too hot, stop using it immediately. Overheating damages motors and batteries. Common causes include:
- Using too high a speed in tough materials
- Applying excessive pressure
- Clogged ventilation holes
- Old or failing motor
Solution: Let the drill cool for 15-30 minutes. Clean dust from vents. Use lower speed and let the tool do the work. If overheating continues, the motor or internal components may need professional service.
Chuck Slipping or Sticking
Keyless chucks can slip if not tightened enough or if worn. Clean the chuck threads regularly and tighten firmly. If it still slips, replace the chuck or use a keyed chuck for heavy loads.
Sticking occurs when debris gets inside. Remove the chuck (usually with a hex key) and clean it with compressed air. Lubricate lightly with tool oil before reassembly.
Loss of Hammer Action
If your hammer drill stops hammering but still spins, the hammer clutch may be worn or damaged. This is a common failure point in high-use tools.
Check that you’re in hammer mode. If that’s correct, the internal clutch mechanism likely needs replacement. For DIY users, this often means buying a new drill. Professionals might have it serviced under warranty.
Battery and Charging Issues
Cordless hammer drills won’t run if the battery is dead, damaged, or not making proper contact. Clean battery contacts with a dry cloth. If batteries won’t hold charge, they’ve likely reached end of life (2-3 years typical).
Always use the charger that came with your drill. Third-party chargers can damage batteries. Store batteries at room temperature and partial charge when not in use for longest life.
Conclusion: Making Your Final Decision
Understanding hammer drill features transforms you from a casual buyer into an informed tool user. You now know how each feature affects performance and which ones matter most for your specific projects.
Remember to prioritize the hammer mechanism, speed control, and chuck type above all else. Power source and additional features come next based on your needs. Test any drill you’re considering to ensure it feels comfortable and balanced in your hands.
With this knowledge, you’ll choose a hammer drill that serves you well for years, handling every concrete, brick, or masonry project with confidence and professional results.
