
This guide breaks down every hammer drill feature you need to know. Learn how power sources, operating modes, chuck types, and specialized functions affect performance. We provide clear explanations and practical tips to help you select the perfect hammer drill and use it safely and effectively for your next project.
Key Takeaways
- Power Source is Key: Corded models offer unlimited runtime for heavy jobs, while modern cordless hammer drills provide impressive power and portability for most tasks.
- Three Modes are Essential: A true hammer drill’s ability to switch between Drill, Hammer Drill, and Drive modes makes it a versatile all-in-one tool.
- The Chuck Holds the Power: A keyless chuck offers convenience, but a robust SDS system is non-negotiable for serious, frequent masonry work.
- Vibration Control Protects You: This crucial feature reduces fatigue and long-term injury risk, making it a top priority for user comfort and safety.
- Clutch Settings Save Screws and Material: An adjustable clutch prevents over-driving and stripping screws, protecting your workpiece and fasteners.
- Extra Features Add Precision and Safety: Built-in LEDs, battery gauges, and auxiliary handles aren’t just bonuses; they are vital for control and accuracy.
- The Right Bit Makes All the Difference: Always use carbide-tipped masonry bits in hammer drill mode; using the wrong bit can ruin your tool and project.
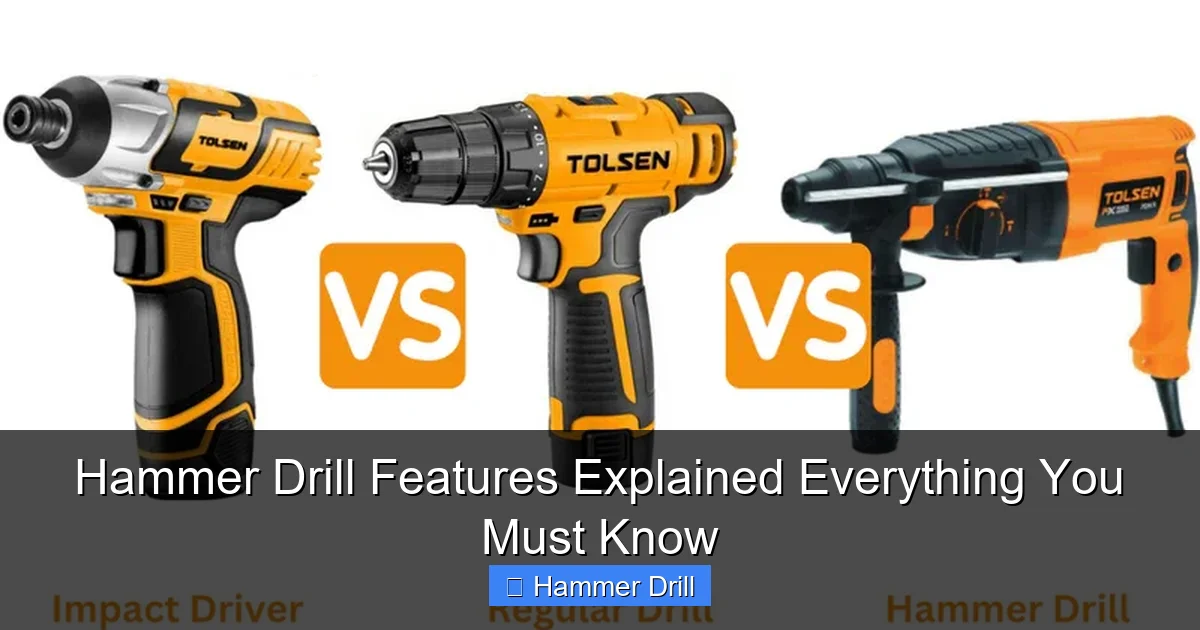
Hammer Drill Features Explained: Everything You Must Know
Choosing the right power tool can be confusing. A hammer drill looks a lot like a regular drill. But it packs a special punch for tough jobs. This guide will walk you through every major hammer drill feature. You will learn what each part does and why it matters. By the end, you’ll feel confident picking the perfect tool. You’ll also know how to use it safely and effectively. Let’s break it down, feature by feature.
1. The Heart of the Tool: Power Source
This is your first big choice. Will your hammer drill get power from a wall outlet or a battery? Both have pros and cons.

Visual guide about Hammer Drill Features Explained Everything You Must Know
Image source: ronixtools.com
Corded Hammer Drills
Corded models plug directly into an electrical outlet. They give you consistent, unlimited power. There is no battery to run out of juice in the middle of a job. This makes them ideal for big projects. Think drilling dozens of holes in concrete or stone. They are often more powerful than their cordless cousins. The downside? You are always tied to a cord and an outlet. This limits mobility and can be a tripping hazard on a worksite.
Cordless Hammer Drills
This is the most popular choice for DIYers and many pros. Cordless hammer drills run on rechargeable battery packs. They offer amazing freedom and portability. You can work anywhere—up a ladder, in the backyard, or in a room with no power. Modern lithium-ion batteries are powerful. They hold a charge for a long time. Many people find a great cordless drill meets all their needs. For big masonry jobs, just have a spare battery charging. The trade-off is that they can be less powerful than corded models. The battery will also eventually need replacing.
Tip: Look for a tool with a fast charger. For a busy pro, a 30-minute charger is a game-changer. For a weekend warrior, a standard 1-hour charger is often just fine.
2. Understanding the Three Operation Modes
This is the magic that makes a hammer drill so useful. A good model will have a dial near the chuck. It lets you switch between modes. Don’t confuse this with a regular drill. Understanding the difference between a drill and a hammer drill starts right here.

Visual guide about Hammer Drill Features Explained Everything You Must Know
Image source: tool.com
Drill Mode (Standard)
Symbolized by a single drill bit. In this mode, the tool works just like a regular power drill. The motor spins the chuck and bit. There is no hammering action. Use this for drilling into wood, metal, plastic, or driving screws. It’s your go-to for all non-masonry tasks.
Hammer Drill Mode (The Star Feature)
Symbolized by a drill bit with a small hammer or impact waves. This is the special mode. When engaged, the motor does two things at once. It spins the bit. It also pushes it forward in rapid, short, pounding pulses. This hammering action breaks up tough material like concrete, brick, or stone as the bit spins. It makes drilling into masonry possible without superhuman strength.
Drive/Screwdriver Mode
Symbolized by a screw. This mode is for driving and removing screws. It typically uses a lower speed and higher torque setting. Many hammer drills pair this with an adjustable clutch. This prevents you from over-tightening and stripping screw heads.
Tip: Always use the correct mode for your material. Using hammer mode on wood will shred the hole. Using drill mode on concrete will burn out your bit and strain the motor.
3. The Chuck: Holding Your Bit Securely
The chuck is the clamp at the front of the drill that holds the bit. The type of chuck determines what bits you can use and how easy they are to change.
Visual guide about Hammer Drill Features Explained Everything You Must Know
Image source: kakilai.sg
Keyless Chuck
This is the most common type on combo hammer drills. You open and close it by hand. Just twist the sleeve to tighten or loosen it on the bit. It’s super convenient. You can swap bits in seconds without looking for a key. Most are made of metal, but some budget models use plastic. A metal chuck is more durable and grips bits better.
Keyed Chuck
This older style requires a special “key” (a small geared tool) to tighten and loosen it. It provides a very secure grip. But it’s much less convenient because you can lose the key. You rarely see these on new hammer drills anymore.
SDS-Plus and SDS-Max Chucks
This is the professional standard for dedicated rotary hammer drills. SDS stands for “Slotted Drive System.” These chucks accept special SDS shank bits. The bits click in and out with a simple push-pull and twist motion. More importantly, they allow the bit to slide back and forth inside the chuck. This enables a much more powerful and efficient hammering mechanism. If you’re doing serious masonry work, an SDS chuck is a must.
Tip: For a general-purpose tool, a 1/2-inch metal keyless chuck is perfect. It accepts a wide range of standard bits. If you’re buying a tool just for concrete, look for an SDS model.
4. Vibration Control (Anti-Vibration Technology)
This is a crucial but often overlooked feature. Hammering into concrete creates a lot of vibration. This vibration travels into your hands, arms, and shoulders. Over time, it can cause fatigue, pain, and even long-term conditions like Hand-Arm Vibration Syndrome (HAVS).
Higher-end hammer drills have built-in anti-vibration systems. These use counterweights, springs, or floating mechanisms. They absorb and dampen the shock before it reaches you. The tool will feel smoother and quieter in your hands. Your hands will be less tired after a long session.
Tip: If you plan to use your hammer drill for more than a few holes at a time, prioritize models with good vibration control. Your body will thank you.
5. Adjustable Clutch (Torque Control)
The clutch sits between the motor and the chuck. It’s a mechanical slip-clutch. When the resistance on the bit reaches a set level, the clutch disengages. The motor spins, but the chuck stops. This prevents over-torque.
You control it with a numbered dial near the chuck. Lower numbers mean the clutch will slip sooner (less torque). Higher numbers mean it will slip later (more torque). Use the clutch in Drive mode.
- Driving Small Screws into Drywall: Use a low setting (e.g., 3-5). The clutch will slip before you drive the screw too deep and break the drywall surface.
- Driving Large Lag Bolts into a Stud: Use the highest setting or the drill icon (which bypasses the clutch entirely for maximum power).
Tip: Start with a low clutch setting and gradually increase it until the screw is driven to the perfect depth. This saves screws and your workpiece. For more on this technique, see our guide on how to use a drill for screws into a wall.
6. Variable Speed Trigger & Gear Selector
These two features give you precise control over rotation speed (RPM).
Variable Speed Trigger
This is the trigger you press. The harder you press, the faster the drill spins. A light press gives you slow, controlled rotation. This is perfect for starting a hole without the bit “walking” away. Or for driving a screw slowly. Squeezing the trigger all the way gives you full speed.
2-Speed Gearbox
This is usually a switch on top of the tool. It changes the internal gears.
- Speed 1 (Low Speed, High Torque): Use this for driving large screws, drilling large holes, or using the hammer function on masonry. It provides more twisting power.
- Speed 2 (High Speed, Low Torque): Use this for drilling smaller holes in wood or metal, or driving small screws quickly.
Tip: For masonry, always use Speed 1 (low gear). The hammering action works best with slower rotation and higher torque.
7. Essential Extra Features for Ease and Safety
Modern hammer drills come with helpful add-ons.
Built-in LED Work Light
A small LED near the chuck lights up your work area when you pull the trigger. This is incredibly useful in dim spaces like under a sink or in an attic. Some lights even have a delay to stay on for a few seconds after you release the trigger.
Battery Fuel Gauge
On cordless models, a button or indicator on the battery shows how much charge is left. No more guessing if you have enough power to finish the job.
Auxiliary Handle (Side Handle)
Most hammer drills come with a detachable side handle. You screw it into a threaded hole on the tool’s body. This gives you a second grip point. It provides massive improvements in control and stability, especially during the powerful hammering action. Always use it for masonry drilling.
Depth Stop Rod
A simple rod that clips onto the side of the drill. You set it to a specific length. It stops the bit from drilling deeper than you want. Essential for tasks like installing wall plugs where depth is critical.
8. Choosing and Using the Right Drill Bits
The best hammer drill is useless with the wrong bit. For hammer drill mode, you must use masonry bits. These are designed to handle the pounding.
- Material: Look for bits with a carbide tip. Carbide is extremely hard and can crush concrete without dulling quickly.
- Shank: Ensure the bit’s shank fits your chuck. Standard round shanks for keyless chucks. SDS shanks for SDS chucks.
- Size: Match the bit diameter to the hole you need. Most hammer drills have a maximum capacity (e.g., “1/2-inch in concrete”). Don’t exceed it.
Tip: When drilling masonry, don’t push too hard. Let the hammer action of the tool do the work. Applying excessive pressure can overheat and dull the bit.
Troubleshooting Common Hammer Drill Issues
Even good tools can have problems. Here’s a quick fix guide.
Problem: Drill isn’t hammering.
Solution: Check the mode selector. Make sure it’s turned to the hammer drill symbol, not just the drill symbol.
Problem: Bit is spinning but not drilling into concrete.
Solution: You are likely using a standard drill bit. Switch to a carbide-tipped masonry bit. Also, ensure you are in the correct mode and low gear.
Problem: Chuck is wobbling or bit is slipping.
Solution: Tighten the chuck firmly by hand. If it’s a keyed chuck, use the key. If the problem persists, the chuck or internal components may be worn and need service.
Problem: Tool is overheating.
Solution: Stop immediately. Let the tool cool down. You may be pushing too hard, using a dull bit, or using the wrong mode (e.g., hammer mode on metal). For cordless tools, the battery may also be overheating.
Conclusion: Your Path to the Perfect Tool
Understanding hammer drill features empowers you to make a smart purchase. You’re no longer just looking at brands and prices. You’re evaluating power sources for your job site. You’re checking for the vital three-mode selector. You’re looking for a comfortable grip and vibration control to protect yourself.
Remember, a hammer drill is a specialized tool. It combines the functions of a drill, an impact mechanism, and a screwdriver. Knowing the difference between a hammer drill and regular drill helps you use each one correctly. This saves your tools, your materials, and your energy.
Start by listing the jobs you need to do. Match those needs to the features we’ve covered. Whether you’re hanging a shelf on a brick wall or building a patio, the right hammer drill—used correctly—will make the job faster, easier, and more professional. Now go tackle that project with confidence!
