
This guide unlocks the full potential of your hammer drill for indoor projects. You will learn step-by-step how to tackle masonry, remove tile, and even do light chiseling. We cover safety, tool selection, and expert techniques to ensure successful results.
Key Takeaways
- Know Your Tool’s Modes: Use drill-only mode for wood/metal and hammer-drill mode for masonry to prevent damage and ensure efficiency.
- Carbide-Tipped Bits Are Essential: For concrete, brick, or stone, always use masonry bits designed to withstand the hammering action.
- Anchor Everything Securely: A hammer drill is the key to installing reliable wall anchors in solid walls for shelves, TVs, and heavy artwork.
- Safety is Non-Negotiable: Always wear safety glasses, a dust mask, and hearing protection. Be 100% certain you are not drilling into electrical wires or pipes.
- Let the Tool Do the Work: Apply steady, moderate pressure. Excessive force can overheat the bit or stall the motor.
- It’s a Versatile Demolition Helper: With a chisel or flat bit, your hammer drill can carefully remove old tile, mortar, or chip away small sections of concrete.
- Clean as You Go: Use a vacuum to control dust during and after drilling. This keeps your work area safe and clean.
Explore Hammer Drill Indoor Uses for Your Home Projects
Have you ever tried to hang a shelf on a concrete wall or mount a TV on a brick fireplace? A regular drill just spins helplessly. This is where the hammer drill becomes your home project hero. It combines spinning force with a pounding action to chew through tough materials. This guide will show you how to use this powerful tool inside your home safely and effectively.
We will walk through all the common indoor uses. You will learn how to drill into masonry, remove old tile, and more. We will also cover crucial safety tips and troubleshooting. Let’s get started and turn those challenging projects into simple tasks.
Understanding Your Hammer Drill
Before you start, you need to know your tool. Most hammer drills have three modes. These are controlled by a dial or collar near the chuck.
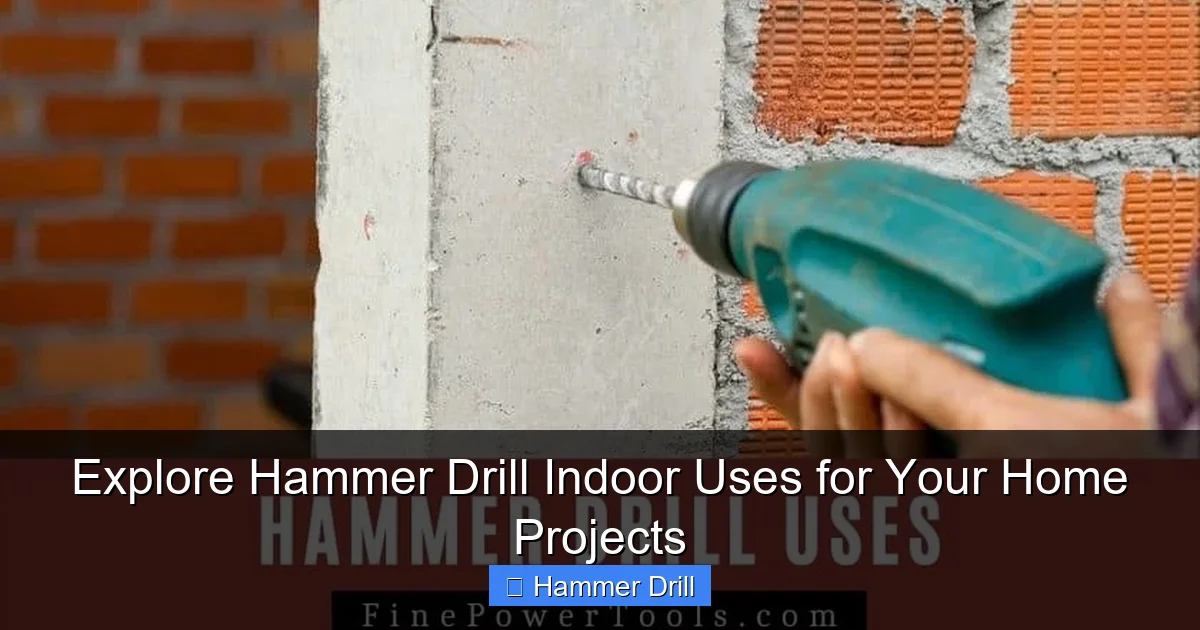
Visual guide about Explore Hammer Drill Indoor Uses for Your Home Projects
Image source: finepowertools.com
Drill Mode (Icon: Drill Bit)
This is the standard mode. It works just like a regular drill. Use this for drilling into wood, metal, drywall, or driving screws. The hammering mechanism is off. If you’re confused about when to switch, our guide on the difference between a hammer drill and regular drill offers a clear comparison.
Hammer Drill Mode (Icon: Drill Bit with Arrows)
This is the magic mode. The drill bit spins and hammers forward rapidly. Use this for concrete, brick, stone, block, and tile. This is the mode for almost all the projects in this guide.
Hammer-Only or Chisel Mode (Icon: Hammer)
Some models have this function. The chuck does not spin. It only hammers back and forth. You use this mode with a flat chisel or pointed chisel bit for light demolition, like breaking tile or chipping away mortar.
Essential Safety Gear and Prep
Safety comes first. Drilling indoors creates dust and noise. Protect yourself and your home.
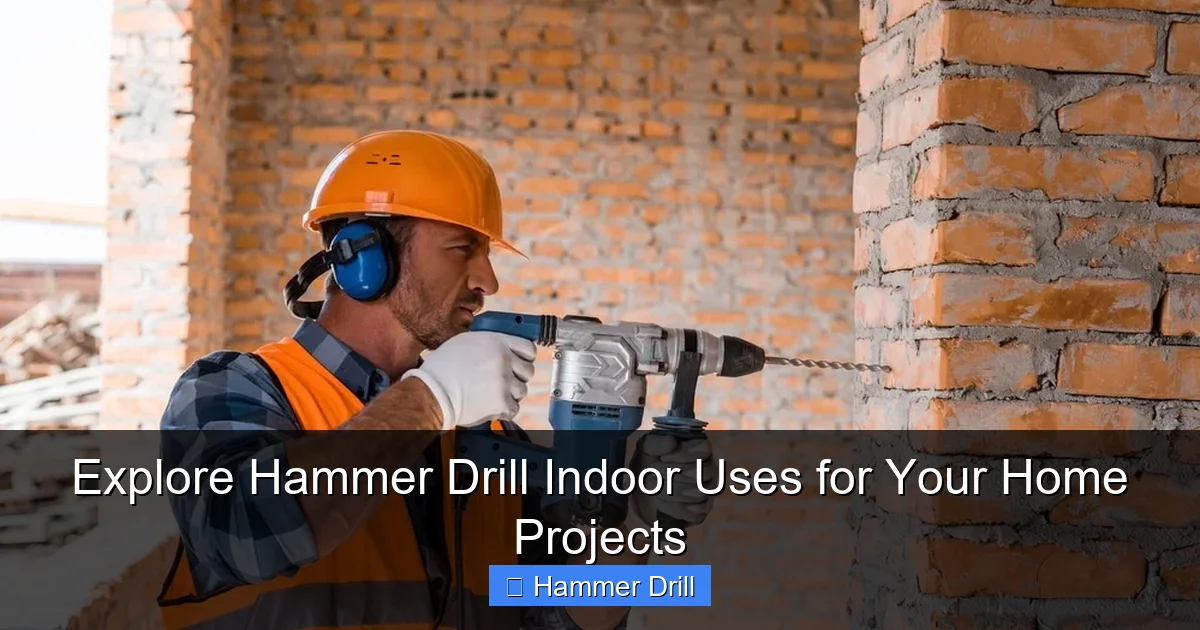
Visual guide about Explore Hammer Drill Indoor Uses for Your Home Projects
Image source: housejunkie.co.uk
- Eye Protection: Safety glasses are a must. Tiny fragments can fly.
- Hearing Protection: Hammer drills are loud. Use earplugs or earmuffs.
- Lung Protection: A basic dust mask or respirator prevents you from inhaling concrete or silica dust.
- Find Studs, Wires, and Pipes: Use a high-quality stud finder that also detects live wires and metal pipes. Never guess! For drilling into standard walls, our comprehensive guide on how to drill into a wall covers the basics of locating studs safely.
- Clear the Area: Move furniture and lay down a drop cloth. Connect a shop vacuum if possible.
Project 1: Drilling into Masonry for Anchors
This is the most common indoor use. You need to install a heavy shelf, a curtain rod bracket into a concrete lintel, or a safety grab bar in a tiled shower.
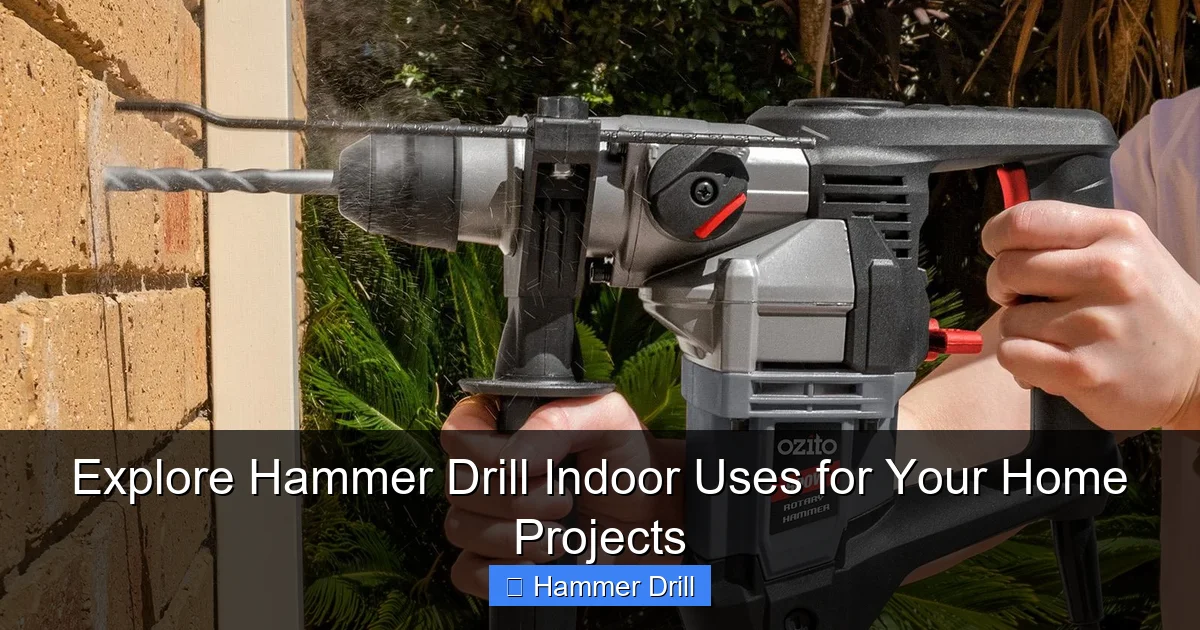
Visual guide about Explore Hammer Drill Indoor Uses for Your Home Projects
Image source: media.prod.bunnings.com.au
Step 1: Choose the Right Bit
You must use a carbide-tipped masonry bit. Match the bit size to your wall anchor. For example, a 1/4″ anchor needs a 1/4″ bit.
Step 2: Mark and Start Your Hole
Use a pencil or marker. For precise placement, make a small dimple with a center punch and hammer. This stops the bit from “walking” on the hard surface. Set your drill to hammer-drill mode.
Step 3: Drill the Hole
Hold the drill perpendicular to the wall. Apply firm, steady pressure. Let the tool do the work. You may need to pull the bit out occasionally to clear dust. Drill to the depth required by your anchor, often marked on the bit itself with tape.
Step 4: Clean and Insert Anchor
Use a vacuum or blast of air to remove all dust from the hole. A clean hole ensures the anchor grips properly. Tap your plastic or metal sleeve anchor into place. You’re now ready to screw in your fixture.
Project 2: Light Demolition and Tile Removal
Renovating a bathroom or kitchen? Your hammer drill can help with the tear-out.
Removing Old Wall Tile
Switch your drill to hammer-only mode (if available). Insert a flat chisel or wide scraping bit. Start at the edge of a tile or a grout line. Position the chisel at a shallow angle and gently squeeze the trigger. The hammering action will pop the tile off the wall. Work carefully to avoid damaging the wall behind it.
Chipping Out Old Mortar
Use a pointed chisel bit for this. You can carefully remove damaged mortar from between bricks or blocks for repointing. This requires a delicate touch to avoid chipping the bricks themselves.
Project 3: Creating Openings for Utilities
Need to run a new cable or pipe through a concrete block wall? A hammer drill with a large-diameter core bit (also called a diamond hole saw) can do it.
This is an advanced task. You must secure the drill firmly, often with a special guide. Start at a slow speed with light pressure. Use water to cool the bit and control dust if the bit is designed for wet cutting. This creates a neat, round hole without causing cracks.
Project 4: Drilling into Brick or Stone Accents
Many homes have interior brick or stone walls. The process is the same as for concrete. Use a masonry bit and hammer-drill mode. Be aware that brick can be softer and may drill more quickly. Stone can be harder and more variable. Go slow and steady.
Practical Tips for Success
- Use a Corded or Powerful Cordless Drill: For frequent masonry work, a corded hammer drill often has more sustained power. For convenience, a high-torque best cordless drill from our recommended list can be a great choice.
- Manage Dust with a Vacuum: Have a helper hold a vacuum nozzle right next your drilling point. This makes a huge difference.
- Don’t Force It: If progress stops, your bit may be dull or you may have hit rebar. Withdraw the bit and reassess.
- Cool the Bit: When drilling deep holes, pull out periodically to let the bit cool down.
Troubleshooting Common Problems
The Drill is Spinning But Not Drilling
You are likely in “drill-only” mode on a masonry surface. Switch to “hammer-drill” mode immediately. Also, check that you are using a masonry bit.
The Bit Gets Stuck or Overheats
You are applying too much pressure or not clearing dust. Ease up, pull the bit out to clear the flutes, and let it cool. Use a shorter bit if the hole is deep.
Excessive Vibration or Strange Noise
Stop immediately. The bit may be loose in the chuck. Tighten it securely. The bit could also be damaged or bent. Inspect and replace if needed.
Drill Slows Down or Stalls
The material may be harder than expected, or the drill’s battery/battery is underpowered. Ensure you’re using a tool with enough amp-hours (Ah) or amp (A) rating for the job.
Conclusion
A hammer drill is far more than a tool for pros. It’s the key to unlocking a world of sturdy, secure indoor home improvements. From mounting heavy items on solid walls to tackling small demolition tasks, it provides the power you need. Remember to always prioritize safety, choose the right bit and mode for the material, and let the tool’s hammering action do the hard work for you. With the knowledge from this guide, you can confidently explore all hammer drill indoor uses and complete your projects like a seasoned DIYer.
