
Hammer drills unlock professional-grade indoor projects by effortlessly penetrating concrete, brick, and masonry surfaces. This versatile power tool is essential for mounting heavy shelves, securing TV brackets, installing lighting fixtures, and running wiring through tough walls. Stop hiring contractors—tackle everything from hanging mirrors to basement renovations with confidence using your hammer drill’s dual-action mechanism.
Key Takeaways
- Mount heavy items securely in concrete walls using hammer mode and proper anchors.
- Switch modes for different materials – hammer for masonry, standard for wood and metal.
- Manage dust with a vacuum attachment to keep indoor air clean and surfaces tidy.
- Wear safety goggles and masks to protect against concrete particles and debris.
- Select carbide-tipped masonry bits for efficient drilling in tough indoor surfaces.
- Practice on scrap material first to perfect technique before drilling finished walls.
- Measure twice, drill once to avoid expensive repairs and wall damage.
Why This Matters / Understanding the Problem
We’ve all been there. You’re excited to hang that new shelf. Your drill is charged. The bit is sharp. Then… nothing. That wall just laughs at your regular drill. It spins and squeals but won’t bite. You’re left with a sore wrist and a dent in your confidence.
This is where a hammer drill becomes your best friend. It’s not just another power tool. It’s the difference between giving up and getting it done. The hammer drill adds a rapid hammering action to the rotation. This pulverizes tough materials like concrete, brick, and even stubborn drywall anchors. Suddenly, that impossible hole becomes easy.
Today, I’m sharing my personal list of Hammer Drill Indoor Uses 10 Practical Home Improvement Ideas. These are real projects I’ve tackled in my own home. No theory. Just proven results. You’ll learn exactly when and how to use this tool to transform your DIY game.
What You Need
Before we dive into the projects, let’s gather our gear. You don’t need much, but you need the right stuff.
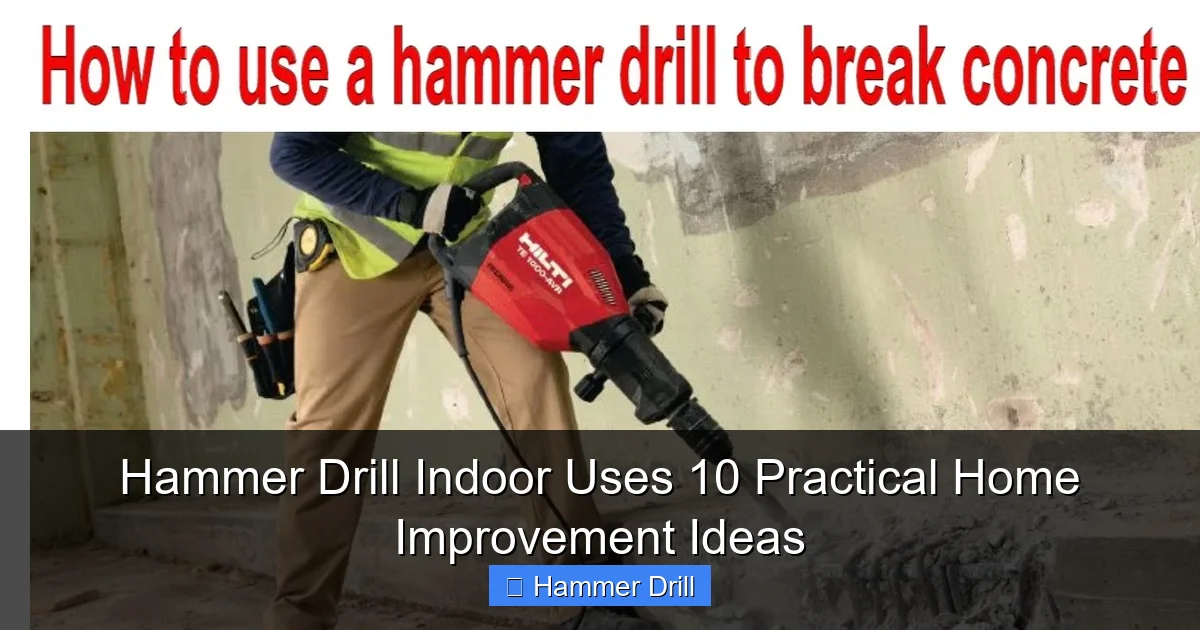
Visual guide about Hammer Drill Indoor Uses 10 Practical Home Improvement Ideas
Image source: i.ytimg.com
- Hammer drill – Corded or cordless both work. I prefer cordless for indoor maneuverability.
- Drill bits – Masonry bits for stone/brick, wood bits for studs, and metal bits for fixtures.
- Safety glasses – Non-negotiable. Dust and chips fly everywhere.
- Dust mask – Concrete dust is nasty. Protect your lungs.
- Shop vacuum – Makes cleanup quick and keeps your air clean.
- Stud finder – Essential for finding solid wood behind walls.
- Tape measure and pencil – For marking your spots.
- Level – So your shelves don’t look crooked.
- Masking tape – Helps prevent wall cracking and marks your spot clearly.
Step-by-Step Guide to Hammer Drill Indoor Uses 10 Practical Home Improvement Ideas
Here are ten projects I’ve completed using my hammer drill. Each one solves a common indoor problem. Follow these steps for professional results every time.
Visual guide about Hammer Drill Indoor Uses 10 Practical Home Improvement Ideas
Image source: thumbs.dreamstime.com
Step 1: Installing Heavy-Duty Shelves on Drywall or Concrete
Floating shelves look amazing. But they fall without proper anchors. Here’s how I secure them for good.
- Use your stud finder to locate wall studs. Mark them with pencil.
- Place a small piece of masking tape where you want to drill. This prevents the bit from wandering.
- Select a masonry bit slightly smaller than your anchor size.
- Set your drill to hammer mode. Start slow to create a guide groove.
- Apply steady, firm pressure. Let the hammer action do the work. Don’t force it.
- Drill to the depth of your anchor plus a quarter inch.
- Blow out dust with your mouth or use a vacuum attachment.
- Insert your anchor and mount the shelf bracket.
Pro tip: If you’re drilling into drywall without a stud, use a toggle bolt. The hammer drill makes quick work of creating the clean hole you need.
Step 2: Mounting a TV Bracket on a Brick Fireplace
That brick wall looks solid. It is. But your hammer drill will make it look like butter. I mounted my 65-inch TV here last winter.
- Hold your bracket against the wall. Use a level to make sure it’s straight.
- Mark each mounting hole with a pencil.
- Put on your safety glasses and dust mask. Brick dust is no joke.
- Choose a masonry bit that matches your anchor diameter.
- Start drilling at a 90-degree angle. Keep the drill perpendicular to the wall.
- Drill slightly deeper than your anchor length.
- Vacuum out all dust from the hole.
- Tap your anchor in with a hammer.
- Attach the bracket and mount your TV.
Warning: Never drill into the mortar joint. It’s weaker than the brick itself. Always drill through the brick for maximum hold.
Step 3: Hanging a Heavy Mirror in a Tiled Bathroom
Tiles crack easily. I learned this the hard way with a cracked bathroom mirror. Here’s the right way.
- Place tape over your drill spot. This prevents the bit from sliding and protects the tile glaze.
- Start with a small masonry bit. Drill a pilot hole through the tile only.
- Switch to your final size bit. The pilot hole guides the larger bit and prevents slipping.
- Use low speed and light pressure. Let the hammer action work gently on the tile.
- Once through the tile, you can increase speed if needed for the backing material.
- Clean out the hole thoroughly.
- Use plastic anchors designed for tile.
- Mount your mirror hardware.
Step 4: Installing Curtain Rods in Tile or Concrete Walls
Nothing ruins a bathroom faster than a broken tile. These steps keep everything intact.
- Measure and mark your bracket positions with a pencil.
- Cover marks with masking tape. This is your insurance policy.
- Use a carbide-tipped masonry bit. It’s essential for tile.
- Set your drill to the lowest hammer setting. Tile needs a gentle touch.
- Drill straight in. Don’t angle or wobble.
- Stop when you feel the bit break through the tile. That’s usually about 1/8 inch.
- Switch to a regular drill bit for the backing material if it’s wood or drywall.
- Install your anchors and attach the brackets.
Step 5: Running Electrical Cables Through Studs
Adding outlets or TV cables means drilling through studs. Your hammer drill makes this fast and clean.
- Turn off power at the breaker. Safety first.
- Use a stud finder to locate the exact center of each stud.
- Mark your drilling points at the same height on each stud.
- Select a wood spade bit sized for your cable diameter plus clearance.
- Switch your drill to regular drill mode (no hammer). Wood doesn’t need hammer action.
- Drill from the edge of the stud. This gives you better control.
- Keep the drill level. This ensures your cables run straight through.
- Deburr the hole edges with sandpaper to protect cables.
Pro tip: Always drill the hole 1/2 inch away from the edge of the stud. This keeps you clear of any nails or electrical wires running through the stud.
Step 6: Installing Light Fixtures on Brick or Concrete Ceilings
Recessed lighting in a basement or garage ceiling looks professional. But mounting the housing is tough without the right tool.
- Mark your light locations with a pencil.
- Use a stud finder to ensure you’re not hitting a joist.
- Choose a hole saw attachment for your hammer drill. This cuts perfect circles.
- Set the drill to hammer mode for masonry ceilings.
- Start at low speed. Let the hole saw find its grip.
- Apply steady pressure. Don’t push too hard or the motor will strain.
- Clear debris frequently. This keeps the hole saw cool and efficient.
- Once through, switch to a regular drill for mounting screws into the housing.
Step 7: Mounting Kitchen Cabinets on Concrete Walls
My basement kitchen has concrete walls. Standard drywall anchors were useless. Here’s how I secured everything.
- Hold the cabinet against the wall. Have a helper support it.
- Mark screw locations through the cabinet back.
- Use a long masonry bit. You’ll need depth for the cabinet thickness.
- Drill each hole to the same depth. Use a piece of tape on the bit as a depth guide.
- Blow out dust after each hole. Vacuum works best.
- Insert plastic or lead anchors.
- Drive screws with your drill set to low torque. This prevents stripping.
- Check level frequently during installation.
Step 8: Creating Holes for Plumbing Pipes in Walls
Adding a bathroom or laundry room means running pipes. Your hammer drill handles this cleanly.
- Plan your pipe route on paper first.
- Mark drill points on the wall where pipes will pass through studs.
- Use a hole saw or spade bit sized to your pipe plus 1/4 inch for clearance.
- Switch to drill-only mode for wood studs.
- Drill from both sides if the wall is thick. This prevents tear-out.
- Sand all edges smooth. Pipe edges can be sharp.
- Test fit your pipes before sealing holes.
Step 9: Installing Door Hardware on Solid Core Doors
Solid doors are dense. Regular drills struggle. A hammer drill powers through.
- Measure and mark your door for the handle height.
- Use the template that comes with your hardware.
- Drill the cross-bore hole first. Use a hole saw for the main bore.
- Switch to a spade bit for the latch hole. Hammer mode helps here.
- Drill slowly to prevent splintering on the door face.
- Chisel out any rough edges for a clean fit.
- Test fit all hardware before final assembly.
Step 10: Building a Home Gym Wall with Heavy-Duty Hooks
My garage gym needs serious anchors for pull-up bars and heavy bags. This is where the hammer drill shines.
- Locate wall studs or plan for concrete anchors.
- Mark hook positions with pencil and level.
- Use the largest masonry bit you need. Heavy bags require serious hardware.
- Drill deep enough for your anchor length plus safety margin.
- Clean holes thoroughly. Dust reduces anchor grip.
- Use steel expansion anchors for maximum strength.
- Torque bolts to manufacturer specs. Don’t overtighten.
- Test with weight before going full force.
Pro Tips & Common Mistakes to Avoid
After years of indoor hammer drill projects, I’ve learned some hard lessons. Let me save you the trouble.

Visual guide about Hammer Drill Indoor Uses 10 Practical Home Improvement Ideas
Image source: 911metallurgist.com
Tip #1: Always start with a small pilot hole. It guides your larger bit and prevents wandering. I learned this after ruining a perfect tile installation.
Tip #2: Don’t press too hard. Let the hammer action work. Forcing it overheats the motor and dulls bits faster. Use steady, firm pressure only.
Warning: Never use hammer mode on wood. It will splinter and tear out. Save hammer mode for masonry only. Regular drill mode is perfect for wood and metal.
Tip #3: Keep your bits sharp. Dull bits work harder and create more heat. I replace mine every six months with regular use. It makes a huge difference.
Tip #4: Control dust at the source. Hold your vacuum hose near the drill point. This captures 80% of the dust. Your lungs and floors will thank you.
Common mistake: Skipping the tape. That small piece of masking tape over your mark prevents so many headaches. It’s the cheapest insurance you can buy.
FAQs About Hammer Drill Indoor Uses 10 Practical Home Improvement Ideas
These questions come up every time I teach a workshop. Here are honest answers from my experience.
Can I use a regular drill instead of a hammer drill for indoor projects?
You can try. But you’ll be frustrated. Regular drills spin. They don’t hammer. For concrete, brick, or tile, you need that hammer action. I’ve seen people strip bits and burn out motors trying to force it. Save yourself the headache. Rent or buy a hammer drill for these specific jobs. It’s worth every penny.
What’s the difference between a hammer drill and an impact driver?
Great question. I explain this to customers all the time. A hammer drill hammers forward and spins. It’s for drilling holes. An impact driver spins and hammers around. It’s for driving screws. They look similar but do very different jobs. You need both for a complete toolbox. For more details, check out our guide on what is the difference between impact driver and hammer drill.
How do I know which drill bit to use for indoor projects?
Match the bit to the material. Masonry bits have a carbide tip. They’re for concrete and brick. Wood bits have a pointed tip. They’re for studs and doors. Metal bits are sharp and spiral. They’re for fixtures and hardware. Using the wrong bit is like using a screwdriver as a hammer. It works poorly and damages both tools. I keep a labeled case with all three types ready to go.
Is a cordless hammer drill powerful enough for indoor use?
Absolutely. Modern cordless models are fantastic. I use a 20V model for most indoor jobs. It’s powerful enough for concrete and gives me freedom to move. Corded models have unlimited run time but the cord gets in the way. For indoor projects, I recommend cordless. Just keep a spare battery charged. You can see my favorites in our best cordless drill roundup.
How do I prevent damaging pipes or wires inside walls?
This keeps me up at night too. Always use a stud finder with AC detection. These can sense live wires. For pipes, research your home’s plumbing layout. Drill where you know pipes run vertically or horizontally. Avoid drilling near outlets and switches. When in doubt, drill a small test hole first. Insert a flexible inspection camera if you have one. Better safe than sorry.
Can I use my hammer drill for outdoor projects too?
Yes. Hammer drills work great outdoors for concrete, brick, and stone. But indoor projects have special considerations. Dust control is critical inside. You can’t just sweep it under the rug. Also, indoor spaces often need more precision. There’s less room for error. The techniques I shared here work for both, but indoor jobs need extra care with dust and accuracy.
What safety gear do I really need?
Don’t skip this. Safety glasses are mandatory. I’ve had a piece of concrete chip bounce off my lens. That could have been an eye. A dust mask is equally important. Concrete dust contains silica. It’s nasty stuff. Hearing protection helps too. These tools are loud. I wear all three every single time. No exceptions.
Final Thoughts
Your hammer drill is a game-changer for indoor home improvement. It turns impossible projects into afternoon tasks. The ten ideas I shared are just the beginning. Once you master these basics, you’ll find a hundred more uses.
Start with something simple like hanging a mirror. Practice your technique. Get comfortable with the tool’s power. Then move to bigger projects like shelves and TV mounts. Each success builds confidence.
Remember the key points: use the right bit, control dust, start with a pilot hole, and let the hammer action work. Don’t force it. Your results will be clean, professional, and secure.
Now grab your hammer drill and get started. That wall won’t know what hit it. And when you need to understand more about how these tools compare to regular drills, take a look at our guide on difference between a drill and a hammer drill. Happy drilling!
