
Extending your hammer drill’s lifespan saves money and ensures reliable performance. This guide provides a complete maintenance and operation plan, from daily care to long-term storage. You’ll learn how proper handling, cleaning, and bit selection can add years of service to your tool, whether it’s corded or part of your cordless drill collection.
Key Takeaways
- Use the Right Tool for the Job: A hammer drill is designed for masonry. Using it as a regular drill or impact driver increases wear.
- Master the “Break-In” Period: Ease a new hammer drill into service with short, light-duty sessions to seat internal components properly.
- Lubrication is Non-Negotiable: Regularly apply grease to the chuck arbor and use a drop of oil on the bit shank to reduce friction and heat.
- Keep it Clean and Cool: After each use, clean dust from vents and mechanisms. Allow the tool to cool between extended drilling sessions.
- Invest in Quality Accessories: Using sharp, high-quality carbide-tipped masonry bits reduces strain on the drill’s motor and hammer mechanism.
- Store it Properly: Keep your hammer drill in a dry, temperate case or bag, with the battery removed if cordless, to prevent environmental damage.
- Listen to Your Tool: Unusual sounds, smells, or performance drops are early warnings. Address these signs immediately to prevent major repairs.
Proven Tips to Maximize Hammer Drill Lifespan
Your hammer drill is a powerhouse. It tackles concrete, brick, and stone with ease. But this hard work comes at a cost. The intense vibrations and mechanical pounding put tremendous stress on the tool. Without proper care, a hammer drill can fail long before its time. That means wasted money and frustrating project delays.
The good news? You have the power to change that. With a simple, consistent care routine, you can double or even triple your hammer drill’s working life. This isn’t about complex repairs. It’s about smart habits. This guide will walk you through every step. You’ll learn how to use, clean, maintain, and store your drill like a pro. Let’s dive in and make your trusted tool last for years to come.
Understanding Your Hammer Drill’s Anatomy
Before we jump into maintenance, let’s understand what we’re caring for. A hammer drill combines two actions. The motor spins the bit (rotation). A separate mechanism pounds the bit forward (hammering). This dual-action is what makes it so effective on hard materials. It’s also what creates extra wear points.
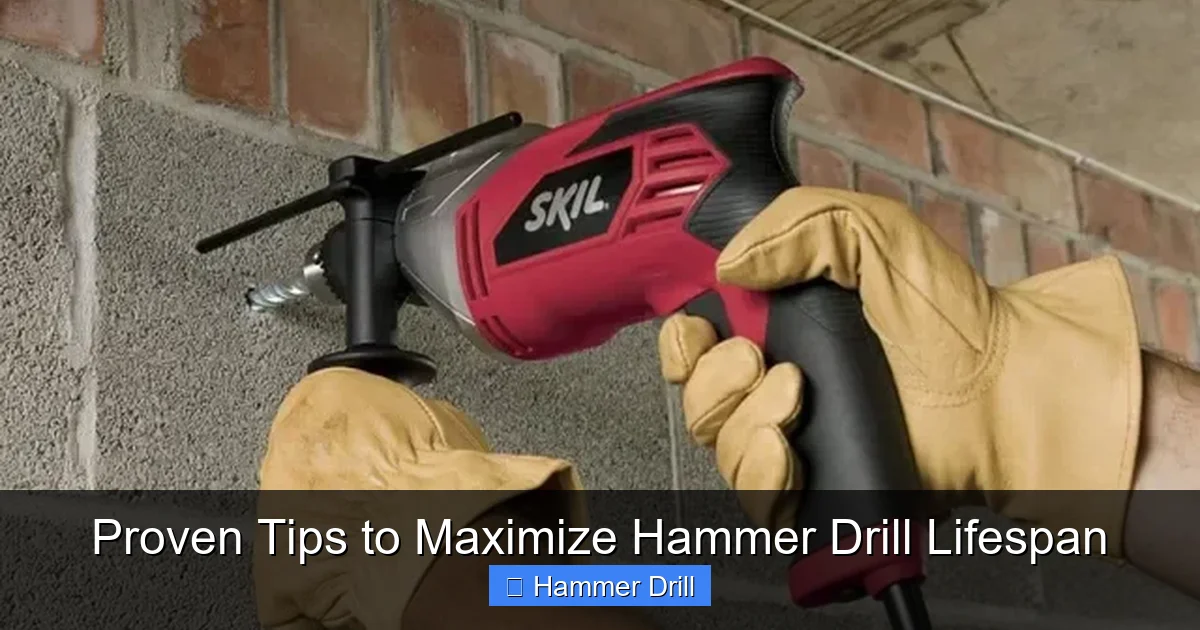
Visual guide about Proven Tips to Maximize Hammer Drill Lifespan
Image source: ourhometools.com
Key parts that need attention include the motor, gears, hammer mechanism, chuck, and bearings. Every tip in this guide aims to reduce stress on these critical components. Remember, a hammer drill is a specialist. It’s different from a standard drill or an impact driver. Using it correctly is the first step to a long life.
Tip 1: Start Right – The Break-In Period
Think of a new hammer drill like a new car engine. You wouldn’t immediately drive it at top speed. The same logic applies here. A proper break-in period helps internal parts seat correctly.
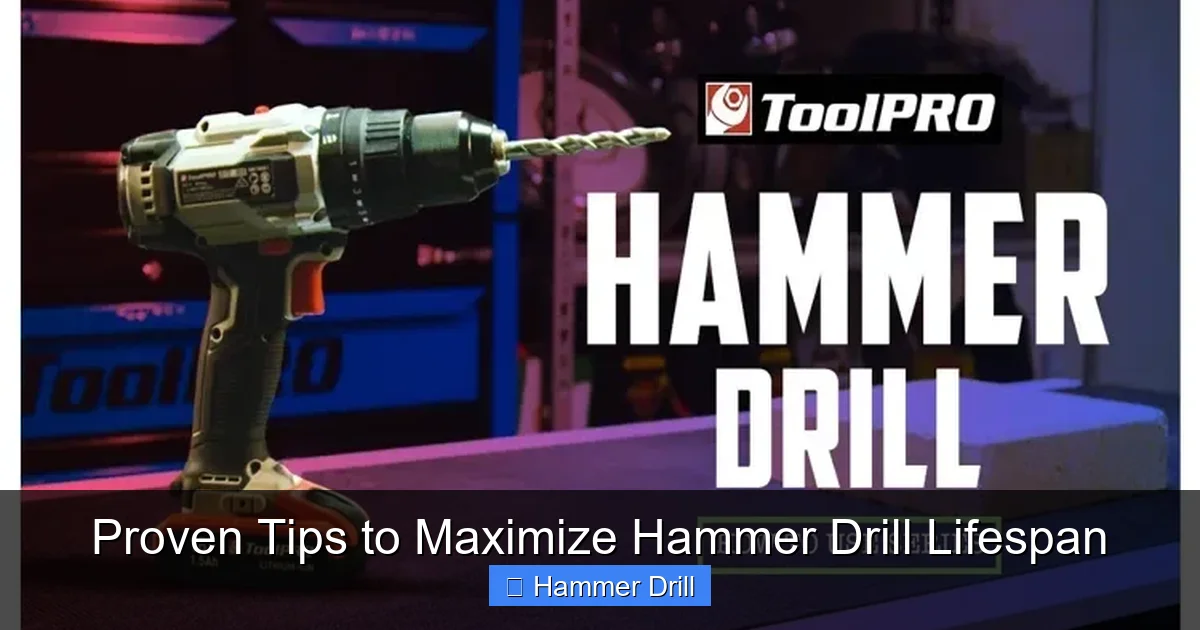
Visual guide about Proven Tips to Maximize Hammer Drill Lifespan
Image source: toolsadvisers.com
How to Break In Your New Hammer Drill
- Start Light: For your first few uses, choose soft masonry or use it on the drill-only setting for light tasks.
- Short Sessions: Limit continuous runtime to 2-3 minutes, then let the tool rest for a few minutes.
- Avoid Max Power: Don’t run the drill at full trigger pull or on its highest speed setting immediately.
- Listen Closely: Pay attention to the sound. It should be smooth. Any grinding or screeching is a bad sign.
This gentle start reduces initial metal-on-metal stress. It allows lubricants to distribute evenly. Spending 30-60 minutes on this break-in can prevent premature failure later.
Tip 2: Use It Correctly – Operation Best Practices
How you use the tool every day has the biggest impact on its lifespan. Proper operation minimizes stress and heat build-up.
Visual guide about Proven Tips to Maximize Hammer Drill Lifespan
Image source: midwesthardfacing.com
Select the Correct Mode
Most hammer drills have multiple settings: Drill, Hammer Drill, and sometimes Hammer Only. Using “Hammer Drill” on wood or metal is a common mistake. It creates huge, unnecessary stress on the mechanism. Always match the mode to the material. If you’re confused about when to use which tool, our guide on the difference between a drill and a hammer drill can help clarify.
Apply the Right Pressure
Let the tool do the work. You don’t need to lean your whole body into it. Excessive forward pressure strains the motor, gears, and bearings. It can also cause the bit to overheat and dull quickly. Apply steady, moderate pressure. If progress stops, pull the bit out to clear dust. Don’t just push harder.
Manage Work Time and Temperature
Heat is a major enemy of electric tools. The motor and hammer mechanism generate significant heat during use.
- Take Breaks: For heavy, continuous drilling, follow a 10-minutes-on, 5-minutes-off rule.
- Feel the Body: If the drill’s casing is too hot to touch comfortably, stop immediately and let it cool.
- Watch for Smoke or Smell: Any burning smell or wisp of smoke is a critical stop signal.
Tip 3: Choose and Care for Your Drill Bits
A dull or wrong bit forces your hammer drill to work harder. This accelerates wear dramatically.
Use High-Quality Masonry Bits
Invest in carbide-tipped masonry bits from reputable brands. Cheap bits wear down fast. They transfer more vibration to the tool and require more power to drill. This strains the motor and hammer mechanism. A sharp, quality bit cuts cleanly with less effort.
Lubricate the Bit Shank
Before inserting a bit, put a single drop of light machine oil on its shank. This reduces friction between the bit and the chuck jaws. Less friction means less heat build-up in the chuck area. It also makes bits easier to remove later.
Keep Bits Sharp
Inspect your bits regularly. A dull bit has a rounded tip instead of a sharp edge. Dull bits require more downward pressure and longer drill time. Sharpen them with a dedicated bit file or replace them. Your drill will thank you.
Tip 4: Perform Regular Cleaning and Maintenance
Dust and debris are the silent killers of power tools. Concrete dust is abrasive and can get into seals and bearings.
After-Use Cleaning Ritual
- Unplug/Remove Battery: Always start with the tool powered down.
- Blow Out Vents: Use compressed air to blow dust out of the motor cooling vents and chuck assembly.
- Wipe Down: Use a dry cloth to wipe the entire exterior. A slightly damp cloth can be used for stubborn grime, but avoid getting water near vents.
- Check the Chuck: Open and close the chuck to ensure no debris is jamming the jaws.
Monthly Deep Clean and Lubrication
Once a month, or after a particularly big job, do a more thorough check.
- Grease the Arbor: For many models, you can apply a small amount of drill-specific grease to the chuck arbor (the shaft the chuck mounts on). Consult your manual.
- Inspect Brushes (Corded Models): On corded drills, check the carbon brushes. If they are less than 1/4 inch long, replace them. Worn brushes cause motor damage.
- Check All Connections: Ensure the power cord (if corded) or battery contacts are clean and undamaged.
Tip 5: Proper Storage and Handling
How you store the tool between uses is just as important as how you use it.
Use a Protective Case
Always store your hammer drill in its original hard case or a sturdy tool bag. This protects it from physical impacts and dust. If you don’t have a case, dedicate a clean, dry shelf in your workshop.
Manage Battery Health (Cordless Models)
- Remove for Storage: Always remove the battery when storing the drill long-term.
- Store Batteries Half-Charged: For lithium-ion batteries, a 40-60% charge is ideal for storage.
- Avoid Temperature Extremes: Never leave the drill or battery in a freezing garage or a hot car trunk.
Safe Transport
Don’t just throw your drill in the back of a truck. Secure it in a case or a padded compartment. This prevents it from bouncing around, which can misalign internal components. For jobs that also require height work, always follow essential safety tips for climbing ladders to protect both you and your tools.
Troubleshooting Common Hammer Drill Issues
Even with great care, issues can arise. Here’s how to diagnose common problems.
Drill Loses Power or Speed
Possible Cause: Worn carbon brushes (corded), a failing battery (cordless), or a clogged motor vent.
Action: Check and replace brushes. Test with a fresh, charged battery. Clean all cooling vents thoroughly.
Hammer Action Stops or Sounds Weak
Possible Cause: Lack of lubrication, worn hammer mechanism pins, or internal debris.
Action: Apply grease to the arbor. If the sound is gritty, the mechanism may need professional service.
Chuck Won’t Tighten or Bits Slip
Possible Cause: Worn chuck jaws or debris inside the chuck.
Action: Clean the chuck thoroughly with compressed air. If the problem persists, the chuck may need replacement.
Excessive Vibration or Strange Noise
Possible Cause: Damaged internal bearings, a bent arbor, or a severely worn gear.
Action: Stop using the drill immediately. This typically indicates a serious internal issue requiring professional repair.
Conclusion: A Lifelong Partnership
Maximizing your hammer drill lifespan isn’t about one big action. It’s about building smart, consistent habits. It starts with choosing the right tool for the job—understanding that a hammer drill excels at masonry but isn’t a substitute for a best cordless drill for everyday tasks. It continues with gentle break-in, proper operation with sharp bits, and diligent cleaning after every job.
By following these tips, you’re not just maintaining a tool. You’re investing in reliability. You’re ensuring that when you need to hang a shelf, install an anchor, or tackle a renovation, your hammer drill is ready to perform. Treat it well, and it will be a trusted partner in your DIY or professional projects for many years to come.
