
Your hammer drill is a significant investment that should serve you for years. This guide reveals actionable strategies to dramatically extend your hammer drill lifespan through proper maintenance, correct usage techniques, and smart storage practices. Follow these proven tips to avoid costly repairs and premature replacement.
Key Takeaways
- Clean after every use: Dust and debris are your hammer drill’s worst enemies. A simple 5-minute cleanup prevents 80% of common failures.
- Use the right bits and settings: Matching bits to material and selecting proper speed prevents motor strain and extends tool durability.
- Let it rest: Continuous heavy-duty drilling causes overheating. Give your hammer drill 2-3 minute breaks every 15 minutes of use.
- Store it properly: Keep your hammer drill in its case, with batteries removed, in a dry place to prevent corrosion and damage.
- Replace brushes promptly: Worn carbon brushes can destroy your motor. Check them every 50 hours of use.
- Lubricate moving parts: Regular greasing of the chuck and gears reduces friction and prevents premature wear.
Introduction: Why Your Hammer Drill Lifespan Matters
That hammer drill in your toolbox represents more than just metal and plastic. It’s hundreds of dollars of engineering designed to chew through concrete, brick, and stone. Yet most people treat these powerful tools like disposable gadgets, replacing them every couple of years when they fail. The truth is, your hammer drill could easily last a decade or more with just a few simple habits.
This guide will show you exactly how to maximize your hammer drill lifespan. We’re talking about proven, practical tips that take minutes to implement but add years to your tool’s service life. Whether you own a corded model for heavy construction or a cordless hammer drill for weekend projects, these strategies work across all brands and types.
You’ll learn the difference between normal wear and preventable damage. You’ll discover maintenance routines that prevent costly repairs. Most importantly, you’ll save money and frustration by avoiding the most common mistakes that kill hammer drills prematurely. Let’s get started.
Understanding Your Hammer Drill: The Foundation of Longevity
Before diving into care tips, you need to understand what makes your hammer drill unique. This isn’t your regular drill. The hammering action that lets it pulverize concrete creates intense internal forces. Those forces wear down components faster when not managed properly.
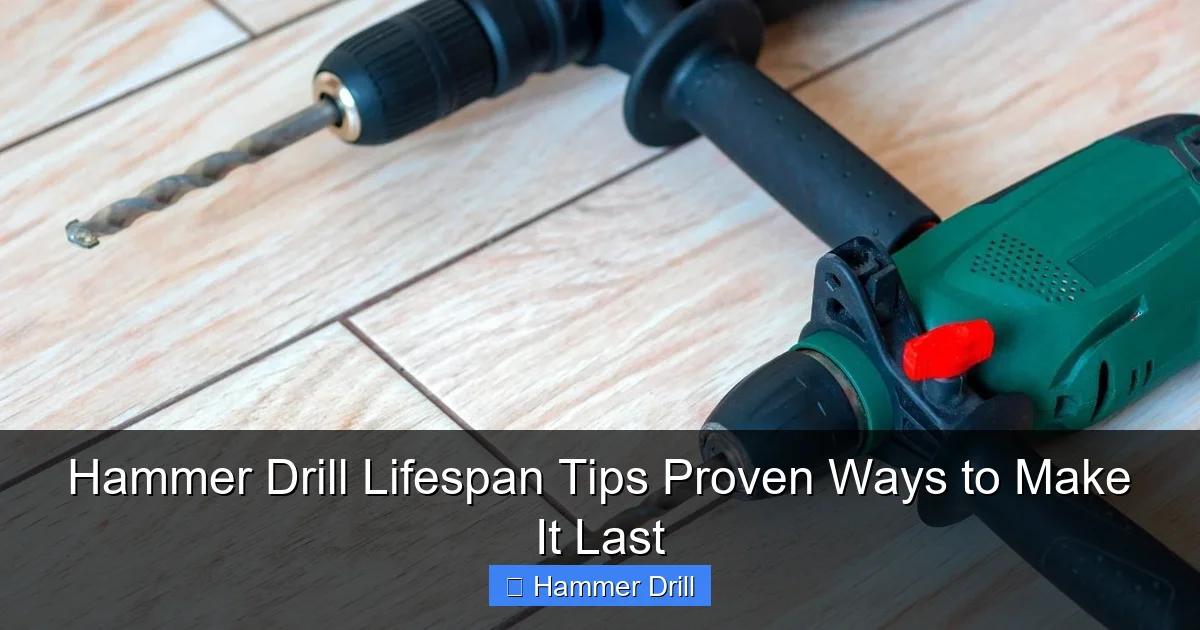
Visual guide about Hammer Drill Lifespan Tips Proven Ways to Make It Last
Image source: homienjoy.com
Many DIYers damage their tools simply because they don’t recognize the differences between a standard drill and a hammer drill. The hammer mechanism adds complexity. It needs specific maintenance that a regular drill doesn’t require. If you’re new to these tools, take a moment to learn about the difference between a hammer drill and regular drill. This knowledge alone prevents countless mistakes.
Similarly, confusing a hammer drill with an impact driver leads to improper use. These tools look similar but function differently. Using your hammer drill for tasks better suited to an impact driver strains the motor unnecessarily. Check out what is the difference between impact driver and hammer drill to ensure you’re using the right tool for each job.
Understanding your tool’s capabilities is the first step in protecting your investment. Every hammer drill has a duty cycle and operational limits. Respecting those limits directly correlates with how long your tool will last. Pushing past them just once can cause damage that accumulates over time, cutting your tool’s life in half.
Proper Usage Techniques: The #1 Factor in Hammer Drill Lifespan
How you use your hammer drill matters more than anything else. Proper technique prevents 90% of premature failures. Let’s break this down into actionable steps.
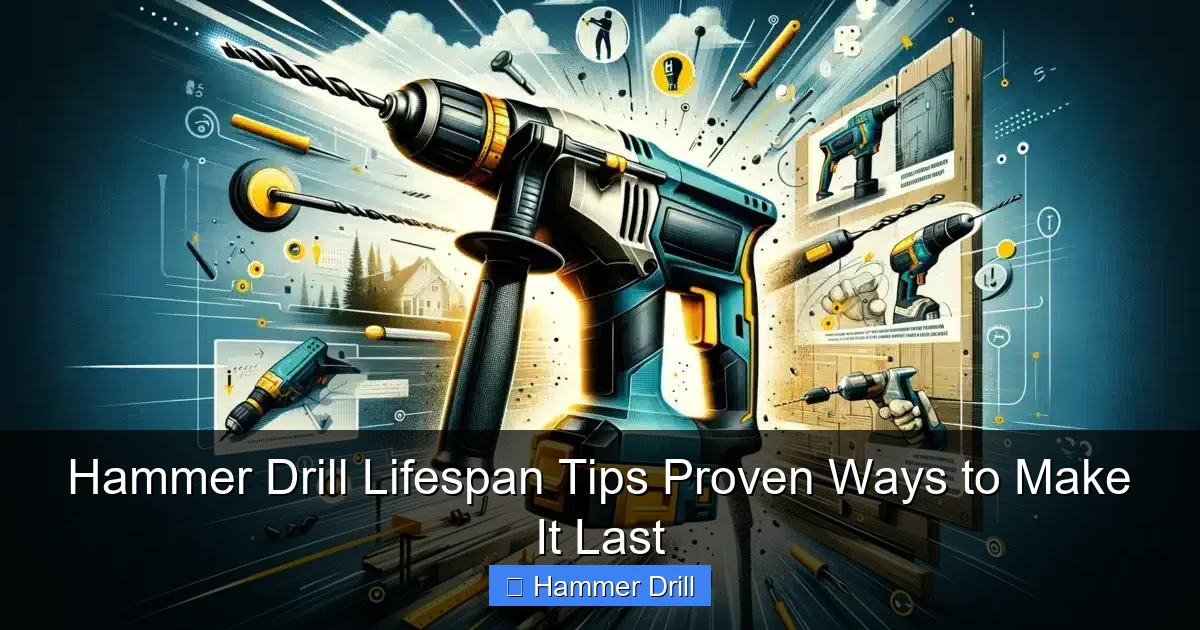
Visual guide about Hammer Drill Lifespan Tips Proven Ways to Make It Last
Image source: toptiertool.com
Choose the Right Bits Every Single Time
Using the wrong drill bit is like trying to cut wood with a butter knife. It works poorly and stresses everything. For hammer drills, you need carbide-tipped masonry bits. These bits have a specific geometry designed to work with the hammering action.
Always match the bit diameter to your task. Too large a bit for light work forces the motor to work overtime. Too small for heavy tasks means you’ll need excessive pressure, which damages the hammer mechanism. Check the bit’s shank type too. SDS-plus and SDS-max shanks exist for a reason. Using the wrong shank can destroy your chuck.
Inspect bits before each use. A worn or damaged bit makes your hammer drill work harder. It creates uneven forces that shake the tool apart internally. Replace bits at the first sign of dulling. A sharp bit reduces motor strain by up to 40%.
Master Speed and Pressure Control
Hammer drills have variable speed triggers for good reason. Start every hole at low speed. Let the bit bite into the material before increasing power. This prevents the bit from walking and reduces sudden torque spikes that shock the gearbox.
Apply steady, moderate pressure. Let the hammer mechanism do the work. Pushing too hard doesn’t make holes faster. It just overheats the motor and wears out the hammer clutch prematurely. Think of it like pedaling a bike uphill. Steady pressure gets you to the top without exhausting yourself.
For concrete and stone, use the hammer drill mode exclusively. For wood or metal, switch to standard drill mode. Many people leave it in hammer mode by mistake. This causes unnecessary wear and can damage materials. Know your modes and use them correctly.
When drilling deep holes, withdraw the bit periodically. This clears dust and prevents binding. A bound bit creates extreme resistance that can burn out your motor in seconds. Pull the bit out every 2-3 inches of depth to clean the hole.
Avoid Overheating at All Costs
Overheating is the silent killer of electric motors. Your hammer drill’s motor can reach temperatures over 200°F during continuous use. At that heat, insulation breaks down and windings fail. The solution is simple: take breaks.
For every 15 minutes of continuous drilling, give your tool 2-3 minutes to cool. Use this time to clear dust from the vents with compressed air. Don’t block vents with your hands or materials while working. Keep them clear for airflow.
Listen for thermal cutoffs. Many modern hammer drills have built-in thermal protection that shuts off power when overheating occurs. If your tool suddenly stops, don’t just restart it immediately. Let it cool for 5 minutes. Frequent thermal shutdowns indicate you’re pushing too hard or the vents are clogged.
In hot weather, reduce continuous use time. Ambient heat adds to motor temperature. Work in the shade when possible. If you’re drilling in direct sun, limit continuous use to 10 minutes before cooling off.
Regular Maintenance Schedule: Your Hammer Drill’s Health Plan
Maintenance isn’t optional. It’s as essential as fuel for a car. Set a schedule and stick to it. This prevents small issues from becoming expensive repairs.
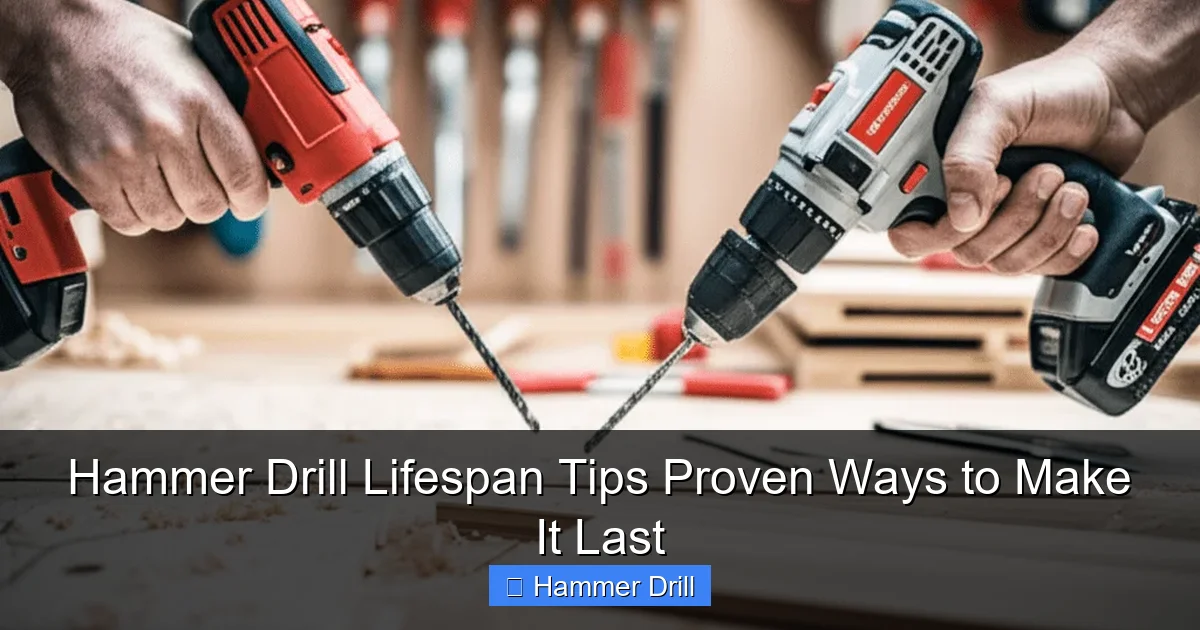
Visual guide about Hammer Drill Lifespan Tips Proven Ways to Make It Last
Image source: homeimprovementway.com
Clean After Every Single Use
Dust is your hammer drill’s arch-nemesis. Concrete dust is especially abrasive. It works its way into every crevice, wearing down parts from the inside. Cleaning takes just 5 minutes but adds years to your tool’s life.
Start by unplugging or removing the battery. Never clean a live tool. Use a brush with stiff bristles to remove loose dust from the housing, vents, and chuck. Pay special attention to the trigger area where dust accumulates and can cause sticking.
For stubborn grime, use compressed air. Blow air into vents and crevices to dislodge hidden dust. Hold the tool so dust blows out, not deeper inside. Work in a well-ventilated area or outdoors. Concrete dust is harmful to breathe.
Wipe down the exterior with a slightly damp cloth. Never spray water directly on the tool. Water intrusion causes corrosion and electrical shorts. Dry thoroughly before storing. For corded models, check the power cord for cuts or damage during cleaning.
Lubricate Critical Moving Parts
Friction destroys mechanical components. Proper lubrication reduces wear by up to 60%. Your hammer drill needs specific lubrication points that require attention every 50 hours of use.
The chuck is the most obvious point. Remove the chuck if possible and apply a light coat of lithium grease to the jaws and threads. This prevents seizing and makes bit changes easier. Don’t over-grease. Excess grease attracts dust and becomes gummy.
Inside the tool, the hammer mechanism and gears need specialized grease. This requires opening the housing. If you’re uncomfortable with this, take your tool to a service center annually. They’ll repack the gears with proper hammer drill grease. Using regular grease causes more harm than good.
For cordless models, apply dielectric grease to battery contacts every 3 months. This prevents corrosion and ensures solid electrical connections. A poor connection makes the motor work harder, reducing efficiency and lifespan.
Inspect and Replace Carbon Brushes
Carbon brushes conduct electricity to the motor’s rotating parts. They wear down over time and eventually need replacement. Most brushes last 100-200 hours of use. Worn brushes cause arcing that destroys the motor commutator.
Locate your brushes. Most hammer drills have brush caps on the motor housing. Unscrew them and pull out the brushes. Measure the carbon length. If it’s less than 1/4 inch, replace them immediately. Keep spare brushes in your toolbox. Running without brushes for even a few minutes can ruin your motor.
When replacing brushes, clean the brush holders with compressed air. Remove any carbon dust that could cause poor contact. Insert the new brushes with the correct orientation. They should move freely in the holder but make solid contact with the commutator.
Brush wear accelerates when you use the tool under heavy load without breaks. If you notice brushes wearing out quickly, you’re likely overworking the tool. Reduce continuous drilling time or upgrade to a more powerful model for your application.
Battery Care for Cordless Hammer Drill Lifespan
If you own a cordless hammer drill, battery health directly affects tool lifespan. A failing battery forces the motor to work harder, drawing more current and generating excess heat. Protect your batteries to protect your tool.
Never run batteries completely dead. Lithium-ion batteries last longest when kept between 20% and 80% charge. Deep discharges stress cells and reduce capacity permanently. Recharge when the battery gauge shows 20-30% remaining.
Store batteries properly. Keep them at room temperature, away from metal objects that could cause short circuits. Store at 40-50% charge if you won’t use them for months. Fully charged or fully discharged storage degrades batteries quickly.
Clean battery contacts monthly with a cotton swab and rubbing alcohol. Dirty contacts increase resistance, making the tool draw more current to compensate. This extra current strains the motor and electronics. Dry contacts thoroughly before use.
Avoid temperature extremes. Don’t use batteries in freezing cold or extreme heat. Both conditions reduce performance and cause permanent damage. If a battery gets too hot during use, stop and let it cool. Don’t charge hot batteries. Wait until they reach room temperature.
Proper Storage: The Overlooked Lifespan Extender
How you store your hammer drill when not in use determines its condition when you need it next. Proper storage prevents physical damage, corrosion, and dust accumulation.
Always use the original case or a dedicated tool case. Cases protect against impacts, moisture, and dust. They also keep small parts organized. If you’ve lost the case, invest in a hard plastic toolbox with custom foam inserts. The protection is worth the cost.
Store with the battery removed. This prevents accidental activation and battery drain. It also eliminates pressure on the trigger mechanism during storage. For corded models, wrap the cord loosely around the tool or use a cord wrap. Don’t kink or pinch the cord.
Keep your hammer drill in a dry, temperature-stable environment. Garages that flood or attics that bake in summer are terrible storage locations. Moisture causes rust. Heat degrades plastics and lubricants. A closet or dry basement is ideal.
Before long-term storage, give the tool a thorough cleaning and light lubrication. Place a small packet of desiccant in the case to absorb moisture. Check stored tools every few months for signs of corrosion or pests. Mice sometimes nest in toolboxes.
Recognizing Warning Signs: When Your Hammer Drill Needs Help
Your hammer drill talks to you. It tells you when something’s wrong. Learn to recognize these warning signs before minor issues become catastrophic failures.
Unusual noises are the first red flag. A healthy hammer drill makes a rhythmic hammering sound. Grinding, screeching, or rattling noises indicate problems. Grinding suggests gear damage. Screeching often means bearing failure. Rattling could be loose components. Stop using the tool immediately if you hear these sounds.
Reduced power or speed under load is another warning. If your drill struggles with tasks it handled easily before, something’s wrong. Common causes include worn brushes, a failing motor, or a damaged hammer mechanism. Don’t push through the struggle. Diagnose the problem.
Excessive vibration indicates imbalance or loose parts. Some vibration is normal with hammer drills, but it should be manageable. If the tool feels like it might jump out of your hand, shut it off. Check for loose chuck, damaged bits, or internal wear.
Burning smells mean immediate danger. This could be electrical or mechanical. Electrical burning suggests motor winding failure. Mechanical burning often means seized bearings. Unplug the tool or remove the battery. Do not attempt to use it again until a professional inspects it.
Trigger problems deserve attention too. If the trigger sticks, feels loose, or doesn’t return smoothly, dust and debris have invaded the switch mechanism. Clean the trigger area with compressed air. If problems persist, replace the switch. A faulty switch can cause electrical issues that damage the motor.
Common Mistakes That Destroy Hammer Drill Lifespan
Avoiding these mistakes is just as important as following good practices. Many hammer drill deaths result from simple, preventable errors.
Forcing the tool is the biggest mistake. Letting the hammer mechanism work at its own pace makes holes faster and lasts longer. Pushing hard doesn’t help. It just builds heat and wears components. Think of it as a power tool, not a strength test.
Ignoring duty cycles kills tools fast. Every hammer drill has a maximum continuous operating time. Exceeding this causes overheating. Check your manual for duty cycle information. If you can’t find it, assume 15 minutes of continuous use is the limit for most models.
Using damaged bits is a rookie error. A bent bit creates uneven forces that shake your tool apart. A dull bit makes the motor work harder. Always inspect bits before use. Replace them at the first sign of wear.
Skipping maintenance is the lazy person’s path to tool replacement. A few minutes of cleaning after each use prevents 80% of problems. Annual professional servicing catches the other 20%. Don’t be lazy. Your wallet will thank you.
Storing tools wet or dirty is guaranteed to cause corrosion and damage. Even if you’re tired after a long project, take 5 minutes to clean and dry your hammer drill. This habit alone can double its lifespan.
Conclusion: Your Path to a Decade of Reliable Service
Extending your hammer drill lifespan isn’t magic. It’s simple consistency. Clean it after use. Use the right bits. Let it cool. Store it properly. Replace worn parts promptly. These actions take minutes but reward you with years of reliable service.
Your hammer drill is a precision tool, not a disposable commodity. Treat it with respect, and it will tackle concrete walls, brick facades, and stone foundations for a decade or more. The money you save on tool replacements can buy you better bits, more projects, or that next tool in your collection.
Start implementing these tips today. Pick one practice that you’ll commit to this week. Maybe it’s cleaning after each use. Once that becomes habit, add another. Before long, you’ll have a complete care routine that ensures your hammer drill outlasts your other tools.
Remember, the best hammer drill is the one you already own. Make it last.
