
Proper lubrication is the key to a long-lasting and powerful hammer drill. This guide provides a complete, step-by-step approach to maintaining your tool. You will learn what to lubricate, which products to use, and how to create a simple maintenance schedule. Following these hammer drill lubrication tips will prevent costly repairs and keep your projects running smoothly.
Key Takeaways
- Lubrication is Non-Negotiable: The hammering mechanism generates intense friction and heat; regular lubrication prevents premature wear and failure.
- Grease is for Gears, Oil is for Pistons: Using the correct type of lubricant in the right place (silicone-based grease for the gearbox, lightweight machine oil for the piston) is crucial for optimal performance.
- Clean Before You Lube: Applying new lubricant over old, dirty grease or dust will cause abrasive damage. Always disassemble and clean components first.
- Consult Your Manual First: The manufacturer provides the definitive guide for your specific model’s lubrication points, intervals, and recommended lubricant types.
- Prevent Over-Lubrication: Too much grease or oil can attract dust, create a mess, and even damage internal seals or electrical components. A little goes a long way.
- Listen to Your Tool: Unusual noises, decreased power, or overheating are clear signs your hammer drill needs immediate lubrication and inspection.
Top Hammer Drill Lubrication Tips to Boost Efficiency
Your hammer drill is a powerhouse. It smashes through concrete, brick, and stone with a relentless pounding action. But that power comes from a brutal internal ballet of metal parts slamming together thousands of times per minute. Without proper care, this friction and impact will grind your tool to a premature halt. The single most important thing you can do to protect your investment and boost its efficiency is simple: lubricate it correctly.
This guide will walk you through everything you need to know. We will cover why lubrication matters, what to use, and exactly how to do it. You will learn how to spot the signs that your drill needs attention. We will also share tips to avoid common mistakes. By the end, you will have the confidence to keep your hammer drill running like new for years.
Why Hammer Drill Lubrication is So Critical
Think of a hammer drill as having two separate jobs. First, it rotates like a regular drill. Second, it hammers forward like a tiny, super-fast jackhammer. This hammering action is what sets it apart and creates unique maintenance needs.
Visual guide about Top Hammer Drill Lubrication Tips to Boost Efficiency
Image source: i.ytimg.com
The mechanism that creates the hammer blow—often a piston, hammer, and beat piece—slams metal against metal. This generates extreme heat and friction. Lubrication forms a protective film between these parts. It does three vital things:
- Reduces Friction: Parts slide and impact with less resistance, making the drill work easier and use less battery or power.
- Dissipates Heat: The lubricant carries heat away from critical components, preventing metal fatigue and failure.
- Prevents Corrosion: It keeps moisture at bay and protects metal surfaces from rust, especially if you store your tools in a garage or shed.
Skipping lubrication is like running a car engine without oil. The result is always the same: catastrophic, expensive failure.
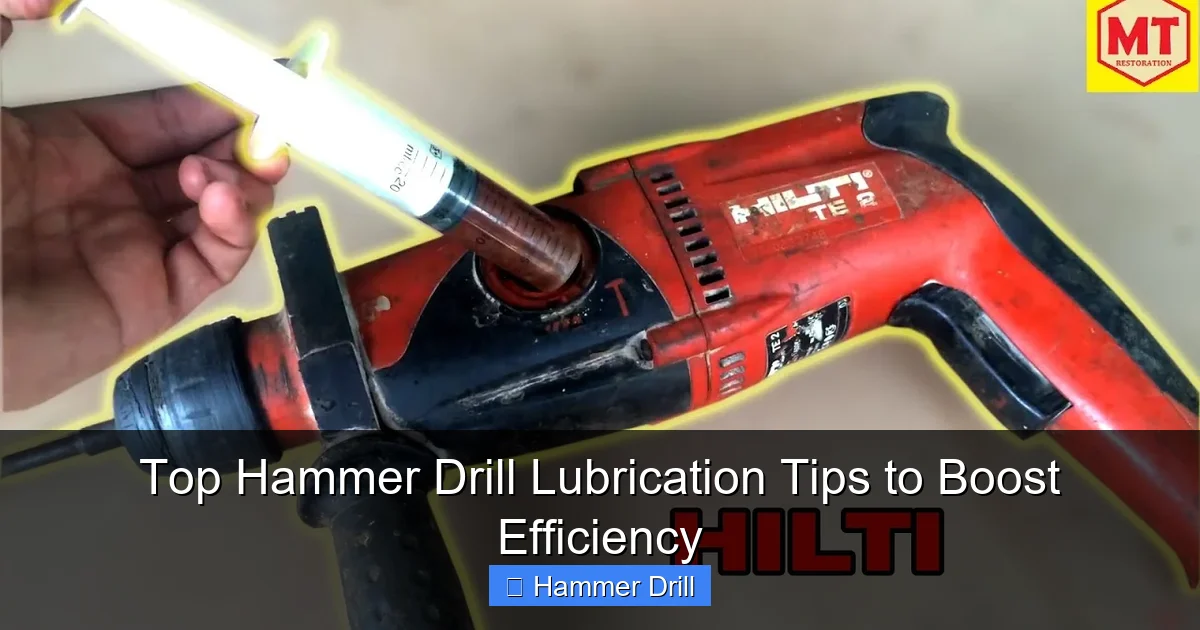
Understanding Your Hammer Drill’s Lubrication Points
Before you grab a grease gun, you need to know where to apply lubricant. While designs vary, most hammer drills have three main areas that need attention. Always refer to your owner’s manual for the exact locations on your model.
Visual guide about Top Hammer Drill Lubrication Tips to Boost Efficiency
Image source: down-my.img.susercontent.com
The Chuck and Arbor
This is the front end where you insert the drill bit. A small amount of light oil on the chuck’s threads and jaws helps it open and close smoothly. This prevents seizing, which is a common headache.
The Gearbox / Hammer Mechanism
This is the heart of the operation. Inside the main body, gears transfer power and the hammer mechanism generates impacts. This area requires a special silicone-based grease designed for power tools. It’s thick enough to stay on the gears but can handle the high pressures and temperatures.
The Piston and Cylinder
In many rotary hammer drills, there is a pneumatic piston that moves back and forth. This part needs a light machine oil (often non-detergent 20W or a specific pneumatic tool oil). It keeps the O-rings and seals supple and allows the piston to move freely.
Remember, a hammer drill is fundamentally different from an impact driver. An impact driver delivers rotational impacts for driving screws, while a hammer drill delivers linear impacts for drilling masonry. Their internal mechanics, and thus their lubrication needs, are not the same.
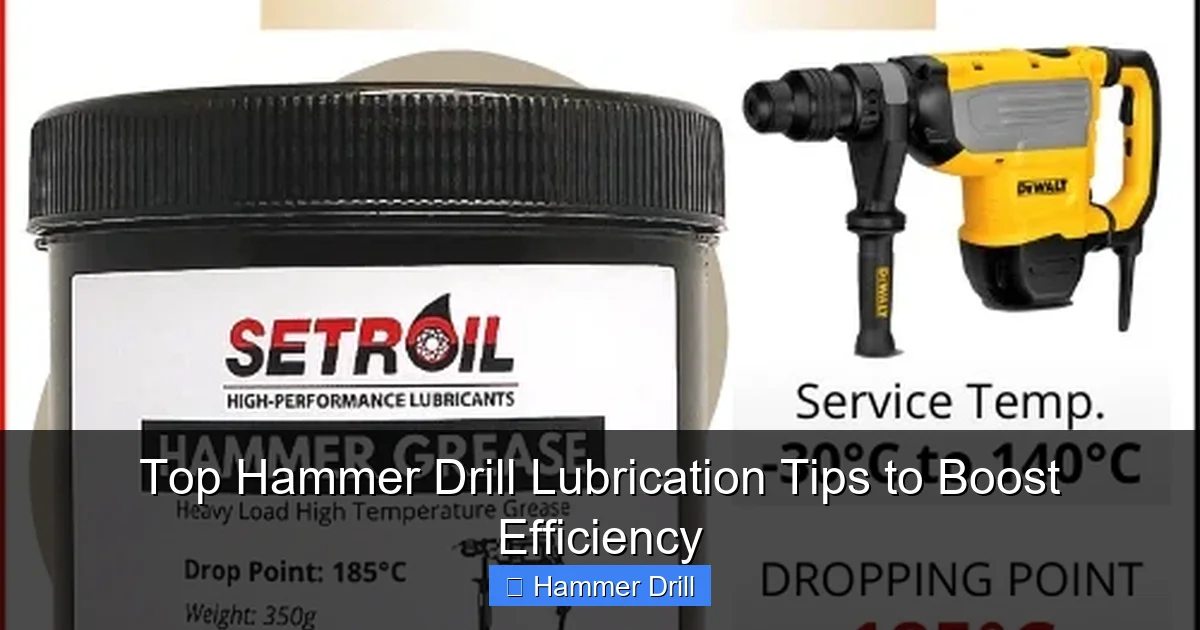
Choosing the Right Lubricants
Using the wrong lubricant can be as bad as using none at all. Here’s your shopping list.
Visual guide about Top Hammer Drill Lubrication Tips to Boost Efficiency
Image source: i.ytimg.com
- Silicone-Based Grease: This is your go-to for the gearbox. It’s designed not to break down under high shear forces and doesn’t damage plastic components found in some tool housings. Brands like Bosch, Makita, and DeWalt sell their own branded tubes, which are a safe bet.
- Light Machine Oil or Pneumatic Tool Oil: A fine-grade oil (like 3-in-1 oil or specific air tool oil) is perfect for the chuck, piston (if applicable), and any other light-duty pivot points.
- Anti-Seize Compound (Optional but Helpful): For the shank of your masonry drill bits. A small dab prevents the bit from getting stuck (“frozen”) in the chuck after heavy use.
Pro Tip: Do not use WD-40 as a lubricant! WD-40 is a water-displacing penetrant and light cleaner. It is too thin to provide lasting protection for high-load components and will quickly evaporate, leaving parts dry.
Step-by-Step Guide to Lubricating Your Hammer Drill
Safety First: Always disconnect the power source. For corded drills, unplug them. For cordless drills, remove the battery.
Step 1: Gather Your Supplies
You will need your chosen grease and oil, clean rags, a small brush (an old toothbrush works), isopropyl alcohol for cleaning, and your tool’s manual. Work in a clean, well-lit area.
Step 2: Clean the Exterior and Chuck
Wipe down the entire tool with a dry rag to remove loose dust and debris. Use a brush to get dust out of the vent holes. Cleaning is essential because you don’t want to force grit into the tool when you lubricate it.
Step 3: Access the Grease Points (Gearbox)
Most hammer drills have one or more grease ports or a gearbox housing that can be opened. Your manual will show this. It might involve removing a few screws on the side of the tool’s body. Open it carefully.
Step 4: Clean Out Old Grease
Use a rag and your brush to carefully remove the old grease. If it’s gritty or black, it’s well past its prime. For a deeper clean, use a rag with a bit of isopropyl alcohol to wipe down the gears, then let it dry completely.
Step 5: Apply New Grease
Apply a moderate amount of new silicone grease to the gears and the hammer mechanism parts you can see. You want to coat the surfaces, but don’t pack it in like clay. Overfilling can cause overheating. Reassemble the housing.
Step 6: Lubricate the Chuck and Pivot Points
Apply one or two drops of light machine oil to the chuck threads and jaws. Open and close it a few times to work the oil in. Wipe away any excess. Apply a tiny drop to any other moving parts, like the mode selector switch.
Step 7: Lubricate Drill Bits (Bonus Tip)
Wipe the shank of your masonry bits clean and apply a very thin layer of anti-seize or a dab of the same silicone grease. This makes bit changes easier and prevents corrosion.
Troubleshooting: Signs You Need to Lubricate
Your hammer drill will tell you when it’s thirsty. Don’t ignore these cries for help:
- Unusual Noises: Grinding, screeching, or a louder-than-normal rattling sound means metal is grinding on metal.
- Decreased Power or Speed: The drill feels sluggish, struggles with tasks it used to handle, or the hammer action seems weak.
- Overheating: The tool body gets excessively hot to the touch during normal use.
- Visible Smoke or Burning Smell: This is a severe warning. Stop immediately. This often means lubrication has failed completely and components are burning up.
- Stiff Controls: The mode selector or chuck becomes hard to turn.
If you experience any of these, stop work. Perform the lubrication steps above. If problems persist, you may have sustained damage that requires professional service.
Creating a Lubrication Schedule
Don’t wait for problems. Be proactive.
- Heavy Use: If you use the drill daily or on big jobs, lubricate the gearbox every 30-50 hours of operation. Apply oil to the chuck weekly.
- Moderate/DIY Use: For weekend projects, a full grease job every 6-12 months is typically sufficient. Oil the chuck every few uses.
- After Extreme Conditions: Always clean and lubricate after use in very dusty, dirty, or wet conditions.
- Before Long-Term Storage: If you’re putting the tool away for a season, give it a fresh lubrication to protect against corrosion during storage.
Conclusion: Lubrication is Love for Your Tools
A hammer drill is a rugged tool, but it’s not indestructible. The constant hammering action is incredibly demanding on its internal parts. By following these hammer drill lubrication tips, you are doing more than just maintenance—you are investing in the longevity, safety, and efficiency of your equipment. A well-lubricated drill runs cooler, hits harder, and lasts years longer. It makes your job easier and prevents frustrating mid-project breakdowns. Grab the right grease, spend 15 minutes with your tool, and enjoy the smooth, powerful performance that only proper care can provide.
