
Key Takeaways
- Use high-quality lithium-based grease specifically designed for hammer drills, never ordinary motor oil or WD-40.
- Lubricate every 50 hours of use or when you notice increased friction, unusual noise, or reduced performance.
- Focus on key components including the chuck mechanism, gear assembly, and piston cylinder for optimal results.
- Clean old grease completely before applying new lubricant to prevent contamination and ensure proper coverage.
- Store your hammer drill properly in a dry place to prevent grease breakdown and protect internal components.
- Recognize warning signs like overheating, decreased power, or excessive vibration that indicate lubrication problems.
- Follow manufacturer guidelines in your user manual for specific lubrication points and recommended service intervals.
Why Hammer Drill Lubrication Is Non-Negotiable
Your hammer drill works hard. It pounds and spins thousands of times per minute. This brutal action creates intense friction inside the tool. Without proper lubrication, metal parts grind against each other. Heat builds up. Components wear out fast. Your drill dies before its time.
Good lubrication creates a protective barrier between moving parts. It reduces friction, dissipates heat, and prevents rust. Your drill runs cooler, quieter, and more efficiently. You get more power, longer runtime, and years of extra service life. Think of it as oil changes for your car—skip them and you’ll face expensive repairs.
Understanding Your Hammer Drill’s Unique Lubrication Needs
Hammer drills differ from regular drills. They have a hammering mechanism that regular drills lack. This mechanism needs special attention. The difference between a drill and a hammer drill lies in this hammering action, which creates extra stress on internal parts.
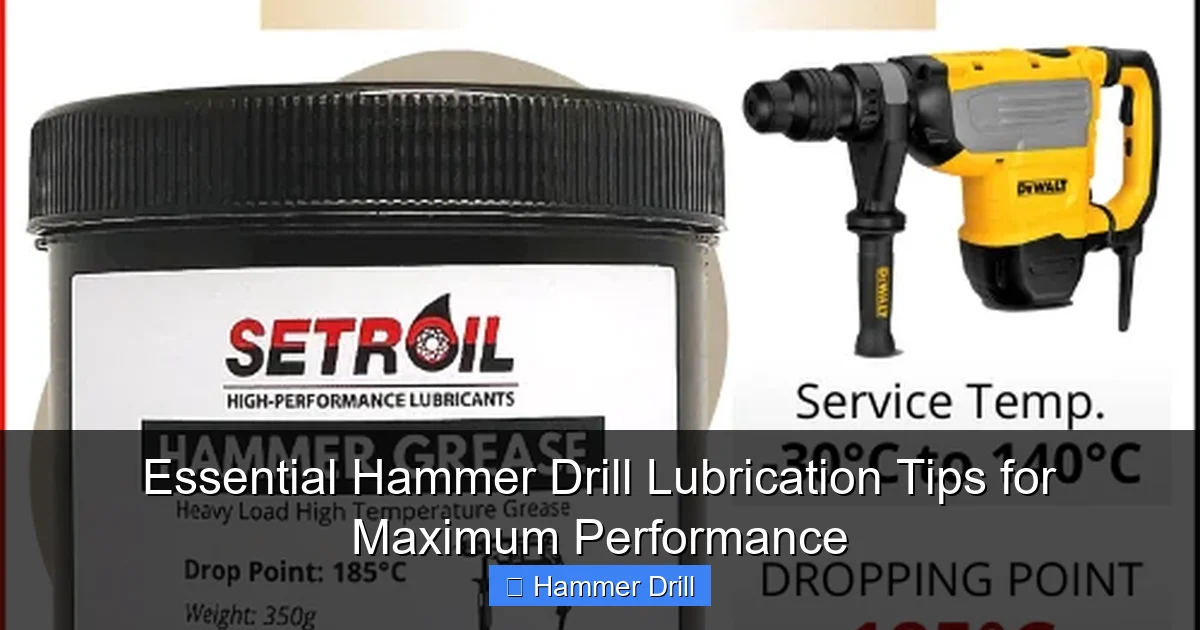
Visual guide about Essential Hammer Drill Lubrication Tips for Maximum Performance
Image source: lzd-img-global.slatic.net
The Hammer Mechanism Explained
Inside your hammer drill, a piston moves back and forth. This piston strikes an anvil, creating the hammering action. The piston slides in a cylinder. Both parts need constant lubrication. If the grease dries out, the piston can seize. This destroys the drill.
Key Components That Demand Lubrication
- Chuck mechanism: The part that holds your drill bits. It needs smooth operation for easy bit changes.
- Gear assembly: Transfers power from motor to chuck. Gears mesh under high pressure.
- Piston and cylinder: The heart of the hammer mechanism. These work the hardest.
- Bearings: Support rotating shafts throughout the tool.
- Switch contacts: Some models benefit from light lubrication on electrical contacts.
Choosing the Right Lubricant: Your Most Important Decision
Using the wrong lubricant can damage your hammer drill. Many people grab whatever oil is in the garage. This is a mistake. Hammer drills need specific grease formulations.
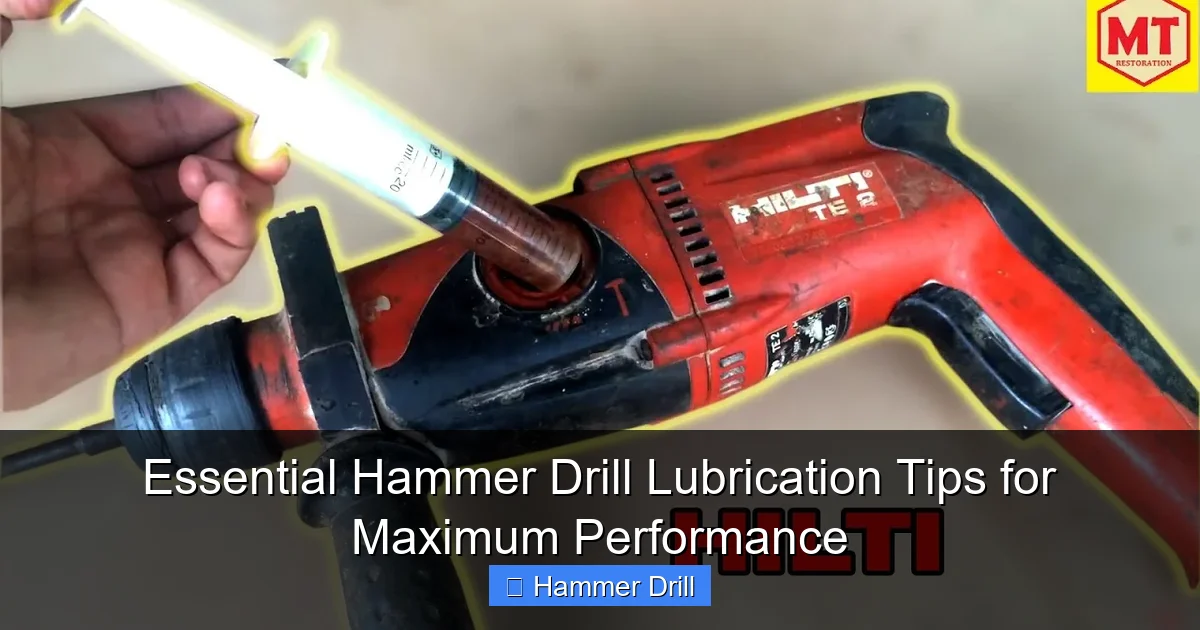
Visual guide about Essential Hammer Drill Lubrication Tips for Maximum Performance
Image source: i.ytimg.com
Recommended Lubricants
Lithium-based grease is the gold standard for hammer drills. It handles high pressure and high temperatures. Most manufacturers include a small tube with your drill. If not, buy hammer drill grease from any hardware store. Look for NLGI #2 consistency.
White lithium grease works well too. It’s clean, stays in place, and doesn’t drip. Avoid anything labeled “multi-purpose” unless it’s specifically for power tools.
Lubricants to Avoid
- WD-40: This is a solvent, not a lubricant. It removes grease and dries out.
- Motor oil: Too thin. It leaks out under pressure and doesn’t protect.
- Vegetable oil: Goes rancid, gums up, and attracts dirt.
- Automotive grease: May contain additives that harm plastic parts.
Step-by-Step Hammer Drill Lubrication Process
Ready to grease your hammer drill? Follow these steps carefully. Work in a clean, well-lit area. Have rags, a small brush, and your lubricant ready.
Visual guide about Essential Hammer Drill Lubrication Tips for Maximum Performance
Image source: image.slidesharecdn.com
Step 1: Safety First
Unplug the drill or remove the battery. You don’t want it starting accidentally. Wear safety glasses to protect your eyes from old grease. Work gloves keep your hands clean.
Step 2: Disassembly
Remove the chuck by unscrewing it counterclockwise. Some chucks have a setscrew you must remove first. Take off the housing cover screws. Gently separate the housing halves. Be careful with wires—don’t yank them.
Take photos as you disassemble. This helps with reassembly. Lay parts out in order on a clean rag.
Step 3: Clean Old Grease
Old grease turns hard and crumbly. It traps metal shavings. Remove it completely. Use a small brush to scrub gears and bearings. Wipe surfaces with a rag. Don’t use solvents unless absolutely necessary—they can damage seals.
Step 4: Apply New Grease
Pack the gear assembly generously. Make sure grease gets between every gear tooth. Apply a thin layer to all bearings. The piston and cylinder need the most attention—coat them thickly.
For the chuck, apply grease to the jaws and threads. Reinstall the chuck and tighten it securely.
Step 5: Reassembly
Carefully put the housing halves together. Make sure all wires are tucked in properly. Tighten screws in a star pattern for even pressure. Don’t overtighten—you can strip the plastic threads.
How Often Should You Lubricate?
Follow the 50-hour rule. Lubricate after every 50 hours of actual use. If you use your drill daily, that’s about every 2 months. Heavy users should do it monthly.
Watch for warning signs that your drill needs early lubrication:
- Unusual grinding or rattling noises
- Drill feels hotter than normal
- Reduced power or speed
- Excessive vibration
- Difficulty changing bits
After drilling in wet conditions, lubricate immediately. Water washes away grease and causes rust.
Special Considerations for Cordless Hammer Drills
Cordless hammer drills need the same lubrication as corded models. The battery doesn’t change the internal mechanics. However, cordless users often push their tools harder, trying to finish before the battery dies. This increases wear.
Check your battery contacts during lubrication. Clean them with a dry cloth. Don’t get grease on electrical connections.
Troubleshooting Common Lubrication Problems
Even with proper lubrication, issues can arise. Here’s how to fix them.
Problem: Grease Leaking from the Chuck
You probably applied too much grease. Remove the chuck and wipe out the excess. The chuck hole should be one-third full, not packed solid. Reinstall and test.
Problem: Drill Still Noisy After Lubrication
The grease may not have reached the problem area. Disassemble again and check for missed spots. Look for worn bearings or damaged gears. If parts are damaged, replace them before re-greasing.
Problem: Overheating Continues
Clean grease off the motor vents. Blocked vents cause overheating. Check if you used the right grease. Wrong grease breaks down under heat. Replace with proper lithium-based grease.
Problem: Hard to Assemble After Greasing
You likely used too much grease. Excess grease creates pressure when closing the housing. Remove some grease and try again. A thin, even coat is better than a thick glob.
Safety Precautions You Must Follow
Lubrication seems simple, but dangers exist. Follow these safety rules.
Electrical Safety
Always disconnect power before opening your drill. For cordless models, remove the battery and hold the trigger to discharge any remaining power. Work in a dry area.
Chemical Safety
Grease isn’t toxic, but don’t get it in your eyes. Wash hands after use. Work in a ventilated area. If you have sensitive skin, wear nitrile gloves.
Tool Safety
Use the right tools for disassembly. A wrong-size screwdriver can strip screws. Don’t force anything—if it won’t come apart, you’re missing a screw. Keep small parts in a container so they don’t roll away.
Storage Tips to Protect Your Lubrication Investment
Proper storage maintains grease quality between uses. Store your hammer drill in a dry, temperature-stable place. Extreme heat melts grease. Extreme cold makes it hard. Both reduce effectiveness.
Keep the drill in its case. This prevents dust from settling on greased parts. Store with the chuck slightly open. This prevents the jaws from seizing.
If you won’t use the drill for months, apply a fresh coat of grease before storing. Run it briefly once a month to redistribute the grease.
Conclusion: Make Lubrication a Habit
Hammer drill lubrication takes 15 minutes but adds years to your tool’s life. It’s the single best thing you can do for performance and reliability. Don’t wait for problems—prevent them.
Keep a tube of lithium grease in your toolbox. Mark your calendar for the next lubrication date. Your future self will thank you when the drill still runs like new after a decade of hard use.
Remember, a well-lubricated hammer drill doesn’t just last longer—it works better. You’ll drill faster, with more power, and less effort. That’s worth 15 minutes of maintenance every few months.
Final Checklist
- Use only lithium-based hammer drill grease
- Clean all old grease before applying new
- Lubricate every 50 hours or when problems appear
- Focus on gears, bearings, piston, and chuck
- Store in a dry place with the case closed
- Follow all safety precautions
