
Master hammer drill masonry tips to achieve clean, precise holes in tough materials like concrete and brick. This guide covers everything from tool selection to advanced techniques, ensuring you avoid common pitfalls and complete your projects efficiently. Follow our proven steps for flawless drilling every time.
Master Hammer Drill Masonry Tips for Flawless Drilling
Drilling into masonry can feel like a battle against nature. Brick, concrete, and stone are unforgiving materials. They demand respect and the right approach. But with the proper hammer drill masonry tips, you can turn a daunting task into a smooth, successful project. This guide is your ultimate resource. You will learn how to drill perfect holes every time. We cover everything from basics to pro techniques. By the end, you will handle any masonry drilling job with confidence. Let’s dive in and master those hammer drill masonry tips for flawless results.
We will walk through each step in detail. You will understand your tool, prepare correctly, choose bits, set up, drill with precision, troubleshoot issues, and stay safe. Whether you’re installing shelves, mounting TVs, or doing construction, these tips are gold. Get ready to transform your drilling game.
Key Takeaways
- Choose the right drill bit: Use carbide-tipped masonry bits for best performance and longevity on hard materials.
- Set the correct drill mode: Always engage the hammer function when drilling into masonry to combine rotation and impact for effective penetration.
- Mark and pilot hole accurately: Use a center punch to create a starting indentation, preventing bit wander and ensuring precise hole placement.
- Apply steady, moderate pressure: Let the drill do the work; avoid forcing it to prevent overheating, bit damage, and motor strain.
- Manage dust and debris: Clear holes periodically and use a vacuum attachment to maintain visibility, drill efficiency, and a cleaner work area.
- Prioritize safety: Wear appropriate PPE, including safety glasses and a dust mask, and secure your workpiece to prevent accidents.
- Maintain your tools: Regularly clean and inspect your hammer drill and bits to ensure optimal performance and extend their lifespan.
Understanding Your Hammer Drill: The Power Tool for Masonry
First things first. Know your tool. A hammer drill is not a regular drill. It has a special hammering action. This action pounds the bit forward while it spins. The combination breaks up masonry efficiently. If you’re confused about tool types, read our article on the difference between a drill and a hammer drill. It clears up common misconceptions.
How the Hammer Mechanism Works
Inside the drill, a mechanism creates rapid blows. These blows happen along the drill bit’s axis. Think of it as a mini jackhammer. The bit chips away at the material. This makes drilling into hard surfaces much easier. Without the hammer function, you would struggle or fail.
When to Use Hammer Mode vs. Drill Mode
Always use hammer mode for masonry. For wood, metal, or plastic, switch to drill mode. Most hammer drills have a selector switch. It might be a collar or button. Set it to the hammer icon for brick, concrete, or stone. Using the wrong mode can damage your bit and drill.
Also, consider speed settings. Start slow to establish the hole. Then increase speed as you go. High speed isn’t always better. Control is key. Practice on a scrap piece first if you’re new.
Preparing for Masonry Drilling: Set the Stage for Success
Preparation prevents poor performance. This step is crucial. Rushing leads to mistakes. Take your time to prepare properly.
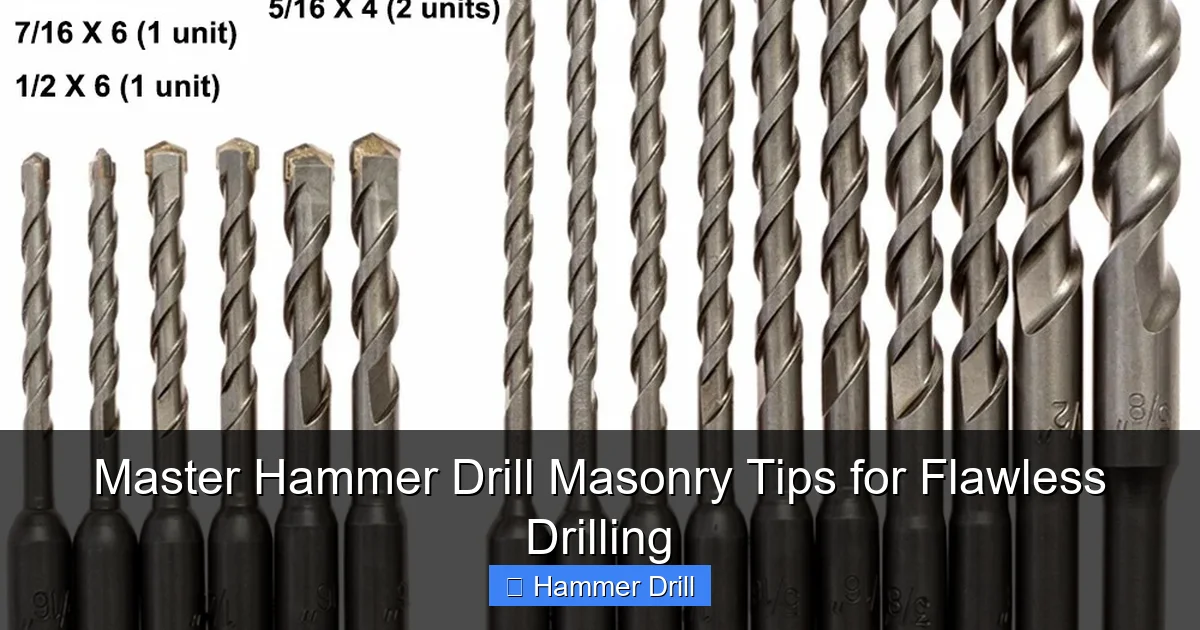
Visual guide about Master Hammer Drill Masonry Tips for Flawless Drilling
Image source: image.pushauction.com
Gather Your Tools and Materials
You will need several items. Your hammer drill is the star. Make sure it’s charged or plugged in. Corded drills often offer more power for tough jobs. But cordless drills provide convenience. For top recommendations, see our list of the best cordless drill models.
Other essentials include masonry bits, a center punch, a hammer, safety glasses, a dust mask, ear protection, a vacuum with a brush attachment, a pencil, a tape measure, and a level. Have everything within reach before you start.
Inspect the Work Area Thoroughly
Safety is paramount. Check for hidden hazards. Look for electrical wires, pipes, or rebar behind the masonry. Use a stud finder with metal detection. If you’re unsure, consult building plans or use a professional scanner. Drilling into live wires or pipes can be dangerous and costly.
Also, ensure the surface is stable. Clean it of loose debris or dust. Mark your drilling points clearly. Use a pencil and a level for accuracy. Double-check measurements. An extra minute here saves hours of fixing errors.
Selecting the Right Drill Bits: The Key to Effective Drilling
The bit is what contacts the material. Choosing the wrong bit is like using a spoon to cut steak. For masonry, carbide-tipped bits are mandatory. They are hard enough to handle abrasive surfaces.
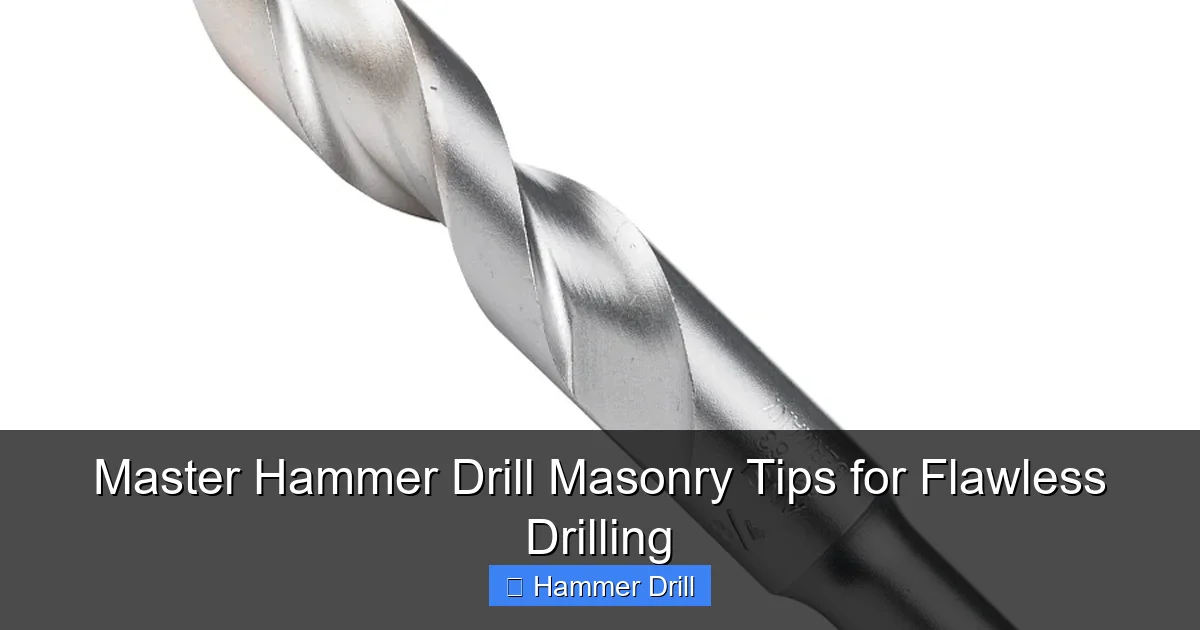
Visual guide about Master Hammer Drill Masonry Tips for Flawless Drilling
Image source: fastenere.com
Types of Masonry Drill Bits
There are a few common types. Standard masonry bits have a carbide tip on a spiraled steel shaft. They work well for light to medium tasks. SDS (Slotted Drive System) bits are for heavier drills. They have a special shank that allows for more impact energy transfer. They are ideal for concrete and reinforced masonry.
For very hard materials like granite or porcelain, diamond-tipped bits are best. They are expensive but necessary for precision. Match the bit to your drill’s chuck type. Using an SDS bit in a regular chuck requires an adapter, which may reduce efficiency.
Matching Bit Size to Your Project
Select the diameter based on your anchor or screw size. As a rule, the hole should be slightly larger than the anchor for a snug fit. For example, for a 1/4-inch anchor, use a 3/8-inch bit. Check the anchor manufacturer’s guidelines.
For deep holes, consider bit length. Choose a bit that’s at least 1/2 inch longer than your desired depth. This accounts for dust accumulation and ensures you reach the full depth.
Setting Up the Drill and Work Area: Precision and Safety First
Now, set up for action. This involves marking, punching, and configuring your drill.
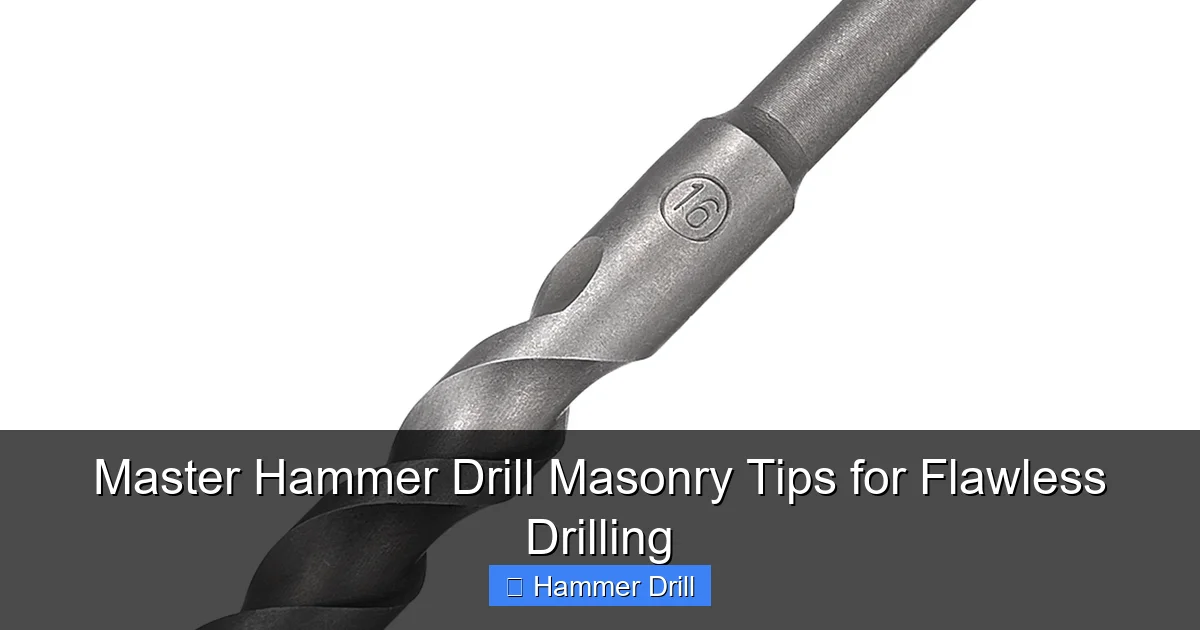
Visual guide about Master Hammer Drill Masonry Tips for Flawless Drilling
Image source: i5.walmartimages.com
Marking and Punching the Hole Location
Use a pencil to mark the exact spot. Then, take a center punch and a hammer. Place the punch tip on the mark. Tap it firmly with the hammer. This creates a small dimple or indentation. This step is non-negotiable. It prevents the drill bit from “walking” or sliding on the hard surface. It ensures your hole starts exactly where you want.
For multiple holes, use a template. You can make one from cardboard or wood. This ensures consistent spacing and alignment.
Setting Drill Speed, Torque, and Mode
Refer to your drill’s manual. For masonry, set the drill to hammer mode. Adjust the speed setting. Start at a low speed (around 500-800 RPM). This helps control the initial penetration. As you drill, you can increase speed gradually.
Torque settings matter too. High torque can cause kickback on hard spots. Use a medium setting. Let the hammer action do the work. If your drill has a depth stop, set it to your desired depth. This prevents drilling too far.
Secure your workpiece. If possible, clamp it down. This minimizes vibration and improves accuracy. If drilling into a wall, ensure you have a stable stance. Use a ladder safely if needed. For ladder safety tips, refer to our guide on essential safety tips for climbing ladders.
Drilling Technique Step-by-Step: The Art of Perfect Holes
This is where the magic happens. Follow these steps closely for flawless drilling.
Step 1: Position the Drill Perpendicularly
Hold the drill firmly with both hands. Position the bit tip into the center punch indentation. Keep the drill straight at a 90-degree angle to the surface. Any angle can cause the hole to be crooked or the bit to break. Use a bubble level attachment if your drill has one, or check by eye.
Step 2: Start Slowly and Apply Steady Pressure
Squeeze the trigger gently. Start at low speed. Let the bit engage with the material. Apply moderate, consistent pressure. Do not lean into the drill. Let the tool’s hammer action do the work. You should feel vibrations and hear a rhythmic pounding sound.
If the drill struggles, don’t force it. Check if the hammer mode is on. Or, you might need a sharper bit. Forcing can overheat the bit and motor.
Step 3: Use a Pecking Motion for Deep Holes
For holes deeper than an inch, use a pecking motion. Drill for a few seconds, then pull the bit out partially. This clears dust from the hole. Reinsert and continue. This prevents the bit from binding and keeps the hole clean. It also reduces heat buildup.
Clear dust regularly. You can use a vacuum with a narrow nozzle. Or, blow out the hole with a bulb blower. Wear your dust mask during this to avoid inhalation.
Step 4: Manage Dust and Debris Continuously
Masonry drilling creates a lot of dust. It can obscure your view and reduce drilling efficiency. Use a vacuum attachment designed for drills. Many modern drills have dust extraction ports. Connect a vacuum hose to it. This keeps the area clean and improves visibility.
If no vacuum is available, pause often to brush away dust. Keep a small brush handy. This simple step makes a big difference.
Step 5: Finish Smoothly and Inspect the Hole
As you near the desired depth, reduce pressure. Let the drill complete the hole without forcing. Once done, pull the bit out while it’s still spinning slowly. This helps clear any remaining debris.
Inspect the hole. It should be clean and even. If there are rough edges, you can lightly ream it with the bit by spinning without hammering. But usually, it’s fine for anchor installation.
Troubleshooting Common Issues: Fix Problems Like a Pro
Even with care, issues can pop up. Here’s how to handle common problems.
Drill Bit Won’t Penetrate or Progress Slowly
This is frustrating. First, ensure the hammer function is engaged. Check the mode switch. Second, inspect the bit. Is it sharp? Dull bits need replacement. Third, you might be drilling into reinforced concrete with rebar. If you hit metal, stop. You may need a carbide-tipped bit designed for metal or relocate the hole.
Also, check drill power. For very hard materials, a more powerful drill might be necessary. Corded drills often have more sustained power.
Bit Overheating or Smoking
Overheating is a sign of too much pressure or high speed. Reduce both. Pull the bit out to cool. Dip it in water briefly if it’s safe for the material (avoid this for electrical work). Never use oil on masonry bits; it can attract dust and clog the hole.
Ensure you’re using a sharp bit. Dull bits generate more heat. Consider using a bit with flutes designed for better dust removal.
Hole is Crooked or Off-Center
This usually happens from not using a center punch or angling the drill. To fix, you may need to start a new hole nearby. Use a larger bit to cover the mistake if possible, or fill the old hole with epoxy or mortar and redrill once set.
For future holes, always punch a starting indent. And practice holding the drill steady. Use both hands for better control.
Excessive Vibration or Strange Noises
This could indicate a worn drill mechanism or a damaged bit. Stop immediately. Inspect the bit for cracks or bends. Check the drill’s chuck and internal parts. If the noise persists, consult a professional for repair. Regular maintenance prevents such issues.
Safety Tips and Best Practices: Protect Yourself and Your Tools
Safety is not optional. Follow these guidelines to avoid injuries and damage.
Personal Protective Equipment (PPE) Essentials
Always wear safety glasses to protect from flying debris. Use a dust mask or respirator to avoid inhaling silica dust, which can harm lungs. Wear hearing protection, as hammer drills are loud. Gloves improve grip but ensure they don’t interfere with controls. Sturdy shoes protect your feet from falling tools or materials.
Work Area Safety Measures
Keep the area clean and well-lit. Remove tripping hazards. Secure loose cords to prevent accidents. If drilling overhead, wear a hard hat. Ensure good ventilation to disperse dust. When using ladders, follow safety protocols. Our article on essential safety tips for climbing ladders has detailed advice.
Never drill into wet masonry unless using a ground-fault circuit interrupter (GFCI) for electric drills. Water and electricity don’t mix. Also, be aware of your surroundings. Keep bystanders away from the work zone.
Tool Maintenance for Longevity
After each use, clean your hammer drill. Wipe off dust and debris. Check the chuck for tightness. Store bits in a case to prevent damage. Regularly inspect the power cord or battery. Lubricate moving parts as per the manual. This extends tool life and ensures reliability.
Sharpen or replace dull bits promptly. A sharp bit makes drilling easier and safer.
Conclusion: Become a Masonry Drilling Master
Mastering hammer drill masonry tips is a rewarding skill. It opens up endless DIY and professional possibilities. You’ve learned how to choose tools, prepare, drill with precision, troubleshoot, and stay safe. Remember, practice makes perfect. Start with small projects to build confidence.
Every hole you drill now will be flawless. You’ll save time, money, and frustration. Share these tips with others. And keep exploring new techniques. For more insights on tool differences, revisit our guide on the difference between a drill and a hammer drill. Happy drilling, and may your projects always be solid and secure!
