
Always select carbide-tipped bits and maintain correct speed and pressure for clean, fast holes in brick or concrete. Mastering hammer drill masonry demands precision and patience to prevent bit walk and overheating. This focused approach ensures flawless, efficient results every time.
Let me tell you about the time I tried to hang a heavy shelf in my garage. I had my trusty drill, a brand new drill bit, and about five minutes to spare. Or so I thought. What happened next was a comedy of errors: a broken bit, a smoking drill, and a very angry concrete wall that didn’t have a scratch on it. I stood there, covered in dust, wondering what I’d done wrong.
Turns out, I was missing one crucial piece of knowledge. I needed to master hammer drill masonry techniques. Not just any drill would do. Not just any bit would work. And my technique? Well, let’s just say it was “enthusiastically wrong.”
If you’ve ever found yourself frustrated with a project that should be simple, you’re not alone. Masonry work is different. It demands respect, the right tools, and a few insider secrets. Today, I’m sharing everything I learned the hard way so you can get it right the first time.
Key Takeaways
- Select premium carbide-tipped bits for clean holes and extended tool life in masonry.
- Mark points with center punch to prevent bit wandering and ensure accuracy.
- Maintain perpendicular alignment throughout drilling for professional-quality holes.
- Apply steady, moderate pressure without forcing to protect bits and improve results.
- Clear dust thoroughly from holes for maximum anchor holding strength.
- Start at low speed for precise placement, then increase to full hammer action.
- Wear safety glasses and masks to protect against harmful dust and debris.
Why This Matters / Understanding the Problem
Here’s the thing about masonry. It’s unforgiving. Wood bends. Metal yields. But concrete, brick, and stone? They fight back. And if you’re not prepared, they’ll win every single time.
I learned this lesson while trying to mount a workbench. My regular drill just spun and spun, making a sad little scratch on the surface. The masonry bit I was using? It got hot, screamed in protest, and then snapped in half. I felt pretty defeated.
The core issue is simple. Standard drills aren’t built for masonry. They spin. That’s it. But masonry needs two motions: rotation AND a hammering action. This hammering action is what actually breaks up the material so the bit can move forward. Without it, you’re just grinding away at a surface that’s harder than your bit.
Understanding the difference between a regular drill and a hammer drill changed everything for me. It’s not just about power. It’s about mechanical design. If you want to master hammer drill masonry tips for professional results, you need to know what makes these tools special. The hammering mechanism inside creates a rapid back-and-forth motion. This happens thousands of times per minute. It’s like having a tiny jackhammer at the tip of your drill bit.
But here’s where it gets tricky. Not all hammer drills are created equal. And even the best one will fail if you use it wrong. That’s why this guide covers not just the tools, but the technique. Because anyone can buy a hammer drill. But not everyone can use it like a pro.
If you’re still wondering whether you need a hammer drill or if your impact driver might work, let me clear that up. Impact drivers are great for driving screws. They’re not designed for making holes in concrete. The two tools serve completely different purposes. Knowing this difference saved me from a lot of future frustration.
What You Need
Before we dive into the step-by-step process, let’s gather our gear. Don’t worry, you don’t need a truck full of equipment. But you do need the right stuff. Trust me, I’ve tried cutting corners. It never ends well.
Visual guide about Master Hammer Drill Masonry Tips for Professional Results
Image source: images-na.ssl-images-amazon.com
Here’s your shopping list for professional masonry results:
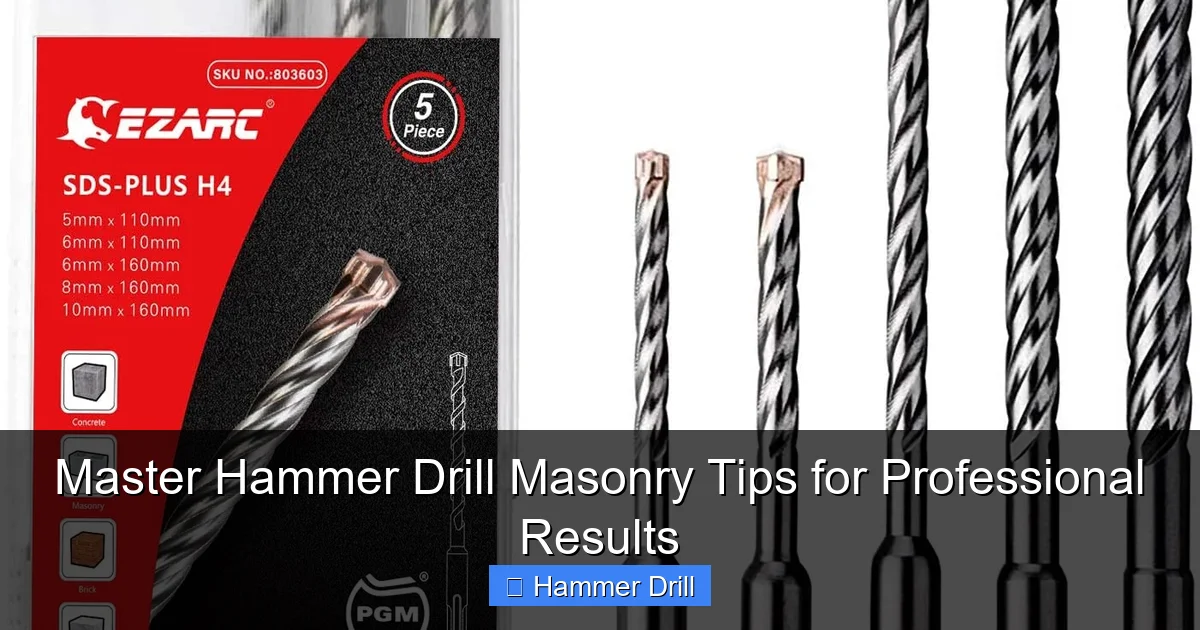
- A hammer drill – This is non-negotiable. You need one with a dedicated hammer mode. Corded models offer more consistent power for tough jobs. Cordless models give you freedom to work anywhere. I keep both in my shop. Each has its place.
- Masonry drill bits – These look different for a reason. The tip is carbide, which is harder than steel. The flutes are designed to pull dust out of the hole. Regular bits will overheat and break. I learned this the expensive way.
- Safety glasses – Masonry dust gets everywhere. And I mean everywhere. Tiny particles fly at high speed. Your eyes will thank you.
- A dust mask or respirator
- A vacuum or brush – You’ll need to clean out holes as you drill. This is crucial for proper anchor seating.
- Marking tools – A pencil works, but I prefer a permanent marker for better visibility on dark surfaces.
- Painter’s tape – This little miracle worker prevents chipping and helps your bit start cleanly.
- A straightedge or level – For accurate placement, especially on longer projects.
– That same dust isn’t great for your lungs. Concrete dust contains silica, which can be harmful. Better safe than sorry.
Optional but helpful items include a vacuum system attached to your drill, a stud finder for locating hidden pipes or rebar, and a set of depth stops for consistent hole depths.
When I first started, I tried using my regular drill bits. Bad idea. They overheated within seconds. The carbide-tipped masonry bits are worth every penny. They stay sharp longer and cut through material that would destroy standard bits.
Choosing between corded and cordless depends on your project. For small jobs, my cordless hammer drill works great. But when I’m drilling a dozen holes for a concrete fence post, I grab the corded one. The battery on cordless models can fade under heavy load, and that’s when you start burning out motors.
Step-by-Step Guide to Master Hammer Drill Masonry Tips for Professional Results
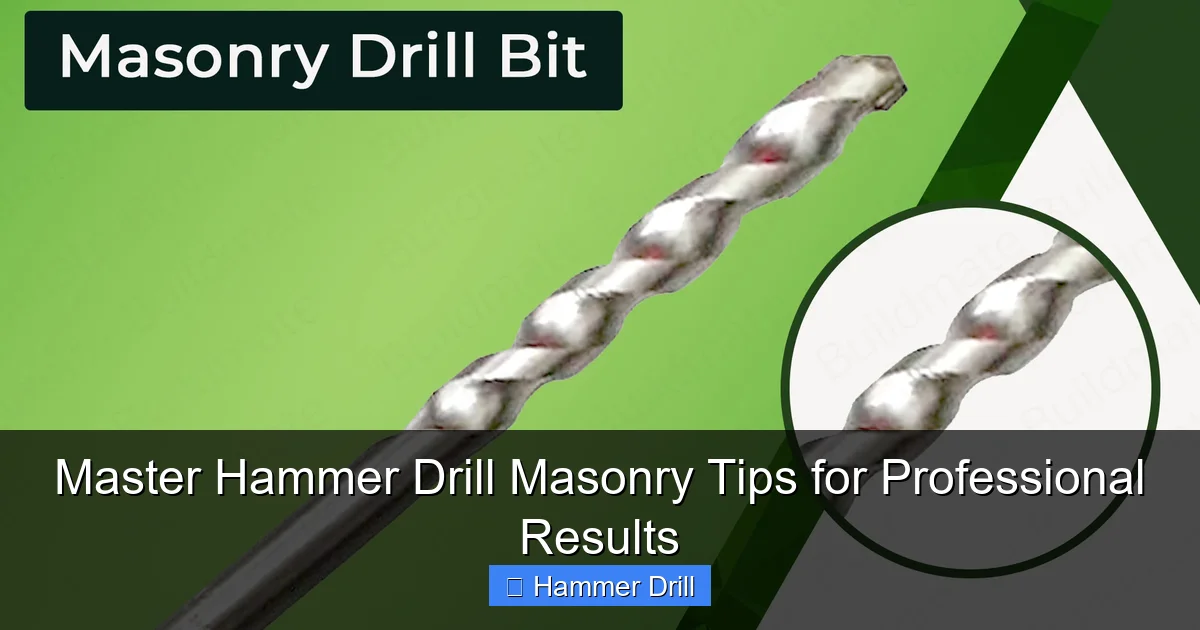
Step 1: Choose the Right Drill and Bits for Your Material
This step seems obvious, but it’s where most people fail. Not all masonry is the same. Drilling into concrete block is different from drilling into solid concrete, which is different from brick. Each material needs a slightly different approach.
Visual guide about Master Hammer Drill Masonry Tips for Professional Results
Image source: ph-test-11.slatic.net
First, identify what you’re drilling into. Is it poured concrete? Concrete block? Brick? Stone? Each has different density and hardness. For poured concrete, you need the full hammer mode. For brick, you can often get away with a lighter touch. Stone varies wildly depending on the type.
Next, select the right bit size. I always match the bit to the anchor I’m using. If you’re using a 1/4″ anchor, you need a 1/4″ bit. It sounds simple, but I’ve seen people use larger bits thinking they’d have more wiggle room. That just creates a loose anchor and a failed project.
The bit length matters too. You need enough length to go through your material plus the anchor depth. But don’t go longer than necessary. Long bits can flex and wander, making your hole crooked. I once drilled a hole at a 15-degree angle because my bit was too long and I was in a hurry. Lesson learned.
Finally, inspect your bit before starting. Is the carbide tip chipped? Are the flutes clogged with old dust? A damaged bit will make your job miserable. I keep a wire brush in my toolbox just for cleaning bits between uses.
Step 2: Mark Your Spot and Prepare the Surface
Measure twice, drill once. This old saying exists for a reason. I’ve had to patch more holes than I care to admit because I rushed my measurements.
Start by marking your drilling point with a pencil or marker. Make it visible but precise. Then, place a small piece of painter’s tape over the mark. This does two things: it prevents the drill bit from wandering when you start, and it reduces chipping on the surface.
Use a center punch or the tip of a nail to create a small divot in the tape. This gives the bit a place to bite into right from the start. Without this, the bit can skate across the surface, especially on smooth concrete or glassy brick.
If you’re drilling multiple holes, use a level or straightedge to ensure they’re aligned. Nothing looks worse than a row of crooked holes. I learned this while installing a handrail. The rail didn’t sit flush because my holes were slightly out of line. I had to redo the entire thing.
Before you start drilling, double-check for hidden hazards. Use a stud finder with AC detection to check for electrical wires. For plumbing, I use a magnetic stud finder to locate metal pipes. Water and electricity don’t mix with power tools.
Step 3: Set Up Your Drill for Success
Now it’s time to configure your drill. This step is critical and often overlooked. I used to just jam the bit in and go. That was before I learned about proper setup.
First, insert the bit into the chuck. Make sure it’s fully seated and tightened. A loose bit can wobble, creating an oversized hole or even breaking. I use both hands to tighten the chuck—one to hold the shaft steady, one to twist the chuck.
Next, select the right mode. Most hammer drills have three settings: drill only, hammer drill, and sometimes a dedicated hammer mode without rotation. For masonry, you want hammer drill mode. This combines rotation with the hammering action.
Adjust your speed setting. Start at a lower speed, especially for smaller bits. High speed can overheat the bit and cause it to dull quickly. I typically start around speed 1 and only increase if needed. The hammering action does most of the work, not the rotation speed.
Set your depth stop if your drill has one. This ensures you don’t drill deeper than necessary. It’s especially helpful when you need multiple holes to the same depth. I use this feature constantly for shelving projects.
Finally, check your grip. Hold the drill firmly with both hands. One hand on the handle, one on the side grip. Your body should be stable, feet shoulder-width apart. Don’t hold it like a regular drill. The hammering action creates significant vibration and torque.
Step 4: Drill with Proper Technique
This is where the magic happens. But magic requires the right technique. I learned this through trial and error, and a few broken bits.
Start by positioning the bit at a 90-degree angle to the surface. Apply light pressure and pull the trigger gently. Let the hammering action do the work. Don’t force it. I made this mistake early on, pushing hard thinking it would go faster. It just overheated the motor and dulled the bit.
As you drill, maintain steady, moderate pressure. Think of it like guiding a hot knife through butter. You’re not pushing hard; you’re just keeping it moving forward. The hammer drill is doing the heavy lifting.
Every inch or so, pull the bit out to clear dust. This is crucial. If dust builds up in the hole, it acts like a brake, stopping your progress and overheating the bit. I use a small brush or vacuum for this step. My cordless drill has a dust collection attachment that works great.
Keep the drill level throughout. If you tilt it, you’ll create an oval hole or break through the side of your material. I check my angle constantly, especially on longer holes. A crooked hole means a loose anchor.
Listen to your drill. If it starts making a grinding noise or the motor strains, stop. You might be hitting rebar or a particularly hard spot. Back off, check your position, and try again with lighter pressure.
For deep holes, be patient. Drill in stages, clearing dust each time. Rushing deep holes is how bits break and projects fail. I drill about 2 inches, clear dust, drill another 2 inches, and so on. It takes a bit longer, but the results are worth it.
Step 5: Clean and Finish the Hole
You’re almost done, but don’t skip this step. A poorly cleaned hole will ruin even perfect drilling technique. I learned this when my anchors wouldn’t seat fully.
Once you’ve reached your desired depth, remove the drill while it’s still running. This helps clear out loose dust. Then, use a vacuum or brush to remove all debris from the hole. You want it completely clean.
For the best results, I use compressed air after vacuuming. A quick blast removes any remaining particles that the vacuum missed. This ensures the anchor makes full contact with the sides of the hole.
Check the hole depth with a ruler or depth gauge. Make sure it matches your anchor length. If it’s too deep, you’ll need to adjust your anchor or use a longer one. If it’s too shallow, you may need to drill a bit more.
Inspect the hole for damage. Are the sides clean and uniform? Or are there large chips or an irregular shape? If it’s damaged, you might need to patch it and start over. Prevention is always better than cure.
Finally, wipe away any dust from the surface around the hole. This ensures your anchor or fixture sits flush against the material. I use a damp cloth for this, letting it dry before proceeding.
Pro Tips & Common Mistakes to Avoid
After years of masonry drilling, I’ve collected my share of scars and stories. Here are the lessons that saved me time, money, and frustration.

Visual guide about Master Hammer Drill Masonry Tips for Professional Results
Image source: lzd-img-global.slatic.net
Pro Tip: Keep your bits cool. If a bit gets too hot, it loses hardness. Dip it in water occasionally for long drilling sessions. I keep a spray bottle of water nearby for this.
One of my biggest early mistakes was using the wrong size bit for the anchor. I thought a slightly larger hole would make insertion easier. Instead, I got loose anchors that pulled right out. Always match the bit size exactly to the anchor manufacturer’s specifications.
Another common error is ignoring the dust. Letting dust accumulate in the hole is the number one cause of failed installations. I set a timer for 30 seconds of drilling, then stop to clear dust. It feels tedious, but it works.
Warning: Never use regular drill bits on masonry. They will overheat, dull instantly, and could shatter. The carbide tips on masonry bits are specifically designed for hammer action.
Pressure is another area where people struggle. Too much pressure damages the bit and motor. Too little, and you’re not making progress. The sweet spot is letting the tool do the work while you guide it steadily. Think of it as a partnership, not a wrestling match.
Bit angle matters more than you think. Starting at 45 degrees and then correcting to 90 degrees seems like a good idea, but it creates a flared entrance that weakens the anchor hold. Start perpendicular from the beginning.
For overhead work, I use a different technique. I drill slightly deeper than needed, then insert the anchor while it’s still warm from drilling. The heat helps the anchor expand slightly, creating a tighter fit. But be careful—this only works with certain anchor types.
When drilling near edges, use painter’s tape on both sides. This prevents blowout and chipping. I learned this while drilling close to the edge of a concrete step. The corner chipped off, ruining the look of my project.
Finally, maintain your tools. Clean your drill after each use. Check the chuck for wear. Replace brushes when needed. A well-maintained tool performs better and lasts longer. My first hammer drill died because I never cleaned the air vents. Dust buildup caused the motor to overheat.
FAQs About Master Hammer Drill Masonry Tips for Professional Results
Over the years, I’ve answered these questions countless times. Let me address the most common concerns.
Q: Can I use a regular drill for masonry if I try hard enough?
A: Technically, you can make a hole with a regular drill in very soft brick or concrete block. But it’s slow, hard on your tool, and the results are poor. For any serious masonry work, you need a hammer drill. The hammering action is essential for breaking up the material.
Q: How do I know if I’m using the right bit size?
A: Check your anchor packaging. It should specify the exact drill bit diameter needed. When in doubt, measure the anchor’s shaft, not the head. The hole must be the same size as the shaft for a proper friction fit.
Q: My drill is getting hot. Is that normal?
A: Some heat is normal, especially during extended use. But if it’s too hot to touch, stop immediately. You’re either using too much pressure, the bit is dull, or you need to clear dust more frequently. Let it cool down before continuing.
Q: What’s the best way to clear dust from deep holes?
A: I use a combination of methods. First, pull the bit out and brush away loose dust. Then use a vacuum. For the final clean, I use compressed air. You can also use a wire brush inserted into the hole to break up stubborn dust clumps.
Q: How deep should I drill for my anchor?
A: Drill 1/4 inch deeper than your anchor length. This gives the anchor room to expand fully and ensures it sits flush with the surface. I always measure twice: once for the anchor, once for the hole depth.
Q: Can I drill into tile with a hammer drill?
A: Yes, but with caution. Start without hammer mode to create a pilot hole, then switch to hammer mode for the substrate behind. Use painter’s tape to prevent tile chipping. I practice on scrap tile first to get the feel.
Q: What if I hit rebar while drilling into concrete?
A: Stop immediately. Hitting rebar can damage your bit and deflect the drill. Mark the spot, move over a few inches, and try again. If you must drill through rebar, use a rebar-cutting bit and go slowly. But honestly, it’s better to relocate the hole if possible.
Final Thoughts
Mastering hammer drill masonry isn’t about brute force. It’s about understanding the material, respecting the tool, and using the right technique. I spent years getting it wrong before I finally took the time to learn the proper methods.
The key takeaway is simple: let the hammer drill do the work. Don’t force it. Keep it clean. Use the right bits. And for goodness’ sake, clear that dust. These small details make the difference between a professional result and a frustrating failure.
Start with a practice piece if you’re new to this. Old concrete blocks are cheap at any home improvement store. Drill a few test holes, insert anchors, and see how it feels. Practice makes perfect, and it’s better to learn on scrap than on your final project.
Remember, every expert was once a beginner. I broke my share of bits and ruined my share of holes. But with patience and attention to detail, you can achieve clean, professional results every single time. Your projects deserve that level of quality.
Now go tackle that project with confidence. You’ve got the knowledge. You’ve got the right tools. And most importantly, you know how to use them like a pro.
