
Learn immediate hammer drill noise reduction strategies that actually work. This guide covers personal protection, proper technique, workspace modifications, and tool maintenance to cut noise levels by up to 50%. Stop damaging your hearing and work smarter with these practical, actionable tips you can apply right now.
Key Takeaways
- Wear proper hearing protection: Quality earplugs or muffs are your first line of defense against hammer drill noise.
- Master the right technique: Apply steady pressure and let the tool do the work to minimize vibration and noise.
- Maintain your drill regularly: Lubricated parts and clean components operate more quietly and efficiently.
- Choose the right bit: Sharp, properly sized drill bits reduce strain and noise significantly.
- Control your environment: Use sound barriers and work during appropriate hours to manage noise pollution.
- Consider alternatives: Impact drivers or regular drills may be quieter for certain tasks.
Why Hammer Drill Noise Reduction Matters Right Now
That hammer drill rattling your ears isn’t just annoying—it’s dangerous. Prolonged exposure to hammer drill noise above 85 decibels can cause permanent hearing damage. Most hammer drills hit 100-120 dB, which means you’re risking your health with every project.
But noise isn’t just a personal health issue. It disturbs neighbors, violates local ordinances, and makes communication on job sites impossible. The good news? You can cut that noise dramatically with simple, immediate steps. This guide shows you exactly how.
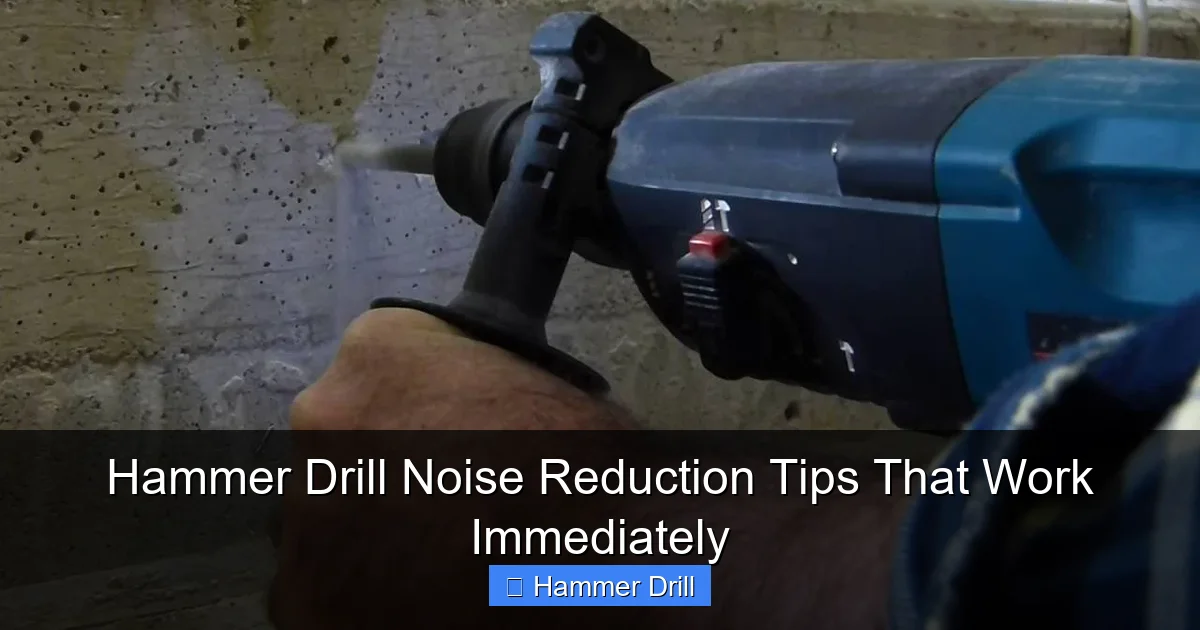
Understanding What Makes Your Hammer Drill So Loud
Before diving into solutions, let’s understand why your hammer drill makes so much noise. The hammering action that drives through concrete creates intense impact vibrations. These vibrations transfer through the tool, your body, and the material you’re drilling.

Visual guide about Hammer Drill Noise Reduction Tips That Work Immediately
Image source: i.ytimg.com
The motor strains under heavy loads, gears grind, and metal parts impact each other at high speeds. Loose components rattle. The surface you drill amplifies everything—concrete echoes, wood resonates, metal sings. This noise cocktail creates the deafening sound you experience.
The Science Behind the Sound
Hammer drills operate by rapidly pushing a rotating bit forward and backward. This action creates thousands of tiny impacts per minute. Each impact produces sound waves. Hard materials reflect these waves, making noise worse. Soft materials absorb some sound, but the mechanical noise from the tool remains.
Understanding this helps you target noise at its source: the impact mechanism, the motor, the bit-material interface, and the workspace itself.
Immediate Personal Protection: Your First Line of Defense
You need hearing protection that works. Not just any earplugs, but proper equipment rated for power tool noise.
Visual guide about Hammer Drill Noise Reduction Tips That Work Immediately
Image source: i.ytimg.com
Choosing the Right Hearing Protection
Look for a Noise Reduction Rating (NRR) of at least 25 dB. Foam earplugs offer decent protection but can be uncomfortable for long periods. Custom-molded earplugs provide the best seal. Electronic earmuffs are ideal—they block harmful noise while letting you hear conversations and warnings.
For maximum protection, wear both earplugs and earmuffs. This dual protection can reduce noise by 30-40 dB total. That’s enough to bring even the loudest hammer drill into safe territory.
Proper Insertion Technique
Inserting earplugs incorrectly makes them useless. Roll foam plugs into a thin cylinder, pull your ear up and back to straighten the canal, then insert deeply. Hold them in place until they expand. For earmuffs, ensure the seal sits flat against your head without gaps from hair or glasses.
Test your protection by clapping your hands near your ears. If you hear the clap clearly, your protection isn’t adequate. Re-adjust and try again.
Mastering the Perfect Drilling Technique for Less Noise
How you hold and operate your hammer drill makes a massive difference. Proper technique reduces strain, vibration, and noise instantly.
Visual guide about Hammer Drill Noise Reduction Tips That Work Immediately
Image source: mining-report.de
The Correct Grip and Stance
Hold the drill with both hands. Keep your arms straight but slightly bent. Stand with your feet shoulder-width apart, knees flexed. This stance absorbs vibration instead of letting it travel to your spine and ears.
Apply firm, steady pressure—just enough to keep the bit engaged. Forcing the drill strains the motor and increases noise. Let the hammer mechanism do the work. Pushing harder doesn’t drill faster; it just makes more noise and wears out your tool.
Starting and Stopping Smart
Begin drilling at low speed. Let the bit bite into the material before increasing power. This prevents the bit from skidding and creating that high-pitched screech that adds to overall noise.
When finishing, ease off the trigger gradually. Don’t yank the drill away. This clean technique reduces shock to the mechanism and prevents extra noise from sudden stops.
For more detailed guidance, check our guide on how to use a drill for screws into a wall, which covers proper drilling fundamentals.
Choosing and Maintaining the Right Drill Bits
A dull or wrong-sized bit forces your drill to work harder, creating more noise. Sharp, appropriate bits are essential for quiet operation.
Bit Selection Basics
Use carbide-tipped bits for masonry. They stay sharp longer and cut cleaner. For wood or metal, switch to standard twist bits—you don’t need hammer action and will save significant noise.
Match bit size to your task. A bit that’s too large requires excessive pressure. One that’s too small can overheat and vibrate wildly. Check the manufacturer’s recommendations for your material type.
Keeping Bits Sharp
Inspect bits before each use. Dull bits show worn tips or discoloration from heat. Sharpen them with a diamond file or replace them. A sharp bit drills faster with less effort and noise.
Store bits in a protective case to prevent damage. Bent bits create uneven pressure and loud vibrations. Replace any bit that’s been dropped or shows bending.
Environmental Noise Control Strategies
You can’t always control where you work, but you can manage your workspace to contain noise.
Creating Sound Barriers
Set up temporary walls using plywood or mass-loaded vinyl. These materials absorb and block sound waves. Place barriers between your work area and sensitive locations like neighbors’ windows or office spaces.
Work in corners when possible. Walls reflect sound back at you, but they also contain it from spreading outward. Avoid open spaces where noise travels freely.
Timing Your Work
Check local noise ordinances. Most areas restrict loud work to specific hours, typically 7 AM to 7 PM on weekdays. Working during permitted times prevents complaints and gives you peace of mind.
Communicate with neighbors. Let them know when you’ll be using the hammer drill and how long it will last. This simple courtesy often prevents conflicts.
Surface Selection and Preparation
Drill on softer surfaces when possible. Wood creates less noise than concrete. If you must drill concrete, dampen the area slightly with water. This reduces dust and can lower noise by a few decibels.
Clamp your workpiece securely. Loose materials vibrate and buzz, amplifying noise. Use C-clamps or a vise to hold everything tight. This also improves accuracy and safety.
Tool Maintenance That Actually Reduces Noise
A well-maintained hammer drill operates smoothly and quietly. Neglect causes parts to wear, creating rattle and grind.
Lubrication Schedule
Apply lubricant to the chuck and moving parts every 50 hours of use. Use manufacturer-recommended grease. This reduces metal-on-metal contact and keeps gears meshing quietly.
Check the depth rod and adjustment knobs. These can loosen and vibrate. Tighten them to the correct torque. Don’t overtighten, as this can strip threads and create new noise problems.
Cleaning and Inspection
Clean your drill after every use. Remove dust from vents, chuck, and handles. Clogged vents make the motor work harder and overheat, increasing noise. Use compressed air or a small brush.
Inspect the power cord for damage. Frayed cords can cause electrical buzzing. Check the trigger mechanism. A sticky trigger may not engage smoothly, causing intermittent operation and extra noise.
Bearings and Gears
Listen for grinding or whining sounds. These indicate worn bearings or gears. Have a professional service your drill if you hear these noises. Continuing to use a drill with bad bearings makes the problem worse and creates unbearable noise.
Replace worn carbon brushes. These create electrical arcing that adds to the overall noise profile. Most brushes need replacement every 50-100 hours of heavy use.
When to Choose a Quieter Alternative Tool
Sometimes the best noise reduction is not using a hammer drill at all. Know when to switch tools.
Impact Driver vs. Hammer Drill
For driving screws into dense materials, an impact driver often outperforms a hammer drill with less noise. Impact drivers use a rotational hammering action that’s more efficient and quieter for many tasks.
If you’re drilling small holes in wood or metal, switch to a standard drill. The hammer action is unnecessary and adds significant noise. Save your hammer drill for concrete, brick, and masonry where it’s truly needed.
Cordless Options
Modern cordless drills offer surprising power with less noise. Brushless motors run more efficiently and quietly. Battery operation eliminates the electrical hum of corded tools.
For light masonry work, a cordless hammer drill might suffice. They’re generally quieter than their corded counterparts because they operate at lower speeds and have better vibration control.
Troubleshooting Common Noise Problems
Even with best practices, you might still experience excessive noise. Here’s how to diagnose and fix common issues.
Loose Chuck Noise
If your drill rattles but doesn’t rotate smoothly, the chuck may be loose. Turn off and unplug the drill. Open the chuck fully, then tighten it securely on a hex key. Remove the key and test. The chuck should rotate without wobble.
If the chuck is worn, replace it. A worn chuck won’t hold bits properly, causing slippage and noise. Most manufacturers sell replacement chucks that install with basic tools.
Excessive Vibration
Unusual vibration often means a bent bit or loose component. Stop immediately and inspect. Replace bent bits. Check all screws and handles for tightness. If vibration persists, the internal hammer mechanism may be damaged.
Let the tool cool down. Overheating increases internal clearance, causing more noise and vibration. Allow 15-20 minutes of rest every hour of continuous use.
High-Pitched Whine
A whining sound typically indicates motor or bearing problems. This is serious. Stop using the drill immediately. Continuing to operate can cause catastrophic failure.
Take the drill to an authorized service center. They can replace worn bearings and check the armature for damage. Don’t attempt this repair yourself unless you have experience with power tool motors.
Intermittent Operation
If your drill cuts in and out, check the power source first. Loose outlets or extension cords cause inconsistent power, making the motor struggle and noise fluctuate.
Inspect the trigger switch. Dirt and carbon buildup can cause poor contact. Compressed air can clean some switches, but replacement is often safer and more reliable.
Building a Long-Term Noise Reduction Strategy
Effective hammer drill noise reduction combines immediate actions with ongoing habits. Create a checklist for every project.
Before starting: Put on hearing protection, inspect bits, check tool condition, secure your workpiece, and set up barriers.
During use: Maintain proper stance, apply steady pressure, take regular breaks, and monitor for unusual sounds.
After finishing: Clean the tool, store bits properly, log usage hours for maintenance scheduling, and reflect on what worked best.
Track your noise reduction progress. Keep a simple journal noting which techniques cut noise most for specific materials. Over time, you’ll develop a personalized approach that keeps noise to a minimum.
Final Thoughts: Quiet Work is Safe Work
Reducing hammer drill noise isn’t just about comfort—it’s about safety, efficiency, and professionalism. A quieter tool is easier to control, causes less fatigue, and lets you focus on precision work.
Start with hearing protection today. Then implement one technique from each section. Within a week, you’ll notice dramatic improvements. Your ears, your neighbors, and your tools will thank you.
Remember, the best hammer drill noise reduction tip is using the right tool for the job. Assess your task honestly. If a regular drill or impact driver can do it, choose the quieter option. Save the hammer drill for when you truly need it.
