
This guide teaches you everything about using your hammer drill’s normal “drill-only” mode. You will learn when to use it, how to set it up correctly, and the proper drilling technique for clean holes in wood, metal, and plastic. Mastering normal mode is the foundation for safe and effective power tool use, ensuring you don’t damage materials or your drill.
Key Takeaways
- Normal Mode is for “Drilling Only”: This setting deactivates the hammering mechanism, turning your tool into a standard rotary drill perfect for wood, metal, plastic, and driving fasteners.
- Correct Bit Selection is Crucial: Always match the drill bit to both the material (e.g., twist bit for wood, HSS bit for metal) and the normal mode function for optimal results and bit life.
- Clutch and Speed Settings Matter: Use a lower clutch setting for driving screws to avoid stripping, and adjust speed (slower for metal, faster for wood) based on the material for control.
- Let the Tool Do the Work: Apply steady, moderate pressure. Pushing too hard can overheat the bit, stall the motor, or damage the workpiece, especially in delicate materials.
- Safety is Non-Negotiable: Always wear safety glasses, secure your workpiece with clamps, and ensure the drill is in the correct mode before starting to prevent accidents.
- Practice Makes Perfect: Start on scrap material to get a feel for the tool’s power, clutch, and speed settings before beginning your actual project.
Mastering Normal Mode: A Hammer Drill Guide
So, you’ve got a hammer drill. That’s great! It’s a powerful, versatile tool. But if you’re only using it to smash holes into concrete, you’re missing half of its potential. The secret to unlocking that potential is mastering its normal mode.
Often called “drill-only” mode, this setting turns your powerhouse into a precision instrument. Think of it as the tool’s “gentle” setting. It’s perfect for everyday tasks where a hammering action would be overkill or damaging. This guide will walk you through everything you need to know. We’ll cover what normal mode is, when to use it, and how to use it like a pro. By the end, you’ll handle wood, metal, and plastic with confidence and ease.
What is Normal Mode on a Hammer Drill?
Before we dive in, let’s clear up a common point of confusion. A hammer drill typically has two or three settings you can select with a dial or collar near the chuck:
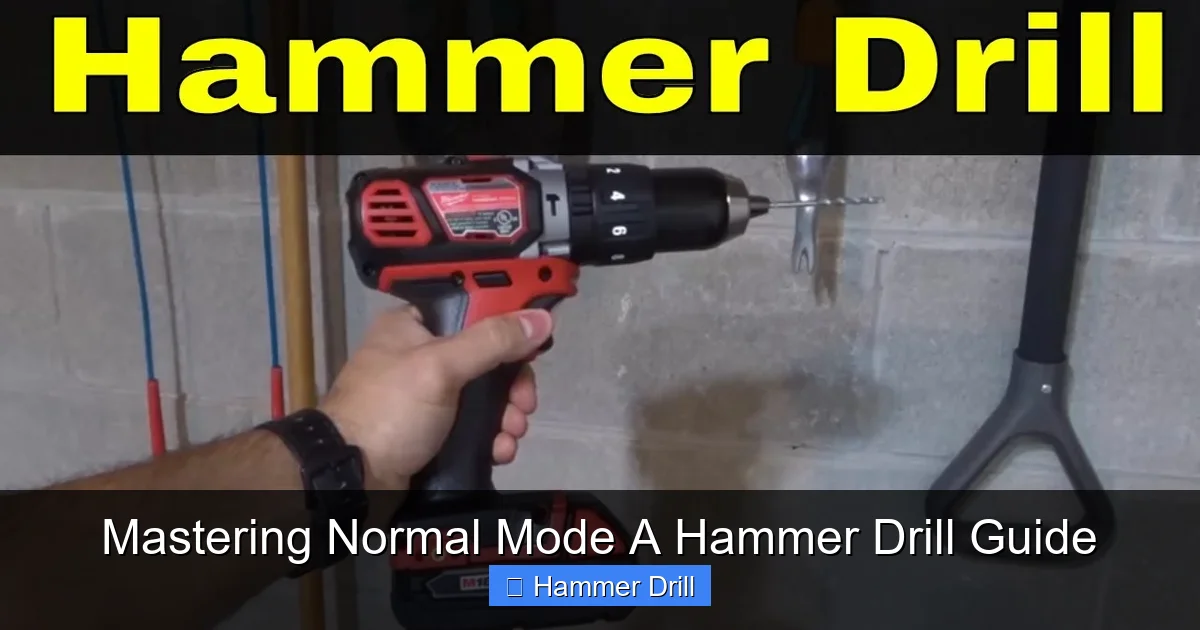
Visual guide about Mastering Normal Mode A Hammer Drill Guide
Image source: i.ytimg.com
- Hammer Mode (Hammer & Drill Icon): This engages the pulsating hammer mechanism. It’s for masonry work like concrete, brick, and stone.
- Normal/Drill Mode (Drill Bit Icon): This is our star. It deactivates the hammering action. The drill only spins, just like a standard cordless drill.
Understanding this distinction is key. Using hammer mode on wood will shred it. Using normal mode on concrete will get you nowhere. For a deeper dive into the core differences, check out our guide on the difference between a drill and a hammer drill. It’s also helpful to know how it stacks up against other tools, like an impact driver vs. a hammer drill.
When Should You Use Normal Mode?
Use normal mode anytime you need a clean, rotary drilling action without impact. Here are the most common jobs:
Visual guide about Mastering Normal Mode A Hammer Drill Guide
Image source: toolsadvisers.com
- Drilling into Wood: Hanging shelves, building furniture, installing cabinets.
- Drilling into Metal: Fabrication projects, automotive work, installing metal fixtures.
- Drilling into Plastic or PVC: Plumbing, crafting, or electrical box work.
- Driving and Removing Screws: While an impact driver is often better for heavy-duty screw driving, your hammer drill in normal mode with a clutch is excellent for controlled driving and removal of screws. Learn more about the best techniques in our comprehensive guide on using a drill for screws.
- Mixing Paint or Thin-Set: With a paddle mixer attachment, the smooth rotary action is perfect for blending.
Step-by-Step Guide to Using Normal Mode
Let’s break down the process from setup to finished hole.
Visual guide about Mastering Normal Mode A Hammer Drill Guide
Image source: ourhometools.com
Step 1: Safety First
Never skip safety. Always wear impact-rated safety glasses to protect your eyes from flying debris. If you’re working overhead or in a dusty environment, a dust mask is a good idea. Secure loose clothing and tie back long hair. Most importantly, secure your workpiece with clamps or a vise. A slipping workpiece is a major cause of accidents.
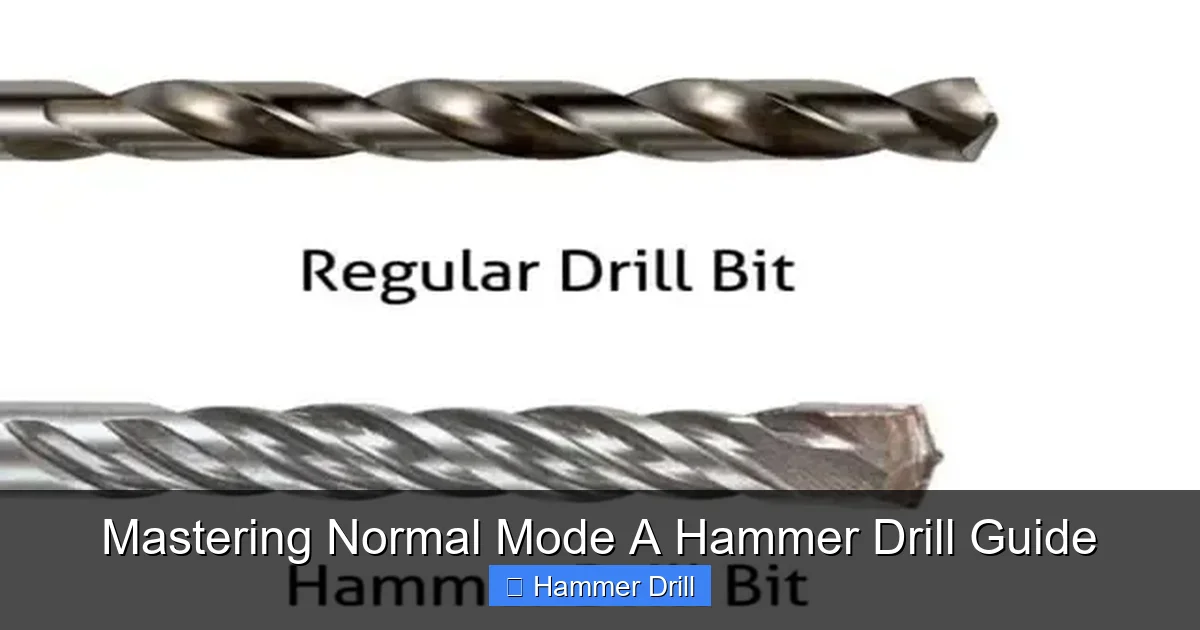
Step 2: Insert the Correct Bit
Selecting the right bit is 80% of the job.
- For Wood: Use standard twist bits or spade bits for larger holes.
- For Metal: Use High-Speed Steel (HSS) twist bits. For harder metals like stainless steel, cobalt bits are better.
- For Driving Screws: Use the correct driver bit (Phillips, Torx, Square) that fits snugly in the screw head.
To insert the bit, open the chuck by rotating its sleeve. Insert the bit shank fully, then hand-tighten the chuck until it’s snug. Finally, use the chuck key (for keyed chucks) or give the sleeve an extra firm twist by hand (for keyless chucks) to secure it. A loose bit will spin and ruin the chuck.
Step 3: Set the Tool Correctly
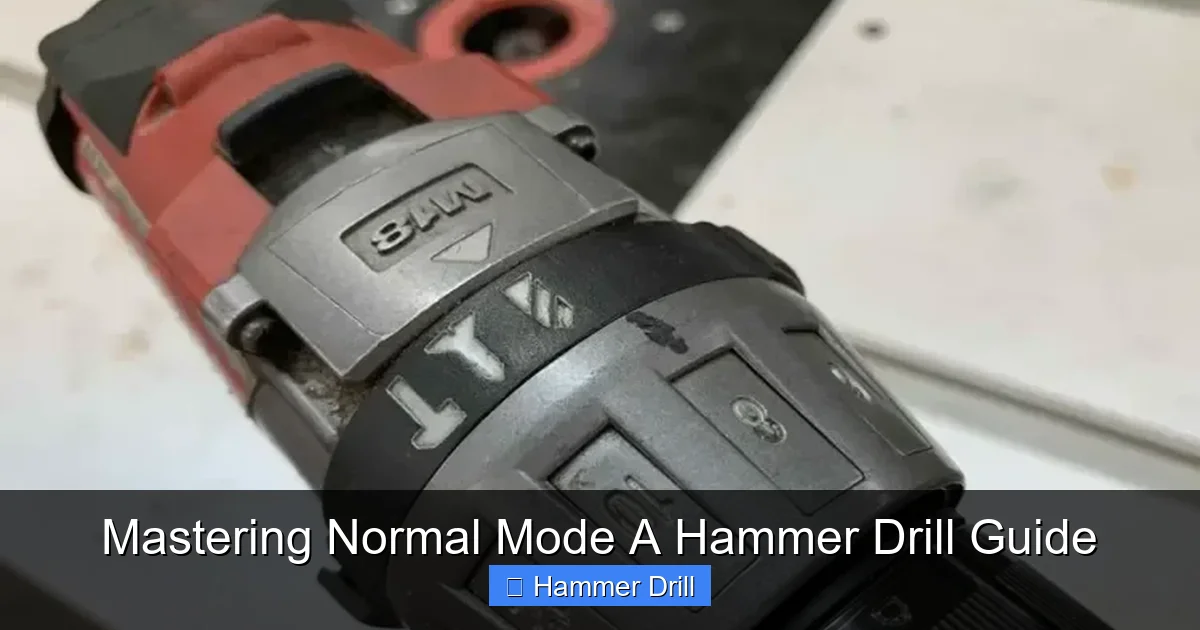
This is the crucial step where you select normal mode.
- Locate the mode selector collar, usually near the chuck.
- Rotate it so the icon showing a single drill bit (not the hammer & drill icon) aligns with the indicator mark on the tool’s body.
- You should feel or hear a positive click into place.
Pro Tip: Always check this setting before you pull the trigger. It’s easy to forget you were last working on concrete!
Step 4: Adjust Clutch and Speed (If Available)
Many hammer drills have variable speed triggers and an adjustable clutch.
- Clutch (Torque Control): This is primarily for driving screws. Set it to a low number (e.g., 3-5) to start. If the drill stops driving before the screw is flush, increase the clutch setting. This prevents stripping screw heads or damaging materials.
- Speed: Use slower speeds for hard materials like metal (for control and to prevent bit overheating) and higher speeds for soft materials like wood. Let the variable speed trigger give you control—squeeze gently to start.
Step 5: Drill the Hole
Now for the action.
- Mark your hole location clearly with a pencil or center punch (for metal).
- Hold the drill firmly with both hands. Place the tip of the bit exactly on your mark.
- Keep the drill perfectly perpendicular (at a 90-degree angle) to the work surface, unless you need an angled hole.
- Squeeze the trigger smoothly to start the bit spinning.
- Apply steady, moderate forward pressure. Let the sharp bit and the tool’s rotation do the cutting. You should see curls of material (chips) coming out of the hole.
- If drilling through metal, use a cutting oil to lubricate the bit, keep it cool, and extend its life.
- To clear deep holes in wood, periodically pull the bit out partially to clear wood chips from the flutes.
Step 6: Finishing Up
Once the hole is complete, release the trigger and wait for the bit to stop completely before setting the tool down. Remove the bit from the chuck and store it properly. Always unplug corded models or remove the battery from cordless ones when you’re done.
Practical Tips for Best Results
- Start with a Pilot Hole: For large holes in wood or hard metals, start with a small pilot hole. It guides the larger bit and prevents wandering.
- Mind the Depth: Use a depth stop rod if your drill has one, or put a piece of tape on the bit to mark your desired drilling depth.
- Battery Power: If using a cordless hammer drill, ensure your battery is charged. A weak battery provides less torque, making drilling harder and straining the tool. For recommendations on powerful models, see our roundup of the best cordless drills.
- Clean Your Bits: Keep bits sharp and clean. Dull bits require more pressure, produce poor results, and can overheat your drill.
Troubleshooting Common Issues
Problems happen. Here’s how to fix them.
- Drill Won’t Start or is Slow: Check the battery charge. Ensure the mode is set correctly (not locked). For corded models, check the outlet and cord.
- Bit is Spinning but Not Drilling: The bit is likely dull. Replace it. For metal, you may not be applying enough pressure or using cutting oil.
- Drill is Overheating: You’re pushing too hard. Ease up on the pressure. In metal, your speed may be too high—slow down and use oil.
- Hole is Ragged or Bit is Wandering: You didn’t start on a precise mark. Use a center punch for metal. Ensure the drill is perpendicular when starting.
- Clutch Keeps Slipping When Driving Screws: The clutch setting is too low. Increase it one number at a time until the screw drives to your desired depth.
Conclusion
Mastering the normal mode on your hammer drill transforms it from a niche masonry tool into your go-to workshop companion. It’s all about control, precision, and matching the tool’s function to the material. Remember the golden rules: select the right mode, choose the sharp bit, use steady pressure, and always prioritize safety. With the steps and tips in this guide, you’re ready to tackle woodworking projects, metal fabrication, and all sorts of DIY tasks with confidence. Now, go grab your hammer drill, switch it to normal mode, and start creating!
