
Key Takeaways
- Versatility is key: Your hammer drill handles concrete, brick, stone, and metal with the right bits and techniques.
- Safety comes first: Always wear eye protection, dust masks, and hearing protection when drilling outdoors.
- Proper bit selection: Use carbide-tipped masonry bits for concrete and brick to avoid damage and ensure clean holes.
- Master the technique: Apply steady pressure, use the hammer function correctly, and clear dust regularly for best results.
- Prevent overheating: Take breaks during extended use to protect your drill motor and extend tool life.
- Weather matters: Avoid drilling in rain or extreme temperatures to ensure safety and project success.
Introduction: Your Hammer Drill’s Hidden Superpower
You might think your hammer drill only belongs in the garage. Think again. That powerful tool sitting in your toolbox holds the key to transforming your entire backyard. From simple garden fixes to major outdoor renovations, your hammer drill outdoor uses are practically endless.
This guide will show you exactly how to tackle nine different outdoor projects. You will learn the right techniques, safety steps, and pro tips. By the end, you will look at your hammer drill in a whole new way. Let’s get started.
Understanding Your Hammer Drill for Outdoor Projects
Before you head outside, you need to understand what makes your hammer drill special. Unlike regular drills, hammer drills combine rotation with a rapid hammering action. This dual movement punches through tough materials that would stop other drills cold.
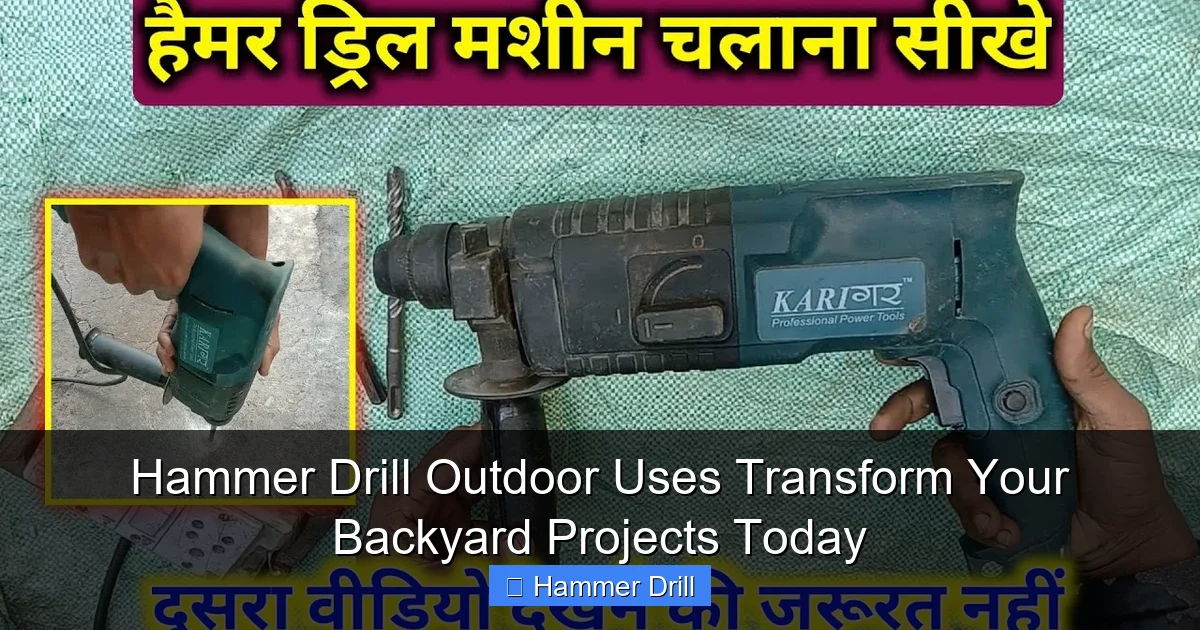
Visual guide about Hammer Drill Outdoor Uses Transform Your Backyard Projects Today
Image source: i.ytimg.com
Key Features That Make the Difference
Your hammer drill has three main settings. The standard drill mode works for wood and metal. The hammer drill mode adds that pounding action for masonry. The hammer-only mode delivers maximum impact for heavy-duty jobs. For outdoor work, you will use hammer drill mode most often.
The hammering mechanism typically operates at 20,000 to 50,000 blows per minute. That incredible force breaks up concrete and brick as the bit turns. This makes your hammer drill outdoor uses far superior to standard drills for most backyard projects.
Understanding the difference between an impact driver and hammer drill helps you choose the right tool. While impact drivers excel at driving screws, hammer drills specialize in drilling holes in hard materials. They are not interchangeable, but complementary tools.
Choosing the Right Model for Outdoor Work
Corded hammer drills deliver consistent power for long projects. You never worry about battery life. Cordless models offer freedom to move around your yard. Modern lithium-ion batteries provide plenty of power for most outdoor tasks. Consider a cordless model if you need portability.
Look for at least 7.5 amps for corded models or 18 volts for cordless. This gives you enough muscle for concrete and stone. Brushless motors last longer and perform better in dusty outdoor conditions. Many professionals now prefer brushless cordless hammer drills for their versatility.
Essential Safety Gear and Preparation
Outdoor drilling creates unique hazards. Concrete dust, flying debris, and loud noise require proper protection. Never skip your safety gear.
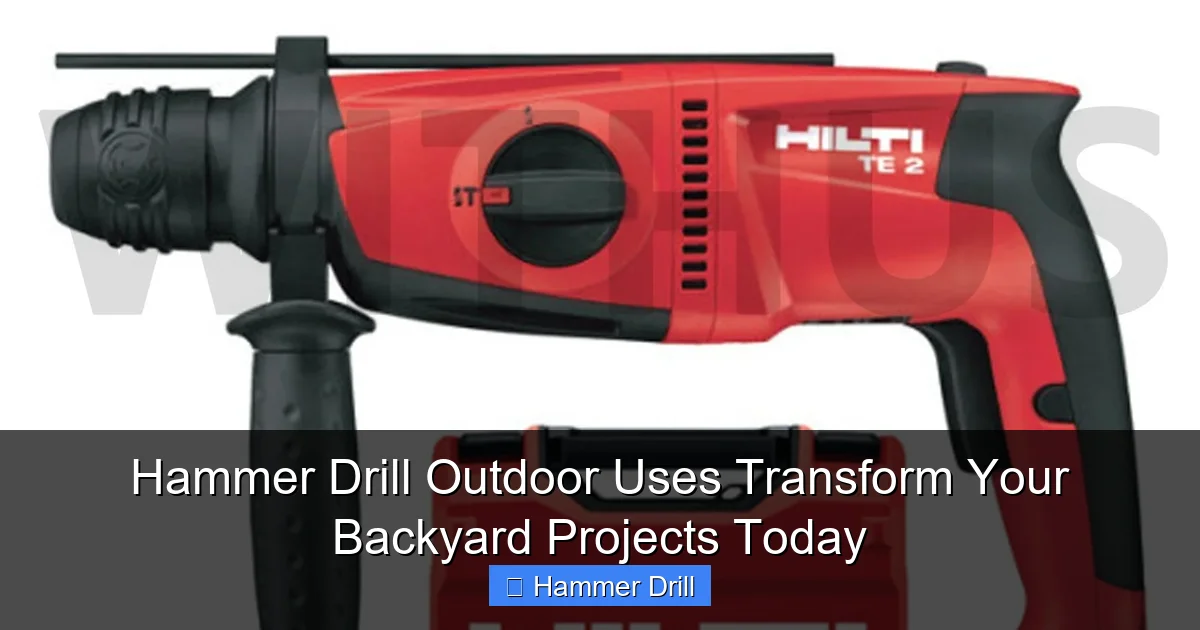
Visual guide about Hammer Drill Outdoor Uses Transform Your Backyard Projects Today
Image source: i.ebayimg.com
Personal Protective Equipment Checklist
- Eye protection: Safety glasses with side shields or full goggles
- Respiratory protection: N95 dust mask or better for concrete dust
- Hearing protection: Earplugs or earmuffs
- Work gloves: Heavy-duty gloves protect your hands
- Sturdy footwear: Steel-toed boots prevent injuries
Wear close-fitting clothing. Loose sleeves can catch in the drill. Long hair must be tied back. Remove all jewelry before starting work.
Setting Up Your Outdoor Workspace
Clear the area of children, pets, and bystanders. Mark your drilling spots clearly. Use a tape measure and chalk line for accuracy. Ensure good lighting if you work early or late in the day.
Check the weather forecast. Avoid drilling outdoors during rain. Moisture can damage your drill and create electrical hazards with corded models. High winds can blow dust into your eyes and make controlling the drill difficult.
Keep a firm stance on stable ground. Uneven surfaces increase the risk of losing control. Use clamps or have a helper steady large workpieces. Never hold small items in your hand while drilling.
Drilling Into Concrete and Masonry Like a Pro
Concrete, brick, and stone are your most common outdoor materials. Your hammer drill makes quick work of them when you use the right approach.
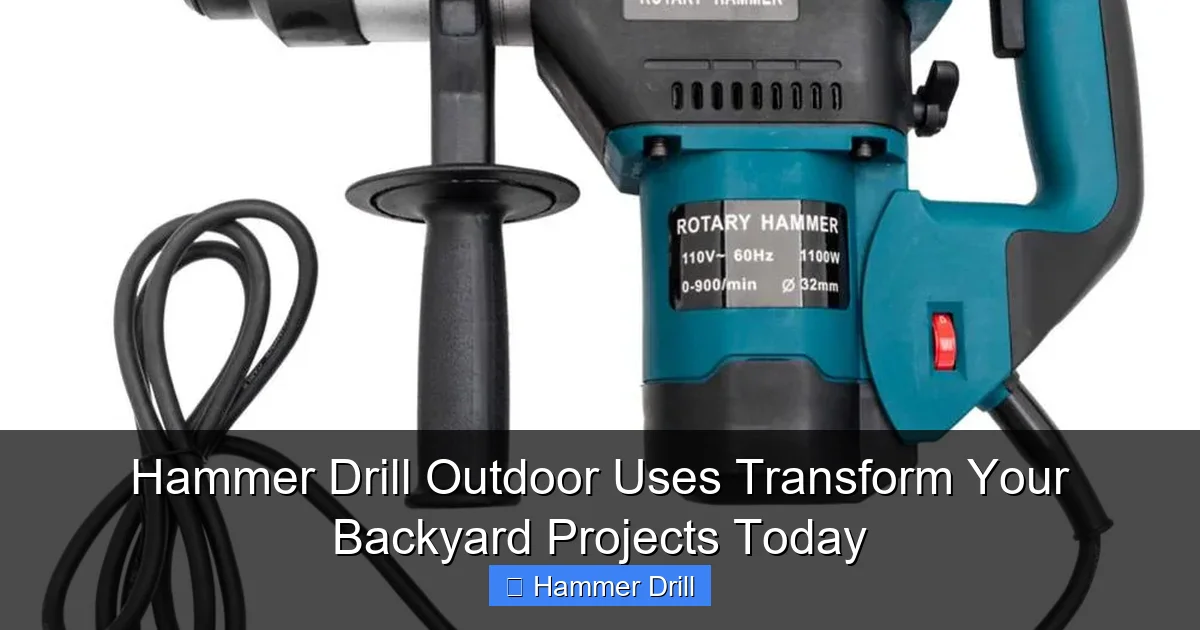
Visual guide about Hammer Drill Outdoor Uses Transform Your Backyard Projects Today
Image source: cdn.shopify.com
Selecting the Perfect Masonry Bit
Carbide-tipped masonry bits are essential. The carbide tip stays sharp against abrasive concrete. Choose the correct diameter for your project. Bits range from 1/8 inch to over 1 inch. For most outdoor jobs, 3/16 to 1/2 inch works best.
Check the shank type. SDS bits provide superior grip and transfer more impact force. They are standard on most modern hammer drills. Straight shank bits work with an adapter. Always match the bit to your drill’s chuck system.
Step-by-Step Concrete Drilling Technique
Step 1: Mark your drilling spot with a pencil or marker. Use a nail to create a small dimple. This prevents the bit from wandering when you start.
Step 2: Hold the drill perpendicular to the surface. Apply light pressure and pull the trigger. Let the hammer action start slowly. Do not force it.
Step 3: Once the bit bites, increase pressure steadily. Keep the drill level. Pull the bit out every 10-15 seconds to clear dust. This prevents overheating and keeps the hole clean.
Step 4: For deep holes, use a depth stop. This ensures consistent hole depth. Most hammer drills have an adjustable depth rod. Set it before you begin.
Step 5: Finish by reducing pressure as you break through. Let the drill do the work. Sudden breakthrough can cause the bit to grab and spin the drill violently.
Pro Tips for Clean, Accurate Holes
Start with a smaller pilot bit. This guides the larger bit and reduces wandering. Use painter’s tape on the surface. It prevents chipping and gives you a clear visual reference.
Keep the drill cool. Drill in one-minute intervals for thick concrete. Let the bit cool between holes. A hot bit loses hardness and dulls quickly. Dip bits in water occasionally if drilling many holes.
Installing Outdoor Lighting and Fixtures
Outdoor lighting transforms your backyard. Your hammer drill makes installing these fixtures simple and secure.
Planning Your Lighting Layout
Sketch your yard layout first. Mark where you want each light fixture. Consider pathway lights, wall sconces, and deck post lights. Use a voltage drop calculator for LED systems. This ensures proper wire gauge and transformer sizing.
Check local building codes. Most areas require permits for permanent outdoor lighting. Know where underground utilities run before you dig. Call 811 in the US for utility marking. This is free and prevents dangerous accidents.
Drilling Mounting Holes in Brick and Concrete
For wall-mounted fixtures, mark screw locations with the fixture as a template. Use a 3/16 inch masonry bit for most mounting screws. Drill pilot holes 1/4 inch deeper than the screw length.
Insert plastic anchors into the holes. Tap them gently with a hammer until flush. Then drive the mounting screws with your drill’s standard mode. This prevents stripping the masonry.
For concrete posts, use a right-angle drill attachment if space is tight. This gives you better access to awkward mounting positions. Work slowly to maintain accuracy.
Securing Fixtures to Wood and Metal Surfaces
When mounting to wood siding or posts, switch to standard drill mode. Use a drill bit slightly smaller than your screw diameter. This creates a tight grip. For metal surfaces like railings, use self-tapping screws and a slower drill speed.
Always seal mounting holes with exterior-grade caulk. This prevents water intrusion and rot. Use silicone or polyurethane sealant rated for outdoor use.
Building Decks and Patios with Confidence
Your hammer drill is essential for deck and patio construction. It handles concrete footings, post bases, and hardware installation with ease.
Drilling Concrete Footings for Deck Posts
Mark your post locations according to your deck plan. Use a post hole digger for the topsoil. Then switch to your hammer drill for the concrete below.
Use a 6-inch diameter auger bit for 4×4 posts. For 6×6 posts, go with an 8-inch bit. Drill to the depth specified in your building plans. Typically 42 inches deep or below frost line.
Clear all loose material from the hole. Use a shop vacuum or compressed air. A clean hole ensures proper concrete adhesion. Set your post anchor while the hole is clean and dry.
Installing Joist Hangers and Hardware
Joist hangers require precise screw placement. Use your hammer drill in standard mode for these. Pre-drill holes with a bit matching the screw shank diameter.
For lag screws into beam ends, drill pilot holes 1/8 inch smaller than the screw core. This prevents splitting while ensuring a tight fit. Use a depth stop to avoid drilling too deep.
When attaching ledger boards to house walls, use through-bolts. Drill completely through the wall. Insert a long bolt with washers and nuts. This creates the strongest connection possible.
Creating Expansion Joints in Patios
Concrete patios need expansion joints every 8-10 feet. Use your hammer drill with a narrow chisel bit to cut these joints. Score the concrete surface to the proper depth.
Cut joints after the concrete sets but before it fully cures. Usually 4-6 hours after pouring. This prevents random cracking. Fill joints with flexible sealant to accommodate movement.
Fence Installation and Repair Made Simple
Whether building a new fence or fixing an old one, your hammer drill speeds up the entire process. It handles post setting, hardware attachment, and repair work efficiently.
Setting Fence Posts in Concrete
Dig your post holes with an auger attachment. Make them three times the post width and below frost depth. Add 6 inches of gravel for drainage.
Place the post in the hole. Use a level to ensure it is plumb. Brace it temporarily with 2x4s. Then drill pilot holes through the post base into the concrete footer. Insert anchor bolts and tighten.
For chain-link fences, use sleeve anchors. Drill the hole slightly deeper than the anchor length. Clean the hole thoroughly before inserting the anchor. This ensures maximum holding power.
Attaching Fence Panels and Rails
When attaching wood fence panels to rails, pre-drill all screw holes. This prevents splitting. Use exterior-rated deck screws and your drill’s clutch setting to avoid overdriving.
For metal fence posts, use self-drilling screws. These eliminate the need for pilot holes. Set your drill to a moderate speed to prevent stripping the screw heads.
Repairing a wobbly fence? Drill through the post into the concrete base. Add construction adhesive to the hole. Then drive a long screw or rod through the post. This creates a solid connection.
Replacing Damaged Sections
Remove old, rotted wood by drilling a series of holes along the cut line. Use a chisel to break away the material between holes. This method works faster than sawing in tight spaces.
When installing new pickets, use a spacer block. This ensures even gaps. Drill pilot holes at the top and bottom of each picket. Use two screws per rail for maximum strength.
Creative Outdoor DIY Projects
Beyond standard construction, your hammer drill enables countless creative backyard projects. Let your imagination run wild while building functional and beautiful outdoor features.
Building a Backyard Playground
Create safe, anchored playground equipment. Drill deep holes for swing set posts. Use 6×6 pressure-treated lumber. Set posts in concrete with anchor brackets.
For treehouses, drill pilot holes for lag bolts into tree trunks. Use oversized washers to distribute pressure. Drill slowly to avoid damaging the tree’s cambium layer. Check local regulations about treehouse construction.
Install tire swings by drilling through a sturdy branch. Use a long through-bolt with a large fender washer. This spreads the load and prevents branch damage.
Creating Garden Features
Build raised garden beds with metal corner brackets. Drill pilot holes into wood posts. Attach brackets with corrosion-resistant screws. Your hammer drill makes quick work of assembly.
Install drip irrigation systems by drilling holes in PVC pipe. Use a small masonry bit for pipe hangers in concrete walls. Mount timer valves with appropriate anchors.
Create a vertical garden on a concrete wall. Drill holes for planter hooks and brackets. Use plastic anchors rated for the weight of wet soil. Space them according to your planter design.
Custom Outdoor Furniture
Build benches and tables with concrete bases. Drill holes in concrete forms for rebar. This reinforces your furniture. Use form ties and anchor bolts for secure connections.
Attach wood slats to metal frames. Drill through metal with the correct speed. Use step bits for precise holes in thin metal. Countersink screws for a clean appearance.
Make Adirondack chairs with concrete bases for stability. Drill anchor points into the concrete. Attach wood frames with galvanized hardware. This creates weather-resistant, heavy-duty seating.
Troubleshooting Common Outdoor Drilling Problems
Even with the right technique, problems happen. Learn to identify and fix common issues quickly.
Dealing with Overheating
If your drill motor feels hot, stop immediately. Let it cool for 15 minutes. Overheating damages windings and brushes. Work in shorter bursts for thick materials.
Check for dust buildup in vents. Clean vents with compressed air monthly. Blocked vents cause poor cooling. Store your drill in a clean, dry place to prevent dust accumulation.
In hot weather, provide shade for your drill. Direct sun heats the motor and makes cooling harder. Work during cooler morning or evening hours when possible.
When Bits Break or Dull Quickly
Breaking bits usually means too much pressure. Let the hammer action do the work. Apply steady, moderate force. Forcing the drill bends bits and causes breakage.
Dull bits result from drilling too fast. Use slower speeds for masonry. High RPMs generate heat that softens carbide tips. Replace bits when they no longer cut efficiently.
Using the wrong bit type also causes problems. Never use wood bits on concrete. Always use masonry-specific carbide bits for outdoor work.
Handling Material Challenges
Drilling into old concrete can be tricky. It often contains rebar. If you hit metal, stop immediately. Reposition your hole a few inches over. Use a stud finder to locate rebar before drilling.
Brick varies in hardness. Soft brick requires less pressure. Hard brick needs more hammer action. Adjust your technique as you feel the material change.
For stone, use a star drill bit for better control. Tap the bit gently at first. Let the stone fracture naturally. Forcing it causes unpredictable splitting.
Maintenance Tips for Long-Term Success
Proper care keeps your hammer drill performing perfectly for years. Outdoor work exposes it to dust, moisture, and tough conditions.
Cleaning After Outdoor Use
Wipe down the housing with a damp cloth after each use. Pay special attention to vents and the chuck. Dry thoroughly before storage. Never use pressure washers on power tools.
Clean the chuck regularly. Remove bits and wipe away debris. Apply a light coat of oil to prevent rust. Check the chuck for wear and replace if jaws no longer grip properly.
Brush off carbon brushes during annual maintenance. Worn brushes reduce performance and can damage the motor. Most drills have accessible brush ports.
Storage and Protection
Store your hammer drill in its original case. This protects it from moisture and dust. Add silica gel packets to absorb any trapped moisture. Keep the case in a climate-controlled area.
Remove batteries before long-term storage. This prevents corrosion and accidental discharge. Store batteries at 50% charge in a cool, dry place.
For corded models, coil the cord properly. Avoid kinks that damage internal wires. Check the cord for cuts or frays before each use.
Regular Inspection Checklist
Check the power switch monthly. It should click smoothly without sticking. Inspect the trigger for smooth operation. Stiff triggers indicate internal problems.
Test the hammer mechanism quarterly. Run the drill against a hard surface in hammer mode. Listen for consistent impacts. Irregular sounds suggest internal wear.
Examine the depth stop and side handle. These should adjust easily and hold securely. Replace damaged handles immediately. They provide essential control and safety.
Conclusion: Transform Your Backyard Today
Your hammer drill is far more versatile than you imagined. From drilling concrete footings to installing delicate garden lighting, this tool handles it all. The key is understanding its capabilities and using proper technique.
Start with simple projects like mounting a mailbox or building a planter box. As you gain confidence, tackle larger jobs like deck construction or fence installation. Each project teaches you new skills and expands your hammer drill outdoor uses.
Remember safety, preparation, and maintenance. These three elements ensure success and protect your investment. Your hammer drill will serve you for years with proper care.
Grab your toolbox, put on your safety gear, and start transforming your backyard. The possibilities are endless, and your hammer drill is ready to help you achieve them.
