
Want to get the most from your hammer drill? This guide reveals essential performance tips that boost power and precision. Learn the right techniques, bits, and maintenance tricks to tackle tough materials like concrete and masonry with confidence.
Key Takeaways
- Select the correct mode: Use hammer drill mode only for masonry and concrete. Switch to regular drill mode for wood and metal to prevent damage.
- Apply steady pressure: Let the tool do the work. Excessive force reduces performance and can damage the motor or bits.
- Choose the right bits: Always use carbide-tipped masonry bits designed specifically for hammer drill action.
- Maintain proper speed: Start slow to create a guide hole, then increase speed gradually for optimal drilling performance.
- Keep bits cool: Withdraw bits frequently to clear dust and prevent overheating, which extends bit life and maintains power.
- Regular maintenance: Clean air vents, lubricate moving parts, and check brushes monthly for peak hammer drill performance.
Introduction: Unlock Your Hammer Drill’s Full Potential
Your hammer drill is a powerhouse tool designed to chew through concrete, brick, and stone like they were butter. But simply pulling the trigger isn’t enough to get maximum performance. Many DIYers and even some professionals don’t realize their tool’s true capabilities because they skip the fundamentals. This guide will transform how you use your hammer drill, turning frustrating, slow drilling sessions into smooth, professional operations. You’ll discover the secrets to choosing the right settings, applying proper technique, and maintaining your tool for years of peak performance. Whether you’re hanging shelves in a concrete wall or tackling a major renovation, these hammer drill performance tips will save you time, money, and sweat.
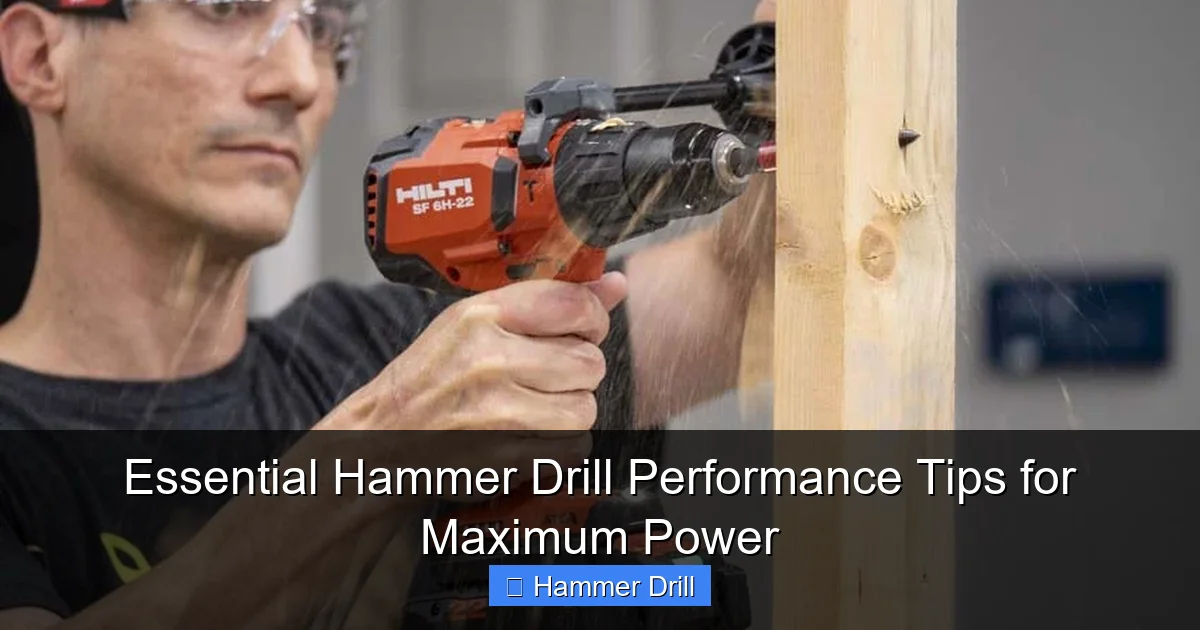
Understanding Your Hammer Drill’s Power Settings
Before you drill a single hole, you need to master your tool’s settings. Hammer drills come with multiple modes and variable speed triggers that dramatically affect performance. Using the wrong setting can damage your material, your bits, or even your drill.
Visual guide about Essential Hammer Drill Performance Tips for Maximum Power
Image source: protoolreviews.com
Know When to Use Hammer Mode
Hammer mode combines rotational force with a rapid hammering action that pulverizes hard materials. This is your go-to setting for concrete, brick, block, and stone. The hammering mechanism typically delivers 20,000 to 50,000 blows per minute, which is what makes the tool so effective. However, never use hammer mode on wood or metal. The pounding action will tear through these softer materials, creating oversized, messy holes. If you’re confused about when to use this specialized tool versus other options, check out our guide on what is the difference between impact driver and hammer drill to clarify which tool suits each task.
Master Variable Speed Control
Your trigger finger is part of the performance equation. The variable speed trigger allows you to start drilling slowly, which is crucial for creating an accurate entry point. Begin at about 25% speed to score the surface and establish a groove. Once the bit bites into the material, gradually increase to full speed. This technique prevents the bit from wandering and reduces stress on the motor. For small diameter bits under 1/4 inch, you can often run at higher RPMs. For larger bits, moderate speed with steady pressure works better. Finding this sweet spot is one of the most important hammer drill performance tips.
Adjust the Clutch for Precision
Many hammer drills feature an adjustable clutch that limits torque to prevent overdriving screws or stripping materials. While primarily used for driving, the clutch also protects the hammer mechanism during tough drilling jobs. Set it to a lower setting when starting holes in delicate materials like tile. This prevents the bit from slipping and cracking the surface. As you gain experience, you’ll learn to fine-tune this setting based on the material hardness and bit size.
Choosing the Right Drill Bits for Maximum Performance
Your hammer drill is only as good as the bits you put in it. Using the wrong bit will result in poor performance, broken tools, and wasted time. The market offers hundreds of bit options, but not all are created equal for hammer drill applications.
Visual guide about Essential Hammer Drill Performance Tips for Maximum Power
Image source: protoolreviews.com
Select Carbide-Tipped Masonry Bits
Always choose carbide-tipped bits for hammer drill work. The carbide tip is incredibly hard and stays sharp through repeated impacts. Steel bits alone cannot withstand the hammer action and will dull quickly. Look for bits labeled specifically for hammer drills or rotary hammers. The shank type matters too. SDS-plus and SDS-max shanks provide better power transfer than standard round shanks. They lock into the chuck securely, eliminating slippage that wastes energy. For most DIY projects, SDS-plus bits offer the best balance of performance and affordability.
Match Bit Size to the Job
Using the right bit diameter affects both speed and power. Small bits (under 1/4 inch) drill faster but can flex and break under pressure. Large bits (over 1/2 inch) require more power and can bog down your drill. For holes up to 3/8 inch, use a standard hammer drill bit. For larger holes in concrete, consider a spline-drive bit that transfers more torque. Always check your drill’s maximum capacity before purchasing bits. Most consumer hammer drills handle up to 1/2-inch holes in concrete. Exceeding this limit strains the motor and reduces performance dramatically.
Consider Specialty Bits for Challenging Materials
Different materials demand specialized bits. For reinforced concrete with rebar, use bits with reinforced shanks that resist bending. For tile work, start with a diamond-tipped tile bit at low speed, then switch to a standard masonry bit once you hit the wall behind it. Brick requires shorter bits that won’t overheat during extended use. Stone and natural rock need bits with specialized flute designs that clear debris efficiently. Keep a variety of bits on hand so you’re always prepared. This is one of the hammer drill performance tips that professionals live by.
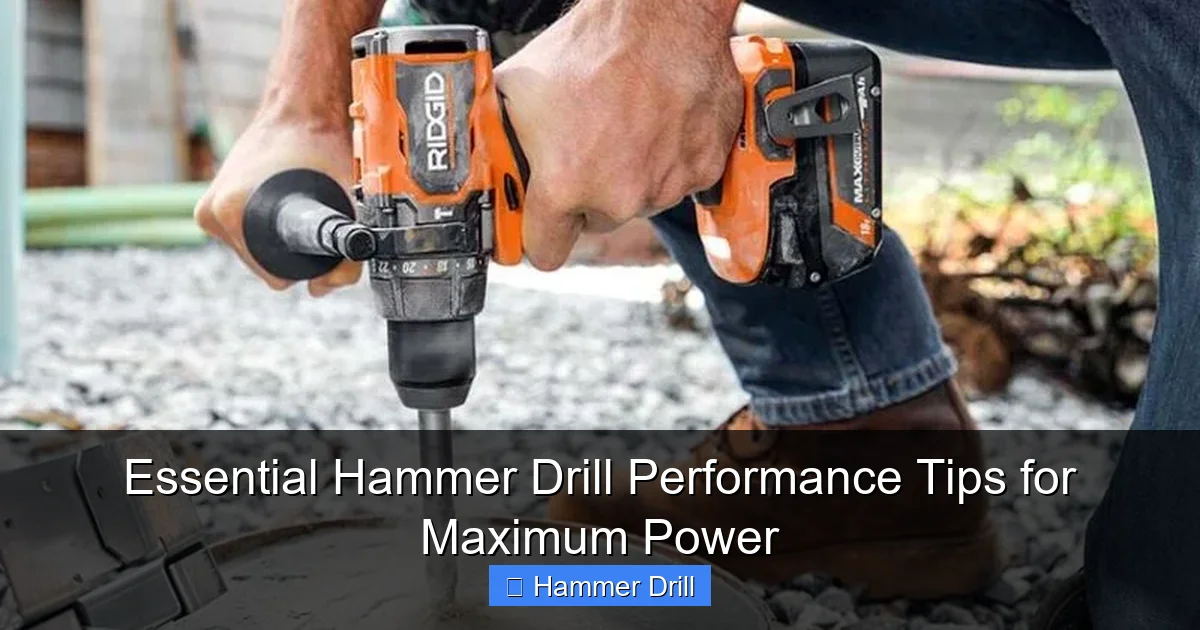
Mastering Proper Drilling Technique
Even with perfect settings and bits, poor technique will ruin your results. The way you hold the drill, apply pressure, and manage the drilling process makes a massive difference in speed, accuracy, and tool longevity.

Visual guide about Essential Hammer Drill Performance Tips for Maximum Power
Image source: m.media-amazon.com
Maintain the Correct Stance and Grip
Your body position determines control and power transfer. Stand with your feet shoulder-width apart, knees slightly bent. This stable stance absorbs the hammer drill’s vibration and prevents fatigue. Grip the handle firmly but not white-knuckled. Your auxiliary hand should support the front of the drill near the chuck. This two-handed approach gives you maximum control and reduces the chance of the drill twisting out of your hands. For overhead work, position yourself directly under the drilling point and use both hands on the handles. Never drill above shoulder height unless absolutely necessary, as this quickly tires your arms and reduces precision.
Apply Steady, Moderate Pressure
Here’s a common mistake: pushing harder makes the drill go faster. In reality, excessive pressure can cause the motor to bog down, overheat, and lose efficiency. The hammer mechanism needs to cycle freely to work properly. Apply enough pressure to keep the bit engaged but let the tool’s weight do most of the work. Think of it like guiding a powerful saw rather than forcing a screwdriver. For concrete, about 5-10 pounds of pressure is sufficient. For brick, even less is needed. If you feel the drill struggling, reduce pressure slightly and let the hammer action catch up. This technique protects both your tool and your bits while maintaining optimal hammer drill performance.
Drill at the Right Angle
Always drill perpendicular to the surface. Angled drilling causes the bit to walk, creates oval holes, and can break the tip. Use a level or square to ensure perfect alignment before starting. For deep holes, withdraw the bit every 2-3 inches to clear dust. This prevents the bit from overheating and getting stuck. Deep holes also benefit from starting with a pilot hole. Drill a small guide hole first, then switch to your larger bit. This technique ensures accuracy and reduces stress on the larger bit.
Maintaining Your Hammer Drill for Peak Performance
Regular maintenance transforms a mediocre tool into a reliable workhorse. Most performance issues stem from neglect rather than mechanical failure. A well-maintained hammer drill delivers consistent power and lasts for years.
Clean Air Vents and Internal Components
Dust is the enemy of power tools. Concrete and masonry work creates fine silica dust that infiltrates every crevice. After each use, blow compressed air through the air vents to remove debris. Pay special attention to the motor housing and chuck area. For deep cleaning, open the housing (if your model allows) and remove dust buildup with a soft brush. This prevents overheating, which is a major cause of reduced performance and motor failure. Make this cleaning part of your routine, and you’ll notice your drill running cooler and more efficiently.
Lubricate Moving Parts
The hammer mechanism contains moving parts that need lubrication. Check your owner’s manual for grease points and service intervals. Most tools require fresh grease every 50-100 hours of use. Signs that your drill needs lubrication include increased noise, reduced hammering action, and excessive vibration. Use only manufacturer-recommended grease. Over-lubricating can be as bad as under-lubricating. The right amount ensures smooth operation without attracting excess dust.
Inspect and Replace Worn Brushes
Carbon brushes conduct electricity to the motor. As they wear down, performance drops dramatically. Most hammer drills have brush indicators that show when replacement is needed. If you notice reduced power, sparking at the motor, or intermittent operation, check the brushes immediately. Replacing worn brushes is one of the easiest and most effective hammer drill performance tips. Keep a spare set in your toolbox so you’re never sidelined by a sudden failure.
Optimizing Speed and Pressure for Different Materials
Every material has a unique personality. What works for concrete won’t work for brick or stone. Adjusting your approach based on the material is key to maximizing performance and avoiding damage.
Concrete Drilling Strategies
Concrete is the most common material for hammer drill work. Start with a nail or punch to create a small dimple that prevents the bit from wandering. Begin at low speed to establish the hole, then increase to full speed. Apply steady pressure and clear dust frequently. For holes deeper than 2 inches, use the “pecking” technique: drill for 2 seconds, withdraw to clear dust, repeat. This prevents the bit from overheating and getting stuck. If you hit rebar, reduce speed and pressure. The carbide tip can drill through rebar, but it will dull faster. Consider switching to a rebar-cutting bit if you encounter frequent reinforcement.
Brick and Block Techniques
Brick is softer than concrete but more brittle. Use less pressure and slightly higher speed. The goal is to drill through without cracking the brick surface. Start at an angle to create a small entry point, then straighten the drill as you penetrate. For block walls, use moderate pressure and full speed. Block is porous, so the hammer action can cause chipping on the backside. Support the wall if possible, or drill from the inside out to minimize blowout. Always use sharp bits on brick. Dull bits grab and spin, causing cracks and uneven holes.
Stone and Natural Rock Approaches
Stone varies dramatically in hardness. Soft stone like sandstone requires less pressure than hard granite. Start with a small pilot hole and test the material’s response. Use moderate speed and light pressure. Clearing dust is crucial in stone drilling, as the dust can create a paste that glazes the bit and reduces cutting action. For very hard stone, consider using a water-cooled bit system or periodically dipping the bit in water to keep it cool. This technique extends bit life and maintains consistent hammer drill performance.
Troubleshooting Common Performance Issues
Even experienced users encounter problems. Recognizing the cause quickly saves time and prevents tool damage. Here are the most common issues and their solutions.
Drill Won’t Hammer or Loses Power
If your drill spins but doesn’t hammer, the mode selector might be in the wrong position. Double-check that you’re in hammer drill mode. If the mode is correct, the hammer mechanism may need lubrication or the clutch might be set too low. For cordless models, a weak battery can cause loss of hammer action. Always use a fully charged battery for maximum performance. If the problem persists, the brushes may be worn or the motor could be failing. Check brushes first, as this is the most common and easily fixable cause.
Bits Keep Overheating and Dulling
Overheating usually means you’re not clearing dust frequently enough or applying too much pressure. Withdraw the bit every few seconds to let it cool and clear debris. Ensure you’re using carbide-tipped bits designed for hammer action. Standard drill bits will overheat quickly and dull instantly. If bits still overheat, check that you’re not running at too high a speed for the bit size. Larger bits need slower speeds to stay cool. Also, inspect the bit shank for damage. A bent shank creates uneven stress and heat buildup.
Holes Are Oversized or Messy
This problem typically stems from bit wobble or incorrect technique. Check that your bit is securely seated in the chuck and the chuck is tight. Use the correct chuck type for your bit—SDS bits need an SDS chuck. If you’re using a keyless chuck, ensure it’s tightened properly with the included key. Starting holes at too high a speed causes wandering. Always begin slowly. For existing holes that are too large, move to the next size up and redrill, or use a wall anchor designed for oversized holes. Understanding the difference between a drill and a hammer drill can also help prevent using the wrong tool for the job, which often causes messy results.
Drill Vibrates Excessively
Excessive vibration indicates several possible issues. First, check that the bit is straight and undamaged. A bent bit creates violent shaking. Second, ensure you’re applying pressure correctly. Too much or too little pressure can increase vibration. Third, check for worn bearings or bushings. These components wear over time and cause increased play in the spindle. If vibration persists after checking the bit and technique, have the tool serviced. Continuing to use a vibrating drill can cause bearing failure and motor damage.
Safety Tips for High-Performance Drilling
Maximum power means maximum responsibility. Hammer drills are aggressive tools that demand respect. Following safety protocols protects you and ensures consistent performance.
Wear Proper Personal Protective Equipment
Always wear safety glasses with side shields. Concrete and masonry chips fly at high velocity and can cause serious eye injury. Use a dust mask or respirator rated for silica dust. Prolonged exposure to concrete dust can cause silicosis, a serious lung disease. Hearing protection is also essential, as hammer drills can exceed 100 decibels. For extended use, consider anti-vibration gloves that reduce hand fatigue and improve control. These simple steps protect your health while allowing you to focus on performance.
Secure Your Workpiece
Never hold small items in your hand while drilling. Use clamps or a vise to secure the material. This prevents the drill from twisting and causing injury. For wall drilling, check for hidden electrical wires and plumbing before starting. Use a stud finder with AC detection or a dedicated wire and pipe detector. Drilling into live wires can cause electrocution, and hitting plumbing can cause flooding. Taking a few minutes to scan the area prevents disasters and ensures uninterrupted work.
Manage Dust and Debris
Dust management is both a safety and performance issue. Use a vacuum system or dust collection attachment if available. This keeps your work area clean and improves visibility. For overhead work, wear a hat or cap to keep dust out of your hair and off your neck. Work from top to bottom when possible, allowing dust to fall away from your face. If using a ladder, ensure it’s stable and on level ground. For more on safe positioning, see our essential safety tips for climbing ladders to maintain stability while working at height.
Conclusion: Power Through Every Project
Mastering hammer drill performance isn’t about brute force—it’s about smart technique, proper preparation, and consistent maintenance. By following these hammer drill performance tips, you’ll drill faster, cleaner, and with less effort. Start each job by selecting the right mode and bits, then apply steady pressure and proper technique. Keep your tool clean and well-lubricated, and always prioritize safety. Whether you’re a weekend warrior or a seasoned pro, these strategies will transform your approach to masonry drilling. Your hammer drill is a precision instrument capable of professional results. Treat it right, use it smart, and you’ll unlock its full potential on every project. Remember that even the best best cordless drill needs these fundamentals to perform at its peak. Now grab your drill and tackle that project with confidence.
