
This guide is your first stop for fixing common hammer drill problems. You’ll learn to diagnose and solve issues like overheating, weak hammer action, and chuck failures with clear, step-by-step instructions. We cover everything from basic maintenance to advanced troubleshooting, helping you save time and money on your DIY projects.
Key Takeaways
- Start Simple: Most hammer drill problems stem from user error, blunt bits, or incorrect settings. Always check the basics first.
- Know Your Modes: Using the wrong setting (drill vs. hammer drill) is a top cause of poor performance. Understanding the difference between a drill and a hammer drill is crucial.
- Bits are Critical: Always use sharp, high-quality masonry bits designed for hammer drilling. A dull bit will cause overheating and strain.
- Let it Breathe: Overheating is often due to continuous heavy use. Use a lower speed, apply steady pressure, and give the tool regular breaks to cool down.
- Batteries Matter: For cordless models, weak power usually points to a dying or incompatible battery. Use the correct voltage and amp-hour rating for your tool.
- Listen to the Sounds: Unusual noises like grinding or rattling often indicate internal mechanical wear or failure, requiring professional service.
- Prevention is Key: Regular cleaning, proper bit changes, and correct storage will prevent the majority of common hammer drill issues.
Essential Hammer Drill Problem Solving Guide for DIYers
Your hammer drill is a powerhouse for masonry work. But what happens when it starts smoking, makes a weird noise, or just won’t punch through concrete? Before you rush out to buy a new one or call a pro, take a breath. Most hammer drill problems have simple fixes you can handle yourself.
This guide walks you through a logical, step-by-step process to diagnose and solve the most common hammer drill woes. We’ll start with the easy checks and move to more involved solutions. By the end, you’ll be equipped to tackle issues from overheating and weak hammering to a chuck that won’t let go. Let’s get your tool back in action.
Step 1: The Pre-Troubleshooting Safety Check
Always put safety first. Unplug corded tools or remove the battery from cordless models before inspecting or cleaning. Wear safety glasses to protect your eyes from debris. Ensure your work area is clean, well-lit, and stable. If you’re working at height, make sure your ladder is secure. For comprehensive tips, check out our guide on ladder inspections for safety and reliability.
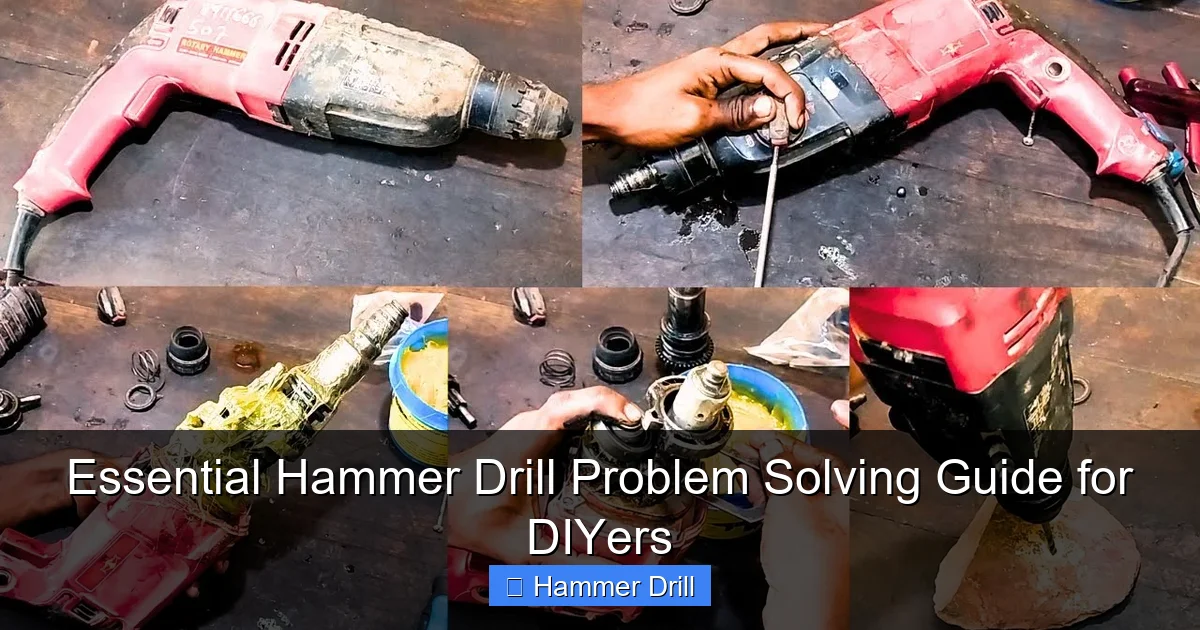
Visual guide about Essential Hammer Drill Problem Solving Guide for DIYers
Image source: i.ytimg.com
Step 2: Diagnosing Common Hammer Drill Problems
Here’s how to tackle the most frequent issues, step by step.
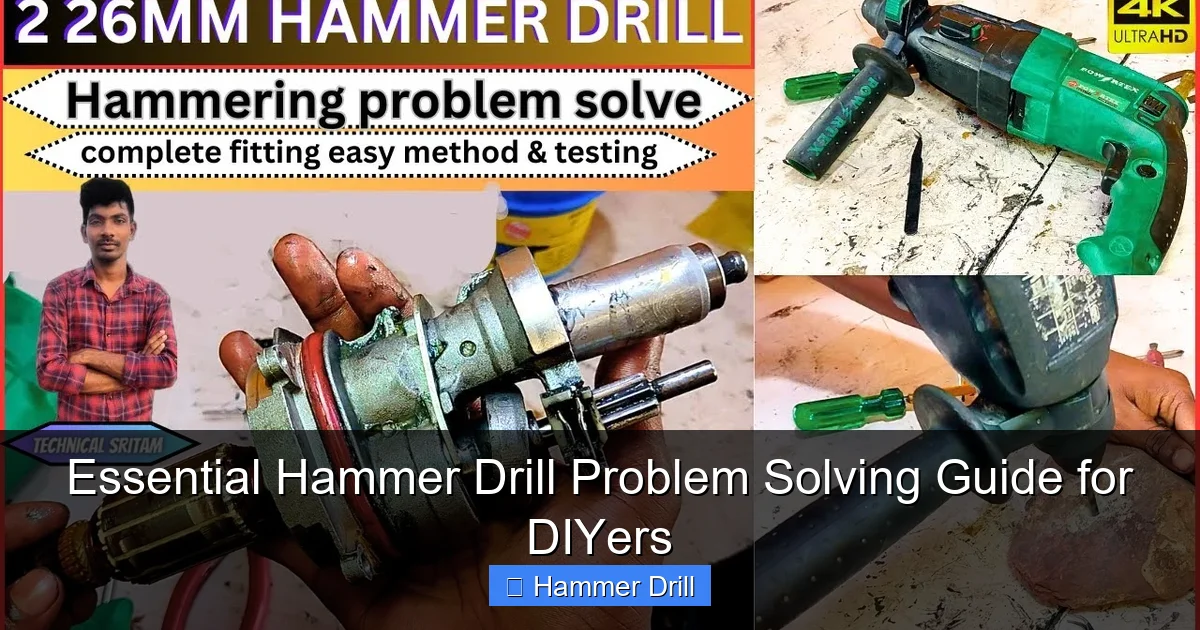
Visual guide about Essential Hammer Drill Problem Solving Guide for DIYers
Image source: i.ytimg.com
Problem 1: The Drill Overheats Quickly
An overheating drill can be scary. It smells bad, feels hot, and can damage the motor.
- Cause A: Dull or Wrong Drill Bit. This is the #1 culprit. A blunt masonry bit can’t cut efficiently. It just grinds and creates immense friction.
- Fix: Use a sharp, high-quality carbide-tipped masonry bit. Look for signs of wear. If the tip is rounded or shiny, it’s time to replace it.
- Cause B: Excessive Pressure. Pushing too hard doesn’t help. It strains the motor and increases friction.
- Fix: Let the hammer drill do the work. Apply firm, steady pressure, but don’t lean your whole body weight on it.
- Cause C: Incorrect Speed Setting. Using too high a speed in hard material generates heat fast.
- Fix: Start at a low to medium speed. For large holes, use a slower speed. Let the hammer action break the material.
- Cause D: Continuous Use. Hammer drills are designed for intermittent, not constant, use.
- Fix: Work in bursts. Drill for 30-45 seconds, then let the tool run idle for 15-20 seconds to cool the motor.
Problem 2: Weak or No Hammering Action
The drill spins but doesn’t “hammer.” You’re just making a dusty dimple.
- Cause A: Wrong Mode Selected. You might have it set on the standard “drill” icon instead of the “hammer drill” icon.
- Fix: Check the collar or switch near the chuck. Ensure it’s set to the hammer drill symbol (usually a hammer or hammer/drill combo). This is a very common mistake, especially if you also use your tool for driving screws. For a deeper understanding, read about the difference between an impact driver and a hammer drill.
- Cause B: Worn Hammer Mechanism. The internal pneumatic hammer mechanism can wear out over time, especially with heavy use.
- Fix: Listen for a change in sound. If it sounds “hollow” or less percussive, the mechanism may be failing. This typically requires professional service.
- Cause C: Damaged Bit. A badly worn or cracked bit can dampen the hammering force.
- Fix: Try a brand new, known-good masonry bit to rule this out.
Problem 3: The Drill Loses Power or Won’t Start
This is especially common with cordless hammer drills.
- Cause A: Weak or Faulty Battery. This is the most likely reason for a cordless drill feeling weak.
- Fix: Try a fully charged, known-good battery. Clean the battery terminals on both the battery and tool with a dry cloth. Ensure you’re using the correct voltage battery for your tool.
- Cause B: Overheating Triggered Thermal Protection. Modern tools have a safety cut-off. If it overheats, it will shut down until it cools.
- Fix: Let the tool sit for 20-30 minutes in a cool place. Then try again with a lighter load.
- Cause C: Faulty Power Source (Corded). For corded drills, check the outlet and the cord itself.
- Fix: Plug another device into the outlet to confirm it’s working. Inspect the tool’s cord for cuts, kinks, or damage.
- Cause D: Brushes are Worn Out. Inside the motor, carbon brushes transfer electricity. When they wear down, contact is lost.
- Fix: Many drills have accessible brush caps. If you see less than 1/4 inch of carbon brush, replace them. If unsure, seek service.
Problem 4: The Chuck is Stuck or Won’t Hold the Bit
A faulty chuck makes the tool unusable.
- Cause A: Debris in the Chuck. Dust and grit can jam the jaws.
- Fix: Blow out the chuck with compressed air. Open and close the jaws repeatedly to loosen debris.
- Cause B: Overtightened or Cross-threaded. Forcing a key chuck can damage it.
- Fix: For a stuck key chuck, tap the key gently with a dead blow hammer to shock it loose. Never use excessive force to tighten.
- Cause C: Worn Chuck Jaws. After years of use, the jaws can lose their grip.
- Fix: If bits slip even when tightly fastened, the chuck needs replacement. This is a common repair.
Problem 5: Unusual Noises (Grinding, Rattling, Squealing)
New sounds are a warning sign.
- Cause A: Foreign Object. A piece of broken bit or stone could be inside the chuck or gear housing.
- Fix: Disconnect power and inspect the chuck and bit shank carefully. Remove any debris.
- Cause B: Lack of Lubrication or Worn Gears. The gearbox needs grease. Dry or damaged gears grind and rattle.
- Fix: Gearbox service is a job for a qualified repair shop. Do not attempt to grease it unless the manual specifies user-serviceable points.
- Cause C: Loose External Parts. The side handle or depth gauge might be loose.
- Fix: Tighten all auxiliary attachments before assuming the noise is internal.
Step 3: Proactive Maintenance to Prevent Problems
Prevention is cheaper than repair. A few simple habits keep your hammer drill running smoothly.
Visual guide about Essential Hammer Drill Problem Solving Guide for DIYers
Image source: backyardcorner.com
- Clean After Every Use: Use a soft brush or dry cloth to remove dust from the vents, chuck, and body. Never submerge the tool.
- Store Properly: Keep it in a dry, clean case or toolbox. For cordless models, store batteries at room temperature.
- Use the Right Accessories: Only use bits rated for hammer drilling. Using standard twist bits on hammer mode will destroy them instantly.
- Respect the Tool: Don’t use it as a mixer for thick compounds or for tasks it wasn’t designed for. If you need a general-purpose drill for screws, consider a dedicated model from our list of the best cordless drills.
Step 4: When to Call a Professional
Some problems are beyond a DIY fix. Seek professional tool repair if you encounter:
- Visible smoke or sparks from the motor housing.
- Obvious internal damage after a drop.
- A cracked gear housing.
- Persistent electrical problems (sparking at the switch, intermittent power) after checking the cord and outlet.
- Any major internal component issue, like the hammer mechanism or main gears.
Conclusion: You’ve Got This!
Solving hammer drill problems doesn’t require a mechanic’s certification. It requires a methodical approach. Start with the simple, obvious checks: Is it in the right mode? Is the bit sharp? Is the battery charged? 90% of the time, the solution is there.
By understanding these common issues and their fixes, you empower yourself to tackle more projects with confidence. You’ll save money on unnecessary repairs and rentals. More importantly, you’ll minimize frustrating downtime. Keep this guide handy, treat your tool with care, and happy drilling!
