
Professional contractors know hammer drills are essential for tough materials like concrete and brick. This guide reveals expert techniques for precise drilling, essential safety protocols, and maintenance routines that extend tool life. Discover how to choose the right bits, optimize performance, and troubleshoot common issues like overheating or stuck bits.
Key Takeaways
- Select the correct mode: Use hammer-only for masonry, drill-only for wood, and hammer-drill for concrete.
- Always prioritize safety: Wear eye protection, secure your workpiece, and maintain proper stance to prevent injury.
- Choose quality accessories: Use carbide-tipped masonry bits and match bit size to your task for clean, efficient holes.
- Control speed and pressure: Apply steady, moderate pressure and use variable speed triggers for precision work.
- Maintain your tool: Clean air vents regularly, lubricate moving parts, and store properly to ensure longevity.
- Master overhead drilling: Use a ladder or platform correctly and employ the right technique to combat gravity.
Introduction: Why Hammer Drill Professional Tips Matter
If you are a contractor, DIY enthusiast, or construction worker, mastering your hammer drill is non-negotiable. These powerful tools tackle concrete, brick, and stone that regular drills simply cannot handle. Yet many users operate them with minimal knowledge, causing wasted time, broken bits, and dangerous situations.
This comprehensive guide delivers hammer drill professional tips that separate amateurs from experts. You will learn precise techniques for different materials, safety protocols that protect you on job sites, and maintenance routines that keep your tool running for years. We cover everything from bit selection to troubleshooting common problems.
By the end, you will approach every drilling task with confidence and efficiency. Let us dive into the professional secrets that make all the difference.
Understanding Your Hammer Drill: The Foundation
Before applying any hammer drill professional tips, you must understand how these tools work. A hammer drill combines rotational force with a rapid hammering action. This dual mechanism pounds the bit forward while it spins, crushing masonry and creating holes.
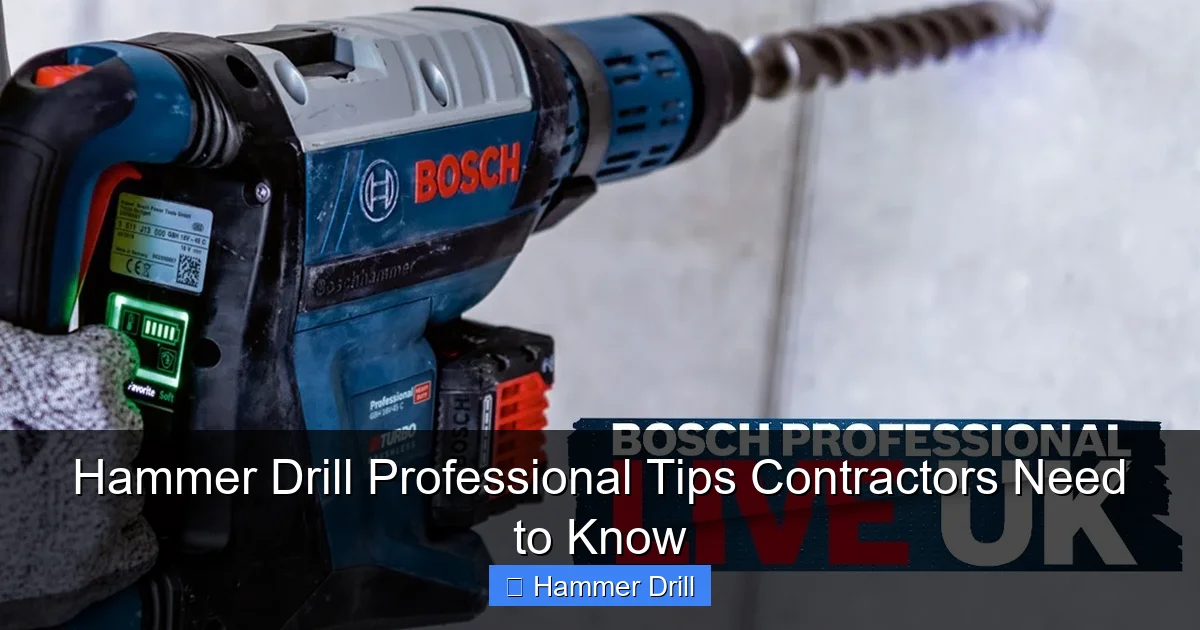
Visual guide about Hammer Drill Professional Tips Contractors Need to Know
Image source: i.ytimg.com
Key Components Every User Should Know
The chuck holds your bits securely. Most professional models feature keyless chucks for quick changes. The mode selector switches between drill, hammer, and hammer-drill settings. Your variable speed trigger controls RPMs precisely. The depth gauge ensures consistent hole depths. Understanding each part prevents mistakes and boosts performance.
How Hammer Drills Differ From Other Tools
Many contractors confuse hammer drills with regular drills or impact drivers. A standard drill rotates only, making it perfect for wood and metal. An impact driver uses rotational impacts for driving screws. A hammer drill uses forward impacts for drilling into hard materials. Knowing the difference between impact driver and hammer drill helps you select the right tool for each job. Using the wrong tool damages materials and wastes time.
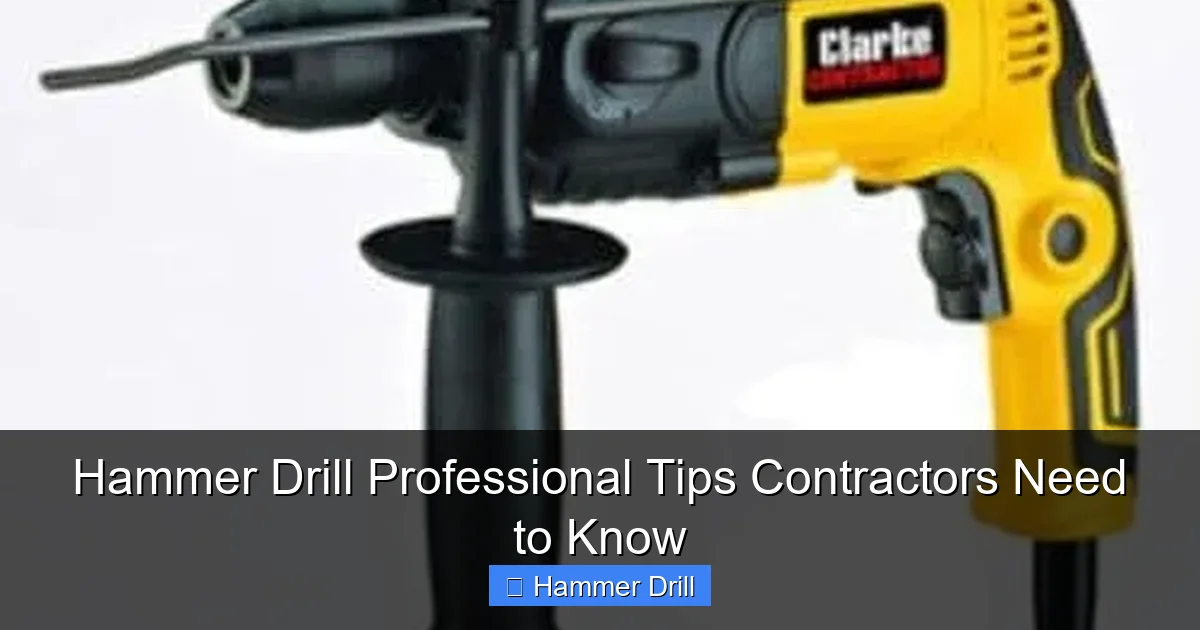
Essential Safety Protocols: Protect Yourself First
Hammer drills generate significant vibration, noise, and debris. Professional contractors never compromise on safety. These hammer drill professional tips keep you protected on every job site.
Visual guide about Hammer Drill Professional Tips Contractors Need to Know
Image source: m.media-amazon.com
Personal Protective Equipment (PPE)
Always wear safety glasses with side shields. The hammering action throws chips and dust at high velocity. Use hearing protection like earplugs or earmuffs. Wear a dust mask or respirator when drilling overhead or in enclosed spaces. Heavy-duty gloves improve grip but ensure they do not interfere with trigger control.
Workpiece and Workspace Safety
Secure your workpiece with clamps or a vise. Never hold small items by hand. Check for hidden electrical wires, plumbing, or gas lines before drilling. Use a stud finder with AC detection for walls. Keep your workspace clean and well-lit. Ensure stable footing on solid ground or a secure platform.
Proper Body Mechanics
Stand with feet shoulder-width apart for balance. Grip the handle firmly but do not squeeze too hard. Keep your wrist straight to reduce vibration impact. Position yourself directly behind the drill, not at an angle. This alignment gives you maximum control and prevents kickback.
Overhead Work Safety
Drilling overhead requires extra caution. Use a sturdy ladder or platform with proper handrails. Essential safety tips for climbing ladders include maintaining three points of contact and keeping your belt within reach. Have a spotter assist you when possible. Use shorter bits to maintain control and reduce strain.
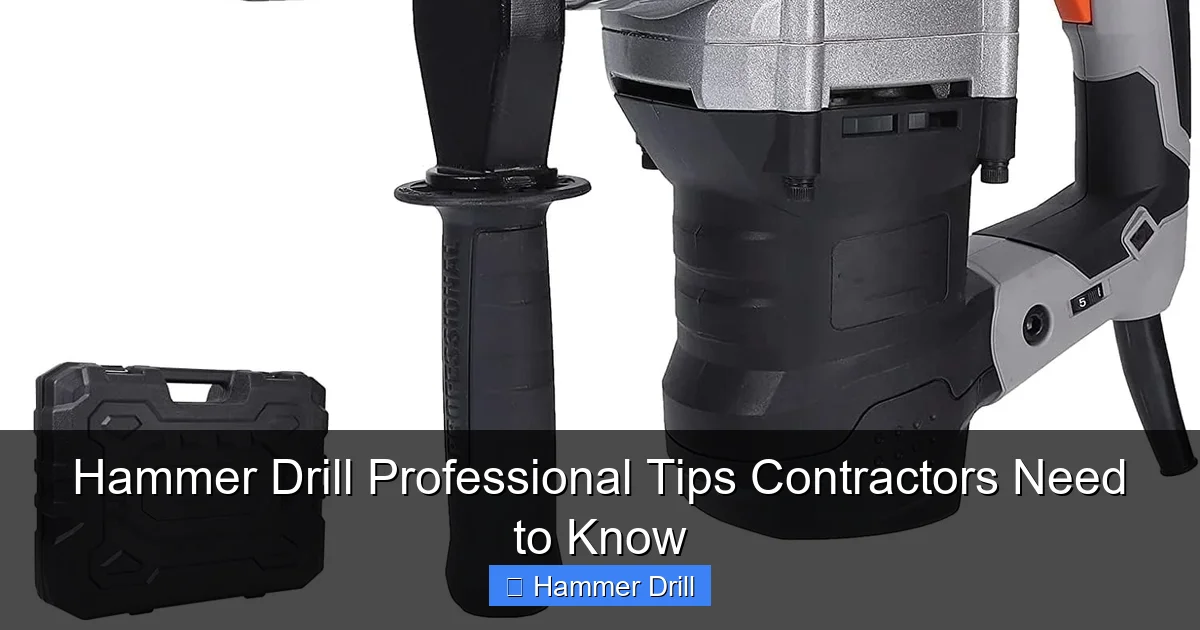
Choosing the Right Accessories: Bits and Attachments
The best hammer drill professional tips are useless with the wrong accessories. Professional contractors invest in quality bits and attachments that match their specific tasks.
Visual guide about Hammer Drill Professional Tips Contractors Need to Know
Image source: files.ekmcdn.com
Masonry Bit Selection
Always use carbide-tipped masonry bits. These bits feature a hardened carbide head that withstands hammering impact. For concrete, choose a bit with a four-cutter design. For brick and block, a two-cutter bit works fine. Match the bit diameter to your anchor size. The bit should be slightly larger than your anchor for a secure fit.
Chuck Types and Bit Installation
Keyless chucks offer convenience but require proper tightening. Clean the chuck and bit shank before insertion. Tighten the chuck by hand until snug, then give it an extra quarter turn. For heavy-duty work, consider a keyed chuck for maximum grip. Ensure the bit is fully seated and centered.
Depth Gauges and Stop Rings
Use the depth gauge for consistent holes. Set it to your desired depth before starting. This prevents drilling too deep and damaging surfaces behind the material. Stop rings provide additional precision for repetitive tasks. Mark your bit with tape as a visual reference when gauges are unavailable.
Specialty Attachments
Consider a dust collection attachment for overhead work. These systems capture debris at the source, keeping your workspace clean. A side handle attachment reduces vibration fatigue during extended use. Some models offer angle attachments for drilling in tight spaces.
Step-by-Step: Drilling into Concrete Like a Pro
Concrete is the most common material for hammer drill work. These step-by-step hammer drill professional tips ensure clean, precise holes every time.
Step 1: Mark and Prepare Your Hole Location
Use a pencil or marker to mark your exact drilling point. Place a piece of masking tape over the mark. This prevents the bit from wandering when you start. Double-check measurements with a tape measure and square.
Step 2: Select the Correct Mode and Speed
Set your hammer drill to hammer-drill mode. This activates both rotation and hammering. Start at a low speed (first gear) to create a pilot indentation. Increase speed once the bit is stable. For large holes, maintain moderate speed to prevent overheating.
Step 3: Apply Proper Pressure and Technique
Hold the drill perpendicular to the surface. Apply steady, moderate pressure. Do not force the tool. Let the hammer mechanism do the work. Pull the bit out periodically to clear dust. This prevents binding and overheating. For deep holes, drill in increments of 2-3 inches.
Step 4: Complete and Clean the Hole
Slow down as you break through the concrete. Reduce pressure to avoid blowout on the opposite side. Remove the bit while it is still spinning to clean the hole. Blow out dust with compressed air or use a vacuum attachment. The hole should be clean and ready for anchors.
Step-by-Step: Drilling into Masonry and Brick
Masonry and brick require a gentler touch than concrete. These hammer drill professional tips prevent cracking and ensure accuracy.
Adjusting Your Technique for Masonry
Set your drill to hammer-only mode if available. This reduces rotational force that can crack brick. Use a lower speed setting than you would for concrete. Apply light, consistent pressure. Too much force splinters the brick and ruins your hole.
Preventing Blowout on Hollow Materials
Hollow block and brick can blow out on the backside. Place a scrap piece of wood behind your work area. This supports the material and creates a cleaner exit hole. Alternatively, drill from the opposite side first if accessible. Work slowly and let the tool guide you.
Dealing with Rebar and Metal Reinforcement
When you hit rebar, stop immediately. Switch to a metal-cutting bit or drill bit. Mark the location and drill around the obstruction if possible. Do not force the masonry bit through metal. It will damage both the bit and your drill. Use a stud finder to locate reinforcement before starting when possible.
Professional Techniques for Precision and Efficiency
Mastering these advanced hammer drill professional tips saves time and improves accuracy on demanding job sites.
The Peck Drilling Method
Peck drilling involves drilling short bursts, then retracting the bit. This clears dust and prevents overheating. It is essential for deep holes exceeding 4 inches. Drill 1-2 inches, pull out, clear debris, then repeat. This technique extends bit life and maintains hole accuracy.
Creating Pilot Holes for Large Diameters
For holes larger than ½ inch, start with a smaller pilot hole. This guides the larger bit and prevents wandering. Use a ¼ inch bit first, then step up to your final size. This method produces straighter, more precise holes in less time.
Drilling at an Angle
Sometimes you need angled holes for pipes or wiring. Use a drill guide attachment for accuracy. Mark your angle with a protractor or angle finder. Start slowly to prevent the bit from slipping. Apply slightly more pressure on the side you want to drill deeper. Practice on scrap material first.
Reducing Vibration Fatigue
Extended use causes hand-arm vibration syndrome. Use both hands when possible. The side handle significantly reduces strain. Take breaks every 15-20 minutes. Rotate tasks with crew members. Anti-vibration gloves provide additional protection. Your health depends on these precautions.
Maintenance and Care: Extending Tool Life
Professional contractors know that maintenance is cheaper than replacement. These hammer drill professional tips keep your tool performing at its peak.
Daily Cleaning Routine
Wipe down your hammer drill after each use. Remove dust from the chuck, vents, and housing. Use compressed air to blow out debris from air vents. Check for loose screws or damaged parts. Store the tool in a dry, clean case. Never leave it exposed to weather.
Lubrication and Inspection
Lubricate the chuck monthly with lightweight oil. Rotate the chuck while applying oil to distribute it evenly. Inspect the power cord for fraying or damage. Check brushes every 50 hours of use. Replace worn brushes immediately to prevent motor damage. Keep the tool clean and properly lubricated.
Bit Maintenance
Clean masonry bits after each use. Remove carbide buildup with a wire brush. Inspect tips for chipping or dulling. Dull bits work harder and damage your drill. Store bits in a protective case to prevent damage. Rotate your bit inventory to use older bits first.
Battery Care for Cordless Models
For cordless hammer drills, proper battery care is crucial. Avoid completely draining batteries. Store them at 50% charge in moderate temperatures. Clean battery contacts monthly. Replace batteries when runtime drops significantly. Choosing the best cordless drill starts with understanding battery technology and maintenance requirements.
Troubleshooting Common Issues
Even professionals encounter problems. These hammer drill professional tips solve the most common issues quickly.
Overheating Problems
If your hammer drill overheats, stop immediately. Let it cool for 15-20 minutes. Check for blocked air vents. Clean them with compressed air. Reduce pressure during use. Overheating damages motors and reduces tool life. Prevent it by taking breaks during extended use.
Bit Slipping or Not Drilling
Bit slippage usually means a worn or dirty chuck. Clean the chuck and bit shank thoroughly. Tighten the chuck properly. If it still slips, replace the chuck jaws. A bit that won’t drill may be dull or the wrong type. Ensure you are using masonry bits for concrete work. Check that you are in hammer-drill mode.
Excessive Vibration or Noise
Unusual vibration often indicates a bent bit or damaged chuck. Replace bent bits immediately. Inspect the chuck for wear. Excessive noise can mean internal parts are loose or damaged. Tighten all external screws. If noise continues, have the tool serviced by a professional.
Stuck Bit Removal
When a bit gets stuck, do not force the trigger. Turn off the drill and unplug it. Use vise grips to grip the bit shank. Rotate it back and forth gently while pulling. If that fails, carefully drill a hole next to the stuck bit to free it. Prevention is easier than removal.
Depth Inconsistency
If your holes are not reaching the desired depth, check your depth gauge. Ensure it is set correctly and locked in place. For deep holes, clear dust frequently. The dust buildup can prevent the bit from reaching full depth. Use a tape measure to verify depth during drilling.
Corded vs Cordless: Professional Considerations
Choosing between corded and cordless hammer drills depends on your work environment. These hammer drill professional tips help you decide.
Power and Performance Factors
Corded models deliver consistent power for all-day use. They handle the toughest materials without battery fade. Cordless models offer freedom of movement. Modern lithium-ion batteries provide excellent runtime. For heavy concrete work, corded is often better. For framing and overhead work, cordless excels.
Portability and Job Site Realities
Construction sites often lack power sources. Cordless tools solve this problem. However, you must manage battery inventory. Bring multiple charged batteries for continuous work. Corded tools require extension cords and power access. Use a heavy-duty extension cord rated for your drill’s amperage.
Cost and Long-Term Value
Corded hammer drills cost less initially. They last longer with proper maintenance. Cordless tools cost more due to batteries and chargers. Battery technology improves constantly. Consider your specific needs. Many contractors own both types for different applications.
Advanced Applications: Beyond Basic Drilling
Professional contractors use hammer drills for specialized tasks. These hammer drill professional tips expand your capabilities.
Installing Anchors and Fasteners
After drilling, clean the hole thoroughly. Blow out all dust and debris. Insert your anchor to the correct depth. Use a hammer for plastic anchors. For wedge anchors, follow manufacturer specifications. Proper hole preparation ensures maximum holding strength.
Creating Channels for Wiring
Use a hammer drill to chase channels in masonry walls. Mark your path with a chalk line. Drill a series of holes along the line. Connect them with a chisel or grinder. This technique hides wiring professionally. Always check for existing wires before starting.
Removing Tile and Thinset
Some hammer drills accept chiseling attachments. Use these to remove tile from concrete walls. Set the tool to hammer-only mode. Work systematically from one end to the other. This method is faster than manual scraping. Wear extra protection from flying debris.
Core Drilling Applications
For large holes over 2 inches, use a core bit attachment. Core bits cut a ring around a center pilot. They remove a solid core of material. This creates clean, precise large holes for pipes and ducts. Core drilling requires steady pressure and frequent clearing.
Conclusion: Building Your Professional Edge
Mastering these hammer drill professional tips transforms your approach to challenging materials. You now understand the mechanics, safety protocols, and techniques that separate professionals from amateurs. Practice these skills on scrap materials before applying them to client projects.
Remember that tool maintenance is as important as technique. A well-cared-for hammer drill performs better and lasts longer. Keep your bits sharp, your tool clean, and your safety gear on.
Whether you are drilling into concrete, masonry, or brick, these tips ensure you complete the job efficiently and safely. Your reputation as a skilled contractor depends on the quality of your work. Let these professional hammer drill techniques be your competitive advantage.
