
Drilling through rebar with a hammer drill requires the right techniques and precautions. This guide covers essential tips for selecting the correct hammer drill, choosing diamond-tipped bits, and mastering drilling angles. You’ll learn step-by-step methods to prevent bit damage, ensure safety, and achieve professional results when working with reinforced concrete.
Key Takeaways
- Use the right tool: A hammer drill is essential for rebar drilling, not a regular drill. The hammering action combined with rotation breaks through tough steel reinforcement effectively.
- Choose diamond-tipped bits: Standard masonry bits won’t cut it. Diamond-grit or carbide-tipped bits designed specifically for rebar are crucial for success.
- Maintain proper angle: Always drill perpendicular to the rebar at 90 degrees. Angled drilling causes deflection and damages your bit prematurely.
- Apply steady pressure: Let the drill do the work. Apply firm, consistent pressure without forcing it, which can overheat the bit and burn out the motor.
- Cool your bit: Use water or lubricant to prevent overheating during extended drilling sessions, extending bit life and improving efficiency.
- Prioritize safety: Wear eye protection, gloves, and hearing protection. Rebar drilling creates metal chips and dust that can cause serious injury.
- Start slow: Begin drilling at a low speed to create a pilot groove, then gradually increase to full power for cleaner, more accurate holes.
Introduction: Why Hammer Drill Rebar Drilling is Different
Drilling through rebar is one of the toughest challenges you’ll face with a hammer drill. Unlike regular concrete, rebar is hardened steel designed to reinforce structures. This means standard techniques and bits often fail spectacularly. But with the right approach, you can drill clean, precise holes through rebar without damaging your tools or compromising your project.
This comprehensive guide will walk you through everything you need to know about hammer drill rebar drilling. You’ll learn which tools to use, how to select proper bits, essential safety steps, and professional techniques that save time and frustration. Whether you’re installing anchors, running conduit, or creating anchor points, these tips will make your work easier and more effective.
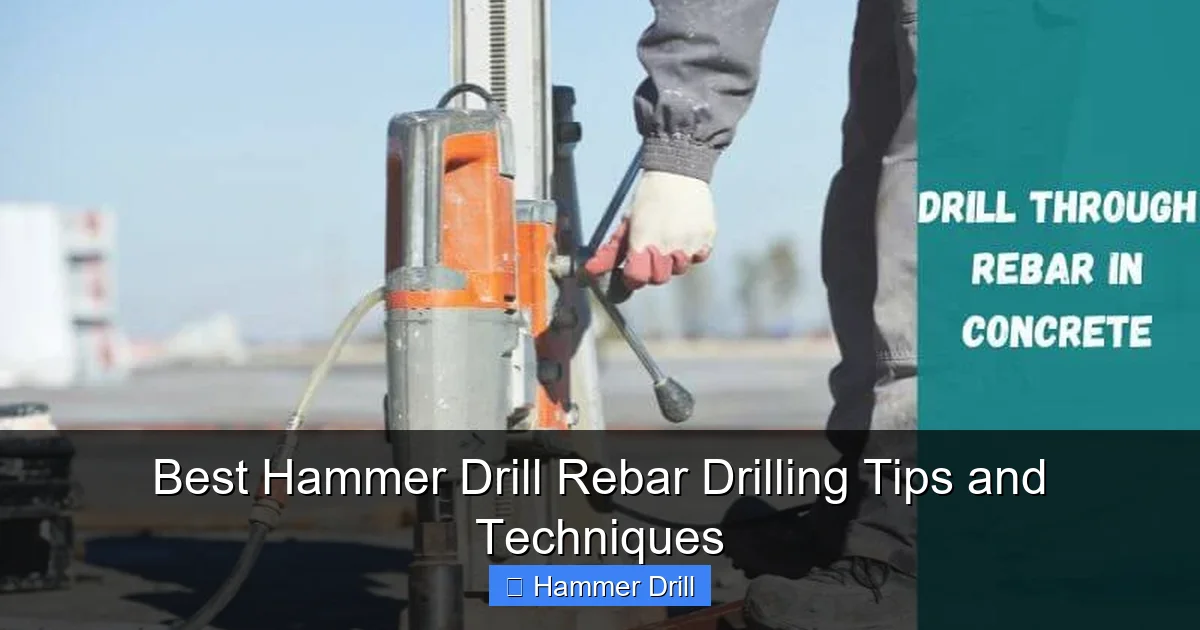
Understanding Your Hammer Drill for Rebar Work
Before you tackle rebar, you need to understand why a hammer drill is essential. A regular drill simply spins, which isn’t enough for hardened steel. A hammer drill combines rotation with a rapid hammering action that pulverizes material as it cuts.
Visual guide about Best Hammer Drill Rebar Drilling Tips and Techniques
Image source: toolstutor.com
Not all hammer drills are created equal for rebar work. You need one with sufficient power and the right settings. Look for a drill with at least 7-10 amps for corded models or 18V+ for cordless. The hammering mechanism must be robust enough to handle steel without skipping or stalling.
If you’re unsure whether you have the right tool, check out this helpful comparison of difference between a drill and a hammer drill. It explains why the hammering action is non-negotiable for rebar drilling.
Key Hammer Drill Features for Rebar
- Variable speed control: Crucial for starting holes slowly and increasing speed as needed
- Depth gauge: Helps you drill consistent, accurate depths
- Side handle: Provides better control and reduces fatigue during tough drilling
- Quick-change chuck: Makes swapping bits faster and easier
Choosing the Right Hammer Drill for the Job
Selecting the proper hammer drill makes all the difference when drilling rebar. For occasional DIY projects, a quality corded model provides reliable power without worrying about battery life. For professional work, consider a high-end cordless model for mobility.
Visual guide about Best Hammer Drill Rebar Drilling Tips and Techniques
Image source: cdnassets.hw.net
When shopping for a hammer drill specifically for rebar work, prioritize these features:
- Hammer-only mode: Some jobs require pure hammering action without rotation
- Rotary stop: Allows for chiseling action if you hit rebar at an angle
- Ergonomic design: Reduces vibration and user fatigue during extended use
For recommendations on top-performing models, browse our selection of best cordless drill options that excel at heavy-duty applications including rebar drilling.
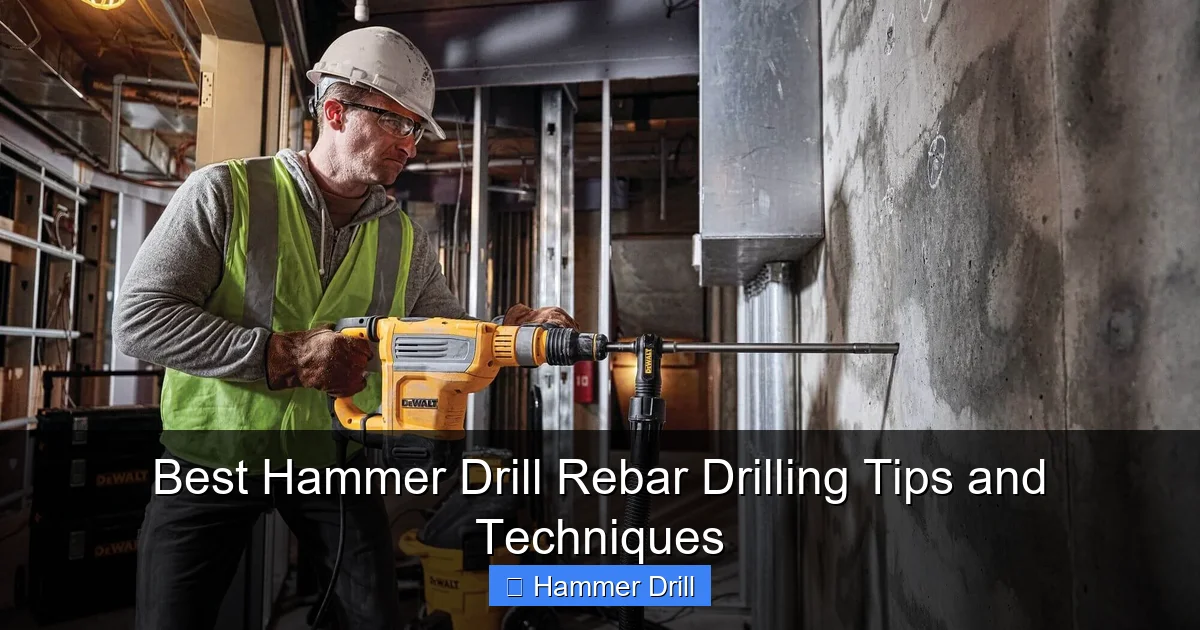
Essential Safety Precautions
Safety must be your top priority when drilling rebar. The combination of hardened steel, high-speed rotation, and hammering creates serious hazards. Metal chips can fly at high velocity, and the dust created is harmful to breathe.
Visual guide about Best Hammer Drill Rebar Drilling Tips and Techniques
Image source: misterworker.com
Always wear proper personal protective equipment (PPE). This includes safety glasses with side shields, heavy-duty work gloves, hearing protection, and a dust mask or respirator. Consider wearing a long-sleeved shirt to protect your arms from flying debris.
Work in a well-ventilated area to avoid inhaling metal dust. Keep your work area clean and free of tripping hazards. Ensure the rebar is securely positioned and won’t move during drilling. If you’re working overhead, take extra precautions to prevent bits or debris from falling into your eyes.
For more comprehensive safety guidance, review these drilling safety tips that apply to all types of drilling operations.
Electrical Safety
When using corded hammer drills, inspect the power cord for damage before each use. Keep cords away from water and sharp edges. If working outdoors, use a ground fault circuit interrupter (GFCI) outlet to prevent electrical shock.
Step 1: Preparation and Planning
Proper preparation prevents poor performance when drilling rebar. Start by identifying exactly where you need to drill. Use a stud finder with metal detection capability or a rebar detector to locate reinforcement bars within concrete.
Mark your drilling locations with a permanent marker or punch. Create a small indentation at the center point to help keep your drill bit from wandering when you start. Double-check measurements and ensure there are no hidden electrical wires or plumbing behind the area.
Gather all your tools and materials before starting. Have your hammer drill, correct bits, safety gear, and cooling lubricant ready. This prevents dangerous mid-process interruptions.
Workpiece Securing
Secure the material you’re drilling whenever possible. Clamp rebar sections to a stable workbench or sawhorses. For rebar in concrete, ensure the structure is stable and won’t shift during drilling. Never hold small pieces of rebar in your hand while drilling.
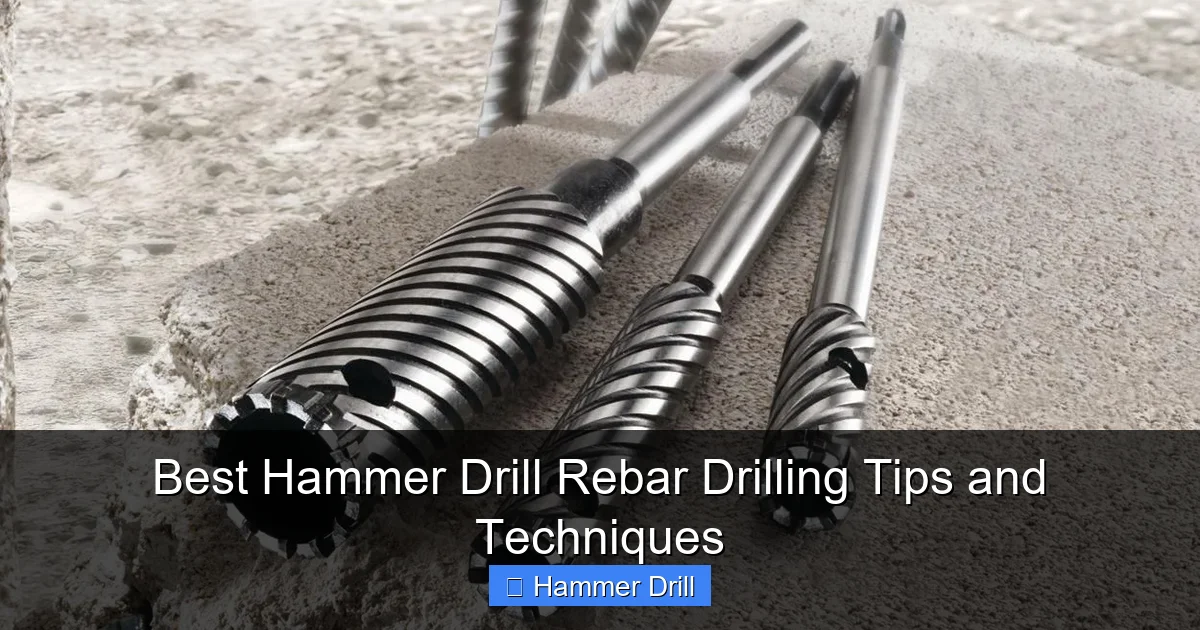
Step 2: Selecting the Perfect Drill Bit
Standard masonry bits are designed for concrete, not steel. For rebar drilling, you need specialized bits that can handle hardened steel without dulling quickly.
Diamond-tipped bits are the gold standard for rebar work. These bits feature industrial diamonds bonded to the cutting edge, providing extreme hardness and durability. They stay sharp longer and drill faster than other options.
Carbide-tipped rebar drill bits offer a more budget-friendly alternative. Look for bits specifically labeled for “rebar” or “concrete reinforcement.” These have reinforced shanks and specialized tip geometries.
Bit Size Considerations
Match your bit diameter to the hole size you need. For most applications, 1/4″ to 3/4″ bits cover the majority of rebar drilling tasks. Ensure your hammer drill’s chuck can accommodate the bit size you choose. Most quality hammer drills accept bits up to 1/2″ or larger.
Step 3: Setting Up Your Hammer Drill
Configure your hammer drill correctly before making contact with rebar. Set the speed control to the lowest setting initially. This gives you maximum control when starting the hole.
Engage the hammer drill function. Most models have a switch that activates the hammering mechanism. Make sure it’s fully engaged to avoid damaging the drill or bit. Some drills have multiple hammer modes—select the standard rotary hammer mode for rebar work.
Install the side handle and adjust it for comfortable operation. Your dominant hand should grip the main handle, while your other hand supports the side handle for maximum control. Set the depth gauge if you need a specific hole depth.
Chuck Installation
Insert the drill bit firmly into the chuck. Tighten the chuck securely using the key or quick-release mechanism. A loose bit can slip, damage the chuck, or become dangerous during operation. Give the bit a gentle tug to ensure it’s properly seated.
Step 4: The Drilling Process – Step-by-Step
Creating a Pilot Hole
Begin at slow speed to create a small pilot groove in the rebar. Apply firm, steady pressure perpendicular to the rebar surface. Maintain a 90-degree angle throughout the process. This prevents the bit from deflecting and wandering across the curved steel surface.
Drill for just 2-3 seconds at low speed to create a small indentation. This pilot mark will guide the bit as you increase speed. Release the trigger and check your alignment before proceeding.
Increasing Speed and Pressure
Once your pilot groove is established, gradually increase the drill speed. Apply consistent pressure—let the hammering action do most of the work. You should hear a rhythmic hammering sound as the bit chips through the steel.
Continue drilling at a steady pace. Don’t force the drill. If you feel excessive resistance, reduce pressure slightly and ensure you’re maintaining proper angle. Forcing the drill can overheat the bit and damage the motor.
Cooling and Lubrication
For deep holes or extended drilling sessions, cool your bit periodically. Dip the bit in water or apply a small amount of cutting oil to the drilling area. This prevents overheating and extends bit life significantly.
Never run a hot bit continuously. Allow it to cool every 30-60 seconds of drilling. Overheated bits lose hardness and dull quickly, making the rest of your job much harder.
Through-Hole Technique
When drilling completely through rebar, slow down as you approach the exit point. The bit can grab and spin the workpiece violently when it breaks through. Maintain firm control and be ready to release the trigger quickly.
Support the rebar from underneath if possible to prevent it from falling when the bit exits. This is especially important for overhead work where a falling piece could cause injury.
Step 5: Troubleshooting Common Problems
Bit Won’t Bite or Wanders
If your bit skates across the rebar surface without cutting, you’re likely not maintaining a 90-degree angle. Stop immediately and restart with a fresh pilot mark. Ensure you’re using a rebar-specific bit, not a masonry bit.
Solution: Create a small starter divot using a center punch and hammer. This gives the bit a secure starting point and prevents wandering.
Excessive Vibration or Chattering
Too much vibration usually means your speed is too high or pressure is inconsistent. Reduce speed and apply steady, firm pressure. Check that your bit is securely tightened in the chuck.
If vibration persists, inspect the bit for damage or excessive wear. A bent or dull bit will vibrate and may damage your drill’s bearings.
Bit Overheating or Smoking
Overheating occurs when you’re drilling too fast without cooling breaks. Stop immediately and allow the bit to cool. Review your technique and ensure you’re taking regular cooling breaks.
Check that you’re using the correct bit type. Standard bits overheat quickly when used on rebar. Always have water or cutting oil ready for cooling.
Drill Stalling or Slipping
If your drill motor stalls, you’re likely applying too much pressure or using too high a speed. Reduce both pressure and speed. Ensure the hammering mechanism is properly engaged.
A slipping clutch can also cause stalling. Adjust the clutch setting to a higher torque rating if your drill has this feature.
Poor Hole Quality or Rough Edges
Rough holes result from inconsistent speed or pressure. Practice maintaining steady operation. A dull bit will also create rough, imprecise holes. Replace worn bits promptly.
For cleaner holes, finish by drilling slightly past your mark at reduced speed. This cleans up the exit point and removes burrs.
Step 6: Maintenance and Care
Proper maintenance extends the life of your hammer drill and bits. After each use, clean metal shavings and dust from the drill, chuck, and bit. Wipe down the housing with a dry cloth.
Inspect bits for damage. Clean diamond bits with a wire brush to remove embedded metal particles. Store bits in a protective case to prevent chipping and damage to the cutting edges.
Check your hammer drill’s brushes regularly if it’s a brushed motor model. Excessive sparking or reduced power indicates worn brushes that need replacement.
Lubrication
Apply a light coat of oil to drill bits before storage to prevent rust. Lubricate the chuck mechanism periodically according to your drill’s manual. This ensures smooth operation and prevents corrosion.
Advanced Techniques for Professionals
Drilling Multiple Holes Quickly
When drilling many holes in rebar, use a jig or template to maintain consistent spacing and angles. Mark all hole locations first, then drill them systematically. Keep a spray bottle of water handy for continuous cooling.
Consider using a drill press attachment for your hammer drill if you need extreme precision and repeatability. This setup provides guided movement and consistent pressure.
Drilling at Angles
While 90-degree drilling is ideal, sometimes you need angled holes. Use a guide block with a pre-drilled hole to maintain your desired angle. Start at very slow speed and increase gradually as the bit establishes its path.
Angled drilling accelerates bit wear significantly. Use your sharpest bit and take frequent cooling breaks.
Working with Epoxy-Coated Rebar
Epoxy-coated rebar requires extra care. The coating can melt and foul the bit if you overheat it. Use lower speeds and more cooling lubricant. Clean the bit frequently to remove melted epoxy buildup.
Conclusion: Mastering Rebar Drilling
Hammer drill rebar drilling becomes straightforward with the right tools, techniques, and patience. Remember to always use a quality hammer drill with proper settings, select diamond-tipped or carbide bits designed for rebar, and prioritize safety above all else.
Practice your technique on scrap rebar before tackling important projects. This builds confidence and helps you refine your pressure, speed, and cooling methods. Keep your bits sharp, your drill maintained, and your workspace safe.
With these tips, you’ll handle any rebar drilling task efficiently and professionally. Whether you’re a DIY enthusiast or a seasoned contractor, mastering these techniques saves time, money, and frustration on every project.
