
Discover practical hammer drill repair solutions for common issues including power failure, overheating, and mechanical problems. This comprehensive guide walks you through step-by-step troubleshooting, safety precautions, and preventive maintenance to extend your tool’s lifespan. Save money and time by fixing your hammer drill yourself instead of replacing it.
Key Takeaways
- Safety first: Always unplug your hammer drill and wear protective gear before starting any repair work.
- Common problems: Most issues involve carbon brushes, overheating, chuck problems, or motor failures.
- Regular maintenance: Clean air vents, lubricate moving parts, and inspect components monthly to prevent breakdowns.
- DIY savings: Simple repairs like brush replacement can cost under $20 and take less than 30 minutes.
- Know your limits: Some internal motor issues require professional service to avoid further damage.
- Proper usage: Using the right drill bits and avoiding overheating prevents 80% of common problems.
Introduction: Take Control of Your Hammer Drill Repairs
Your hammer drill is a powerhouse for drilling through concrete, brick, and masonry. But when it starts acting up, it can bring your projects to a grinding halt. Instead of rushing to buy a new one, you can fix most common problems yourself with basic tools and know-how. This guide will teach you everything from quick fixes to complete troubleshooting for your hammer drill.
Understanding what makes a hammer drill different from other power tools helps you diagnose issues faster. These specialized tools combine rotation with a hammering action that pounds the drill bit forward as it spins. This unique mechanism creates specific wear patterns and problems you won’t see in regular drills.
By the end of this article, you’ll confidently identify issues, perform essential repairs, and maintain your tool to prevent future breakdowns. You’ll save hundreds of dollars and extend your hammer drill’s life by years. Let’s get started with the basics of hammer drill repair.
Safety First: Essential Precautions Before Starting Repairs
Working on power tools requires strict safety protocols. A hammer drill contains powerful motors and electrical components that can cause serious injury if mishandled. Follow these safety steps every single time.
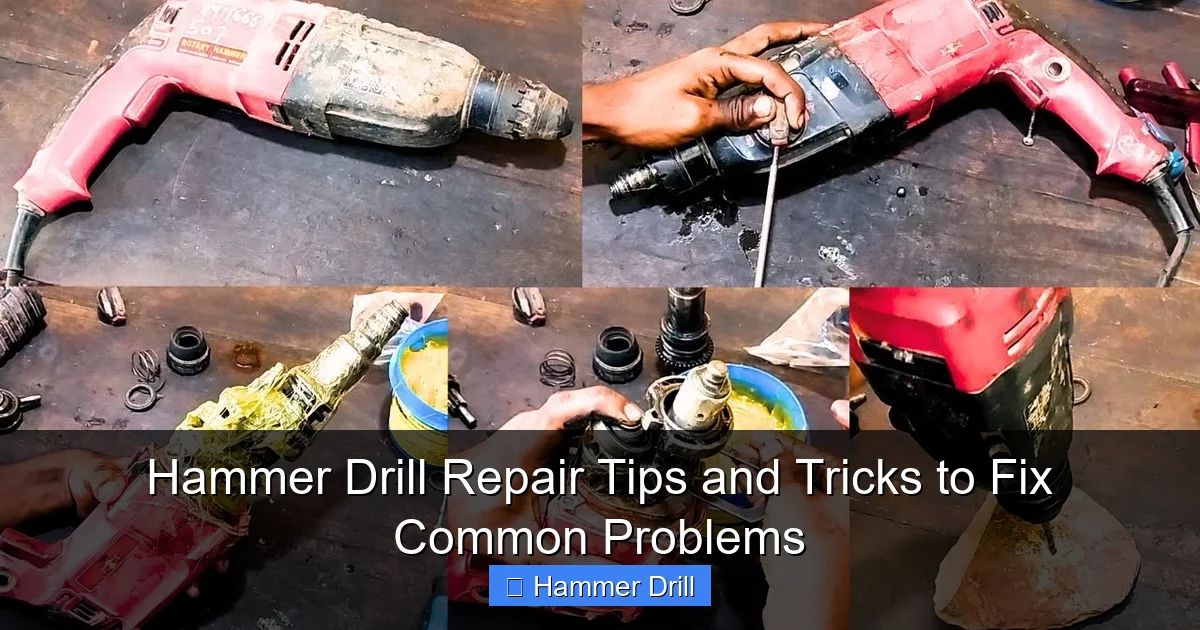
Visual guide about Hammer Drill Repair Tips and Tricks to Fix Common Problems
Image source: i.ytimg.com
Disconnect All Power Sources
Unplug corded hammer drills from the electrical outlet. For cordless models, remove the battery completely. Don’t just turn off the switch—physically disconnect the power source. This prevents accidental starts while you’re working inside the tool.
Wear Proper Protective Equipment
Always wear safety glasses to protect your eyes from metal shavings and debris. Consider wearing work gloves to protect your hands from sharp edges inside the tool housing. If you’re working in a dusty environment, use a dust mask to avoid breathing in particles from worn brushes or gears.
Work in a Clean, Organized Space
Choose a well-lit, dry workspace with a clean surface. Keep small parts organized in containers or magnetic trays. Take photos as you disassemble components so you can remember exactly how everything goes back together. A messy workspace leads to lost parts and mistakes.
Use the Right Tools
Have a quality screwdriver set, multimeter for electrical testing, and basic hand tools ready. Using improper tools can strip screws and damage components, making repairs harder and potentially dangerous.
Hammer Drill Won’t Start: Troubleshooting Power Issues
When your hammer drill shows no signs of life, the problem is usually electrical. Let’s work through the most common causes step by step.
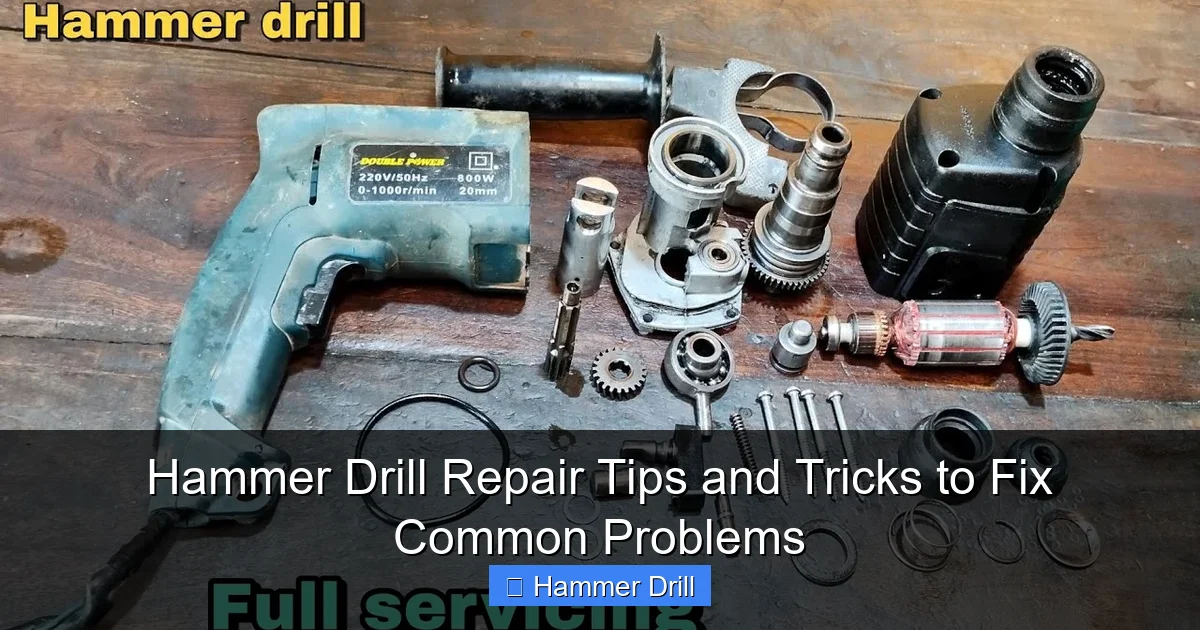
Visual guide about Hammer Drill Repair Tips and Tricks to Fix Common Problems
Image source: i.ytimg.com
Check the Power Source
Test the electrical outlet with another device to confirm it’s working. For cordless hammer drills, charge the battery fully. Sometimes a battery gauge can be inaccurate, so try a different battery if available. Check for loose connections between the battery and tool.
Inspect the Power Cord
Examine the entire length of the cord for visible damage like cuts, kinks, or exposed wires. Wiggle the cord near the tool entry point and the plug while testing for power with a multimeter. If you find damaged sections, you’ll need to replace the cord or repair the connection.
Test the Trigger Switch
The trigger switch is a common failure point. Remove the tool housing to access the switch. Use your multimeter to test for continuity when the trigger is pressed. A faulty switch won’t send power to the motor, resulting in no operation. Replacement switches are inexpensive and easy to install.
Replace Worn Carbon Brushes
Carbon brushes conduct electricity to the motor’s rotating components. Over time, they wear down and stop making proper contact. Locate the brush holders on either side of the motor (usually accessible through slots in the tool housing). Remove the old brushes and check their length—if they’re less than 1/4 inch, replace them. This simple hammer drill repair fixes starting issues in about 70% of cases.
Overheating Problems: Keep Your Tool Cool
Excessive heat can damage your hammer drill’s motor and internal components. If your tool shuts off unexpectedly or feels hot to the touch, address these issues immediately.
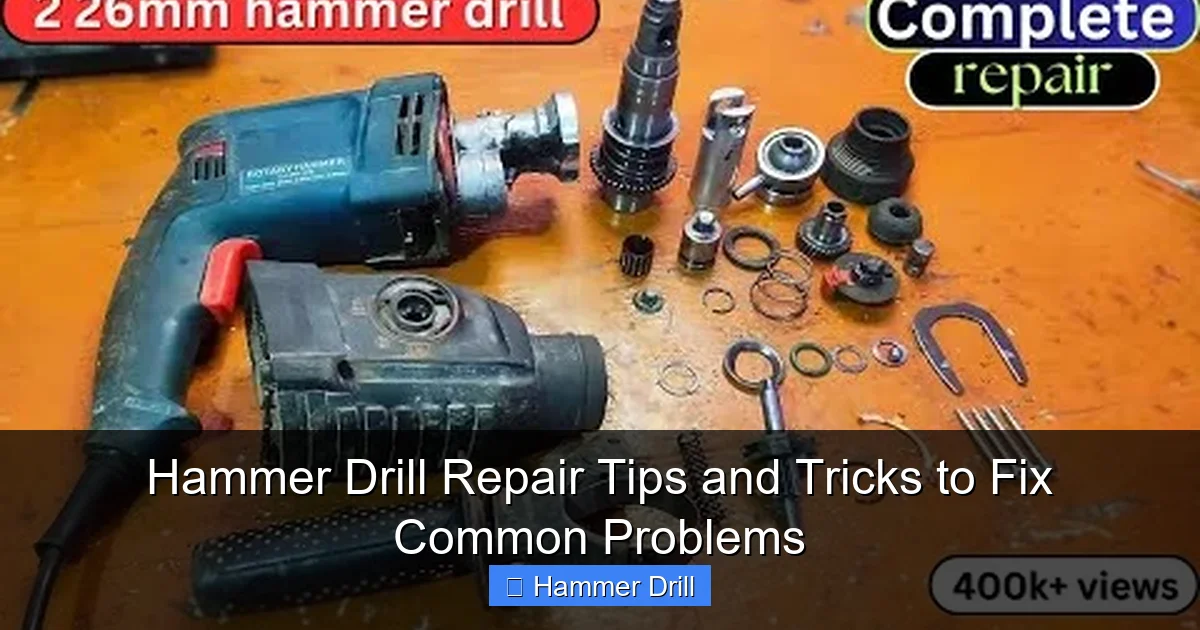
Visual guide about Hammer Drill Repair Tips and Tricks to Fix Common Problems
Image source: i.ytimg.com
Clean Air Vents and Cooling Fins
Dust and debris block airflow, causing the motor to overheat. Use compressed air to blow out all vents, slots, and cooling fins. Do this every month during heavy use. For stubborn grime, use a soft brush and mild cleaner, then dry thoroughly before reassembly.
Check for Proper Ventilation
Never use your hammer drill in confined spaces without adequate airflow. Ensure you’re not blocking vents during operation. If you’re working in hot conditions, take breaks every 15-20 minutes to let the tool cool down. Continuous heavy use generates excessive heat.
Inspect the Motor Windings
Overheating can cause motor windings to short out. If your hammer drill runs briefly then dies, this might be the issue. A professional can test the windings with specialized equipment. In most cases, severely damaged windings require motor replacement rather than repair.
Weak or No Hammering Action: Restoring Performance
The hammering mechanism is what makes these tools special. When it weakens or stops, your drill becomes nearly useless for masonry work.
Examine the Hammer Mechanism
Inside your hammer drill, a set of interlocking gears called “hammer segments” create the pounding action. These components wear down over time. Remove the chuck and gear housing to inspect them. Look for chipped, cracked, or excessively worn teeth. Replace any damaged gears as a set to ensure proper meshing.
Lubricate Moving Parts
Dry, seized components can stop the hammering action. Apply high-quality grease to the hammer mechanism and gears during reassembly. Use a grease specifically designed for power tools—regular grease can break down and cause more harm. Proper lubrication reduces wear and restores smooth operation.
Check the Mode Selector
If your hammer drill has multiple modes (drill only, hammer drill, etc.), the selector switch might be malfunctioning. Test each position to ensure the mechanism engages properly. A worn selector won’t shift the gears into hammer mode, leaving you with only rotation.
Unusual Noises: Diagnosing Mechanical Problems
Grinding, clicking, or squealing sounds indicate internal issues. Don’t ignore these warnings—they often precede complete failure.
Listen for Specific Sound Patterns
A grinding noise usually means metal-on-metal contact from worn bearings or gears. A high-pitched squeal often indicates a dry bearing that needs lubrication. Clicking sounds might come from loose components or a failing clutch. Identifying the sound helps pinpoint the problem.
Inspect Bearings and Bushings
Bearings support the motor shaft and gears. Remove the housing and check for play in the shaft. If you can wiggle it side-to-side, the bearings are worn. Replace them with exact matches from the manufacturer. Using incorrect bearings causes immediate failure.
Tighten Loose Components
Vibration from hammering action can loosen screws and components over time. Go through the entire tool and tighten all fasteners. Pay special attention to motor mounting screws and housing bolts. Use thread-locking compound on critical fasteners to prevent future loosening.
Chuck Problems: Fixing Bit Slipping and Stuck Bits
The chuck holds your drill bits securely. When it malfunctions, bits slip or become impossible to remove.
Clean and Lubricate the Chuck
Remove the chuck from the spindle and disassemble it. Clean all internal parts with a degreaser to remove old lubricant and debris. Apply fresh chuck grease to the jaws and mechanism before reassembly. This prevents binding and ensures a firm grip on bits.
Check Jaw Wear
Inspect the chuck jaws for wear patterns or damage. Worn jaws won’t grip bits properly, causing slipping. If you see significant wear, replace the chuck entirely. New chucks cost less than repairing old ones and provide better performance.
Free Stuck Bits
If a bit is stuck in the chuck, don’t force it. Apply penetrating oil around the bit shank and let it sit for 10-15 minutes. Use two pairs of pliers—one to hold the chuck body and another to twist the bit free. For extreme cases, carefully heat the chuck jaws to expand the metal slightly.
Speed Control and Variable Trigger Issues
Inconsistent speed or unresponsive triggers make precise drilling impossible. This problem affects both corded and cordless models.
Test the Variable Speed Trigger
Remove the trigger assembly and test it with a multimeter. The trigger contains a potentiometer that controls speed based on how far you press it. If it’s worn or damaged, you’ll see inconsistent resistance readings. Replace the entire trigger module—these are not repairable.
Check Speed Control Circuitry
In cordless hammer drills, the speed controller is an electronic module. Look for burnt components or loose connections. If you see obvious damage, the controller needs replacement. For minor issues, resolder loose connections with a fine-tip soldering iron.
Inspect Wiring Harness
Damaged wires between the trigger and motor can cause speed issues. Trace all wiring and look for frayed or broken conductors. Repair minor damage with heat-shrink tubing and solder. Replace severely damaged harnesses with manufacturer-approved parts.
Complete Troubleshooting Guide
Use this quick reference to diagnose common hammer drill problems fast.
Problem: No Power
- Check outlet and battery
- Inspect power cord for damage
- Test trigger switch
- Replace carbon brushes
Problem: Overheating
- Clean all air vents
- Check for blocked cooling fins
- Reduce continuous usage time
- Inspect motor for winding damage
Problem: Weak Hammer Action
- Inspect hammer mechanism gears
- Lubricate all moving parts
- Check mode selector engagement
- Replace worn components
Problem: Loud Unusual Noises
- Check for loose screws
- Inspect bearings and bushings
- Examine gear teeth for wear
- Listen for specific sound patterns
Problem: Chuck Won’t Hold Bits
- Clean and lubricate chuck
- Check jaw wear
- Ensure proper bit insertion
- Replace worn chuck assembly
Preventive Maintenance: Keep Your Hammer Drill Running Forever
Regular maintenance prevents 90% of common hammer drill problems. A small time investment saves you from expensive repairs later.
Monthly Cleaning Routine
At minimum, clean your hammer drill every month. Blow out dust with compressed air. Wipe down the housing with a damp cloth. Check all screws for tightness. Inspect the power cord for damage. This routine takes less than 10 minutes but prevents major issues.
Proper Storage Practices
Store your hammer drill in a dry, temperature-controlled environment. Never leave it in a damp basement or hot garage. Use the original case or a protective tool box. Store batteries separately and keep them charged to 50% for long-term storage. Proper storage prevents corrosion and extends component life.
Use Correct Bits and Techniques
Always use masonry bits designed for hammer drills. Using the wrong bit causes excessive stress on the mechanism. Apply steady, moderate pressure—don’t force the tool. Let the hammer action do the work. Proper drilling technique reduces wear on internal components dramatically.
Schedule Professional Servicing
Consider having your hammer drill professionally serviced every 2-3 years. A technician can replace internal lubricants, check alignment, and identify potential problems before they fail. This service costs much less than a new tool and keeps your hammer drill performing like new.
When to Call a Professional Repair Service
Not every repair should be a DIY project. Some issues require specialized tools and expertise.
Complex Motor Repairs
If your motor has internal winding damage or commutator issues, professional repair is your best option. Rewinding motors requires precision equipment and technical knowledge. Attempting this yourself usually results in further damage.
Electronic Speed Control Failures
Modern cordless hammer drills have sophisticated electronic controllers. These components are difficult to diagnose and repair without factory training. If you’ve tested everything else and speed issues persist, seek professional help.
Major Gearbox Damage
Complete gearbox failure often requires specialized tools for disassembly. Gearboxes contain precision-machined components that must be replaced as matched sets. A professional ensures you get the right parts and proper assembly.
Warranty Considerations
Never open your hammer drill if it’s still under warranty. Doing so voids the warranty and can cost you a free replacement. Check your warranty status first. Most manufacturers offer 1-3 year warranties that cover defects and premature failures.
Conclusion: Master Your Hammer Drill Repair Skills
Learning to repair your hammer drill gives you independence and saves significant money. Most common problems—worn brushes, clogged vents, chuck issues—are easy fixes requiring minimal tools and experience. By following the steps in this guide, you’ll keep your tool running strong for years.
Remember to prioritize safety above all else. Always disconnect power sources and wear proper protection. Regular maintenance prevents most problems before they start. And when a repair exceeds your comfort level, don’t hesitate to call a professional.
Your hammer drill is an investment in your projects and productivity. Treat it well, and it will serve you reliably. Start with simple repairs like brush replacement and cleaning, then build your skills as you gain confidence. You’ll soon be the go-to person for power tool repairs in your circle.
Ready to tackle that next project? With a well-maintained hammer drill, you’re equipped to handle any masonry task that comes your way. Check out our guide on selecting the best cordless drill if you’re considering an upgrade or need a backup tool.
