
This hammer drill safety checklist gives you a complete step-by-step guide to using your tool safely at home. You’ll learn what protective gear to wear, how to inspect your drill before use, and the right techniques to prevent accidents. Follow these simple steps to protect yourself and get professional results on every project.
Key Takeaways
- Always wear safety glasses and hearing protection: These are non-negotiable for preventing eye injuries and hearing damage from loud hammering action.
- Inspect your tool before each use: Check for damaged cords, loose parts, and ensure the chuck is securely tightened.
- Choose the right drill bit for your material: Using masonry bits for concrete and wood bits for timber prevents bit breakage and kickback.
- Maintain a stable stance and firm grip: Stand with feet shoulder-width apart and use both hands to control the drill during operation.
- Work in well-ventilated areas: Hammer drills create dust that can be harmful when inhaled over time.
- Unplug before changing bits: This simple habit prevents accidental starts that cause serious injuries.
- Keep your work area clean: Remove tripping hazards and secure your workpiece to prevent movement during drilling.
Your Ultimate Hammer Drill Safety Checklist for Home
Hammer drills are powerful tools that make quick work of tough materials like concrete, brick, and stone. But this power comes with responsibility. Every year, thousands of DIYers get hurt because they skipped basic safety steps. Don’t become a statistic. This complete guide walks you through every safety checkpoint, from unpacking your tool to storing it properly. We keep it simple, practical, and focused on what matters most: keeping you safe.
You don’t need to be a professional contractor to use a hammer drill safely. With this checklist, you’ll know exactly what to do before, during, and after your project. Let’s get started.
Why Hammer Drill Safety Matters
Hammer drills combine rotation with a rapid hammering action. This creates tremendous force that can easily cause injury if the tool kicks back or a bit breaks. The noise alone can damage your hearing permanently. The dust from masonry work contains silica, which is dangerous to breathe. This isn’t meant to scare you—it’s about respect. When you follow safety steps, you control the tool instead of letting it control you.

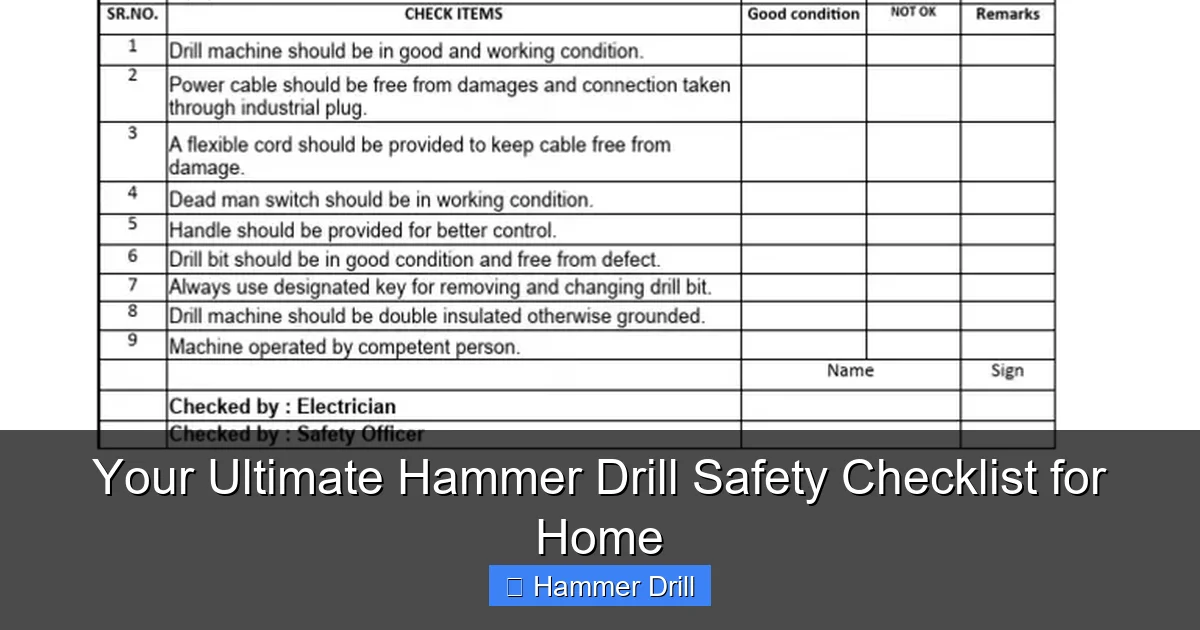
Visual guide about Your Ultimate Hammer Drill Safety Checklist for Home
Image source: imgv2-2-f.scribdassets.com
Think of this checklist as your personal safety partner. Refer to it before every single use. Five minutes of preparation can prevent a lifetime of regret.
Pre-Operation Safety Checklist
This first section happens before you even touch the power button. Think of it as your “get ready” routine. Make it a habit.
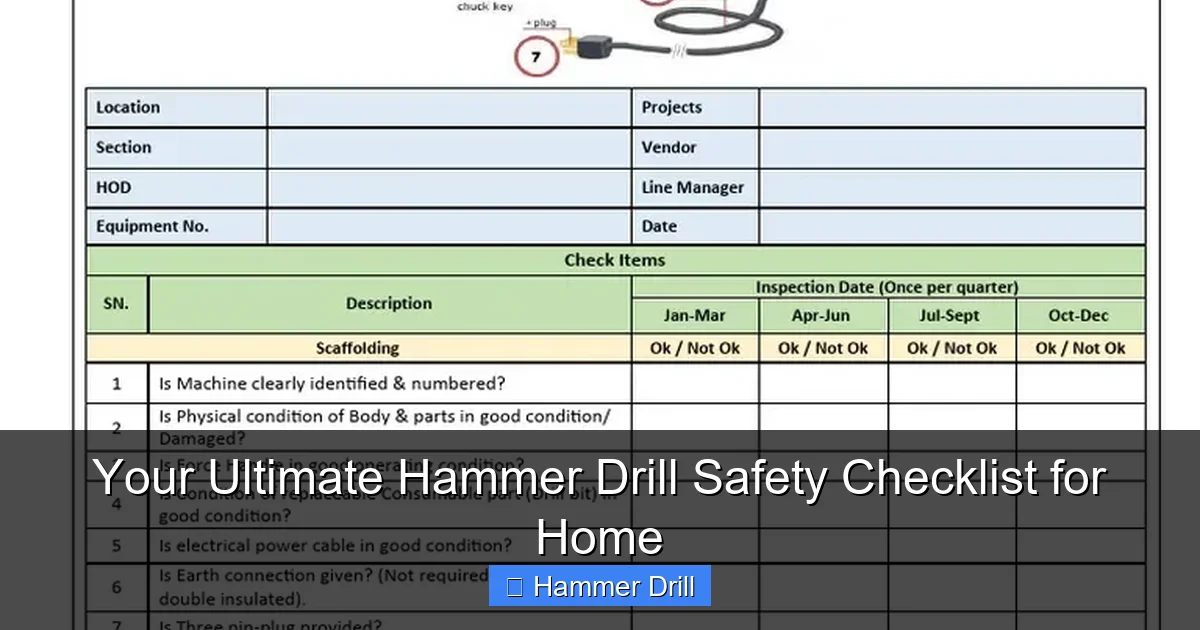
Visual guide about Your Ultimate Hammer Drill Safety Checklist for Home
Image source: imgv2-1-f.scribdassets.com
Step 1: Personal Protective Equipment (PPE)
Your safety gear is your first line of defense. Never skip it.
- Safety glasses with side shields: Regular glasses won’t cut it. Flying chips can shatter standard lenses. Look for ANSI Z87.1 rated glasses.
- Hearing protection: Hammer drills can exceed 100 decibels. Use earplugs or earmuffs. For heavy use, double up with both.
- Dust mask or respirator: For concrete and brick, use at least an N95 mask. For all-day work, upgrade to a half-face respirator with P100 filters.
- Work gloves: Choose snug-fitting gloves that won’t get caught. Leather or synthetic palm gloves work best.
- Close-fitting clothing: Roll up sleeves. Remove jewelry. Tie back long hair. Loose clothes can snag in the chuck.
- Steel-toed boots: If you’re working overhead or dropping tools, protect your feet.
Step 2: Tool Inspection
Your hammer drill needs a quick physical exam every time you use it.
- Cord inspection: Check for cuts, frays, or exposed wires. For cordless models, inspect the battery for cracks or swelling.
- Chuck check: Make sure the chuck is tight. Wiggle it by hand. A loose chuck can throw bits during use.
- Trigger test: Pull the trigger. It should move smoothly and snap back when released. Listen for unusual sounds.
- Mode selector: Ensure the hammer drill setting engages properly. Test it on a scrap piece if possible.
- Handle security: Tighten any loose screws on the main handle or side handle.
- Ventilation slots: Keep these clear of dust. Clogged vents can cause overheating.
Step 3: Work Area Preparation
Your workspace should be a safety zone, not a hazard zone.
- Clear the area: Remove tripping hazards like cords, tools, or debris. Keep a three-foot radius clean around your work spot.
- Good lighting: Use bright, shadow-free lighting. A headlamp helps when working overhead.
- Stable footing: Stand on a solid, dry surface. Never use a hammer drill on a ladder unless absolutely necessary. If you must work at height, check our ladder and scaffold safety guide first.
- Secure your workpiece: Clamp it down. A moving workpiece is a major cause of accidents. Use C-clamps or a vise.
- Check for hidden hazards: Use a stud finder to locate electrical wires and plumbing behind walls. Drilling into a live wire is extremely dangerous.
- Ventilation: Open windows or use a fan to blow dust away from your breathing zone.
- Fire safety: Keep a fire extinguisher nearby when working indoors. Have a first-aid kit within arm’s reach.
Step 4: Bit Selection and Installation
Using the wrong bit is a common and dangerous mistake.
- Choose the right bit: Masonry bits for concrete and brick. Wood bits for timber. Metal bits for steel. Using a wood bit in concrete will shatter it.
- Check bit condition: Look for worn carbide tips or cracks. A damaged bit can snap under pressure.
- Install properly: Unplug the drill first. Open the chuck, insert the bit deep enough to engage fully, then tighten securely. Some chucks need a quarter-turn past hand-tight.
- Use depth stops: For precision work, set the depth gauge. This prevents drilling too deep and hitting pipes or wires.
During Operation Safety Steps
Now it’s time to drill. This is where most accidents happen. Stay focused.
Visual guide about Your Ultimate Hammer Drill Safety Checklist for Home
Image source: imgv2-2-f.scribdassets.com
Step 5: Proper Grip and Stance
Your body position makes or breaks your control.
- Two-handed operation: Always use the side handle. One hand on the main handle, one on the side grip. This gives you maximum control against torque.
- Stance: Stand with feet shoulder-width apart. Slightly bend your knees. This gives you balance and absorbs vibration.
- Body position: Keep your body to the side of the drill, not directly behind it. If the bit breaks, it flies forward, not into your face.
- Grip pressure: Hold firmly but don’t white-knuckle it. Let the tool do the work. Excessive force causes fatigue and increases kickback risk.
- Arm position: Keep elbows close to your body. This provides better leverage and control.
Step 6: Starting the Drill Correctly
How you start determines how you’ll finish.
- Mark your spot: Use a center punch or nail to create a small indentation. This prevents the bit from wandering.
- Start slow: Pull the trigger gently at first. Let the bit find its groove before applying full power.
- Apply steady pressure: Push straight into the material. Don’t angle the drill. Sideways force can break the bit.
- Listen to the tool: If it sounds labored or makes grinding noises, stop immediately. Something’s wrong.
- Take breaks: After 30 seconds of continuous drilling, pull out to clear dust. This prevents overheating and bit binding.
Step 7: Managing Dust and Debris
Dust is more than messy—it’s a health hazard.
- Blow dust away: Use a bulb blower or compressed air to clear the hole periodically. Never blow with your mouth—dust goes into your lungs.
- Vacuum system: Consider a shop vac with a dust collection attachment. This captures dust at the source.
- Wet method: For concrete, lightly mist the area with water to suppress dust. Don’t soak it.
- Clean as you go: Don’t let dust accumulate on the floor. It becomes a slip hazard.
Step 8: Handling Kickback and Bit Binding
These sudden events cause most injuries.
- Recognize the signs: The drill will suddenly twist in your hands. The bit stops advancing but the motor keeps running.
- Keep a firm grip: Anticipate kickback and brace yourself. Don’t fight it—let the clutch slip or release the trigger.
- Release the trigger: If the bit binds, let go of the trigger first. Then remove the drill from the hole.
- Clear the hole: Remove the bit and clear debris before trying again.
- Reassess: Check if you’re using the right bit and if the material is too hard for your drill.
Post-Operation Safety
Your job isn’t done when the hole is made. Finish strong.
Step 9: Tool Shutdown and Cool-Down
Proper shutdown extends tool life and prevents accidents.
- Release the trigger: Let the motor come to a complete stop before setting the drill down.
- Unplug or remove battery: Before any adjustments or bit changes, disconnect the power source.
- Clean the tool: Wipe off dust with a dry cloth. Use compressed air to clear vents and the chuck area.
- Inspect for damage: Look for new cracks or issues that appeared during use.
- Store properly: Keep the drill in its case, away from moisture and children.
Step 10: Work Area Cleanup
Leaving a mess creates hazards for later.
- Collect dust: Use a vacuum designed for fine dust. Don’t use your regular household vacuum.
- Dispose of debris: Put masonry dust in a sealed bag. Don’t sweep it into the air.
- Check for hot spots: The drill bit and hole area can be very hot. Let them cool before touching.
- Return tools: Put everything back in its place. A tidy workshop is a safe workshop.
- Wash up: Clean your hands and face thoroughly. Change clothes if you worked with concrete—silica dust sticks to fabric.
Common Safety Mistakes to Avoid
Learning from others’ errors keeps you safe.
Mistake #1: Skipping PPE
Many DIYers think “it won’t happen to me.” Then a tiny chip flies into an unprotected eye. Safety glasses are cheap. Eyesight isn’t.
Mistake #2: Using the Wrong Bit
Confusing a regular drill with a hammer drill vs regular drill leads to wrong bit choices. Using a wood bit in concrete guarantees breakage. Always match the bit to the material and tool.
Mistake #3: Working on a Ladder
The vibration and torque make ladder work extremely risky. If you must drill overhead, use a stable platform or scaffolding. Better yet, work from the ground with an extension handle if possible.
Mistake #4: Ignoring the Manual
Every hammer drill is different. The manual tells you specific safety features like clutch settings and maximum capacities. Read it once, then keep it handy.
Mistake #5: Rushing the Job
Fatigue causes accidents. Take breaks. Stay hydrated. If you’re tired, stop. A 10-minute break is better than a trip to the ER.
Mistake #6: Forgetting to Check for Wires
This is the most dangerous mistake. Always scan walls with a reliable stud finder before drilling. Assume wires are present until proven otherwise.
Troubleshooting Safety Issues
When things go wrong, know how to respond safely.
Problem: Drill Won’t Hammer
Safety first: Unplug immediately. Check the mode selector. Some drills have a separate switch for hammer action. Consult your manual. Don’t force it.
Problem: Excessive Vibration
This can cause loss of control. Stop drilling. Check if the bit is bent or damaged. Ensure the chuck is tight. A wobbling bit is dangerous and won’t drill straight.
Problem: Bit Keeps Slipping in Chuck
Turn off and unplug. Clean the chuck and bit shank. Reinsert the bit, making sure it seats fully. Tighten the chuck properly. Some chucks need a tool for final tightening.
Problem: Overheating
Stop using the drill. Let it cool for 15 minutes. Check ventilation slots for blockage. You might be applying too much pressure. Let the tool’s weight do most of the work.
Problem: Sparks or Burning Smell
Unplug immediately. This indicates a serious electrical problem. Don’t use the tool until a qualified technician inspects it.
Problem: Clutch Slipping Too Easily
Adjust the clutch setting. Most hammer drills have numbered settings. Higher numbers mean more torque before slipping. Test on scrap material first.
Special Considerations for Different Materials
Each material has unique safety needs.
Concrete and Masonry
These are the toughest on bits and create the most dust. Use sharp masonry bits. Apply steady, moderate pressure. Don’t force it. The hammer action does the work. Wear your respirator—silica dust is no joke.
Brick and Block
Softer than concrete but can be unpredictable. Bits can grab on mortar joints. Start slowly. Keep a firm grip. Use a dust mask at minimum.
Tile
Tile cracks easily. Use a special tile bit or diamond-tipped bit. Start with low speed and light pressure. Consider scoring the tile first with a glass cutter. Wear eye protection—shattered tile shards are sharp.
Metal
Switch to drill-only mode. Use metal drill bits and cutting fluid if needed. Secure the metal tightly. It can spin violently if caught. Wear heavy gloves.
Wood
Also use drill-only mode. Use sharp wood bits. Clamp the workpiece. Watch for knots—they can grab the bit and cause kickback.
Conclusion
Using a hammer drill safely isn’t complicated, but it does require discipline. This checklist gives you a complete system to protect yourself from start to finish. The key is consistency. Do these steps every single time, no exceptions.
Remember: Your safety gear is your armor. Your preparation is your shield. Your focus is your best defense. Keep this guide bookmarked. Refer to it before big projects. Share it with family members who use your tools.
With these safety habits, you’ll complete projects confidently and go home injury-free every time. Now get out there and drill safely!
Final Safety Reminder
When in doubt, stop and reassess. No project is worth your safety. If something feels wrong, it probably is. Take the extra time to do it right. Your future self will thank you.
