
Want to drill into concrete and brick like a professional? This guide reveals 10 proven hammer drill skill improvement tips that transform DIY results. You’ll learn proper technique, bit selection, and safety secrets that save time and frustration on every project.
Key Takeaways
- Know your tool modes: Hammer drill, drill-only, and hammer-only modes serve different purposes. Use the right one for each material.
- Choose quality masonry bits: Carbide-tipped bits are essential for concrete and brick. Match bit size to your project needs.
- Perfect your stance: Use both hands, stand balanced, and let the tool do the work. Never force it.
- Practice on scrap first: Test settings and technique on similar materials before starting your main project.
- Use depth stops: This simple feature prevents drilling too deep and ruining your work.
- Maintain bits regularly: Clean bits after use and replace them when tips become dull or rounded.
- Prioritize safety: Always wear eye protection, dust masks, and secure your workpiece before drilling.
Introduction: Why Hammer Drill Skills Matter for DIY Success
Nothing kills a DIY project faster than a drill that won’t bite into concrete or brick. You press the trigger, the bit spins, but nothing happens. Or worse, you drill a hole that’s too big, too deep, or in the wrong spot. These frustrations are completely avoidable.
This guide gives you ten practical hammer drill skill improvement tips that deliver real results. You’ll learn how to choose the right bits, master your technique, and avoid common mistakes. Whether you’re hanging shelves, installing anchors, or tackling a major renovation, these skills make you faster, safer, and more confident.
We focus on what actually works, not theory. These are the same techniques professional contractors use daily. By the end, you’ll know exactly how to handle any drilling challenge that comes your way.
Tip 1: Understand Your Hammer Drill Inside and Out
Before you pull the trigger, know what you’re holding. A hammer drill is not a regular drill. It combines rotation with a rapid hammering action. This dual motion breaks up hard materials while the flutes remove dust.
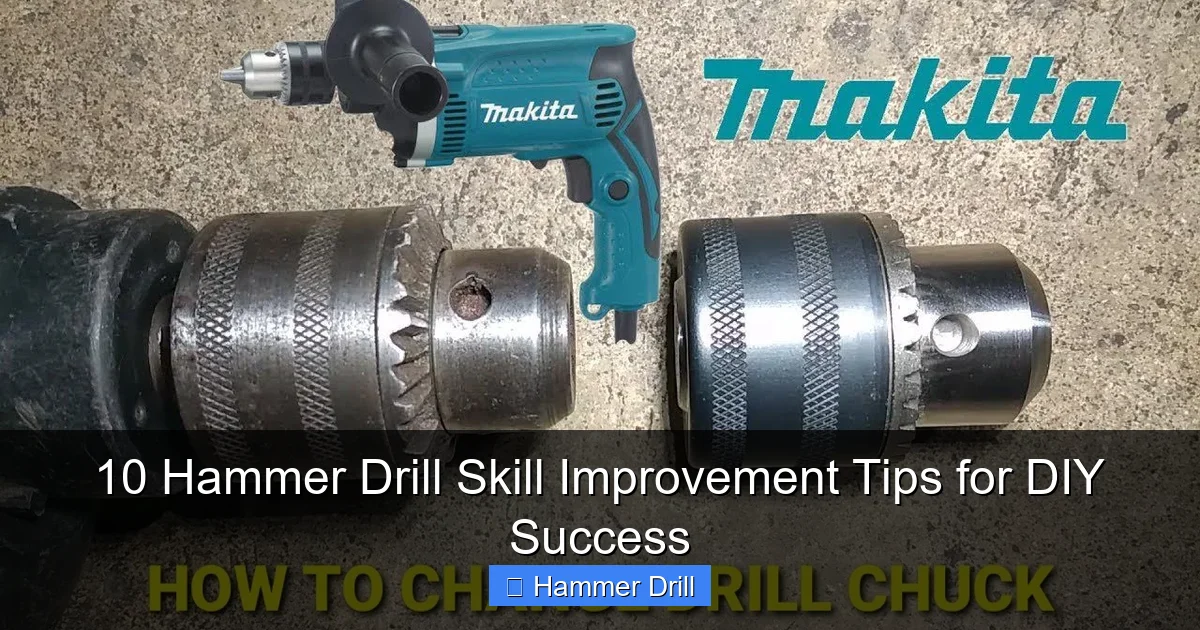
Visual guide about 10 Hammer Drill Skill Improvement Tips for DIY Success
Image source: vsanalysis.com
Know Your Three Operating Modes
Most hammer drills have three settings. The drill-only mode works for wood and metal. The hammer-drill mode is for concrete and brick. The hammer-only mode drives chisels without rotation. Using the wrong mode damages your material and your tool. Understanding the difference between a drill and a hammer drill helps you select the right mode every time.
Check Your Chuck Type
Keyless chucks tighten by hand. They accept standard drill bits. Keyed chucks need a chuck key but grip bits more securely. For hammer drilling, a keyed chuck prevents bits from slipping during the hammering action. Check your chuck is tight before each use.
Understand Power Sources
Corded hammer drills deliver constant power for long jobs. Cordless models offer mobility but need charged batteries. For serious masonry work, choose at least 8 amps for corded or 18V for cordless. The best cordless drill options give you freedom without sacrificing power.
Tip 2: Select the Right Drill Bits Every Single Time
The wrong bit turns your hammer drill into a useless paperweight. Masonry bits are designed specifically for concrete, brick, and stone. They have carbide tips that resist heat and impact.
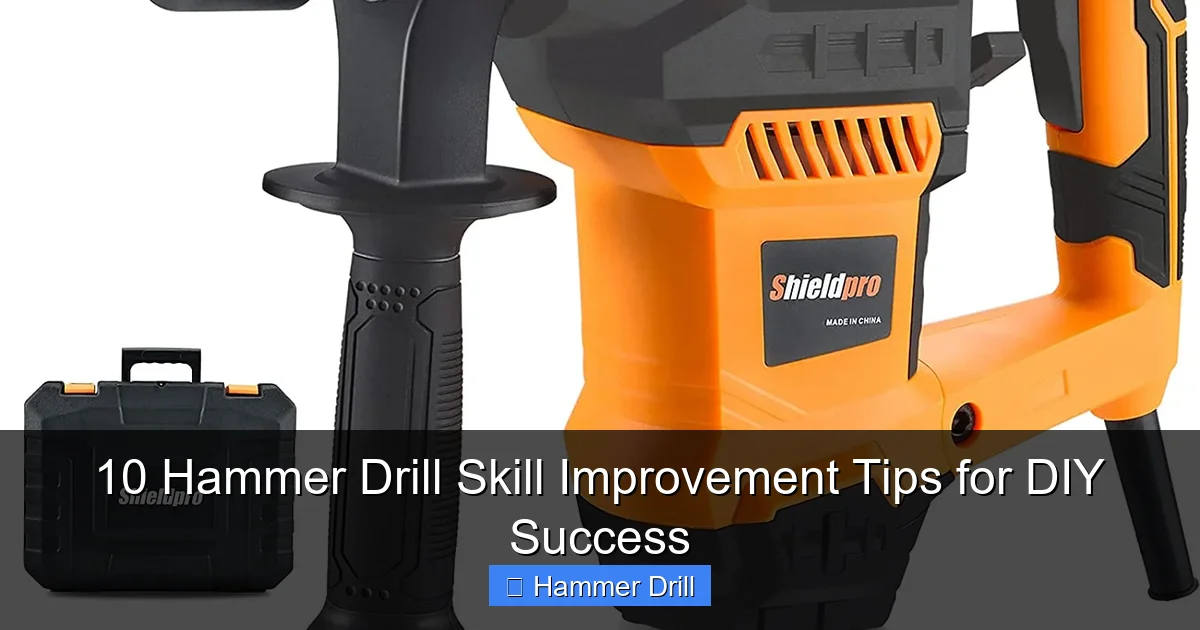
Visual guide about 10 Hammer Drill Skill Improvement Tips for DIY Success
Image source: toolsmechanism.com
Choose Carbide-Tipped Masonry Bits
Look for solid carbide tips, not just carbide dust. The tip should be sharp and flat, not rounded. Cheap bits have inferior carbide that shatters under pressure. Spend a few extra dollars for quality bits. They last ten times longer and drill faster.
Match Bit Size to Your Task
Small bits (3-6mm) work for light fixtures and small anchors. Medium bits (7-10mm) handle most shelving and curtain rods. Large bits (12mm+) are for heavy-duty anchors and pipes. Always check your anchor or screw size before buying bits.
Inspect Bits Before Use
Check the tip for sharpness. A dull tip just spins and creates heat. Look for cracks in the flutes. Bent bits cause crooked holes. If the tip is rounded or chipped, replace it. A fresh bit makes all the difference in speed and accuracy.
Tip 3: Master Your Grip and Body Position
Proper technique reduces fatigue and increases control. Many DIYers use one hand and wonder why they can’t drill straight. A hammer drill needs two hands and a solid stance.
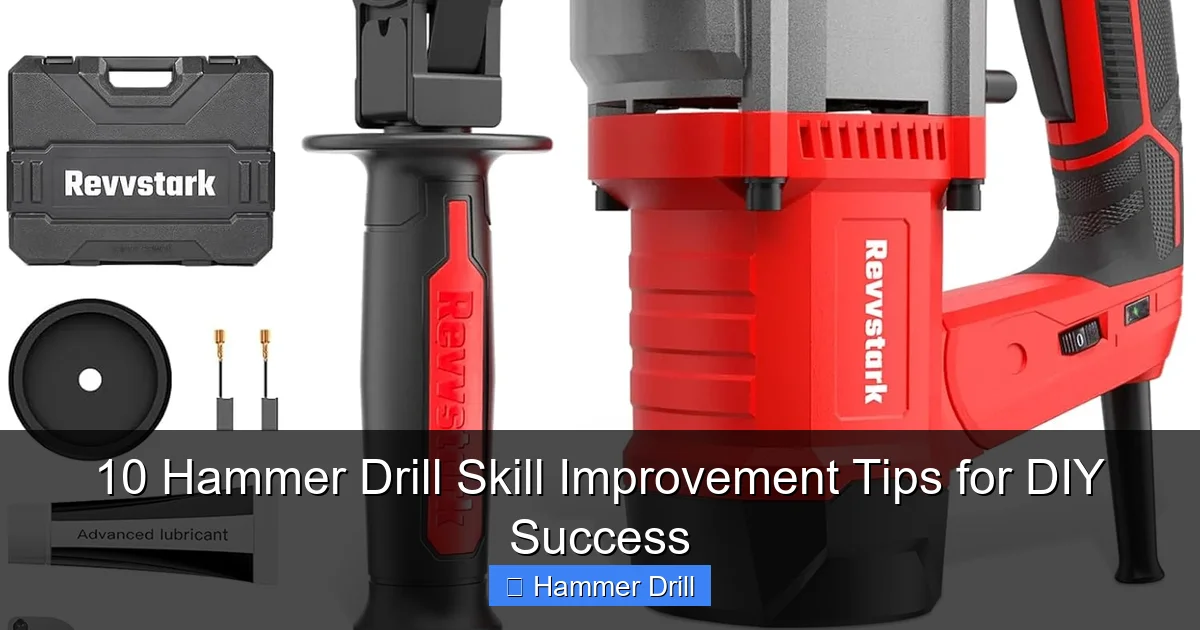
Visual guide about 10 Hammer Drill Skill Improvement Tips for DIY Success
Image source: m.media-amazon.com
Use the Two-Handed Technique
Your dominant hand holds the main handle and triggers the drill. Your other hand grips the auxiliary handle on the front. This handle is essential for controlling the hammering action. Hold it firmly but don’t squeeze too tight. A death grip causes hand fatigue.
Stand Balanced and Stable
Place your feet shoulder-width apart. Keep your knees slightly bent. Stand perpendicular to your drilling surface. This stance absorbs the hammer drill’s vibration and gives you maximum control. Never reach awkwardly. Move your whole body instead of just your arms.
Position Your Arms Correctly
Keep your arms close to your body. This gives you better leverage and reduces vibration transfer to your shoulders. Extend the drill straight to the surface. Let the weight of your arms provide some pressure, but don’t lean into it heavily.
Tip 4: Apply the Perfect Amount of Pressure
Too much pressure overheats the bit. Too little pressure does nothing. The sweet spot is letting the hammer drill do the work while you guide it steadily.
Start with Light Pressure
Begin drilling with gentle pressure. This seats the bit and creates a small pilot mark. The mark prevents the bit from walking or slipping. Once you have a groove, increase pressure gradually.
Listen to Your Drill
A healthy hammer drill sounds like a rapid knocking noise mixed with rotation. If you hear only spinning, you’re pressing too hard or the bit is dull. If the motor strains, you’re using too much pressure. Adjust until you hear that characteristic hammering rhythm.
Maintain Steady, Even Force
Apply constant pressure throughout the hole. Don’t push erratically. A steady motion creates cleaner holes and prevents bit binding. For deep holes, pull the bit out every few seconds to clear dust. This prevents overheating and keeps the hole clean.
Tip 5: Practice on Scrap Materials First
Never practice on your final project. Grab a piece of scrap brick, concrete block, or even a sidewalk paver. Practice makes permanent, so practice correctly.
Test Different Settings
Try your hammer drill on various materials. Notice how it performs on brick versus concrete. Feel the difference between light pressure and heavy pressure. Practice starting holes without the bit walking. This builds muscle memory.
Work on Angles and Depth
Practice drilling straight holes. Then try angled holes. Set your depth stop and practice stopping at the exact depth. This skill is crucial for installing anchors that sit flush with the wall.
Time Your Drilling
Good hammer drill technique should drill a 1/4-inch hole in concrete in 10-15 seconds. If it takes longer, your bit is dull or your technique is off. Practice until you can consistently drill fast, clean holes.
Tip 6: Learn to Read Surfaces Before You Drill
Not all concrete and brick are the same. A little observation prevents big mistakes. Spending 30 seconds to examine your surface saves hours of fixing problems.
Identify Material Type
Concrete is hard and gray. Brick is reddish and porous. Block is hollow and lighter. Each material needs a slightly different approach. Soft brick requires less pressure than hard concrete. Reinforced concrete needs rebar detection.
Find Hidden Hazards
Always check for electrical wires and plumbing. Use a stud finder with AC detection or a dedicated wire scanner. Drilling into a live wire is dangerous and costly. Mark stud locations and avoid them for better holding power.
Look for Cracks and Weak Spots
Drilling near a crack can cause spalling or breakouts. Avoid edges. Start at least 2 inches from any corner or edge. Check for previous drill holes. Drilling too close to an old hole can cause the material to chip out.
Tip 7: Use Depth Stops and Guides
Drilling too deep ruins anchors. Drilling too shallow means your screw won’t fit. A depth stop is the simplest solution to this problem.
Set Your Depth Stop Correctly
Measure your anchor length. Add 1/4 inch to this measurement. Set the depth stop collar on your drill to this mark. The collar hits the chuck and stops drilling at the perfect depth. Double-check the setting before you start.
Use a Piece of Tape as Backup
Wrap a piece of masking tape around the bit at your desired depth. This visual cue helps you see when you’re getting close. It’s not as precise as a depth stop, but it works in a pinch.
Consider a Right Angle Guide
For perfectly perpendicular holes, use a right angle guide attachment. This tool attaches to your drill and ensures 90-degree accuracy. It’s invaluable for shelving brackets and precise installations.
Tip 8: Maintain Your Drill Bits for Longer Life
Dull bits make work slow and dangerous. Proper maintenance keeps them sharp and ready. A little care extends bit life dramatically.
Clean Bits After Every Use
Brush off dust from the flutes and tip. Use a wire brush for stubborn debris. Wipe the shank clean before storing. This prevents buildup that can affect chuck grip.
Know When to Replace
Inspect the carbide tip. If it’s rounded instead of flat, replace it. If you see cracks or chips, discard the bit immediately. A broken tip can fly out and cause injury. When in doubt, throw it out.
Store Bits Properly
Keep bits in a case or organizer. Don’t throw them in a toolbox where they bang together. This chips the carbide tips. Store them dry to prevent rust. Rust weakens the steel shaft.
Tip 9: Troubleshoot Common Problems
Even with perfect technique, issues happen. Knowing how to fix them quickly keeps your project moving.
Bit Won’t Bite Into Concrete
First, check your mode. You need hammer-drill mode, not drill-only. Second, check the bit tip. A rounded tip won’t cut. Third, clean the bit flutes. Clogged flutes can’t remove dust, so the bit just spins in its own hole.
Drill Overheats Quickly
Overheating means too much pressure or a dull bit. Let the tool rest for a minute. Check that you’re using the right bit for masonry. Ensure you’re clearing dust from deep holes. If it continues, the motor may be failing.
Hole Is Crooked or Wavy
This is almost always a technique problem. Use both hands. Start with a pilot mark. Keep the drill perpendicular to the surface. Don’t try to correct the angle mid-hole. Pull out and start again with better alignment.
Bit Gets Stuck
Don’t force it. Reverse the drill slowly while pulling out. If that fails, wiggle the bit gently side to side. For really stuck bits, use pliers on the chuck while the drill is off. Prevent this by clearing dust often and using steady pressure.
Tip 10: Safety First, Always
Hammer drilling creates dust, noise, and flying debris. Protecting yourself is non-negotiable. A few minutes of prep prevents serious injuries.
Wear Essential PPE
Eye protection is mandatory. Concrete chips can blind you. Use safety glasses with side shields or goggles. Wear a dust mask rated N95 or higher. Concrete dust is silica and causes lung disease. Hearing protection reduces noise damage. Heavy gloves protect your hands from vibration and sharp edges.
Secure Your Workpiece
Never hold a small piece in your hand while drilling. Clamp it down. This prevents slipping and keeps both hands on the drill. A secured workpiece is a safe workpiece.
Prepare Your Workspace
Cover electrical outlets with tape to prevent dust entry. Keep cords away from the drilling area. Ensure good lighting so you can see your mark clearly. Have a vacuum ready to clean up dust immediately after drilling. A clean workspace is a safe workspace.
Conclusion: Put Your Skills to Work
You now have ten hammer drill skill improvement tips that transform your DIY results. Start with understanding your tool, then master bit selection, technique, and safety. Practice on scrap materials until your movements feel natural.
Remember that using a drill for screws into a wall requires different skills than drilling pilot holes. Apply these tips consistently, and you’ll drill faster, cleaner, and safer than ever before.
Your next project will go smoother because you took the time to build these skills. Grab your hammer drill, pick a practice surface, and start drilling. The more you use these techniques, the more confident you’ll become. Soon, you’ll be the go-to person for any drilling challenge.
