
Proper hammer drill storage is critical for safety, tool longevity, and peak performance. This guide provides step-by-step instructions to clean, prepare, and store your drill in a secure, organized manner. You’ll learn how to handle batteries, protect accessories, and create a storage system that keeps your tool ready for any project while preventing accidents and damage.
Key Takeaways
- Clean Before You Store: Removing dust, debris, and moisture is the most critical first step to prevent internal damage and corrosion.
- Battery Care is Non-Negotiable: Store lithium-ion batteries at a partial charge in a cool, dry place, separate from the tool, to maximize their lifespan.
- Choose the Right Location: Store your hammer drill in a dry, secure, and temperature-stable environment away from children, moisture, and heavy items that could fall on it.
- Secure Accessories Together: Use cases, wall panels, or labeled bins to store drill bits, chucks, and depth rods with the main tool to prevent loss and damage.
- Perform a Safety Check Before Use: Always inspect the power cord, chuck, and housing for damage after storage to ensure safe operation.
- Organize for Efficiency: A dedicated, organized storage spot saves time, reduces frustration, and protects your investment by preventing misplacement and mishandling.
Smart Hammer Drill Storage Tips for Tool Safety
You’ve invested in a powerful tool—your hammer drill. It helps you build, repair, and create. But what happens after the job is done? Tossing it in a dusty corner of the garage is a recipe for disaster. Poor storage leads to broken tools, dead batteries, lost bits, and serious safety hazards.
This guide will walk you through everything you need to know. We’ll cover how to clean your drill, prep it for storage, choose the perfect spot, and organize all its parts. These smart hammer drill storage tips will extend your tool’s life. They will keep you safe and make your next project start smoothly. Let’s get your drill stored right.
Why Proper Hammer Drill Storage Matters
Think of storage as preventive medicine for your tools. A hammer drill is a complex piece of machinery with electrical components, a powerful motor, and precise mechanics. Storing it correctly does three vital things:
Visual guide about Smart Hammer Drill Storage Tips for Tool Safety
Image source: m.media-amazon.com
- Ensures Safety: A poorly stored drill can become a tripping hazard. A damaged cord can cause a shock. A battery left on a concrete floor can short-circuit. Good storage prevents these risks.
- Extends Tool Life: Moisture causes rust. Dust clogs vents and gears. Extreme heat or cold damages batteries and plastics. Proper storage shields your investment from these enemies.
- Maintains Performance: A well-kept drill delivers full power and precision when you need it. You won’t face a dead battery or a jammed chuck because you took five minutes to store it right.
Whether you have a heavy-duty corded model or a convenient best cordless drill, the storage principles are similar, with extra care needed for batteries.
Step 1: The Essential Post-Use Cleaning
Never store a dirty tool. This is the golden rule. Concrete dust, wood shavings, and metal filings are abrasive and can hold moisture.
Visual guide about Smart Hammer Drill Storage Tips for Tool Safety
Image source: m.media-amazon.com
Gather Your Cleaning Supplies
You don’t need anything fancy. Get a soft cloth, a small brush (an old paintbrush works), compressed air (optional but great), and a mild cleaner if needed.
Cleaning the Exterior and Vents
Unplug the drill or remove the battery first. Wipe the entire body with a dry cloth. Use the brush to dislodge debris from the cooling vents, chuck, and handle. For stubborn grime, slightly dampen the cloth—never spray cleaner directly on the tool.
Cleaning the Chuck and Bit
Open the chuck and use the brush to clean inside. Remove any lodged debris. If you were using masonry bits, blow out the fine dust. A clean chuck grips better and lasts longer.
Inspecting the Power Cord (for Corded Drills)
While cleaning, run your hand along the cord. Look for any cuts, fraying, or damage to the plug. A damaged cord is a major shock hazard and must be replaced before the next use. This simple check is a cornerstone of essential safety tips for any workshop task.
Step 2: Preparing Your Drill for Storage
Once clean, a few quick preparations lock in that protection.
Visual guide about Smart Hammer Drill Storage Tips for Tool Safety
Image source: storables.com
Detach the Battery
For cordless drills, always remove the battery pack. This prevents any slow power drain from the tool’s electronics. It also lets you store the battery under ideal conditions. It’s a key difference in caring for a hammer drill vs. a regular drill—the battery is a high-value component.
Retract the Cord Properly
Don’t wrap the cord tightly around the drill. This strains the wires inside and can damage the connection point at the handle. Loosely coil the cord and use a Velcro strap or twist-tie to secure it.
Engage the Safety Lock
Most drills have a trigger lock or safety switch. Engage it! This prevents the trigger from being accidentally pressed during storage, which could cause injury or damage if the battery is inserted.
Step 3: Choosing and Setting Up the Ideal Storage Location
Where you store your drill is as important as how you clean it.
The Perfect Environment: Dry, Secure, and Stable
- Dry: Avoid damp basements or sheds prone to condensation. Moisture is the #1 cause of rust and electrical failure.
- Temperature Stable: Avoid attics or uninsulated sheds that swing from freezing to scorching. Extreme heat can warp plastic and kill batteries. Extreme cold can make plastics brittle.
- Secure: Choose a place away from heavy foot traffic where the tool won’t be knocked over. Keep it out of reach of children.
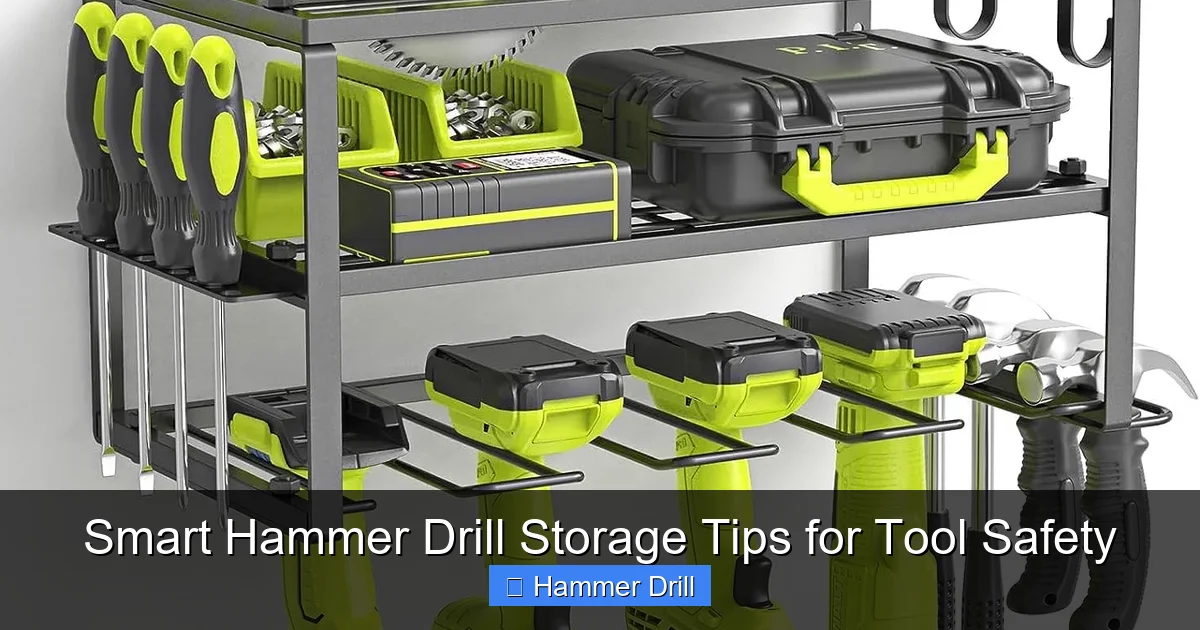
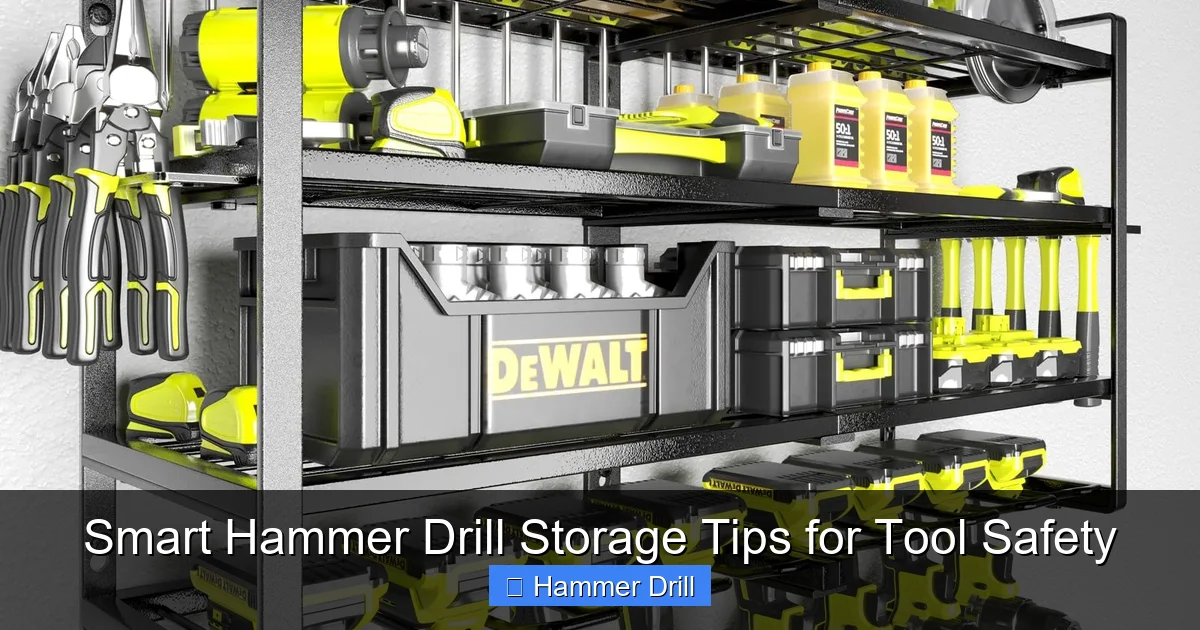
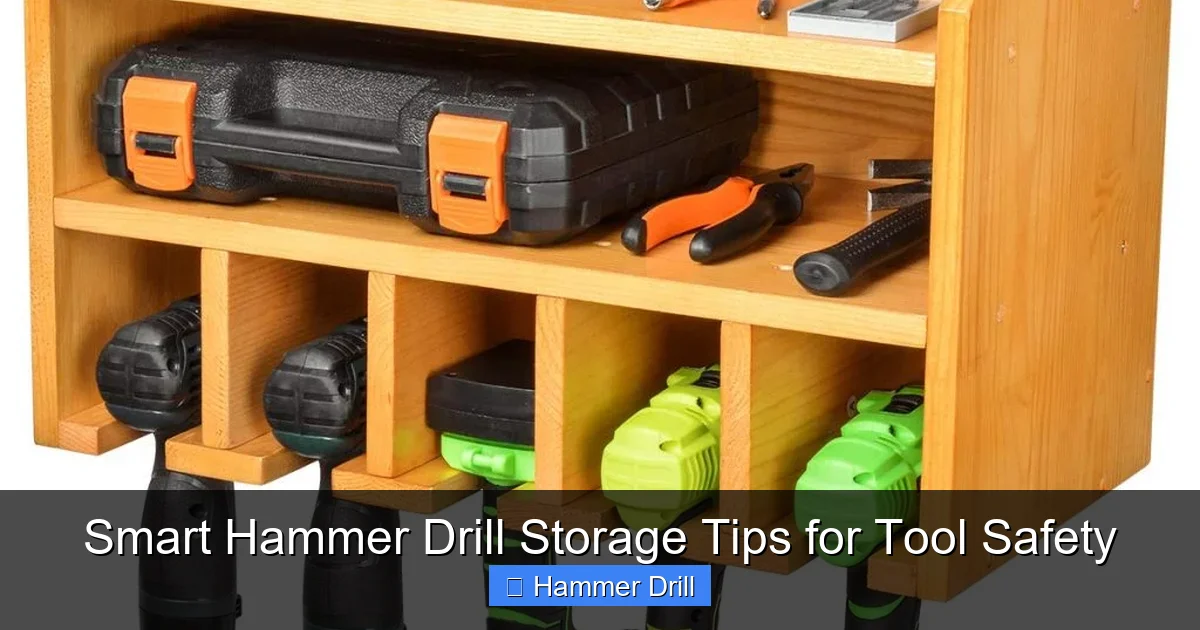
Storage Solutions: From Shelves to Cases
Here are the most common and effective options:
- Original Case: The best option if you have it. It’s custom-fitted and often has compartments for bits and accessories.
- Tool Bag or Bucket Organizer: Great for portability and keeping everything together.
- Wall-Mounted Panel (Pegboard/Slatwall): Excellent for visibility and accessibility. Use specially designed hooks that support the drill’s weight.
- Dedicated Shelf in a Cabinet: Protects from dust and physical impact. Ensure the shelf is strong and stable.
Pro Tip: Wherever you store your drill, make sure it’s not in a position where heavier tools or objects could fall on it. This is similar to the principle behind securing ladders for storage—preventing accidents from falling objects.
Step 4: Special Care for Batteries and Chargers
This step is crucial for cordless hammer drills. Lithium-ion batteries are amazing but require specific care.
Optimal Battery Storage Charge
Do not store batteries fully charged (100%) or completely dead (0%). The ideal storage charge is between 40% and 60%. Most modern chargers and tools have indicator lights to help you gauge this.
Finding the Right Spot for Batteries
Store batteries in a dry place at room temperature. Never leave them on a concrete floor, as it can draw moisture and potentially cause a short. A shelf in your climate-controlled workshop or garage is perfect.
Storing the Charger
Keep the charger in a dry, clean place. Gently coil its cord to prevent damage. Avoid leaving it plugged in constantly when not in use.
Step 5: Organizing Drill Bits and Accessories
A lost drill bit or a missing depth stop makes your tool less useful. Organized accessories are part of smart storage.
Use a Dedicated Bit Case or Index
Don’t throw loose bits in a drawer. Use a bit case, a magnetic bit holder, or a labeled drill index. This protects the sharp cutting edges and lets you find the right size instantly.
Store Accessories with the Main Tool
Keep side handles, depth rods, and auxiliary grips in the same case or on the same shelf as the drill. If using a wall panel, mount them nearby.
Label Everything
A simple label on a bin or shelf face saves time. “Hammer Drill & Masonry Bits” is clear and effective.
Step 6: Long-Term Storage Considerations
If you’re storing the drill for a season or longer, take these extra steps:
- Give it a Final Check: Ensure it’s perfectly clean and dry.
- Battery Check-Up: For long-term storage, check the battery charge every 3-6 months. Top it up to that 40-60% range if needed.
- Use a Silica Gel Packet: Tossing a desiccant pack into the tool case or storage bin helps absorb any residual moisture.
Troubleshooting Common Storage Problems
Even with good habits, issues can pop up. Here’s how to fix them.
Problem: Rust on the Chuck or Metal Parts
Solution: Light surface rust can often be removed with a brass brush and a little machine oil. Prevent it by ensuring the tool is 100% dry before storage and using a light coat of oil on bare metal parts for very long storage.
Problem: Battery Won’t Hold a Charge After Storage
Solution: This often happens if a battery was stored completely dead. Try a full charge/discharge cycle. If it still fails, the battery may be permanently damaged and need replacement.
Problem: Drill Seems Stiff or Grinds When Used After Storage
Solution: Dust and debris may have infiltrated the mechanism. Disassemble what you’re comfortable with (like the chuck) and clean thoroughly. If the problem persists in the motor, consult a professional.
Conclusion: Storage is an Investment in Your Tool
Smart hammer drill storage isn’t about hiding your tool away. It’s about preserving a powerful asset. The few minutes you spend cleaning, preparing, and organizing pay off massively. You get a safer workshop, a drill that works flawlessly for years, and the peace of mind that your tool is ready when you are.
Remember, these practices apply whether you’re using a specialty hammer drill for concrete or a standard drill for wood. Understanding the difference between an impact driver and a hammer drill can also help you store each according to its specific needs. Start implementing these tips today. Your hammer drill—and your future self—will thank you.
