
Key Takeaways
- Clean before storing: Remove dust and debris to prevent damage and maintain performance
- Store vertically: Wall-mounted solutions save floor space and prevent accidents
- Control humidity: Keep moisture levels below 50% to protect metal parts from rust
- Organize accessories: Use separate containers for bits, batteries, and attachments
- Check manufacturer guidelines: Follow specific storage recommendations for your model
- Use proper cases: Hard-shell cases provide the best protection for long-term storage
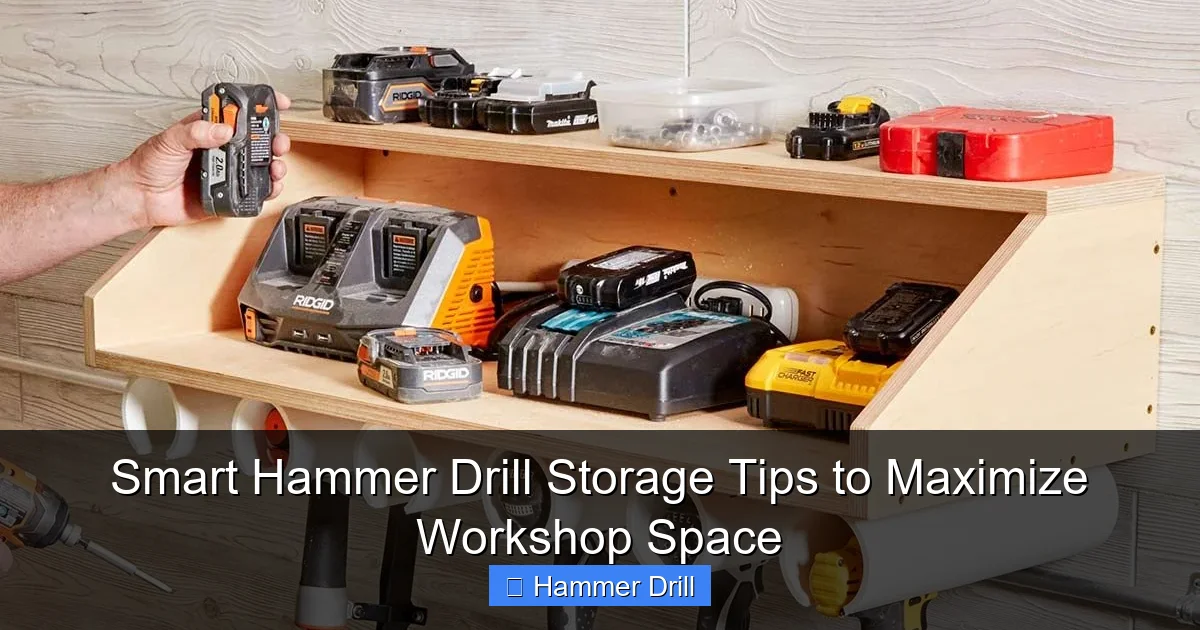
Smart Hammer Drill Storage Tips to Maximize Workshop Space
Your hammer drill is a powerful tool that deserves proper care and storage. Storing it correctly extends its life and keeps your workshop organized. This guide shows you exactly how to store your hammer drill safely while making the most of your limited space.
Whether you have a small garage or a full workshop, these practical tips will help you protect your investment. You’ll learn cleaning techniques, storage solutions, and organization methods that professionals use.
Why Proper Hammer Drill Storage Matters
Storing your hammer drill correctly prevents damage and saves time. A well-organized workshop means you can find tools quickly and start projects immediately. Poor storage leads to rust, lost accessories, and reduced tool performance.
Visual guide about Smart Hammer Drill Storage Tips to Maximize Workshop Space
Image source: i.pinimg.com
Consider this: most hammer drill problems start with improper storage. Dust buildup clogs vents. Moisture causes rust on metal parts. Loose bits damage the chuck. Taking time to store your tool properly avoids these issues and keeps your drill ready for action.
Understanding what makes a hammer drill different from a regular drill helps you appreciate why it needs special storage considerations. The hammering mechanism has more complex parts that require protection.
Step 1: Clean Your Hammer Drill Thoroughly
Never store a dirty hammer drill. Cleaning removes debris that can damage internal components. Start by unplugging or removing the battery. This is essential for safety.
Visual guide about Smart Hammer Drill Storage Tips to Maximize Workshop Space
Image source: m.media-amazon.com
Remove Surface Debris
Use a soft brush to remove dust from the housing. Pay special attention to vents and the chuck area. Compressed air works well for hard-to-reach spots. Hold the can upright and use short bursts to avoid moisture buildup.
Clean the Chuck
The chuck collects dust and grime that can affect gripping power. Open the chuck fully and clean its teeth with a wire brush. Wipe away metal shavings that could cause rust. Apply a light coat of oil to prevent corrosion during storage.
Wipe Down the Housing
Use a damp cloth with mild soap to clean the exterior. Avoid getting water into electrical components. Dry thoroughly with a clean towel. For stubborn grease, use a degreaser designed for power tools.
Step 2: Perform Maintenance Before Storage
Maintenance prevents problems during storage. A well-maintained hammer drill stays ready for immediate use.

Visual guide about Smart Hammer Drill Storage Tips to Maximize Workshop Space
Image source: s-media-cache-ak0.pinimg.com
Check the Brushes
Inspect carbon brushes for wear. Worn brushes can damage the motor. Replace them if they’re shorter than 1/4 inch. This simple check prevents costly repairs later.
Lubricate Moving Parts
Apply a few drops of lightweight oil to the chuck threads. This prevents seizing and makes adjustments easier next time. Don’t over-lubricate, as excess oil attracts dust.
Test the Battery
For cordless models, check the battery charge. Store lithium-ion batteries at 40-50% charge. This prevents over-discharge and extends battery life. Remove batteries completely for long-term storage.
Step 3: Choose the Right Storage Location
Location is crucial for hammer drill storage. The wrong environment can ruin your tool quickly.
Avoid Moisture and Humidity
Store your hammer drill in a dry area with humidity below 50%. Basements and outdoor sheds often have too much moisture. Use a dehumidifier if necessary. Moisture causes rust on metal parts and electrical damage.
Control Temperature
Keep your workshop between 50-80°F. Extreme cold makes plastic brittle. Extreme heat can damage batteries and electronics. Avoid storing near windows where temperature changes are dramatic.
Keep Away from Chemicals
Store your hammer drill away from solvents, paints, and gasoline. Chemical fumes can damage plastic housing and rubber grips. They also create fire hazards in your workshop.
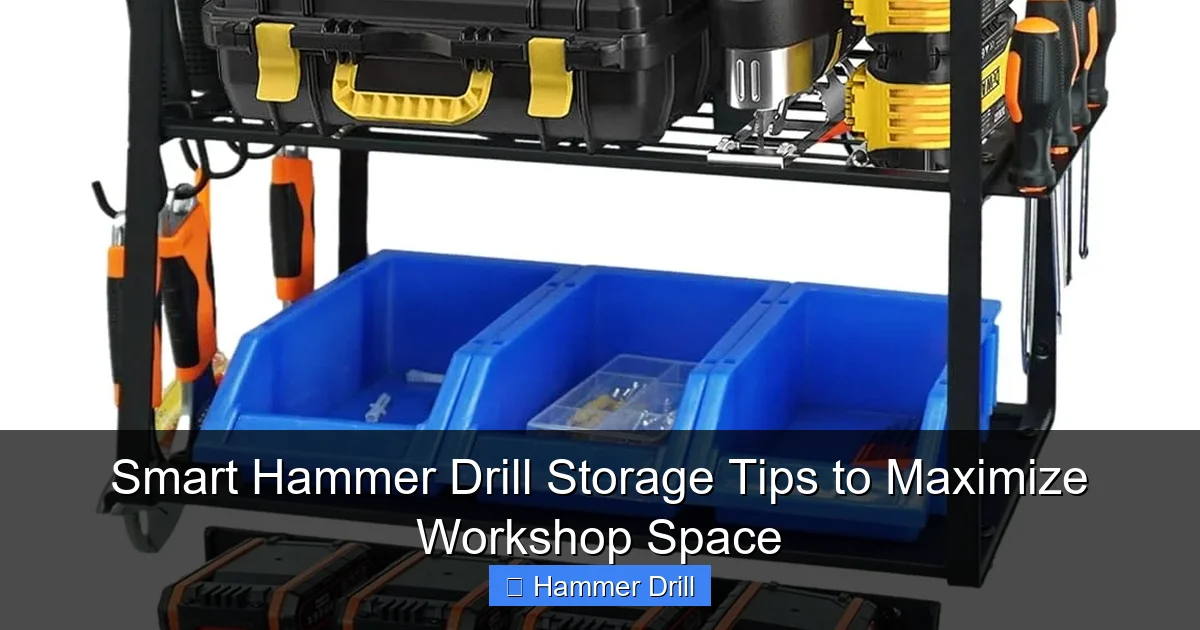
Step 4: Vertical Wall Storage Solutions
Vertical storage maximizes floor space and keeps tools accessible. Wall-mounted systems are ideal for busy workshops.
Use a Pegboard
Pegboards are affordable and customizable. Install a heavy-duty pegboard on a stud wall. Use hooks rated for at least 25 pounds. Hang your hammer drill by its handle or use a specialized tool hanger. This keeps it off the floor and easy to reach.
Install a French Cleat System
French cleats offer strong, flexible storage. Build a cleat from 1×3 lumber and attach it to wall studs. Create a holder for your hammer drill from plywood. The cleat system supports heavy tools and lets you rearrange storage as needed.
Mount a Tool Rack
Commercial tool racks work great for hammer drills. Look for racks with adjustable hooks. Mount them securely to wall studs. Position the rack where you need your drill most often. This could be near your workbench or project area.
Step 5: Drawer and Cabinet Organization
Cabinets protect tools from dust and damage. Proper organization makes finding accessories easy.
Use Drawer Dividers
Install dividers to separate bits, adapters, and small parts. Label each section clearly. This prevents accessories from rolling around and getting lost. Use small containers for screws and anchors.
Store in Original Cases
Original cases are designed for your specific model. They have custom foam inserts that protect every part. If you’ve lost the original case, buy a hard-shell replacement. Measure your drill and accessories before purchasing.
Create a Tool Caddy
Build a portable caddy for frequently used accessories. Include compartments for drill bits, screwdriver bits, and the chuck key. Store the caddy inside your cabinet or on a shelf above your workbench. This saves time during projects.
Step 6: Portable Tool Box Solutions
Portable storage is essential for job sites or shared workshops. Choose solutions that protect your tool during transport.
Select a Heavy-Duty Tool Box
Look for a box with reinforced corners and waterproof seals. The box should be slightly larger than your hammer drill. This prevents movement during transport. Stackable boxes save space when storing multiple tools.
Add Custom Foam Inserts
Custom foam protects your hammer drill from impacts. Use pick-and-pluck foam or have a custom insert made. This keeps the drill secure and prevents scratches. It also organizes accessories in separate cavities.
Use a Tool Belt for Transport
For quick jobs, a tool belt with a hammer drill holder works well. This keeps the drill accessible and off the ground. Choose a belt with padded loops that secure the drill firmly. This is perfect for ladder work or moving between rooms.
Step 7: Battery and Accessory Management
Proper battery storage extends life and prevents accidents. Accessory management saves time and frustration.
Store Batteries Correctly
Keep batteries in a cool, dry place. Use a battery case that prevents contact with metal objects. This avoids short circuits. Store them away from the drill itself to prevent drainage.
Organize Drill Bits
Drill bits are essential accessories that need protection. Use a bit organizer with labeled slots. Sort bits by size and type. Store masonry bits separately from wood bits to prevent damage to cutting edges.
Label Everything
Create a labeling system for all accessories. Use a label maker or waterproof tags. Include information like bit size, type, and purchase date. This makes inventory checks simple and ensures you always have the right bit for the job.
Step 8: Climate Control and Environmental Protection
Environmental factors can ruin power tools quickly. Protect your hammer drill from elements that cause deterioration.
Use Silica Gel Packs
Place silica gel packs in your storage case or cabinet. These absorb excess moisture and prevent rust. Replace them when they change color. Keep a few packs in your workshop for regular use.
Install Workshop Insulation
Insulate your workshop to control temperature and humidity. This protects all tools, not just your hammer drill. Use foam board insulation on walls and ceiling. Seal gaps around doors and windows to maintain stable conditions.
Create a Dust Collection System
Dust is the enemy of power tools. Install a dust collection system in your workshop. Use a shop vacuum connected to your workbench. Store your hammer drill away from dust-generating tools like sanders.
Step 9: Long-Term Storage Considerations
When storing your hammer drill for months or years, take extra precautions. Long-term storage requires more preparation than regular storage.
Apply Protective Coatings
Coat metal parts with a light layer of rust-preventive oil. This creates a barrier against moisture. Pay special attention to the chuck, gears, and any exposed metal. Reapply the coating every six months for extended storage.
Use Airtight Containers
Store your hammer drill in an airtight container with desiccant packs. Plastic bins with rubber seals work well. This creates a microclimate that prevents moisture buildup. Check the container monthly for condensation.
Schedule Regular Maintenance
Even in storage, tools need attention. Run your hammer drill for a few minutes every three months. This circulates lubricants and keeps internal parts from seizing. Recharge batteries to maintain proper storage voltage.
Troubleshooting Common Storage Problems
Even with proper storage, issues can arise. Here’s how to handle common problems.
My Hammer Drill Won’t Start After Storage
This is usually caused by old batteries or corroded contacts. Recharge or replace batteries first. Clean battery contacts with rubbing alcohol if corroded. Check the power switch for debris. If problems persist, have a professional inspect the tool.
Rust on Metal Parts
Light rust can be removed with fine steel wool and oil. For heavy rust, use a rust remover solution. Prevent future rust by storing in a drier location. Apply a fresh coat of protective oil after cleaning.
Lost Accessories
Keep a detailed inventory list. Store accessories in clearly labeled containers. Take photos of your organized system for reference. Consider buying duplicate frequently used items to avoid project delays.
Damaged Storage Case
Replace damaged cases immediately. A cracked case offers no protection. Look for replacement cases from the manufacturer or third-party suppliers. Some companies offer custom case fabrication for unique tool collections.
Conclusion
Smart hammer drill storage is simple when you follow these steps. Start by cleaning and maintaining your tool. Choose a dry, temperature-controlled location. Use vertical storage to save space. Organize accessories systematically. Protect your investment with proper cases and environmental controls.
Remember that hammer drills have unique features that require careful handling. The hammering mechanism and powerful motor need protection from dust and moisture. By storing your tool correctly, you ensure it performs perfectly for every project.
Take action today. Clear a space in your workshop. Gather storage supplies. Clean your hammer drill thoroughly. Implement one storage solution from this guide. Your future self will thank you when you can find your drill quickly and it works flawlessly on your next project.
For more workshop organization tips, check out our guide on choosing the best cordless drill to complement your hammer drill collection. A well-organized workshop starts with smart storage solutions.
