
This comprehensive guide demystifies the hammer drill, a powerful tool essential for masonry work. You will learn how it works, how to choose the right model, and the safe, step-by-step process for drilling into tough materials like concrete and brick. Master your next DIY project or professional task with confidence.
Is there a concrete wall, brick patio, or stone surface standing between you and your next project? A standard drill just won’t cut it. You need the percussive power of a hammer drill. This tool might seem intimidating, but with the right knowledge, it becomes an indispensable ally. This guide will walk you through everything from the basic “what and why” to the detailed “how,” transforming you from a novice to a confident user. Let’s master the hammer drill together.
Key Takeaways
- Know Its Core Function: A hammer drill combines rotary drilling with a rapid hammering action, making it uniquely capable of boring into masonry, concrete, and stone.
- Choose the Right Type: Select between a standard hammer drill for light-duty work or a more powerful rotary hammer for frequent, heavy-duty concrete drilling.
- Use Masonry-Specific Bits: Always use carbide-tipped masonry drill bits; standard bits will be destroyed by the hammering action.
- Safety is Non-Negotiable: Essential gear includes safety glasses, a dust mask, and hearing protection due to high noise and debris.
- Let the Tool Do the Work: Apply steady, moderate pressure—never force it. The hammer mechanism provides the needed impact.
- Understand the Modes: Correctly use the drill-only, hammer-only (for chiseling with a rotary hammer), and hammer-drill modes for different tasks.
What is a Hammer Drill and Why Do You Need One?
At its heart, a hammer drill is a power drill with a special talent. While a regular drill only spins, a hammer drill spins and hammers. It delivers rapid, short, pounding thrusts along the axis of the bit as it rotates. This dual action is the key to breaking up hard, brittle materials like concrete, brick, and mortar. Think of it as a miniature jackhammer you can hold in your hand. For tasks like installing shelf brackets into a concrete wall, anchoring a deck to a foundation, or running cables through masonry, a hammer drill is not just helpful—it’s essential. If you’re unsure about the distinction, our detailed article on the difference between a hammer drill and a regular drill explains it perfectly.
Hammer Drill Basics: Types and Key Features
Not all hammer drills are the same. Understanding the two main types will help you choose the perfect tool for your job.
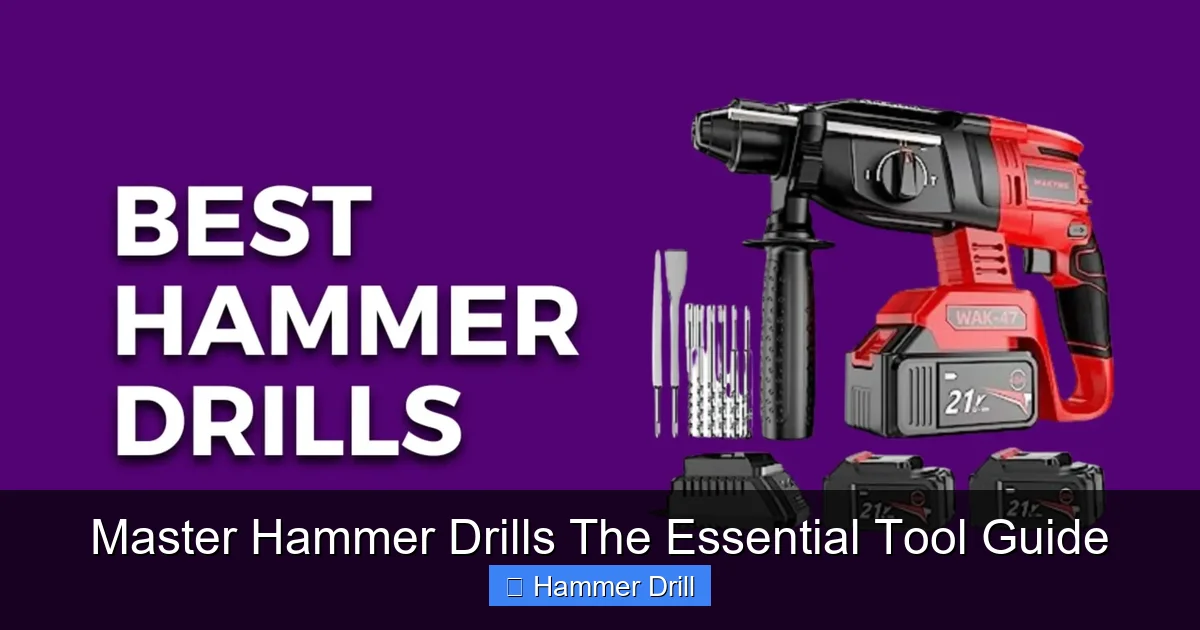
Visual guide about Master Hammer Drills The Essential Tool Guide
Image source: constructionpm.us
Standard Hammer Drill
This is the most common type, often a feature on a combi-drill. It uses a mechanical clutch system with two ribbed metal discs to create the hammering action. It’s ideal for light to medium-duty tasks: drilling into brick, block, or soft concrete for small anchors (up to about 1/4 inch). They are lighter, less expensive, and perfect for the occasional DIYer.
Rotary Hammer (SDS-Plus or SDS-Max)
This is the heavyweight champion. A rotary hammer uses a piston mechanism, like a tiny internal combustion engine, to deliver a much more powerful blow. It uses special SDS (Slotted Drive System) bits that can slide in and out of the chuck, allowing for greater impact energy. Use a rotary hammer for frequent work, drilling large holes (over 1/2 inch), or tackling reinforced concrete. Many also have a “hammer-only” mode for light chiseling and demolition.
Key Features to Look For
- Variable Speed & Trigger: Allows for precise control when starting a hole.
- Adjustable Clutch: Prevents over-tightening screws when using the drill mode.
- Mode Selector: The most crucial feature! Clearly switches between Drill, Hammer Drill, and sometimes Hammer-Only.
- Anti-Vibration Technology: Reduces user fatigue, especially important on rotary hammers.
- Brushless Motor: Offers more power, longer runtime, and greater durability, especially in the best cordless drill models.
Choosing the Right Hammer Drill and Bits
Your project dictates your tool. Ask yourself: How big are the holes? How much concrete will I drill? For a few small holes in a brick wall, a cordless combi-hammer drill is fine. For drilling dozens of 1/2″ holes for deck footings, you’ll want a corded rotary hammer. For bits, only use carbide-tipped masonry bits. The tip is welded to a spiral steel shaft designed to channel dust out of the hole. For rotary hammers, you must use the correct SDS system (SDS-Plus being the most common for prosumer tools).
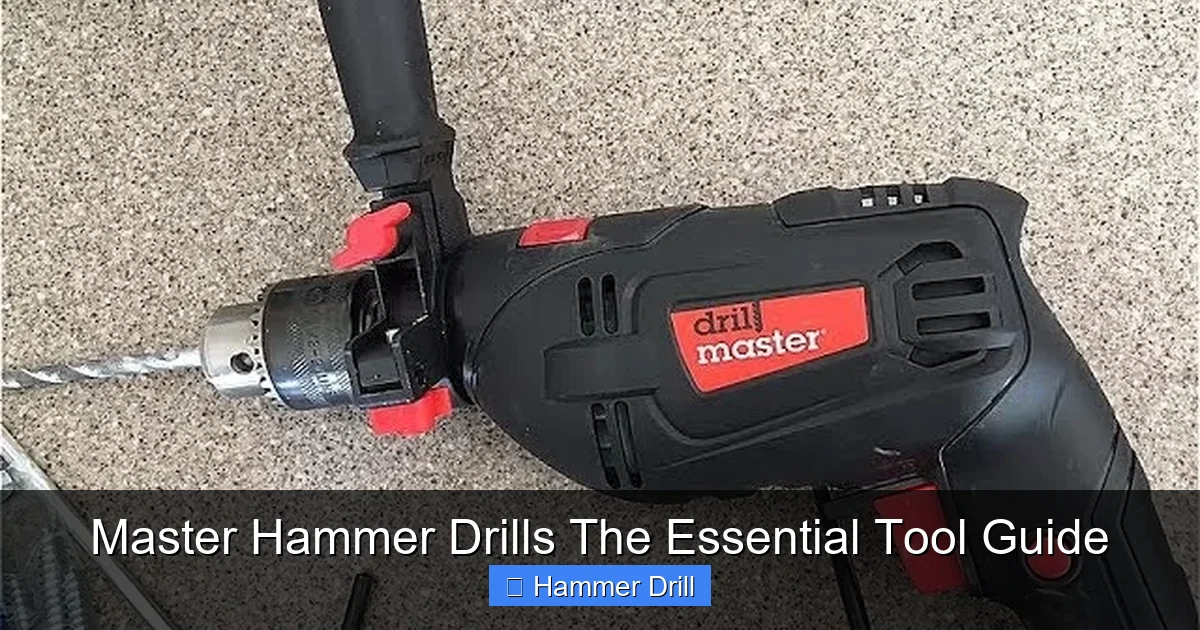
Visual guide about Master Hammer Drills The Essential Tool Guide
Image source: i.ytimg.com
Step-by-Step Guide: How to Use a Hammer Drill Safely and Effectively
Step 1: Safety First – Gear Up
Concrete dust is harmful, and the noise is significant. Before you touch the tool, put on:
Safety Glasses: Flying chips are no joke.
Dust Mask or Respirator: Silica dust from concrete is a serious health hazard.
Hearing Protection: Earmuffs or earplugs are a must.
Gloves: Improve grip and protect your hands.
Sturdy Footwear: Never operate power tools in sandals.
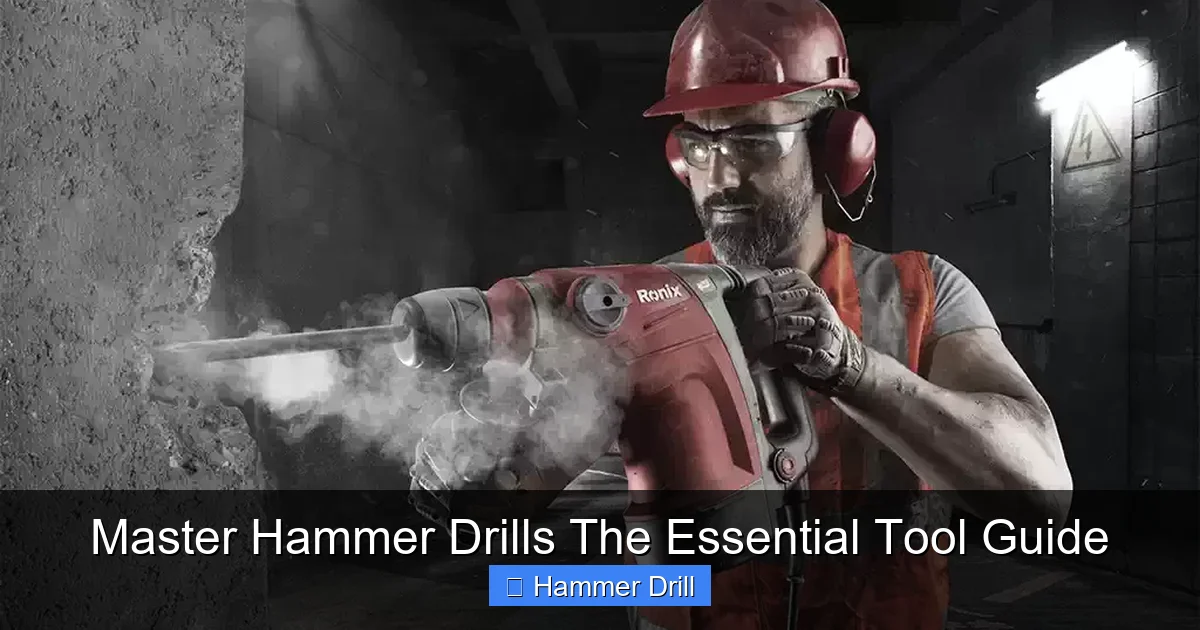
Visual guide about Master Hammer Drills The Essential Tool Guide
Image source: ronixtools.com
Step 2: Prepare Your Tool and Workpiece
Insert the correct masonry bit securely into the chuck. If using a corded tool, ensure the cord is behind you and won’t get tangled. If cordless, ensure the battery is fully charged. Mark your drilling spot with a pencil or center punch for precision. Secure loose materials—if drilling a brick, make sure it’s firmly in place.
Step 3: Select the Correct Mode and Settings
This is the most common mistake. For drilling into masonry, you must be in Hammer Drill mode (often indicated by a hammer icon). Set the drill to its lowest speed setting to start. If your drill has a side handle, always install it for better control and to resist the rotational torque.
Step 4: Drilling the Pilot Hole
Hold the drill firmly with both hands. Position the bit tip exactly on your mark. Start the drill at a slow speed, applying light pressure. Let the hammer action do the work. Once the bit has created a small dimple and won’t “walk,” you can increase speed and apply steady, moderate forward pressure. Don’t lean on it. Clear the bit from the hole periodically to remove dust and prevent overheating.
Step 5: Completing the Hole and Cleanup
Continue drilling to your desired depth. Many drills have a depth stop rod—use it for consistent hole depths, crucial for installing anchors. Once finished, switch back to drill-only mode to remove the bit from the hole while it’s still spinning slowly. Vacuum up the concrete dust immediately. For securing items afterward, our guide on how to use a drill for screws into a wall covers the next steps.
Troubleshooting Common Hammer Drill Problems
- Bit Won’t Bite or Just Spins: You are likely in “Drill Only” mode. Stop and switch to “Hammer Drill” mode.
- Slow Progress or Overheating Bit: You may be using a dull bit or the wrong type (e.g., a wood bit). Use a sharp, carbide-tipped masonry bit. Apply less pressure and pull out more often to clear dust.
- Excessive Vibration or Strange Noise: The bit may be loose in the chuck. Stop immediately, unplug the tool, and securely tighten the chuck. On an SDS tool, ensure the bit is inserted and locked correctly.
- Drill Stalls or Trips Breaker: The hole may be too deep/large for the tool, or you’ve hit rebar. Use a smaller pilot hole first or upgrade to a rotary hammer. For corded tools, ensure you’re on a circuit with sufficient amperage.
Conclusion: You Are Now Equipped to Conquer Concrete
The hammer drill transforms an impossible task into a manageable one. By understanding its unique hammering action, choosing the right tool and bit, and following a safe, methodical process, you can tackle a wide array of masonry projects with confidence. Remember, the power is in the impact, not in your muscle. Let the tool work for you, respect its power with proper safety gear, and you’ll master any concrete challenge that comes your way. Now, go make some holes!
