
This guide teaches you everything about using a hammer drill tool. You’ll learn safety steps, bit selection, and step-by-step drilling techniques. We cover concrete, wood, and metal projects with practical tips.
Key Takeaways
- Always wear safety gear: Protect your eyes, ears, and hands when operating a hammer drill.
- Choose the right bit: Masonry bits for concrete, wood bits for lumber, and metal bits for steel.
- Master the settings: Use hammer+drive mode for concrete, just drill mode for wood.
- Apply steady pressure: Let the tool do the work. Don’t push too hard or too soft.
- Keep bits cool: Stop frequently to prevent overheating and extend bit life.
- Clean regularly: Remove dust from vents and chuck after each use.
Welcome to Your Complete Hammer Drill Tool Guide
You bought a hammer drill. Or maybe you’re thinking about it. Either way, you need to know how to use it right. This guide walks you through every step. We cover safety, setup, techniques, and fixes for common problems. By the end, you’ll drill like a pro in your own home.
Hammer drills are powerful tools. They combine rotation with a hammering action. This makes them perfect for tough materials like concrete and brick. But they’re also great for wood and metal when you need precision. Let’s get started.
Understanding Your Hammer Drill Tool
Before you touch the trigger, know your tool. A hammer drill looks like a regular drill but works differently. The hammering action comes from a clutch mechanism inside. It pounds the bit forward while it spins. This dual action breaks up hard materials as you drill.
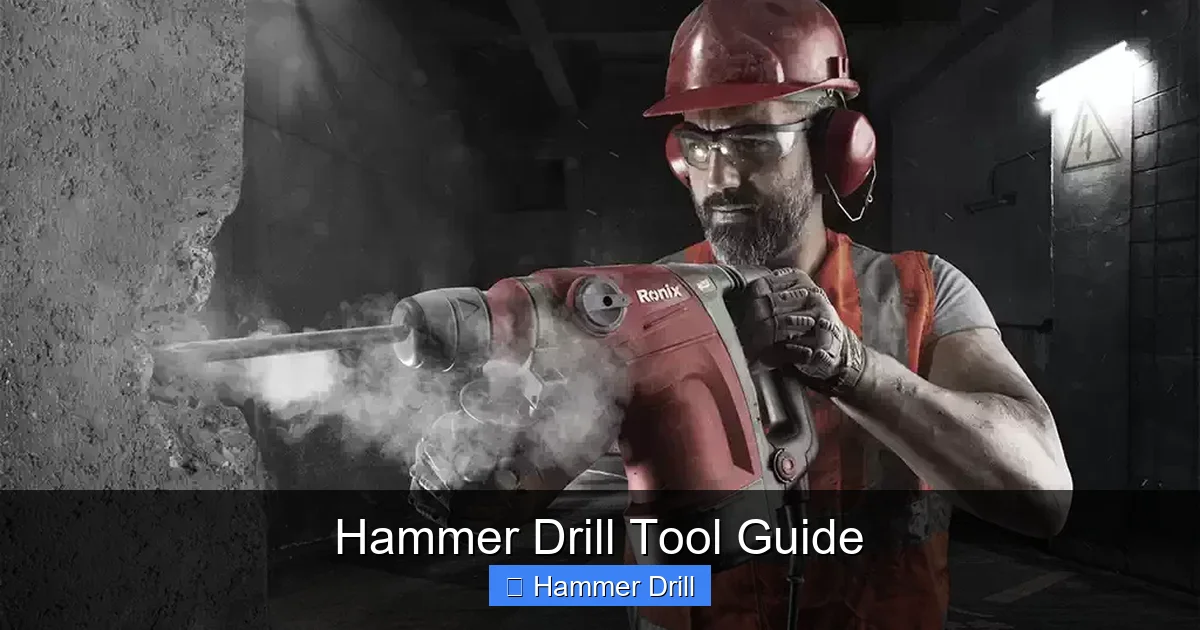
Visual guide about Hammer Drill Tool Guide
Image source: ronixtools.com
Types of Hammer Drills
There are two main types. Corded hammer drills plug into a wall. They deliver constant power for big jobs. Cordless models run on batteries. They offer freedom to move around. Both work the same way. Choose based on your project needs.
Key Features to Know
Your hammer drill has several important parts. The chuck holds the bits in place. Most models use a keyless chuck you can tighten by hand. The trigger controls speed. A variable speed trigger gives you more control. The mode selector switches between functions. You’ll see settings like “drill,” “hammer,” and “hammer+drive.” The depth gauge controls how deep you drill. This is essential for consistent holes.
Understanding these features helps you work smarter. If you’re unsure about regular drills, check out our article on the difference between a drill and a hammer drill. It explains how these tools compare.
Essential Safety Precautions
Safety comes first. Always. Hammer drills are powerful. They can cause injury if you’re not careful. Follow these steps every time you use your tool.
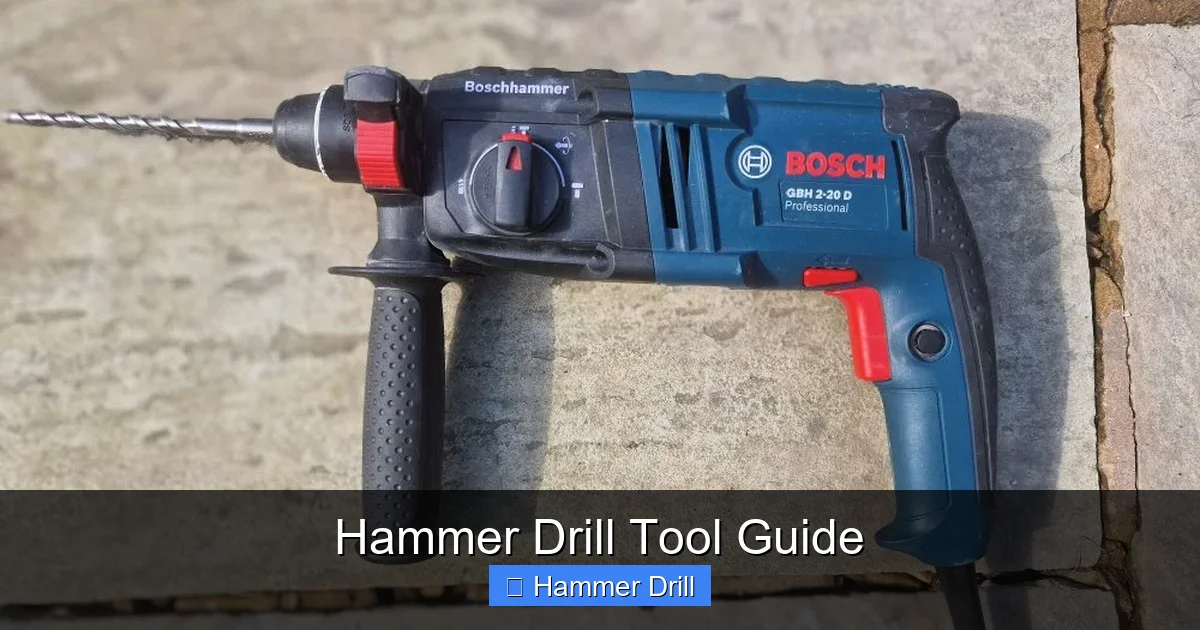
Visual guide about Hammer Drill Tool Guide
Image source: 911metallurgist.com
Personal Protective Equipment
Wear safety glasses. Always. Concrete chips fly everywhere. Protect your eyes from dust and debris. Use ear protection too. Hammer drills are loud. They can damage your hearing over time. Wear gloves to protect your hands. But make sure they fit snugly. Loose gloves can get caught in the drill.
Preparing Your Workspace
Clear your work area. Remove anything that could trip you. Keep cords away from your drilling path. Secure your workpiece. Clamp it down if possible. This prevents slipping and gives you better control. Make sure you have good lighting. You need to see your mark clearly.
Electrical Safety
Check your cord for damage before plugging in. Don’t use a damaged tool. Keep cords away from water. Never use a hammer drill in wet conditions. If you’re using an extension cord, make sure it’s rated for your tool’s power.
Choosing the Right Drill Bits
Bits make or break your project. Using the wrong bit can damage your material and your tool. Here’s how to pick the right one.
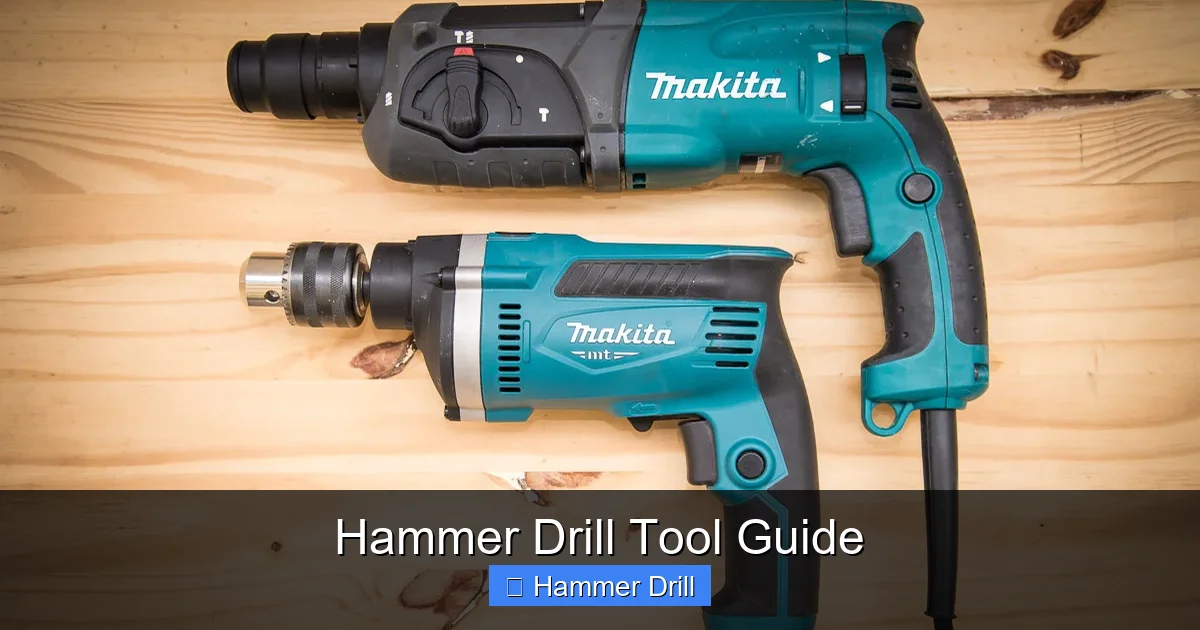
Visual guide about Hammer Drill Tool Guide
Image source: q20.co.za
Masonry Bits for Concrete and Brick
These bits have a carbide tip. The tip is what actually breaks the material. Get SDS or SDS-plus bits for hammer drills. They lock into the chuck securely. Regular drill bits won’t work in hammer mode. The hammering action will destroy them.
Wood Bits for Lumber
Use spade bits or brad point bits for wood. They cut clean holes quickly. In wood, you typically use just the drill mode, not hammer mode. The hammering action can splinter wood fibers.
Metal Bits for Steel and Aluminum
High-speed steel bits work best for metal. They have a sharp point that bites into steel. Use slow speeds for metal. High speeds can overheat the bit and damage your material.
Bit Size Matters
Match your bit to the hole you need. Measure twice, drill once. Most hammer drills handle bits from 1/8 inch to 1/2 inch. Check your manual for exact specifications. Using a bit that’s too large for your drill can damage the motor.
Setting Up Your Hammer Drill
Setup takes just a few minutes. Do it right every time.
Insert the Bit Correctly
First, unplug the drill or remove the battery. Open the chuck by turning it counterclockwise. Insert the bit shank into the chuck. Make sure it goes in straight. Tighten the chuck by turning it clockwise. Give it a firm hand-tight. For keyed chucks, use the key to tighten all three jaws evenly. The bit should not wobble.
Adjust the Depth Gauge
Set your depth stop if you need a specific hole depth. Loosen the depth gauge rod. Slide it to match your desired depth. Tighten it in place. This prevents drilling too deep. It’s perfect for installing anchors or hanging hardware.
Select the Right Mode
Choose your mode based on material. Use “hammer+drive” for concrete and brick. Use “drill” mode for wood and metal. Some drills have a “hammer only” mode for chiseling. Don’t use hammer mode on wood. It will tear up your material.
Check the Speed Setting
Start with a slower speed for hard materials. Use higher speeds for wood and soft metals. Your trigger controls the speed. Pull it gently at first to start the hole. Then increase pressure as needed.
How to Use a Hammer Drill: Step-by-Step
Now for the main event. Follow these steps for perfect holes every time.
Mark Your Spot
Use a pencil or marker to mark your drilling point. For better accuracy, make a small pilot dent with a center punch. This prevents the bit from wandering when you start.
Position the Drill
Hold the drill with both hands. Keep your body stable. Position the bit at a 90-degree angle to your surface. Keep the drill level. This ensures straight holes.
Start Drilling Slowly
Press the trigger gently. Let the bit find its grip. Apply steady pressure. Don’t push too hard. Let the hammer action do the work. Too much pressure can overheat the motor. Too little pressure makes the drill bounce.
Maintain Steady Progress
Drill at a consistent pace. Pull the drill out every few seconds to clear dust. This keeps the bit cool and prevents clogging. For deep holes, pull out more often. Continue until you reach your depth mark.
Finish the Hole
Slow down as you approach the end. Reduce pressure to avoid blowing through the material. Pull the drill straight out when finished. Don’t twist it sideways. This can damage the hole edges.
Advanced Techniques for Better Results
Master these tips for professional-quality work.
Drilling Into Tough Concrete
Old concrete is harder than new concrete. Start with a smaller pilot hole. Then step up to your final size. This reduces stress on the bit and drill. Keep the bit cool by drilling in short bursts. Don’t let it smoke.
Creating Clean Entry Points
Place a small piece of masking tape over your mark. This prevents the bit from slipping. It also reduces chipping on the surface. Remove the tape after drilling.
Controlling Dust
Use a vacuum or dust collector if available. Many hammer drills have dust ports. You can also drill with a vacuum held close to the hole. This protects your lungs and keeps your workspace clean.
Working Overhead
When drilling into ceilings, use a side handle for better control. Keep the drill perpendicular to the surface. Use a step ladder or platform for stability. Never work from an unstable chair.
Troubleshooting Common Issues
Problems happen. Here’s how to fix them.
Drill Won’t Hammer
Check your mode selector. Make sure it’s in hammer+drive mode. If it still doesn’t hammer, the clutch may be worn. Have it serviced. Don’t force it. Forcing it can damage internal parts.
Bit Keeps Slipping
Your chuck may be loose. Turn off the drill and retighten the chuck. Check for dirt in the chuck. Clean it with compressed air. Make sure you’re using the right bit type. Regular bits slip in hammer mode.
Overheating Motor
You’re pushing too hard. Ease up on the pressure. Take breaks between holes. Let the motor cool for 5 minutes. Check that air vents are clear. Blocked vents cause overheating.
Poor Hole Quality
The bit may be dull. Replace it. You might be using too much speed. Slow down. Make sure you’re holding the drill straight. A wobbling drill makes oval holes.
Battery Dies Quickly
Cold weather drains batteries fast. Keep batteries warm before use. If you have a corded drill, you’ll never have this issue. For cordless models, consider buying a spare battery.
Maintenance and Care
Take care of your tool. It will last for years.
Clean After Every Use
Wipe down the housing with a dry cloth. Use compressed air to blow dust from vents and the chuck. Don’t use water. Water causes rust and electrical damage.
Lubricate Moving Parts
Apply a few drops of oil to the chuck threads monthly. This keeps it turning smoothly. Check your manual for other lubrication points. Don’t over-oil. Excess oil attracts dust.
Store Properly
Keep your hammer drill in its case. Store it in a dry place. Hang it on a wall if possible. This prevents damage. Keep bits organized in a separate container. Don’t toss them loose in a drawer.
Check for Wear
Inspect cords for fraying. Check the chuck for cracks. Look for loose screws. Tighten anything that’s loose. Replace worn parts immediately. Don’t use a damaged tool.
When to Use a Hammer Drill vs. Other Tools
Every tool has its purpose. Know when to choose a hammer drill.
Hammer Drill vs. Regular Drill
Use a hammer drill for concrete, brick, and stone. Use a regular drill for wood, metal, and plastic. If you drill concrete often, get a hammer drill. For occasional use, a regular drill with a hammer bit might work. But it won’t be as effective. Understanding the difference between a drill and a hammer drill helps you pick the right tool.
Hammer Drill vs. Impact Driver
Impact drivers are for driving screws. They deliver high torque. Hammer drills are for making holes. The hammering action is unique to drilling. Don’t use an impact driver to drill concrete. It won’t work. Learn more about the difference between impact driver and hammer drill to avoid confusion.
Hammer Drill vs. Rotary Hammer
Rotary hammers are heavier duty. They’re for professional demolition work. Hammer drills are lighter and more versatile for DIY projects. If you’re hanging shelves, use a hammer drill. For breaking concrete, rent a rotary hammer.
Project Examples and Tips
See how these techniques work in real life.
Hanging Heavy Shelves
Mark your anchor points. Use a level to keep them straight. Drill pilot holes for your anchors. Use the depth gauge to match anchor length. Insert anchors and mount your brackets. This project needs hammer+drive mode and masonry bits.
Installing Electrical Boxes
Turn off power first. Mark your box outline. Drill holes at the corners. Use a slower speed to prevent cracking. Then cut between holes with a drywall saw. This is a perfect use for your hammer drill tool.
Mounting TV Brackets
Find your studs with a stud finder. Mark screw locations. Drill pilot holes into studs. Use drill mode, not hammer mode, for wood studs. Then mount your bracket. If mounting to concrete, use hammer mode and plastic anchors.
Creating Drain Holes in Planters
Flip the planter upside down. Mark hole locations. Use a masonry bit for ceramic or concrete planters. Drill slowly to prevent cracking. Use drill mode only. Keep the bit cool with short bursts.
Conclusion
You now know how to use a hammer drill tool like a pro. Remember the key points: always wear safety gear, choose the right bit, and let the tool do the work. Practice on scrap material before tackling important projects. Your hammer drill will handle concrete, wood, and metal with ease.
Keep this guide handy for reference. Review the troubleshooting section if problems arise. With proper care, your hammer drill will last for years. It’s one of the most versatile tools in your workshop.
Ready for your next project? Check out our guide on how to use a drill for screws into a wall for more tips on mounting and installation. If you’re in the market for a new tool, our best cordless drill review can help you choose the right model.
