
This guide unlocks the power of your hammer drill’s clutch. You will learn what torque is, how to set it correctly for any material, and how to avoid common mistakes like stripped screws or damaged bits. Follow our step-by-step instructions to achieve professional, clean results every time you drill.
Does your hammer drill feel like an uncontrollable beast? Do you fear stripping screw heads or drilling holes that are too big? The secret to taming this powerful tool lies in one often-misunderstood feature: the torque setting.
This guide will transform you from a hesitant user to a confident pro. You will learn exactly what torque is, how to set it perfectly for any job, and how to avoid the most common pitfalls. Let’s dive in and master your hammer drill’s torque for flawless results.
Key Takeaways
- Torque is Controlled Force: The clutch adjusts rotational power to prevent over-driving and damage to screws, bits, or materials.
- The Dial is Your Best Friend: Lower numbers are for delicate tasks; higher numbers are for larger fasteners. Start low and increase gradually.
- Material Dictates Setting: Softwood needs low torque, hardwood needs medium, and masonry requires the drill-only or hammer mode with high torque.
- Listen to the Clutch: A rapid clicking sound means the clutch is engaged, protecting your work. This is a good sign!
- Drill Mode vs. Hammer Mode: Use the drill (no-hammer) setting for driving screws and drilling metal/wood. Only engage hammer mode for concrete, brick, or stone.
- Bit Quality is Crucial: A sharp, high-quality drill bit or driver bit reduces the torque needed and prevents slipping and cam-out.
What is Hammer Drill Torque and Why Does it Matter?
Think of torque as the twisting force your drill applies. It’s what drives a screw into wood or rotates a drill bit through material. Your hammer drill’s clutch is the genius component that controls this force.
Without a clutch, the drill applies all its power until you let go of the trigger. This often leads to over-tightened, stripped screws or a drill bit that jams and spins violently in your hand. The clutch acts as a safety release. When the resistance meets your preset torque level, the clutch disengages the motor from the chuck. You’ll hear a distinctive clicking sound, and the bit will stop turning while the motor may still run.
This is crucial for consistency and safety. It ensures every screw is driven to the same depth and prevents damage. Understanding this is the first step to mastering your tool. If you’re curious about how a hammer drill differs from its cousins, our guide on the difference between a hammer drill and regular drill explains the core functions in detail.
Anatomy of Your Hammer Drill’s Torque Control
Before you adjust anything, you need to know what you’re looking at. Most hammer drills have two key control rings near the chuck.
Visual guide about Master Hammer Drill Torque Guide for Perfect Results
Image source: content.propertyroom.com
The Torque Adjustment Ring
This ring is marked with numbers (e.g., 1-20+) and drill bit icons. The numbers represent relative torque levels, not foot-pounds. A lower number (1-5) means low torque for small screws. A higher number (15-20) means high torque for large lag bolts. The drill icon setting bypasses the clutch entirely, delivering full motor torque for drilling holes.
The Mode Selector Ring
This ring chooses the drill’s action:
- Drill Bit Icon (Drill Mode): Standard rotary drilling for metal, wood, and plastic. No hammering action.
- Hammer Icon (Hammer Mode): Engages the hammer mechanism for pounding masonry while drilling. Use this only with carbide-tipped masonry bits in concrete, brick, or stone.
- Hammer & Drill Icon (Combination Mode): Some drills have this setting, which combines rotation and hammering for tough masonry.
For driving screws, you should always be in the standard Drill Mode. Hammer mode is for making holes in hard materials only.
Step-by-Step: How to Set the Perfect Torque
Follow this simple process for any task. It removes the guesswork.
Visual guide about Master Hammer Drill Torque Guide for Perfect Results
Image source: shuntool.com
Step 1: Identify Your Task and Material
Ask yourself: Am I drilling a hole or driving a fastener? What material am I working with?
- Driving Screws: You will use the numbered torque settings.
- Drilling Holes: You will typically use the drill icon setting, unless working with masonry.
Step 2: Select the Correct Mode
For driving screws into wood, drywall, or metal: Set the mode selector to the drill icon. For drilling into concrete or brick: Set the mode selector to the hammer icon. Remember, if you’re driving a screw into a wall, you’ll first need to drill a pilot hole. Our comprehensive guide on how to use a drill for screws into a wall covers this entire process from start to finish.
Step 3: Start with a Low Torque Setting
This is the golden rule. Set the torque ring to a low number (like 3-5). It’s much safer to increase torque than to fix a stripped screw or damaged material.
Step 4: Perform a Test Drive
Drive your screw or drill your hole in a scrap piece of the same material. Apply firm, steady pressure.
Step 5: Evaluate and Adjust
If the clutch clicks and stops before the screw is flush: The torque is too low. Increase the setting by 2-3 numbers and try again.
If the screw drives flush and then the clutch clicks: Perfect! This is your ideal setting for that screw and material.
If the screw strips or the bit sinks too deep without clicking: The torque is too high. Lower the setting immediately.
Torque Setting Recommendations by Material
Use this chart as your starting point. Always fine-tune with a test.
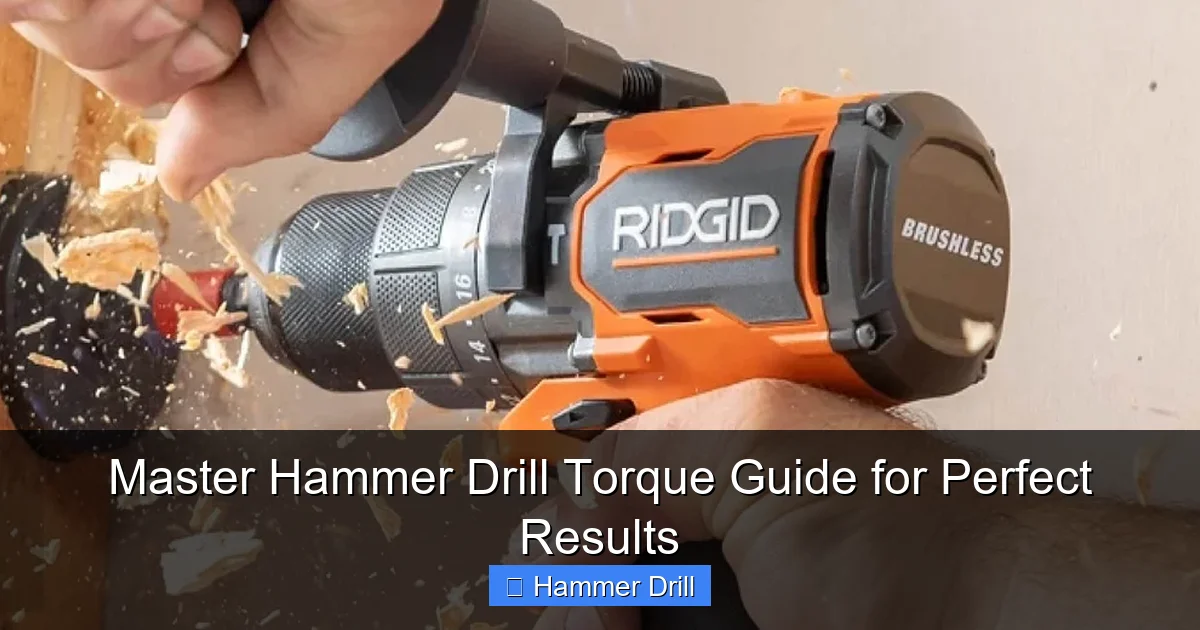
Visual guide about Master Hammer Drill Torque Guide for Perfect Results
Image source: idsa.org
- Drywall & Small Wood Screws (#4-#6): Start at 3-5. The goal is to sink the screw head just below the surface without breaking the paper face of the drywall.
- Hardwood & Deck Screws (#8-#10): Start at 8-12. These require more force but can still strip if over-tightened.
- Large Lag Bolts & Heavy Construction: Start at 15+. You may end up on the drill icon setting for the final tightening, but start with the clutch engaged for safety.
- Drilling Holes in Wood/Metal: Use the drill icon setting. Select the correct best cordless drill bit for the material and apply steady pressure.
- Drilling into Masonry (Concrete, Brick): Set mode to hammer icon. Use the drill icon setting on the torque ring (full power). Torque control is not used here; the hammering action does the work.
Pro Tips for Mastering Torque
- Let the Tool Do the Work: Don’t lean on the drill. Apply consistent, firm pressure and allow the torque and speed to do the job.
- Use Sharp, High-Quality Bits: A worn screwdriver bit will cam-out (slip) and strip the screw head, making you think you need more torque. A sharp drill bit cuts cleanly with less effort.
- Mind Your Speed: Use slower speeds for driving large screws or drilling metal. Use higher speeds for drilling wood or with smaller screws.
- Sequential Driving: When assembling something, drive all screws to a snug fit on a medium setting first. Then go back and give each one a final tighten to the correct torque. This ensures even pressure.
Troubleshooting Common Torque Problems
Even pros run into issues. Here’s how to fix them.
Problem: The clutch clicks immediately, even on a high setting.
Solution: You are likely in hammer mode. Switch back to standard drill mode. Also, check that you are using the correct bit and that it is securely locked in the chuck.
Problem: The screw strips every time.
Solution: Your torque is too high. Lower the setting dramatically. Ensure you are using the correct bit type (e.g., Phillips #2 for a #2 screw) and that it is in good condition. The bit must fit snugly in the screw head.
Problem: The drill seems to have no power, even on the drill setting.
Solution: Check your battery charge. A weak battery cannot deliver full torque. Also, ensure the clutch ring is fully turned to the drill icon and not stuck between settings.
Problem: The bit keeps slipping (cam-out) in the screw head.
Solution: This is almost always a bit problem, not a torque problem. Replace your driver bit with a new, high-quality one. Consider using Torx or square drive bits, which are less prone to cam-out than Phillips.
Hammer Drill vs. Impact Driver: A Crucial Torque Distinction
People often confuse these tools. They handle torque very differently. A hammer drill’s clutch provides a predictable, adjustable shut-off. An impact driver delivers extremely high rotational torque through sudden, concussive bursts (impacts).
Use a hammer drill for precision driving and drilling. Use an impact driver for high-force applications like driving long lag bolts or loosening stubborn nuts. The impact driver’s brute force is terrible for delicate tasks. For a deep dive into this, read our article on the difference between impact driver and hammer drill.
Conclusion: Your Path to Perfect Results
Mastering your hammer drill’s torque settings is the key to moving from a novice to a proficient DIYer or professional. It’s the difference between frustration and flawless execution. Remember the core principles: start low, test on scrap, and let the clutch be your guide. Pay attention to your material, use sharp bits, and always select the correct operating mode.
Your hammer drill is a versatile and powerful ally. By taking control of its torque, you ensure clean, safe, and professional results in every project you tackle. Now, go forth and drive with confidence!
🎥 Related Video: Pick the Right Drill Bit | Mitre 10 Easy As
📺 Mitre 10 New Zealand
Fixing something to the wall, and not sure what size to drill the hole? Here’s an easy trick to choose the right size drill bit.
