
Choosing the right drill is crucial for project success and tool longevity. This guide breaks down the core differences between a hammer drill and a regular drill, explaining their unique mechanisms and ideal applications. You’ll learn how to select the perfect tool for wood, metal, masonry, and concrete, ensuring clean results and avoiding damage to your equipment or workpiece.
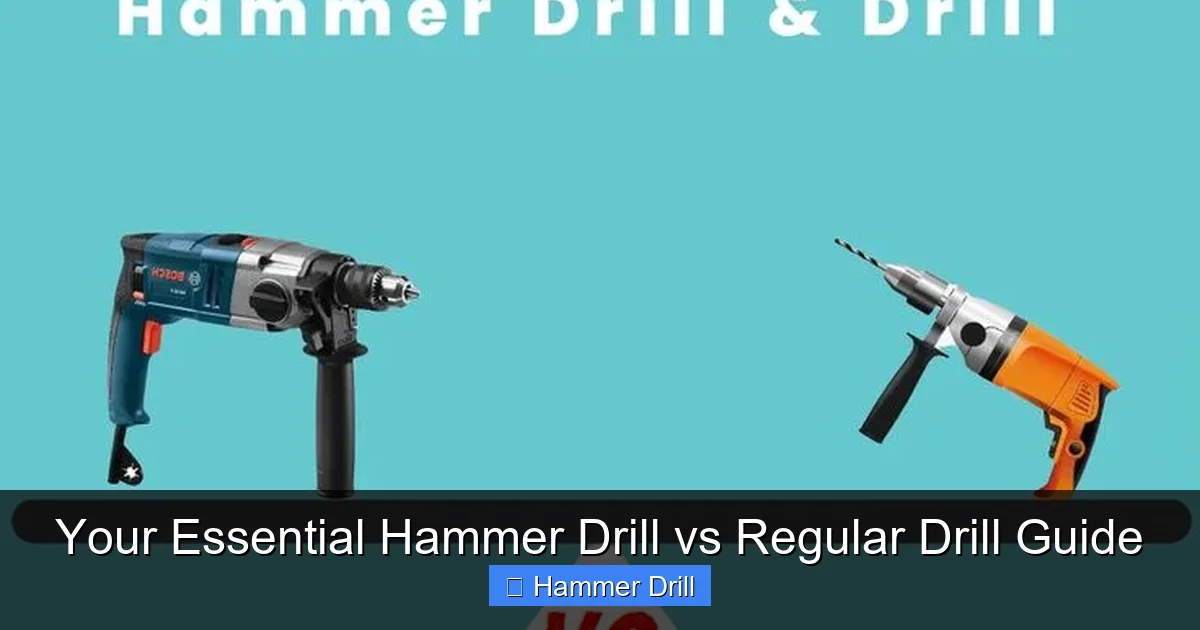
Your Essential Hammer Drill vs Regular Drill Guide
Walking into the tool aisle can be overwhelming. You see drills, drivers, hammer drills, and impact wrenches. They all look somewhat similar, but their prices and purposes are very different. Choosing wrong can mean a failed project, a broken tool, or even a safety hazard.
This guide is here to cut through the confusion. We will explore the fundamental differences between a hammer drill and a regular drill (often called a drill/driver). You will learn exactly how they work, what they are designed for, and—most importantly—how to pick the right one for your next job. Let’s get started.
Key Takeaways
- Mechanism is Key: A regular drill only rotates. A hammer drill combines rotation with a rapid, pounding hammering action to pulverize masonry.
- Material Dictates Choice: Use a regular drill for wood, metal, plastic, and driving screws. Use a hammer drill exclusively for brick, concrete, stone, or block.
- Do NOT Substitute for Masonry: Forcing a regular drill to bore into concrete can damage the drill, the bit, and the material, leading to poor results and safety risks.
- Hammer Drills are Often Dual-Mode: Most modern hammer drills have a selector switch for “Drill Only” (acting like a regular drill) and “Hammer Drill” mode, making them versatile tools.
- Consider a Combo Kit: For DIYers tackling varied projects, investing in a quality cordless drill and a separate hammer drill or a hammer drill/driver combo kit offers the ultimate flexibility.
- Bit Compatibility is Critical: Always use masonry bits (with a carbide tip) in hammer drill mode. Using standard twist bits in hammer mode will destroy them instantly.
Step 1: Understanding the Core Difference – Rotation vs. Rotation & Hammering
This is the heart of the matter. The core difference isn’t just power; it’s the fundamental action of the tool.
How a Regular Drill (Drill/Driver) Works
A standard drill is a rotary tool. Its motor spins the chuck, which spins the drill bit. That’s it. This pure rotational force is perfect for two main jobs:
- Drilling Holes: In soft materials like wood, plastic, drywall, and thin metal, the sharp edges of the bit cut and remove material as it spins.
- Driving Screws: With a clutch setting engaged, the drill applies rotational torque to sink screws to a consistent depth without stripping the head.
Think of it like using a screwdriver with your hand, but motorized. It’s all about the twist.
How a Hammer Drill Works
A hammer drill is a more specialized beast. It does everything a regular drill does plus it delivers a game-changing extra function. Inside its mechanism, two ribbed metal discs (called cam plates or impact mechanism) click against each other as the motor spins.
This creates a rapid, forward-pounding “hammering” action along the axis of the drill bit—thousands of blows per minute—while the bit is still rotating. This dual action is like using a traditional star drill and a hammer simultaneously: the rotation scrapes out material, and the hammering action smashes it apart. For a deep dive into this mechanism, our article on the difference between a hammer drill and regular drill provides excellent detail.
Step 2: Matching the Tool to the Material
Now that you know how they work, let’s talk about where they work. Using the wrong tool for the material is the most common mistake.

Visual guide about Your Essential Hammer Drill vs Regular Drill Guide
Image source: toolsadvisers.com
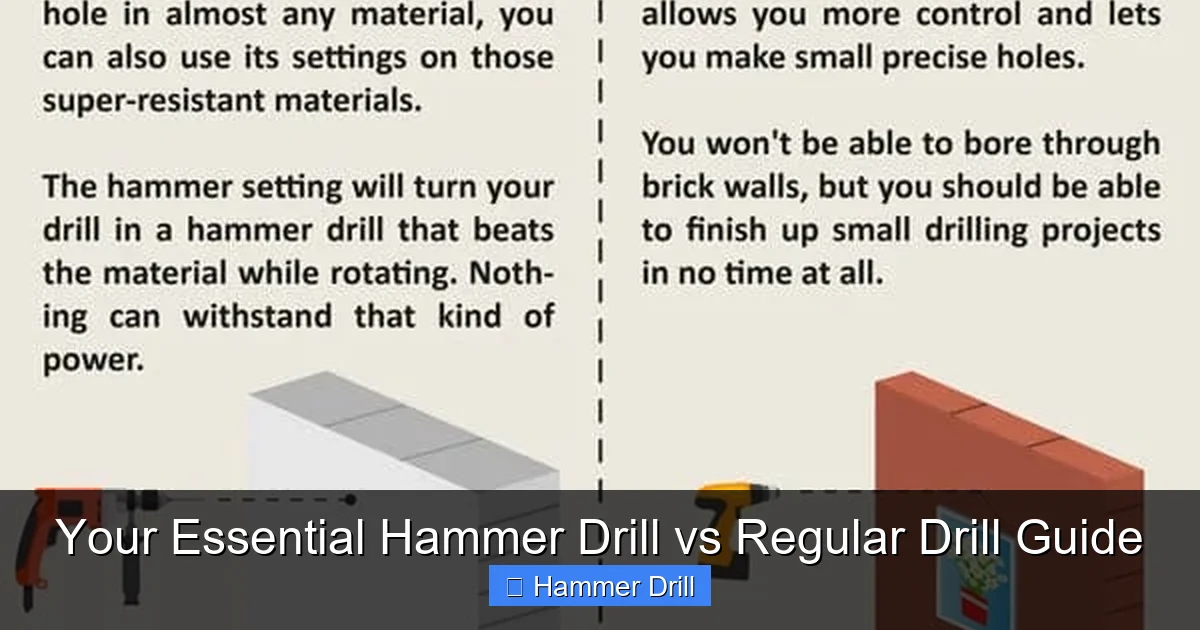
When to Use a Regular Drill (Your Go-To Tool)
Reach for your standard drill/driver for these common tasks:
- Woodworking: Drilling pilot holes, clearance holes, and pocket holes.
- Metalworking: Drilling into sheet metal, steel studs, or aluminum (use cutting fluid and slower speeds).
- General Assembly: Putting together furniture, building a deck frame, or installing shelves.
- Driving Fasteners: This is its primary role as a “driver.” Sinking screws into wood, installing lag bolts, or assembling with machine screws. For more on this, see our comprehensive guide on using a drill for screws into a wall.
- Plastic & Drywall: Creating clean holes without shattering the material.
When to Use a Hammer Drill (The Masonry Master)
Only use a hammer drill (with hammer mode ON) for hard, brittle, aggregate materials. Its pounding action is designed to break them up.
- Concrete: Setting anchors, running conduit, or installing footings.
- Brick: Drilling for wall plugs to mount TVs, shelves, or exterior fixtures.
- Stone & Cinder Block: Any drilling into natural stone or concrete block walls.
- Mortar Joints: Sometimes easier to drill into the mortar than the brick itself.
Critical Tip: Always use a dedicated masonry bit (with a carbide tip) in hammer mode. A standard twist bit will be ruined in seconds.
Step 3: How to Choose the Right Drill for Your Needs
Follow this simple decision tree before you buy or rent.
Visual guide about Your Essential Hammer Drill vs Regular Drill Guide
Image source: i.pinimg.com
For the Home DIYer (Basic Projects)
If your projects involve building a bookshelf, hanging pictures on drywall, assembling toys, or doing light woodworking, a regular cordless drill/driver is your only necessary purchase. A 12V or 18V/20V Max model from a reputable brand in a combo kit is perfect. Consider our recommendations for the best cordless drill to start your search.
For the Proactive Homeowner or Advanced DIYer
If you plan to mount a TV on a brick fireplace, install a safe into a concrete floor, or build a patio, you need masonry capability. You have two excellent options:
- Buy a Combo Hammer Drill/Driver: Many models function as both. A switch selects “Drill” (regular), “Hammer” (for masonry), and often “Driver” mode. This is a superb all-in-one solution.
- Buy a Dedicated Hammer Drill: If you already own a good drill/driver, buying a separate, more powerful hammer drill (often corded for big jobs) is a great choice. It won’t wear out your primary drill.
For Construction Professionals
You likely need both, and you might need to step up to a rotary hammer for frequent, large-diameter holes in concrete. Distinguish your tools: a drill/driver for framing and fasteners, and a hammer drill (or rotary hammer) for all concrete anchor and core drilling.
Step 4: Practical Usage Tips and Techniques
Using a Regular Drill Effectively
- Use sharp bits. Dull bits require more force and create poor holes.
- For metal, start with a center punch and use slow speed with steady pressure.
- For driving screws, start on a low clutch setting and increase until the screw sinks flush without stripping.
- Let the tool do the work; don’t lean on it excessively.
Using a Hammer Drill Safely and Efficiently
- Wear Safety Gear: Safety glasses, a dust mask, and hearing protection are mandatory. Concrete dust is hazardous.
- Start in Drill-Only Mode (if possible): Use regular drill mode with a masonry bit to create a small starter dimple. This prevents the bit from “walking” when you engage hammer mode.
- Switch to Hammer Mode: Firmly hold the tool perpendicular to the surface. Apply moderate, steady pressure. The hammer action does the work; you just guide it.
- Use a Vacuum or Blow Out Dust: Periodically pull the bit out to clear dust from the hole. This prevents binding and overheating.
- Don’t Force It: If progress stops, you may have hit rebar. Use a metal-detecting stud finder first on concrete walls.
Troubleshooting Common Problems
Problem: Drill bit won’t penetrate concrete/brick.
Likely Cause & Fix: You are using a regular drill or have the hammer drill in “Drill Only” mode. Switch the tool to Hammer Mode. Ensure you are using a carbide-tipped masonry bit.
Visual guide about Your Essential Hammer Drill vs Regular Drill Guide
Image source: toolnerds.com
Problem: Drill bit is overheating and smoking.
Likely Cause & Fix: You are using a standard HSS or wood bit in hammer mode, or you are applying too much pressure. Stop immediately. Let it cool. Use the correct masonry bit and apply steady, not extreme, pressure. Pull out to clear dust.
Problem: Regular drill is struggling or stalling in wood/metal.
Likely Cause & Fix: Dull bit, wrong speed setting, or insufficient battery/corded power. Use a sharp bit. For large holes in wood, use a spade or hole saw. For metal, use slow speed and lubricate. Ensure your cordless drill is fully charged.
Problem: Screw head is stripping.
Likely Cause & Fix: Clutch setting is too high, or you are using a drill bit in the chuck. Switch to a driver bit (Phillips, square, etc.) and use a lower clutch setting. Let the clutch slip when the screw is seated.
Don’t Forget About the Impact Driver
While comparing drills, you may hear about impact drivers. They are different! An impact driver delivers sudden, rotational “impacts” (torque) to drive large screws and lag bolts with incredible force. It is not for drilling precision holes. It is a companion to your drill, not a replacement for a hammer drill. Confused? We clarify this in our guide on the difference between impact driver and hammer drill.
Conclusion: Empower Your Toolkit with the Right Knowledge
Choosing between a hammer drill and a regular drill isn’t about which tool is “better.” It’s about which tool is right for the material. Your standard drill/driver is the versatile workhorse for 80% of common tasks. The hammer drill is the specialized expert for conquering masonry.
By understanding their distinct actions—pure rotation versus rotation with hammering—you can tackle any project with confidence. You’ll work faster, achieve cleaner results, and protect your investment in tools. Remember, for brick, block, stone, and concrete, the hammering action is non-negotiable. For everything else, your trusty regular drill has you covered. Now go build something great.
