
Rotary hammers deliver superior power for heavy-duty masonry work like drilling into concrete and brick, using a piston-driven mechanism, whereas hammer drills are lighter-duty tools better suited for occasional holes in wood, metal, or thin masonry using a clutch-driven action. Choosing the wrong tool risks damaging your material or the tool itself, making this critical distinction essential for any serious project. Match the tool’s mechanism to your task to ensure efficiency, avoid costly mistakes, and get professional results every time.
Key Takeaways
- Hammer drills handle light masonry work up to 1/4-inch diameter.
- Rotary hammers dominate heavy demolition and holes exceeding 1/2-inch.
- Rotary hammers generate 2-3x more impact energy than hammer drills.
- Chuck systems differ: hammer drills use standard chucks; rotary hammers need SDS.
- Weight trade-off: rotary hammers are heavier but cause less user fatigue.
- Price gap: hammer drills cost $50-$150; rotary hammers run $150-$500+.
- DIYers save money with hammer drills; pros require rotary hammer power.
Why This Matters: Understanding the Problem
Let me tell you about the time I tried to drill into a concrete wall with a regular hammer drill. I stood there for what felt like an eternity, my arms aching, making barely a dent in the surface. My neighbor, watching from his yard, finally called out, “You need a rotary hammer for that!” That moment of humble pie cost me an entire Saturday afternoon and a sore shoulder.
If you’re facing a project that involves masonry, concrete, or brick, you’ve probably wondered: hammer drill vs rotary hammer guide the complete comparison—which tool actually gets the job done without turning your weekend into a battle of wills? The wrong choice means wasted money, frustration, and projects that take three times longer than they should.
What You Need to Know Before Choosing
You don’t need to be a professional contractor to make the right decision. But you do need to understand a few key factors that separate these two tools. Think of this as your decision-making toolkit.
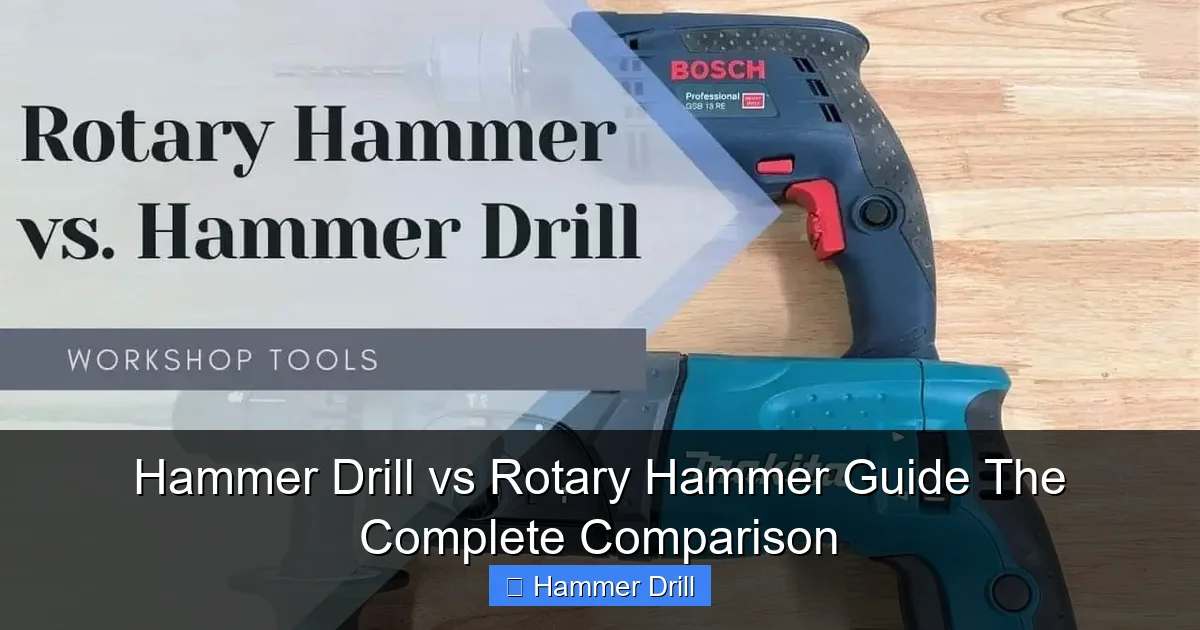
Visual guide about Hammer Drill vs Rotary Hammer Guide The Complete Comparison
Image source: allflavorworkshop.com
Here’s what we’ll compare:
- The type of work you’re doing (light DIY vs. heavy construction)
- What materials you’re drilling into
- How often you’ll use the tool
- Your budget and storage space
- Power source preferences (corded vs. cordless)
Grab a coffee, and let’s break this down like we’re standing in your garage, looking at that project you’ve been putting off.
Step-by-Step Guide to Hammer Drill vs Rotary Hammer: The Complete Comparison
Step 1: Identify Your Project’s True Nature
First, be brutally honest about what you’re trying to accomplish. I learned this the hard way after that concrete wall incident. Are you hanging a shelf in your basement, or are you breaking up a sidewalk?
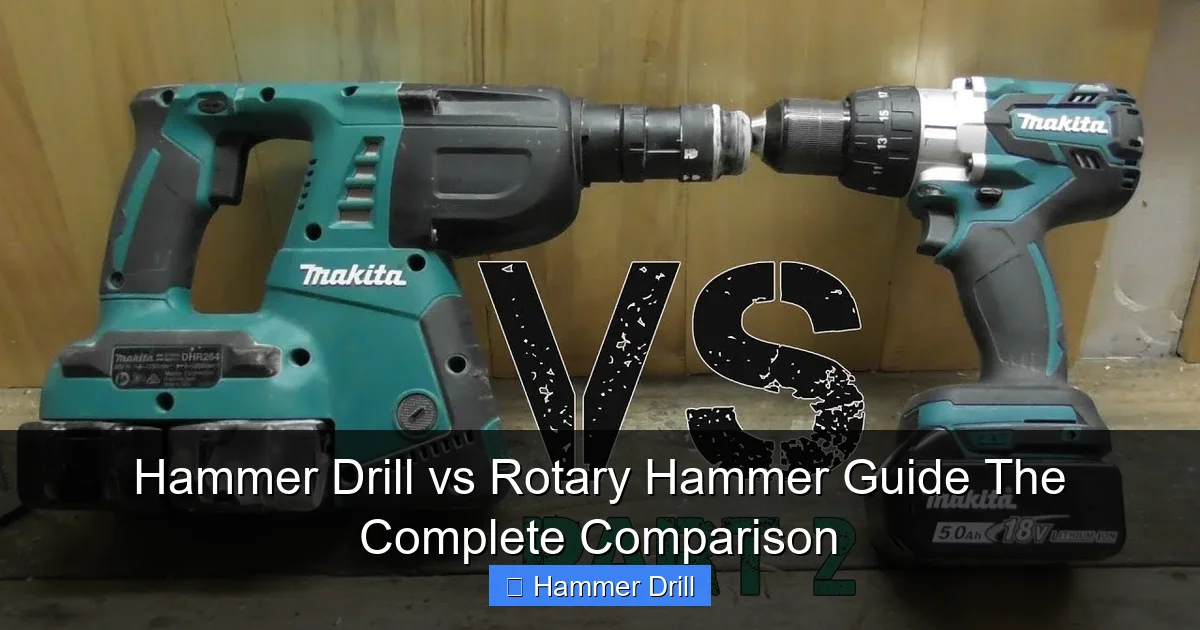
Visual guide about Hammer Drill vs Rotary Hammer Guide The Complete Comparison
Image source: i.ytimg.com
Hammer drills work great for small projects. Think: installing curtain rods in concrete walls, mounting TVs on brick fireplaces, or running wires through basement walls. These are jobs where you need 10-20 holes, max, and they’re typically under an inch deep.
Rotary hammers are for serious work. If you’re talking about drilling holes for rebar, breaking up old concrete, or doing any kind of demolition, you need the big gun. These tools laugh at materials that make hammer drills cry.
My rule of thumb? If you’re planning to drill more than 20 holes in a day, or any hole larger than 1/2 inch in diameter, step up to a rotary hammer. Your future self will thank you.
Step 2: Understand What’s Hiding Behind That Wall
Not all masonry is created equal. That “concrete” basement wall might actually be cinder block. Brick veneer behaves differently than solid poured concrete. Here’s the inside scoop from years of trial and error.
Hammer drills use a piston mechanism that creates a rapid hammering action while spinning. It’s like a mini jackhammer inside your drill. This works perfectly for softer masonry like cinder block, brick, and even some concrete for small jobs. I’ve used my hammer drill successfully on basement walls that were actually hollow cinder block—it breezed through.
Rotary hammers use a more powerful hammering mechanism, often called an SDS system. This is a piston-driven hammer that doesn’t rely on your own pressure. It’s like the difference between tapping a nail with a hammer versus using a pile driver. For reinforced concrete with rebar, thick sidewalks, or any material that feels like it’s fighting back, you need this kind of power.
Pro tip: knock on your wall. If it sounds hollow, a hammer drill might suffice. If it sounds solid and unforgiving, respect it and grab the rotary hammer.
Step 3: Consider How Hard You’ll Be Working
Be honest—are you a weekend warrior or a daily user? This distinction matters more than you think, especially when it comes to tool longevity and your own physical well-being.
Hammer drills are lighter, typically 6-8 pounds, and easier to maneuver. They’re designed for intermittent use. I keep mine in my basement for occasional projects, and after five years, it’s still going strong because I don’t abuse it. But I’ve seen friends burn out hammer drills in a single weekend by trying to tackle a job that needed a rotary hammer.
Rotary hammers weigh anywhere from 10 to 20 pounds. They’re built like tanks with robust internal components that can handle hours of continuous use. If you’re a contractor or serious DIYer who regularly works with concrete, this is your investment piece. The vibration is also better managed on quality rotary hammers, saving your hands and arms from long-term damage.
Think about it this way: a hammer drill is your reliable sedan. A rotary hammer is your pickup truck. You wouldn’t haul a load of concrete in a sedan, right?
Step 4: Evaluate Power Sources and Mobility Needs
Let’s talk about the corded versus cordless debate, because this is where things get interesting. Both tools come in both flavors, but the performance differences are stark.
Corded hammer drills are affordable and deliver consistent power. You never have to worry about battery life, but you’re tethered to an outlet. For indoor projects, this is usually fine. I keep a 50-foot extension cord in my truck specifically for this reason.
Cordless hammer drills have improved dramatically. Modern lithium-ion batteries give you surprising runtime for small jobs. But here’s the catch—when the battery dies mid-project, you’re waiting hours for it to recharge. Not ideal when you’re on a deadline.
Rotary hammers are a different beast. While cordless models exist, they’re significantly more expensive and still can’t match the runtime of corded versions for heavy work. If you’re serious about concrete work, a corded rotary hammer is the professional’s choice. The power demands are just too high for batteries to be practical for extended use.
For most DIYers, a cordless hammer drill gives you the freedom to work anywhere without the cord hassle. For pros, corded rotary hammers remain the gold standard.
Step 5: Compare Bits, Accessories, and Versatility
This is where many people get confused. The bit systems are completely different, and that affects both cost and convenience.
Hammer drills typically use standard drill bits with a chuck system, similar to regular drills. You can swap bits in seconds with a key or keyless chuck. This means you can use the same bits for wood, metal, and masonry. It’s versatile and familiar. I love that I can drill a pilot hole in wood, then switch to a masonry bit without changing tools.
Rotary hammers use SDS (Slotted Drive System) bits. These lock into place with a simple twist and are incredibly secure under heavy hammering. You can’t use standard bits without an adapter, which kind of defeats the purpose. SDS bits are more expensive, but they’re designed to handle the intense hammering action without flying out of the chuck.
Most rotary hammers also have a hammer-only mode, turning them into small jackhammers for light chipping work. This added functionality is incredibly useful for tile removal or breaking up small concrete patches. Hammer drills don’t offer this feature.
The bottom line: if you want one tool that does everything reasonably well, the hammer drill wins. If you need maximum power for one specific task, the rotary hammer’s specialized system is worth the extra cost.
Step 6: Test for Vibration and User Fatigue
Here’s something manufacturers don’t talk about enough: how these tools feel after 30 minutes of use. I learned this lesson when my forearms were shaking for two days after that failed concrete project.
Hammer drills vibrate, but it’s manageable. Modern models have ergonomic grips and vibration-dampening technology that makes them comfortable for short bursts. You can easily control one-handed for overhead work, though I always recommend two hands for safety.
Rotary hammers are in a different category. The hammering action is so powerful that without proper anti-vibration systems, you’d be feeling that buzz for hours afterward. Quality rotary hammers have handles designed to isolate that vibration, but they still fatigue you faster. I always recommend the largest model you can handle comfortably for extended work.
Try before you buy if possible. Your local hardware store often has demo models. Drill into a piece of scrap concrete for a few minutes with each tool. Pay attention to how your hand, wrist, and forearm feel. If you’re planning regular use, this comfort test is non-negotiable.
Step 7: Make Your Decision Based on Real-World Factors
Now that we’ve covered the technical differences, let’s get practical. Your decision should come down to three things: your actual needs, your budget, and your storage situation.
Choose a hammer drill if:
- You’re a homeowner with occasional projects
- You need to drill into cinder block, brick, or thin concrete
- Your holes are small (under 1/2 inch)
- You want one versatile tool for multiple materials
- You have budget constraints (hammer drills start around $50)
Choose a rotary hammer if:
- You’re drilling into reinforced concrete regularly
- You need holes larger than 1/2 inch
- You’re doing demolition or construction work
- You’ll use it frequently enough to justify the investment
- You have the storage space for a larger tool
For most DIYers, a hammer drill is the smart starting point. It covers 90% of home projects. But if you know you’re tackling a serious concrete job this weekend, don’t try to save money by renting the wrong tool. The frustration isn’t worth it.
Pro Tips & Common Mistakes to Avoid
After years of using both tools, I’ve collected some hard-won wisdom that could save you time and money.
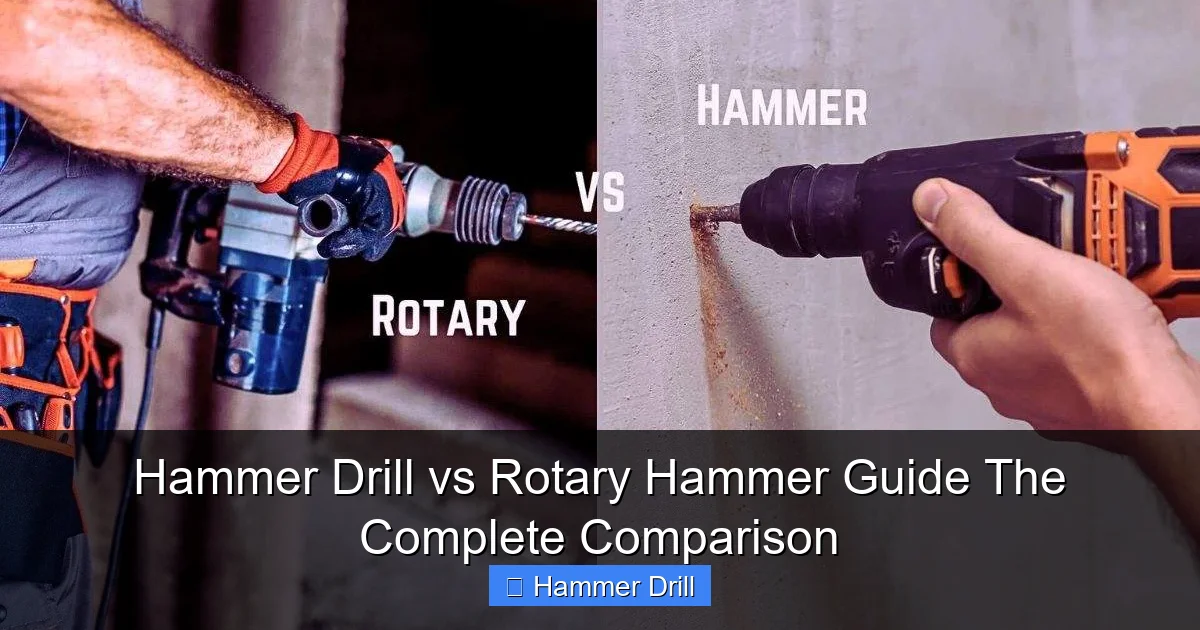
Visual guide about Hammer Drill vs Rotary Hammer Guide The Complete Comparison
Image source: shedblog.com.au
Pro Tip: Always use sharp bits. Dull masonry bits turn your drill into a vibrating paperweight that generates heat and does nothing. I keep a few spares in my toolbox, and it’s saved me countless times.
Warning: Don’t press harder on a hammer drill expecting it to work faster. These tools work best with steady, moderate pressure. I’ve seen people lean into them like they’re trying to push through a wall, only to burn out the motor or break the bit.
One mistake I see constantly is underestimating hole depth. Hammer drills typically max out at 1-2 inches in concrete. If you need deeper holes, you must either step up to a rotary hammer or use a piece of tape on your bit to mark the depth and drill in stages, pulling out to clear dust.
Another common error is using the wrong speed setting. Hammer drills have variable speed triggers, but many people just jam it wide open. For masonry, you want a slower, controlled speed—usually the lower range. This gives the hammering mechanism time to do its job instead of just spinning wildly.
For rotary hammer users, here’s a pro secret: let the tool do the work. These machines are heavy for a reason. Don’t muscle them. Position the bit where you want to drill, apply gentle pressure, and let the hammering action chew through the material. You’ll get cleaner holes and less fatigue.
Finally, safety gear isn’t optional. Concrete dust is nasty stuff. I always wear a respirator mask, safety glasses, and hearing protection. My first concrete drilling job left me coughing up gray dust for a week. Don’t be that guy.
FAQs About Hammer Drill vs Rotary Hammer: The Complete Comparison
Q: Can I use a hammer drill for concrete?
A: Yes, but with limits. Hammer drills work great for small holes (under 1/2 inch) in cinder block, brick, or thin concrete. For anything more substantial, you’re better off with a rotary hammer. I learned this after making a dozen shallow holes in my basement wall before giving up on that stubborn concrete.
Q: Is a rotary hammer just a bigger hammer drill?
A: Not really. While they look similar, the internal mechanisms are completely different. Rotary hammers use a piston-driven hammering system that’s far more powerful than the cam-action hammering in standard hammer drills. Think of it as the difference between a bicycle and a motorcycle—they both have two wheels, but that’s where the similarity ends.
Q: Can I use regular drill bits in a rotary hammer?
A: You can with an adapter, but it’s not recommended. The intense hammering action of a rotary hammer can cause standard bits to slip or break. SDS bits are specifically designed to lock securely under these conditions. I tried using an adapter once and nearly took out a window when the bit flew out.
Q: How much should I expect to spend?
A: Quality hammer drills range from $80 to $200. Rotary hammers start around $150 and can exceed $500 for professional models. For most homeowners, a $100-150 hammer drill is perfect. If you need a rotary hammer, renting one for $40-60 a day is often smarter than buying unless you’ll use it regularly.
Q: What’s the difference between SDS and SDS-Plus bits?
A: SDS is the original system with four grooves. SDS-Plus has five and is the most common today. SDS-Max is larger for heavy-duty rotary hammers. They’re not interchangeable, so check your tool’s specifications before buying bits. I made this mistake once and had to return an entire set of bits.
Q: Do I really need both tools?
A: Probably not. For 95% of homeowners, a good hammer drill is all you’ll ever need. I’ve had my hammer drill for eight years and never once needed a rotary hammer for my DIY projects. But if you’re planning serious renovations or work in construction, having both makes sense. Each excels at its specific purpose.
Q: Is there a tool that combines both functions?
A: Some rotary hammers have a “drill only” mode that lets you use them like a regular drill. However, they’re still optimized for heavy hammering work. For a regular drill vs hammer drill comparison, you might find that a quality hammer drill gives you the versatility you need for most tasks around the house.
Final Thoughts
Choosing between a hammer drill and rotary hammer doesn’t have to keep you up at night. For most homeowners, a hammer drill is the perfect balance of power, versatility, and cost. It handles those occasional concrete projects without breaking the bank or your back.
But if you’re staring at a concrete slab that needs serious work, respect the material and choose the rotary hammer. That initial investment will pay off in time saved and results achieved.
My final piece of advice? Rent before you buy. Most equipment rental stores let you try both tools on your actual project material. You’ll know within minutes which one feels right. And if you’re still confused, check out our guide on impact drivers vs hammer drills to make sure you’re not mixing up your tool categories.
Remember, the right tool for the job isn’t always the most powerful one—it’s the one that gets the job done efficiently while keeping your sanity intact. Now go forth and drill with confidence!
