
Hammer drills are lightweight, versatile tools for DIY projects and light masonry work. Rotary hammers deliver serious power for heavy-duty concrete and demolition tasks. This guide reveals exactly which tool you need for your specific project, with practical steps to get perfect results every time.
Key Takeaways
- Hammer drills are compact, affordable, and perfect for DIYers tackling small concrete jobs under 3/8 inch
- Rotary hammers offer superior power with piston-driven action, ideal for professional construction and heavy demolition
- Choose a hammer drill for light masonry, tile backsplashes, and small anchor installations
- Select a rotary hammer for foundation work, electrical chases, and breaking up concrete slabs
- Both tools require SDS or keyless chucks, but rotary hammers typically use SDS-plus or SDS-max bits for better performance
- Safety first – always wear eye protection and dust masks when drilling into concrete or masonry
- Understanding the hammering mechanism difference (rotary vs piston) helps you pick the right tool for maximum efficiency
Hammer Drill Vs Rotary Hammer Guide: Your Complete Decision-Making Resource
You’re standing in the hardware store, staring at two similar-looking power tools. Both have “hammer” in their name. Both claim to drill into concrete. But which one do you actually need? This confusion costs DIYers and pros thousands of dollars in ruined projects and wasted time every year.
This comprehensive guide eliminates the guesswork. You’ll discover exactly how these tools differ, when to reach for each one, and step-by-step techniques to get professional results. Whether you’re hanging a shelf or breaking up a patio, we’ve got you covered.
Understanding the Basics: What is a Hammer Drill?
A hammer drill is essentially a standard drill with a hammering action added. Think of it as your regular drill’s tougher sibling. It combines rotational force with a rapid back-and-forth pounding motion to break through masonry.
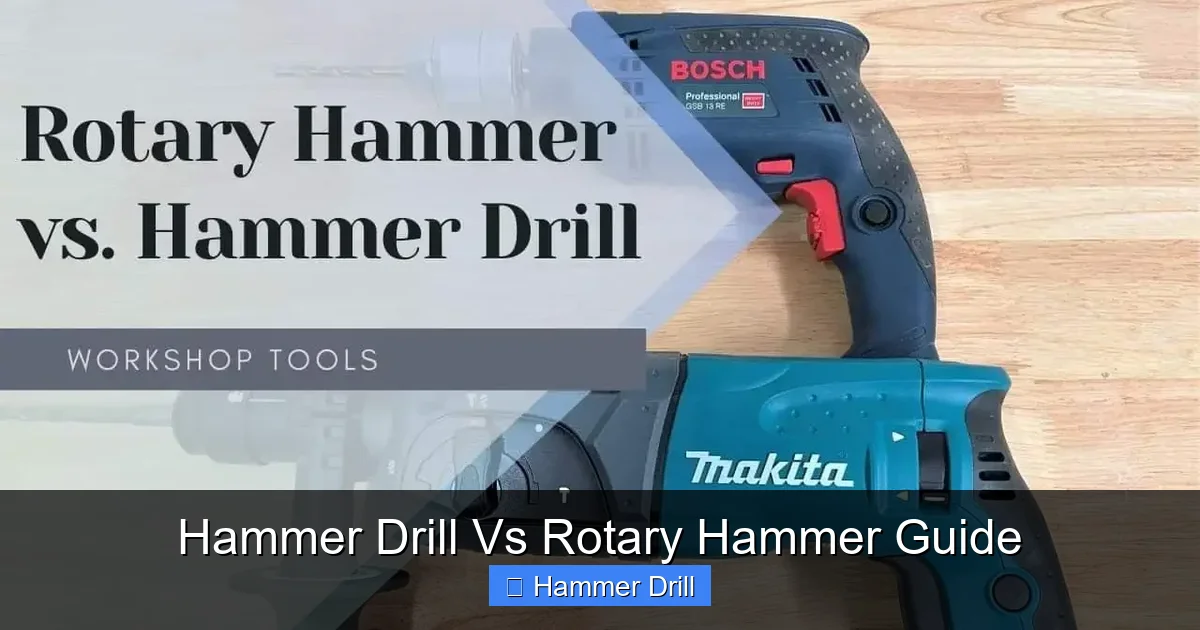
Visual guide about Hammer Drill Vs Rotary Hammer Guide
Image source: allflavorworkshop.com
How Hammer Drills Work
Hammer drills use a clutch mechanism that creates a vibrating hammering action. The drill bit spins while simultaneously moving in and out at high speed. This action chips away at concrete and brick as you drill.
Most hammer drills feature two modes:
- Standard drilling mode for wood, metal, and plastic
- Hammer drilling mode for masonry and concrete
Key Features of Hammer Drills
- Weight: Typically 3-6 pounds, making them easy to maneuver
- Size: Compact design fits in tight spaces
- Chuck type: Usually keyless chucks accepting standard drill bits
- Power source: Available in corded and cordless models
- Speed: Higher RPMs than rotary hammers for precision work
If you want to understand how this differs from a regular drill, check out our article on the difference between a hammer drill and regular drill.
Understanding the Basics: What is a Rotary Hammer?
A rotary hammer is a professional-grade power tool designed specifically for heavy-duty masonry work. It’s the tool you see construction workers using on job sites to break concrete and drill large anchor holes.
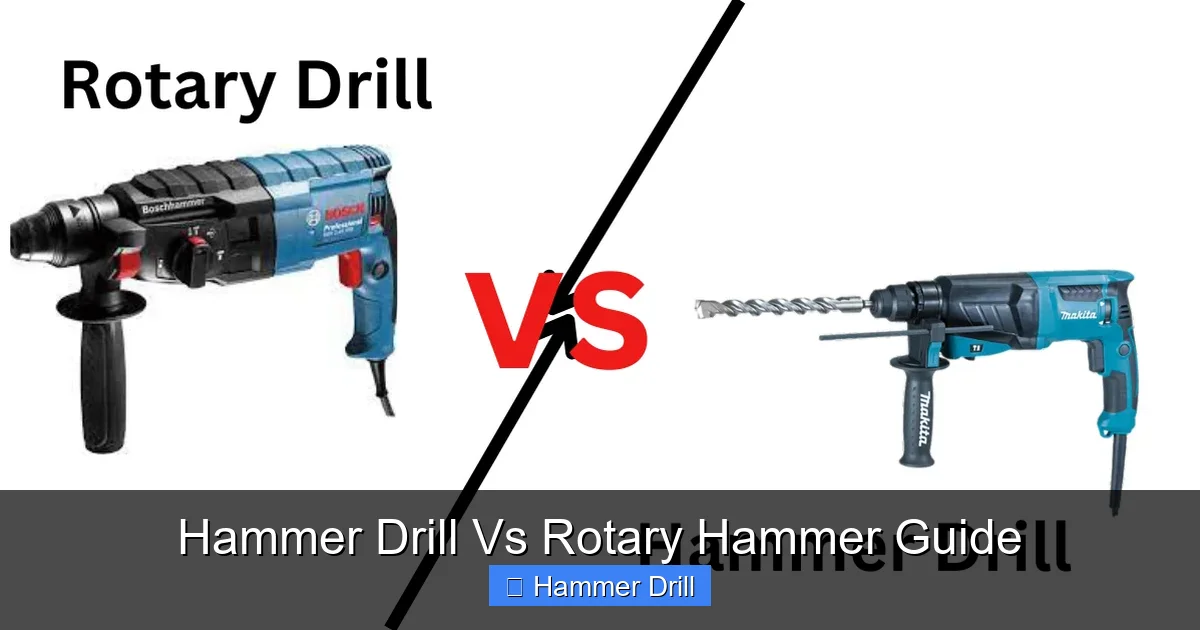
Visual guide about Hammer Drill Vs Rotary Hammer Guide
Image source: wikipowertools.com
How Rotary Hammers Work
Rotary hammers use a piston-driven mechanism that creates a much more powerful hammering action than standard hammer drills. This piston strikes the back of the bit with tremendous force, making them exponentially more effective on tough materials.
Most rotary hammers offer three operating modes:
- Rotation only for standard drilling
- Hammer only for chipping and demolition
- Hammer with rotation for drilling into concrete
Key Features of Rotary Hammers
- Weight: Typically 6-15 pounds, providing stability during heavy work
- Size: Larger and more robust construction
- Chuck type: SDS-plus or SDS-max chucks for secure bit holding
- Power source: Primarily corded for maximum power, though cordless models exist
- Impact energy: Measured in joules, indicating striking power
Key Differences: Hammer Drill vs Rotary Hammer
Now that you understand what each tool is, let’s break down the critical differences that matter for your project.
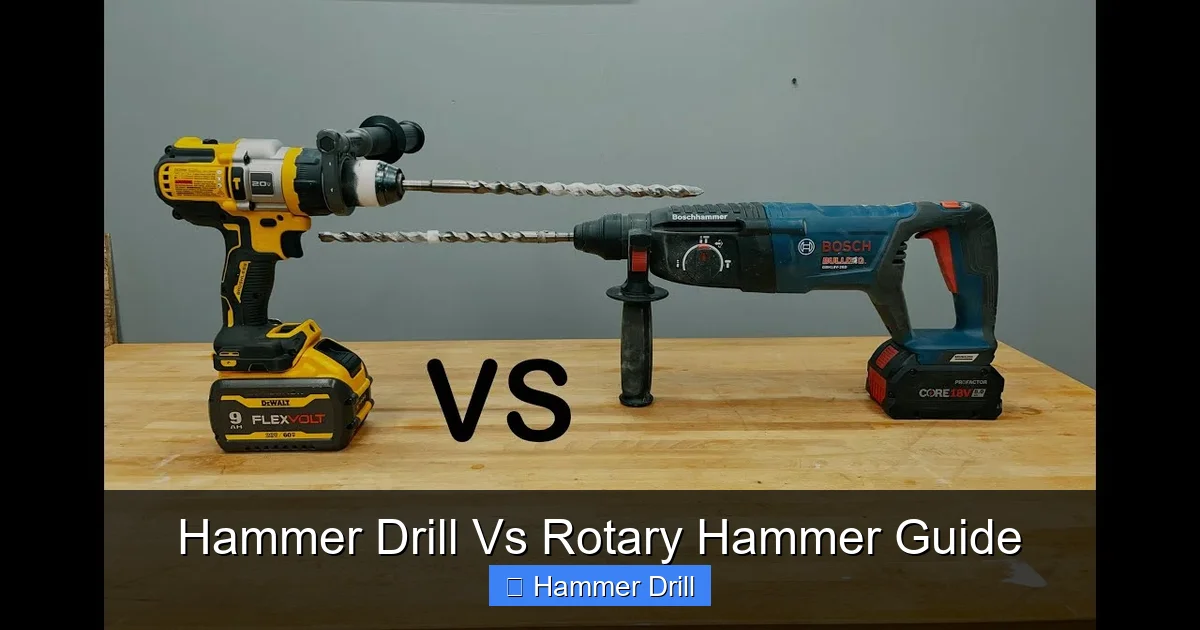
Visual guide about Hammer Drill Vs Rotary Hammer Guide
Image source: i.ytimg.com
The Hammering Mechanism
This is the biggest difference. Hammer drills use a clutch system that creates a rotary hammering action. The whole chuck moves back and forth slightly. Rotary hammers use a piston inside a cylinder that drives the hammering mechanism. This creates a much more direct, powerful blow.
Think of it like this: a hammer drill is like tapping a chisel with a hammer. A rotary hammer is like a jackhammer. The piston action delivers far more energy per strike.
Power and Performance
For drilling a 1/4-inch hole in a concrete block for a shelf bracket, a hammer drill works fine. For drilling a 1-inch hole through reinforced concrete for a pipe, you need a rotary hammer. The power difference is dramatic.
Rotary hammers typically deliver 1-5 joules of impact energy. Hammer drills usually provide less than 1 joule. This difference determines how quickly and effectively each tool can penetrate hard materials.
Size and Weight
Hammer drills are designed for one-handed operation and extended use without fatigue. They’re perfect for overhead work and tight spaces. Rotary hammers require two hands and significant upper body strength to control properly.
If you’re working on a ladder or drilling above shoulder height, a hammer drill’s lighter weight makes a huge difference in comfort and safety.
Bit Compatibility
Hammer drills use standard drill bits with round shanks. Rotary hammers require specialized SDS bits that lock into the chuck with a simple sliding motion. This system prevents bit slippage during high-torque hammering.
Cost Considerations
Hammer drills range from $50 to $200 for quality models. Rotary hammers start around $100 and can exceed $500 for professional models. Renting a rotary hammer costs $30-60 per day, making it economical for occasional heavy-duty jobs.
For occasional DIY use, a hammer drill offers better value. For professional work, a rotary hammer is a worthwhile investment that pays off in productivity.
When to Use a Hammer Drill: Practical Applications
Hammer drills excel at light masonry work and precision tasks. Here’s when to reach for this versatile tool.
Perfect Hammer Drill Projects
- Hanging shelves and cabinets on concrete or brick walls
- Installing tile backsplashes requiring small pilot holes
- Mounting light fixtures and electrical boxes in masonry
- Drilling small anchor holes (3/8 inch or smaller)
- Creating pilot holes for larger masonry nails
- Working overhead or in tight spaces
- DIY projects requiring occasional concrete drilling
Real-World Example: Installing a Garage Shelving Unit
You need to mount heavy-duty shelving brackets to a concrete block wall. Each bracket requires four 3/16-inch anchor holes. A hammer drill completes this task in minutes with minimal effort. The precision control prevents wall damage and ensures accurate hole placement.
For this type of project, also check our guide on how to use a drill for screws into a wall.
When to Use a Rotary Hammer: Practical Applications
When the job demands serious power, a rotary hammer is the only tool that will get it done efficiently.
Ideal Rotary Hammer Projects
- Drilling large diameter holes (1/2 inch or larger) in concrete
- Installing concrete anchors for structural applications
- Creating electrical chases in concrete walls
- Breaking up concrete slabs or asphalt
- Removing tile from concrete subfloors
- Drilling through reinforced concrete with rebar
- Professional construction and renovation work
Real-World Example: Installing a Drain Pipe
You’re adding a bathroom in your basement and need to drill a 2-inch hole through a concrete foundation wall for a PVC drain pipe. A hammer drill would overheat and fail. A rotary hammer with a 2-inch SDS core bit completes the job in under 10 minutes with consistent results.
Step-by-Step: How to Use a Hammer Drill
Follow these steps for safe, effective hammer drilling in concrete and masonry.
Step 1: Gather Your Materials
You’ll need:
- Hammer drill
- Masonry drill bits (correct size for your project)
- Masking tape
- Pencil or marker
- Vacuum or brush for dust
- Safety glasses and dust mask
Step 2: Mark Your Hole Location
Use a pencil to mark your drilling point. Place a small piece of masking tape over the mark. This prevents the drill bit from “walking” and helps reduce surface chipping.
Step 3: Select the Right Bit
Choose a masonry bit with a carbide tip. Match the bit diameter to your anchor size. Insert the bit fully into the chuck and tighten securely.
Step 4: Set Your Drill to Hammer Mode
Locate the mode selector switch, usually near the chuck. Switch from “drill” to “hammer drill” or “hammer” mode. This engages the hammering mechanism.
Step 5: Start Drilling at Low Speed
Position the bit tip on your mark. Hold the drill perpendicular to the surface. Start at low speed to create a small pilot groove. Apply firm, steady pressure without forcing the tool.
Step 6: Increase Speed and Maintain Pressure
Once you have a groove, increase to full speed. Let the hammering action do the work. Don’t push too hard – this can overheat the bit and damage the motor. Apply just enough pressure to keep the bit engaged.
Step 7: Clear Dust Regularly
Pull the bit out every 10-15 seconds to clear dust from the hole. This prevents overheating and ensures efficient drilling. Use a vacuum or brush to clean the hole completely before inserting your anchor.
Step-by-Step: How to Use a Rotary Hammer
Rotary hammers require a slightly different technique due to their power and weight.
Step 1: Prepare Your Workspace
Secure your workpiece if possible. Clear the area of obstacles. Rotary hammers create significant vibration and can cause the tool to walk if not properly controlled.
Step 2: Insert the Correct SDS Bit
Rotary hammers use SDS bits. Simply slide the bit into the chuck until it clicks into place. Give it a gentle pull to ensure it’s locked. For chiseling, use the appropriate chisel bit and align it with the rotation direction.
Step 3: Select Your Operating Mode
Choose the correct mode:
- Rotation + Hammer: For drilling holes
- Hammer Only: For chipping and demolition
- Rotation Only: For regular drilling
Step 4: Adjust Depth Stop (If Needed)
For precise hole depths, adjust the depth stop on the tool’s barrel. This prevents drilling too deep and ensures consistent holes.
Step 5: Apply Steady, Moderate Pressure
Unlike hammer drills, you should let the rotary hammer’s weight do most of the work. Apply moderate downward pressure with both hands. The piston action delivers thousands of BPM (blows per minute) – forcing it can reduce effectiveness.
Step 6: Use Proper Body Positioning
Stand with your feet shoulder-width apart. Grip the handle firmly with your dominant hand and support the barrel with your other hand. Keep your arms slightly bent to absorb vibration. Never lock your elbows.
Step 7: Take Breaks for Heavy Work
For deep holes or extended use, take breaks every few minutes. This prevents overheating and reduces operator fatigue. Rotary hammers generate significant heat during continuous operation.
Choosing the Right Tool: A Buyer’s Guide
Making the right purchase decision saves money and ensures project success. Consider these factors before buying.
Assess Your Project Needs
Answer these questions:
- How often will you use the tool? Occasional use favors a hammer drill
- What materials are you drilling? Concrete block vs solid concrete makes a difference
- What hole size do you need? Under 3/8 inch = hammer drill, over 1/2 inch = rotary hammer
- Will you work overhead? Weight becomes critical for extended overhead work
Budget Considerations
For under $150, you can buy a quality hammer drill that handles 90% of DIY masonry tasks. For $200-400, you can purchase a professional-grade hammer drill or a mid-range rotary hammer. High-end rotary hammers cost $400+.
If you’re looking for the best cordless drill options, our best cordless drill guide can help you compare features and value.
Key Features to Look For
For Hammer Drills:
- Variable speed trigger for precision control
- Depth stop for consistent hole depths
- Keyless chuck for quick bit changes
- LED work light for improved visibility
For Rotary Hammers:
- Multiple modes (rotation, hammer, both)
- Vibration control for reduced operator fatigue
- SDS chuck system for secure bit holding
- Adjustable handle for better control
Troubleshooting Common Issues
Even with the right tool, problems can occur. Here’s how to solve the most common issues.
Problem: Bit Won’t Drill Into Concrete
Solution: Ensure you’re in hammer mode. Check that your bit is designed for masonry (carbide tip). The bit may be dull – try a new one. Apply more pressure, but don’t force it to the point of stalling the motor.
Problem: Excessive Vibration and Difficulty Controlling Tool
Solution: This usually means you’re using too much pressure. Let the tool’s weight and hammering mechanism do the work. Use both hands and maintain proper body positioning. For rotary hammers, check that the SDS bit is fully seated in the chuck.
Problem: Hole Is Getting Clogged With Dust
Solution: Clear the hole frequently by pulling the bit out every 10-15 seconds. Use a vacuum or brush to remove dust from the hole and flutes of the bit. Consider using a dust collection attachment if available for your tool.
Problem: Drill Motor Overheating
Solution: You’re likely pushing too hard. Reduce pressure and allow the hammering action to work. Take breaks during extended use. Check that you’re using the correct bit for the material. Ensure adequate ventilation around the motor.
Problem: Hole Is Not Straight
Solution: Start with a small pilot hole, then enlarge it. Use a depth stop to maintain control. Check that the tool is perpendicular to the surface. For deep holes, consider using a drill guide or jig.
Problem: Anchor Won’t Fit in Hole
Solution: Masonry bits can wear down, creating undersized holes. Try a new bit. Measure the hole diameter with a caliper before purchasing anchors. It’s normal for holes to be slightly oversized due to hammering action.
Safety Tips and Best Practices
Working with power tools requires attention to safety. These practices protect you and ensure quality results.
Personal Protective Equipment
Always wear:
- Safety glasses – concrete chips fly at high velocity
- Dust mask or respirator – concrete dust is hazardous to breathe
- Hearing protection – both tools are loud, especially rotary hammers
- Work gloves – protect hands from vibration and sharp edges
Workspace Preparation
Clear your work area of tripping hazards. Ensure good lighting. Keep cords away from the drilling area. For overhead work, use a stable platform or ladder. Never work from an unstable surface.
Electrical Safety
Inspect cords for damage before use. Keep cords away from water and hot surfaces. Use GFCI protection when working outdoors or in damp locations. For cordless models, remove batteries when changing bits.
Material Securing
Clamp workpieces whenever possible. This prevents movement and ensures accurate drilling. Never hold small items in your hand while drilling – secure them in a vise or with clamps.
Bit Handling
Allow bits to cool after extended use. They can become hot enough to cause burns. Never touch the bit immediately after drilling. Store bits in a protective case to prevent damage to carbide tips.
Maintenance and Care
Proper maintenance extends tool life and ensures consistent performance.
Regular Cleaning
Wipe down your tool after each use to remove dust and debris. Pay special attention to the chuck and air vents. Use compressed air to blow out dust from internal components monthly.
Lubrication
For rotary hammers, lubricate the SDS chuck mechanism periodically with manufacturer-recommended grease. Check the owner’s manual for specific intervals. Hammer drills require minimal lubrication, but keeping the chuck clean ensures smooth operation.
Brush Inspection
Check motor brushes every 50-100 hours of use. Replace worn brushes to prevent motor damage. Most tools have accessible brush ports on the sides or rear of the motor housing.
Storage
Store tools in a dry, temperature-controlled environment. Use the original case or a protective tool box. Keep bits organized and separated to prevent damage. Remove batteries from cordless tools before long-term storage.
Conclusion: Making the Right Choice
The hammer drill vs rotary hammer decision ultimately comes down to your specific needs. For most homeowners and DIY enthusiasts, a quality hammer drill provides everything needed for occasional concrete and masonry work. It’s versatile, affordable, and easy to use.
For contractors, serious DIYers, or anyone tackling large-scale concrete projects, a rotary hammer delivers unmatched power and efficiency. The initial investment pays off in time saved and professional results achieved.
Remember this simple rule: if you’re drilling holes smaller than 3/8 inch in concrete block or brick, choose a hammer drill. If you’re working with solid concrete, need holes larger than 1/2 inch, or require demolition capabilities, reach for a rotary hammer.
Now that you understand the differences, you can confidently select the right tool for your next project. Take the time to read your tool’s manual, practice on scrap material, and always prioritize safety. With the right tool and proper technique, you’ll achieve clean, precise holes every time.
