
Drilling into wood with a hammer drill requires specific knowledge to prevent damage and ensure clean results. This guide walks you through crucial settings, bit choices, and techniques for using your powerful tool safely and effectively on wooden surfaces, transforming a potential challenge into a simple, precise task.
Key Takeaways
- Always Disable Hammer Action: The hammering function is for masonry. Using it on wood will damage the material, the bit, and the drill itself. Switch to standard “drill-only” mode.
- Invest in High-Quality Brad-Point or Spade Bits: For clean, precise holes in wood, use bits designed for the task. Brad-point bits prevent wandering and leave a smooth finish.
- Control is Paramount: Use a slower speed setting, steady pressure, and a firm grip. Let the bit’s sharp edges do the cutting; don’t force it.
- Prevent Tear-Out on Both Sides: For clean through-holes, place a sacrificial scrap wood piece behind your workpiece or drill until the point just penetrates, then finish from the opposite side.
- Secure Your Workpiece: Always clamp down the wood you are drilling. This is a critical safety step that ensures accuracy and prevents the material from spinning violently.
- Mind the Speed and Pressure: Start slow, especially with larger bits. Increase speed gradually and maintain consistent, moderate pressure to avoid burning the wood or breaking the bit.
Ultimate Hammer Drill Wood Drilling Tips for Perfect Results
So, you’ve got a powerful hammer drill and a woodworking project. That’s great! A hammer drill is a versatile tool. But here’s a common mistake: using it on wood the same way you’d use it on concrete. That’s a fast track to ruined wood, broken bits, and frustration.
This guide is here to change that. We’ll show you how to use your hammer drill to make perfect, clean holes in wood every single time. You’ll learn the right settings, the best bits, and the pro techniques. Let’s unlock the true potential of your tool for woodworking.
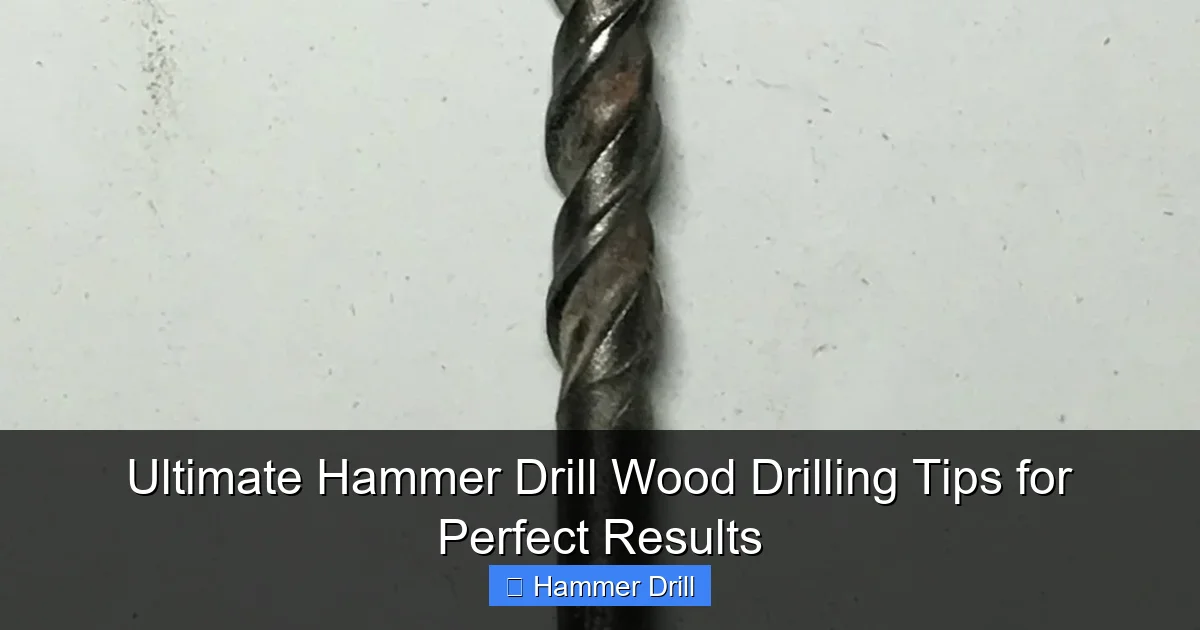
Understanding Your Tool: Hammer Drill vs. Drill Mode
This is the most important step. A hammer drill has two primary functions: rotation and a pounding hammer action. The hammer action is fantastic for crushing through concrete and masonry. But for wood, it’s a disaster. It will splinter the grain, create ragged holes, and overwork your drill.
Visual guide about Ultimate Hammer Drill Wood Drilling Tips for Perfect Results
Image source: carpentry-tips-and-tricks.com
For drilling wood, you must switch off the hammer function. Look for a collar or switch near the chuck with a drill bit icon and possibly a hammer icon. Turn it to the drill-only setting. This gives you pure rotational force, just like a standard drill driver. If you’re unsure about your tool’s capabilities, our article on the difference between a hammer drill and a regular drill provides a clear breakdown.
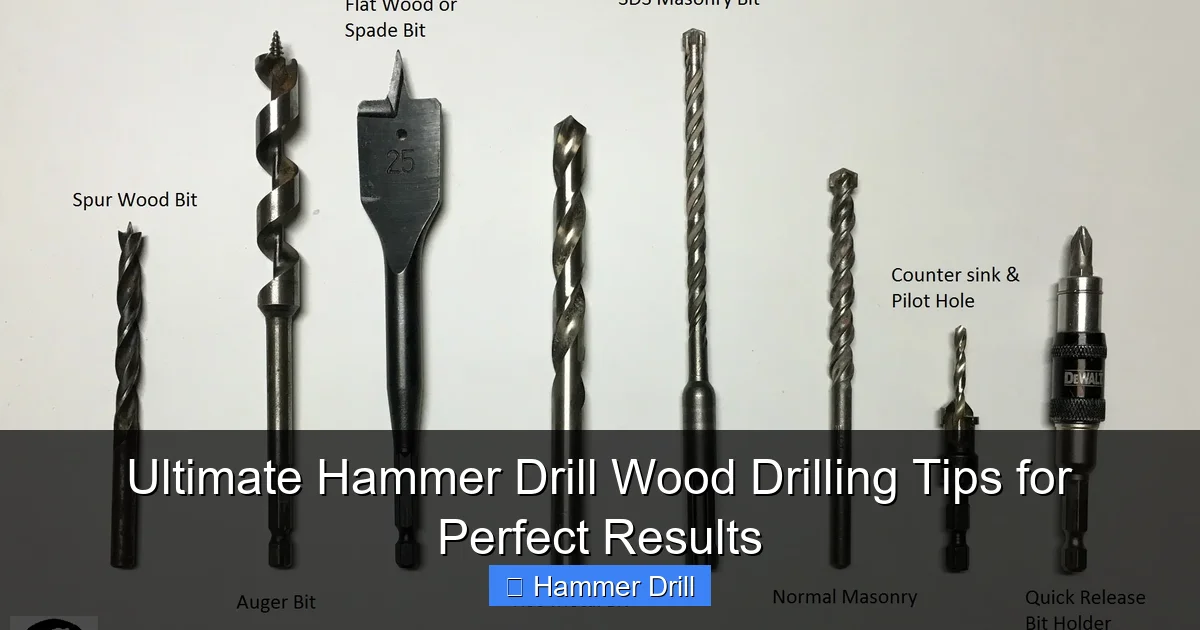
Choosing the Perfect Drill Bit for Wood
Your bit is just as important as your drill. Using a masonry bit on wood will give you a terrible, burnt, and rough hole. For wood, you need bits with sharp, cutting edges.

Visual guide about Ultimate Hammer Drill Wood Drilling Tips for Perfect Results
Image source: i.ytimg.com
Brad-Point Bits (The Best Choice)
These are the gold standard for clean wood drilling. The sharp central point ensures the bit doesn’t “walk” or wander when you start. The sharp spurs on the edges score the perimeter of the hole before the main cutting flutes remove the material. This results in a perfectly round, splinter-free hole. Essential for dowel joints and precise work.
Spade Bits (For Large, Rough Holes)
Need a 1-inch hole for wiring? A spade bit is your friend. They’re fast and affordable for boring large diameters. For a cleaner exit hole, slow down as you breakthrough and use a backup board.
Twist Bits (The General Purpose Option)
Standard high-speed steel (HSS) twist bits work for smaller holes in wood. For better performance, look for ones labeled for wood. They’re okay for quick jobs but won’t be as clean as a brad-point.
Forstner Bits (For Flat-Bottomed Perfection)
When you need a precise, flat-bottomed hole (for hinges or inlays), a Forstner bit is unmatched. They require a drill with good torque and a slow, steady feed. Your hammer drill in drill-only mode is perfect for this.
Step-by-Step: How to Drill Perfect Holes in Wood
Follow these steps for flawless results every time.
Visual guide about Ultimate Hammer Drill Wood Drilling Tips for Perfect Results
Image source: carpentry-tips-and-tricks.com
Step 1: Prepare Your Workspace and Safety Gear
Safety first! Clamp your wood securely to your workbench. Never try to hold it with your hand. Wear safety glasses to protect from flying chips. If you’re working overhead or on a ladder for a project like installing shelving, double-check your essential safety tips for climbing ladders.
Step 2: Mark and Punch Your Hole
Measure and mark your hole location with a pencil. For ultimate precision, especially with brad-point bits, use a center punch or an awl to create a small indent. This gives the bit’s point a place to sit and prevents wandering.
Step 3: Select the Correct Bit and Insert It
Choose your bit based on the hole you need. Ensure your drill is OFF. Open the chuck, insert the bit shank fully, and tighten the chuck securely by hand. For keyless chucks, give it a final tighten using the hand grip on the drill.
Step 4: Set Your Drill to the Right Mode and Speed
VERIFY THE HAMMER ACTION IS OFF. Set the mode selector to the drill icon. For speed, remember: larger bits need slower speeds. If your drill has variable speed, start on a low setting (around 500-1000 RPM for bits over 1/2″). For smaller bits, you can go faster. If you need more driving power for screws after drilling, you might consider an best cordless drill designed for all-around tasks, but your hammer drill in drill mode handles holes just fine.
Step 5: Drill the Hole with Proper Technique
Hold the drill firmly with both hands. Align the bit perfectly perpendicular (or at your desired angle) to the wood surface. Start the drill at a slow speed, letting the point or tip engage. Apply steady, firm pressure. Let the bit’s sharp edges cut; don’t lean into it. As you drill, occasionally pull the bit back slightly to clear wood chips from the hole.
Step 6: Prevent Tear-Out on the Backside
To avoid ugly splintering where the bit exits:
- Use a Sacrificial Backing Board: Clamp a scrap piece of wood behind your workpiece. Drill through your project and into the scrap. The tear-out happens on the scrap, not your good wood.
- The Two-Sided Method: Drill from one side until the point of the bit just barely breaks through the back. Stop, flip the wood over, and finish the hole by drilling from the exit point. This ensures a clean edge on both sides.
Pro Tips and Advanced Techniques
Take your skills to the next level.
- Drilling Pilot Holes: When driving large screws, always drill a pilot hole. Use a bit slightly smaller than the screw’s shank (not the threads). This prevents the wood from splitting.
- Drilling at an Angle: For pocket holes or angled joinery, use a drill guide or make a simple jig from a block of wood with a pre-drilled hole at the correct angle. This ensures accuracy.
- Drilling Deep Holes: For holes deeper than the bit’s flutes, drill in stages. Drill partway, pull out to clear chips, and repeat. This prevents overheating and bit binding.
- Know Your Wood: Hardwoods like oak require sharper bits and slower speeds than softwoods like pine. Dense, resinous woods can burn; keep the speed moderate and the pressure steady.
Troubleshooting Common Problems
What to do when things go wrong.
Problem: Burn Marks on the Wood or Bit
Cause & Fix: Too much speed or too little feed pressure. The bit is rubbing, not cutting. Increase your pressure slightly, reduce the speed, and ensure the bit is razor-sharp.
Problem: The Bit Wanders or “Walks” on Start
Cause & Fix: No starter indentation or using a dull twist bit. Always use a center punch. For critical jobs, switch to a brad-point bit which is designed to stay on point.
Problem: Rough, Splintered Hole Edges
Cause & Fix: Dull bit, hammer mode was accidentally on, or drilling too fast on exit. Check your mode, sharpen or replace the bit, and use a backup board for through-holes.
Problem: The Bit Gets Stuck (Binds) in the Hole
Cause & Fix: You drilled too fast and the flutes packed with chips, or you hit a knot. Stop drilling, switch to reverse to back the bit out while it’s running. Clear the chips and resume at a slower pace, pulling out frequently.
Conclusion: Power Meets Precision
Using a hammer drill for wood doesn’t have to be intimidating. It’s all about respecting the material and using the right technique. Remember the golden rule: hammer action off. Pair that with sharp, wood-specific bits, a controlled speed, and a secured workpiece, and you’ll achieve professional, clean results. Your hammer drill is a capable partner for both masonry and detailed woodworking—you just have to know how to ask. Now, go make some perfect holes! For more on choosing the right tool for your project, learn about the difference between an impact driver and a hammer drill.
