
Contractors rely on hammer drills to conquer concrete and masonry that would stall standard drills. These tools deliver a brutal hammering action while rotating, smashing through rebar-laced concrete and brick with shocking speed and accuracy. Key work examples—installing structural anchors, drilling electrical pathways, and creating plumbing penetrations—show why this tool is non-negotiable for professional results.
You know that feeling. You’re on a job site, staring at a concrete wall, and your regular drill just isn’t cutting it. The bit spins uselessly, making that frustrating whirring sound instead of actually drilling. I’ve been there too. That’s when you need to understand hammer drill work examples every contractor needs to see.
Hammer drills aren’t just fancy tools with a loud name. They’re the difference between finishing a job in an hour and spending all day spinning your wheels. But here’s the thing—most contractors use them wrong. They either don’t know when to switch modes, use the wrong bits, or just brute-force their way through. That ends today.
In this guide, I’m going to walk you through real-world hammer drill scenarios I’ve actually faced on job sites. We’ll cover exactly what to do, step by step, so you can drill faster, cleaner, and without wrecking your materials or your body.
Key Takeaways
- Prioritize hammer action for concrete, brick, and masonry to maximize tool versatility.
- Concrete anchoring demands a hammer drill for secure, reliable fastening every time.
- Speed through masonry significantly faster than standard drills or manual methods.
- Achieve clean, precise holes in tough materials with controlled hammering action.
- Never skip safety gear when hammer drilling to protect against debris and vibration.
- Select the right bit specifically designed for hammer action to prevent damage.
Why This Matters: Understanding the Problem
Let me tell you about Mike. He’s a contractor I worked with last year. He had to install ten heavy-duty shelves in a concrete basement. He grabbed his regular drill, thinking he could save time. Six hours later, he’d destroyed three bits, cracked a section of the wall, and his shoulder felt like it was going to fall off. The job should have taken two hours.
That’s the problem right there. Contractors either don’t understand when to use a hammer drill, or they use it incorrectly. They treat it like a regular drill with a “hammer button.” But it’s so much more than that.
Hammer drill work examples every contractor needs to see show you the specific techniques for different materials. Concrete requires a different approach than brick. Tile needs a gentler touch than poured concrete. And knowing the difference between a hammer drill and regular drill could save you hundreds in replacement bits and damaged materials.
When you master these techniques, you work smarter. You finish jobs faster. Your tools last longer. And your body doesn’t hate you at the end of the day. That’s why this matters.
What You Need Before You Start
Don’t even think about picking up that hammer drill until you’ve got these basics covered. I learned this the hard way when I showed up to a job without the right PPE and spent the whole afternoon squinting through dusty eyes.
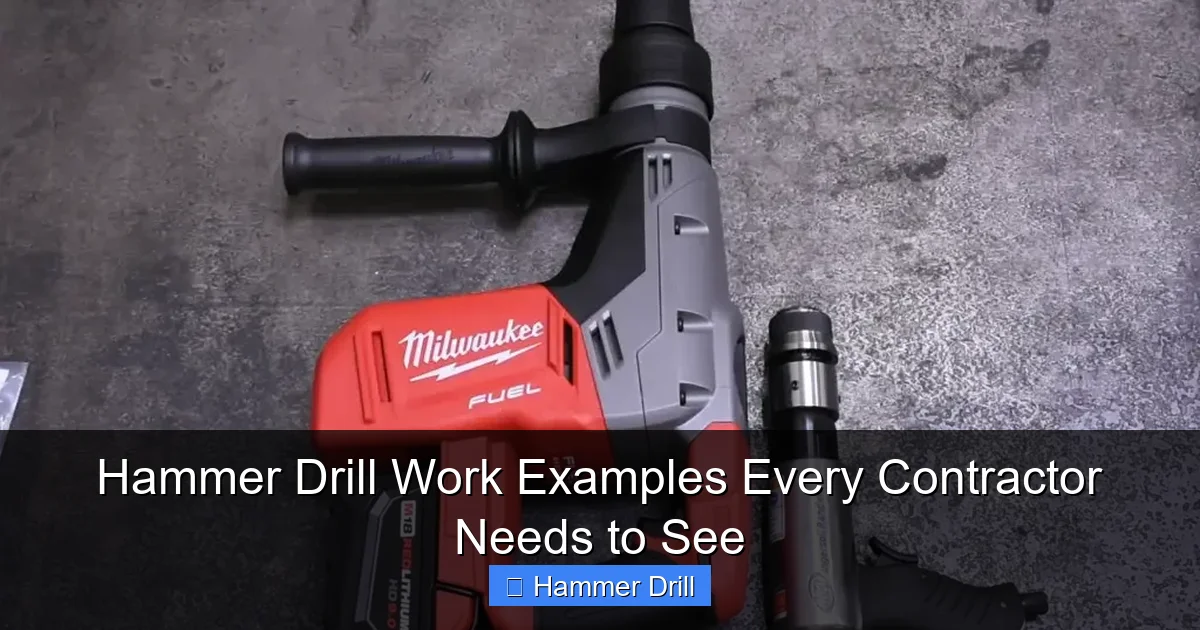
Visual guide about Hammer Drill Work Examples Every Contractor Needs to See
Image source: toolsprofy.com
- Your hammer drill – Corded models deliver consistent power for all-day jobs. Cordless gives you mobility but check the battery. Nothing worse than your drill dying mid-hole.
- Quality masonry bits – Carbide-tipped bits are non-negotiable. Get a set with multiple sizes. I keep 1/4″, 3/8″, 1/2″, and 5/8″ on every job site.
- Depth gauge – Most hammer drills have one built-in. If yours doesn’t, mark your bit with tape. You’ll thank me later.
- Dust collection system – A simple shop vac attachment or even a dust mask. Silica dust is no joke.
- Safety gear – Safety glasses, hearing protection, and a respirator mask. Your future self will appreciate this.
- Marking tools – A good pencil and a tape measure. For concrete, I prefer a permanent marker because the pencil can rub off.
- Hammer and nail – For starting holes in tile or delicate materials. Sounds old-school, but it works.
Having the right tools is half the battle. The other half is knowing how to use them properly. Let’s get into that.
Step-by-Step Guide to Hammer Drill Work Examples Every Contractor Needs to See
These are real scenarios I’ve faced on actual job sites. Each one teaches you something different about hammer drill operation.
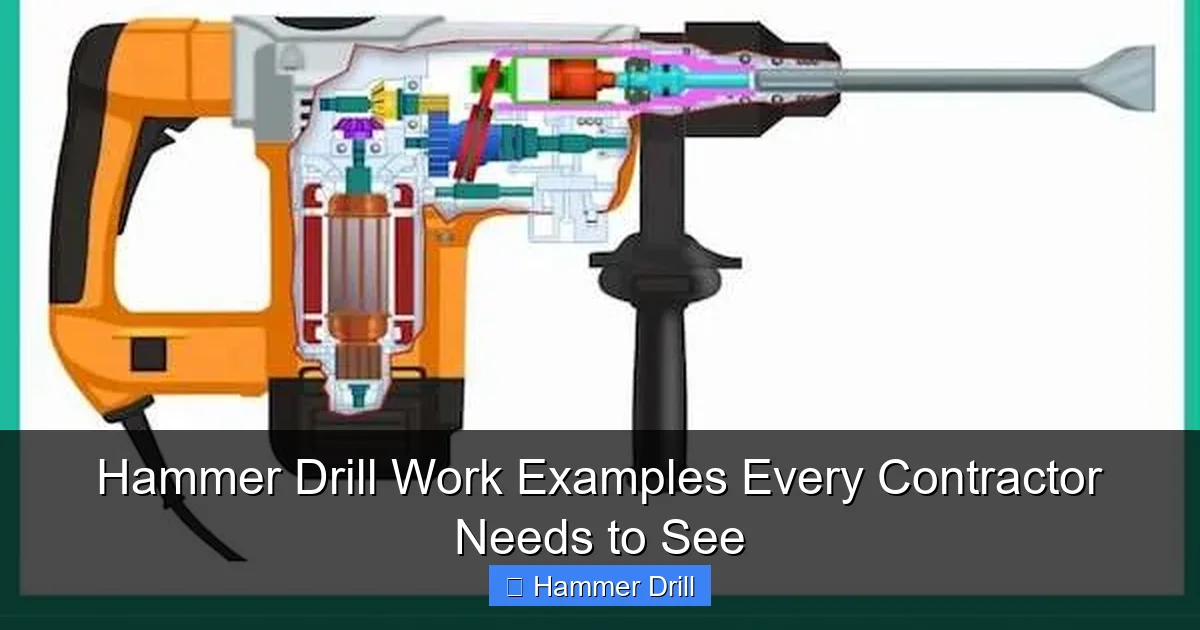
Visual guide about Hammer Drill Work Examples Every Contractor Needs to See
Image source: drillvilla.com
Step 1: Drilling Into Concrete for Anchors
This is the bread and butter of hammer drill work. Concrete doesn’t mess around, and neither should you.
First, mark your spot with a pencil. Then tap it lightly with a nail and hammer to create a small divot. This keeps your bit from walking when you start. I learned this trick from a 30-year veteran who swore by it.
Insert a carbide-tipped masonry bit that matches your anchor size. Set your drill to hammer mode—usually indicated by a hammer icon. Keep the drill perpendicular to the wall. If you angle it even slightly, your hole will be crooked.
Start at low speed. Apply firm, steady pressure but don’t force it. Let the hammer action do the work. Pull the bit out every 10-15 seconds to clear dust. This prevents overheating and keeps the bit sharp longer.
Drill to your marked depth. Then blow out the dust with compressed air or use your shop vac. Now your anchor will sit flush and secure.
Step 2: Installing Electrical Boxes in Masonry
Electrical boxes need clean, precise holes. Mess this up and you’re looking at cracked boxes and frustrated electricians.
Mark the box outline on the wall. Drill your holes at the corners first, then connect them. Use a 1/4″ bit for most boxes. The key here is control.
Keep your drill speed lower than you’d think. High speed creates too much heat and can crack the masonry. I like to use a two-handed grip—one on the handle, one on the side grip. This gives you maximum control.
Drill each hole about 1/2″ deeper than needed. This gives you room for adjustments. After drilling, use a cold chisel and hammer to clean up the edges. The hammer drill gets you 90% there, but the final touch is manual.
Pro tip: If you’re drilling near existing wiring, shut off the power first. Better safe than sorry.
Step 3: Drilling Through Brick Without Cracking
Brick is trickier than concrete. It’s hollow in places and can crack if you’re too aggressive. This is where many contractors go wrong.
First, identify where the mortar joints are. Drilling into mortar is easier and creates less stress on the brick. Use your depth gauge to avoid drilling too deep and hitting the hollow cavity behind the brick.
Start with a smaller pilot bit—maybe 1/8″. This creates a guide hole that prevents the larger bit from wandering. Then step up to your final size.
Apply less pressure than you would with concrete. Brick doesn’t need as much force. Think of it like drilling into a cookie—firm but gentle.
If you feel the drill binding or the brick starting to vibrate excessively, back off. You’re either hitting a hard spot or drilling too fast. Slow down your RPMs and maintain steady pressure.
Step 4: Creating Holes for Rebar in Concrete Repair
Structural work requires precision. Drilling for rebar insertion is serious business and one of the most important hammer drill work examples every contractor needs to see.
Mark your hole locations with a chalk line. Accuracy is critical here. Use a rotary hammer drill if you have one—it’s better for deep, large-diameter holes. But a standard hammer drill will work for smaller jobs.
Start with a small pilot hole. Then gradually increase to your final diameter. This prevents the bit from deflecting off the concrete aggregate.
For deep holes, use the peck drilling technique. Drill 1-2 inches, retract to clear dust, repeat. This prevents bit overheating and maintains hole accuracy.
Check your hole depth with a piece of rebar. It should slide in easily but not be loose. If you hit rebar during drilling, stop immediately. You’ll need to relocate your hole.
Step 5: Mounting Heavy Equipment on Concrete Walls
Heavy equipment means serious anchors and serious holes. This is where you separate the pros from the amateurs.
First, confirm the wall is structural concrete, not just a facade. A quick tap with your hammer will tell you—solid concrete sounds dull, hollow areas ring.
Use a bit that’s the exact size specified by your anchor manufacturer. Too big and your anchor won’t hold. Too small and you can’t insert it.
Drill perfectly perpendicular. Use a level against your drill body to check. A crooked hole means a crooked mount, and that means equipment failure down the road.
Clean the hole thoroughly. I use a wire brush, then compressed air, then a vacuum. Any dust left behind reduces anchor holding power by up to 30%.
Insert your anchor immediately after drilling. Don’t let debris fall back in. And torque it to spec—don’t just crank it down until it feels tight.
Step 6: Drilling Into Tile Without Shattering It
This one makes contractors nervous. And for good reason—tile is expensive and unforgiving.
Start by placing a piece of masking tape over your mark. This reduces surface chipping. Some pros even use a small piece of plywood as a backing.
Use a diamond-tipped or carbide spear-point bit specifically for tile. Regular masonry bits will grab and crack the tile.
Set your drill to the lowest possible speed. No hammer action for tile—just rotation. Apply light, steady pressure. Let the bit do the work.
Drill through the tile first, then stop. Switch to hammer mode and continue into the substrate behind. This two-step process saves your tile every time.
If you’re drilling near the edge of a tile, support it from behind with a block of wood. This prevents the tile from flexing and cracking.
Pro Tips & Common Mistakes to Avoid
After twenty years on job sites, I’ve seen every mistake in the book. Here’s what separates the veterans from the rookies.
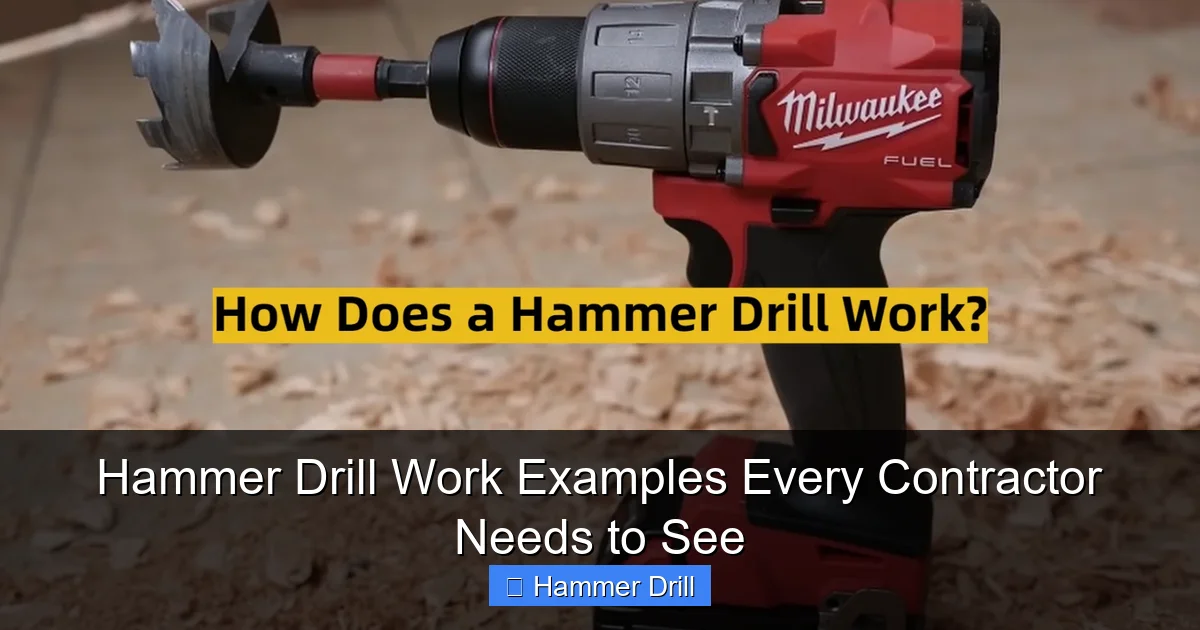
Visual guide about Hammer Drill Work Examples Every Contractor Needs to See
Image source: toolsprofy.com
Pro Tip: Always keep your drill perpendicular. Angling the drill causes the bit to bind and can break it. I check with a small level every few seconds until it becomes muscle memory.
One of the biggest mistakes? Using too much pressure. Hammer drills are designed to be used with steady, moderate force. Forcing it just wears out your tool and can damage the material. Let the hammer mechanism work for you.
Another common error is forgetting to clear dust. A bit packed with dust can’t cut effectively. It overheats, dulls faster, and can even seize in the hole. Pull out and clear every 10-15 seconds. Set a timer if you have to.
Not all hammer drills are created equal. For light work, a 6-amp corded or 18V cordless is fine. For heavy structural work, you need a rotary hammer. They’re heavier but deliver way more impact energy. Don’t try to drill a 3/4″ hole in concrete with a small hammer drill. You’ll burn it out.
Temperature matters too. In cold weather, concrete is harder and more brittle. Drill slower and use less pressure. In hot weather, bits overheat faster. Clear dust more frequently and consider a spray bottle of water for cooling.
And please, for the love of all that’s holy, wear hearing protection. Hammer drills are loud. I’ve seen contractors go home with ringing ears after just one day. Don’t be that guy.
Understanding the difference between a hammer drill and regular drill is crucial. If you’re still confused about when to use which tool, check out our guide on the difference between impact driver and hammer drill. It’ll save you a lot of headaches.
FAQs About Hammer Drill Work Examples Every Contractor Needs to See
These questions come up on every job site. Let me answer them straight.
Can I use a regular drill instead of a hammer drill for concrete?
Technically, yes. But it’s like using a screwdriver to drill a hole—it will take forever and likely ruin your bits. Regular drills don’t have the hammer action needed to break through concrete aggregate. You’ll burn out your motor and destroy bits. Save yourself the frustration and rent a hammer drill if you don’t own one.
How do I know when to use hammer mode?
Simple rule: Use hammer mode for masonry—concrete, brick, block, stone. Don’t use it for wood, metal, or plastic. If you’re drilling into something that sounds hollow or feels brittle, hammer mode is probably the answer. When in doubt, start without hammer mode. If the bit just spins without cutting, switch to hammer.
What’s the difference between a hammer drill and an impact driver?
Great question. Hammer drills hammer and rotate simultaneously. They’re for drilling holes. Impact drivers just hammer in a rotational direction. They’re for driving screws. Don’t use an impact driver to drill concrete—it’s not designed for that. The difference between a hammer drill and regular drill comes down to that hammering action versus pure rotation.
How do I avoid cracking concrete when drilling?
Drill slowly. Use sharp bits. Clear dust frequently. Don’t force the drill. And stay at least 2 inches away from edges. Concrete is strongest in the middle and wants to spall at edges. If you must drill near an edge, use a smaller bit and go slower. Also, check for rebar with a stud finder before you start.
What bit type is best for different materials?
Carbide-tipped masonry bits for concrete and brick. Diamond-tipped bits for tile and stone. For metal, use high-speed steel bits with no hammer action. For wood, standard twist bits work fine. One bit to rule them all? Not really. Keep a set of quality masonry bits in your truck at all times.
Can hammer drills drill through steel?
Yes, but turn off hammer mode. Use a sharp high-speed steel bit, plenty of cutting fluid, and slow speeds. Hammer action on steel just work-hardens the metal and dulls your bit instantly. I learned this trying to drill through a steel beam. Ruined a $40 bit in seconds.
How do I maintain my hammer drill?
Keep it clean. Blow out dust after every use. Check the brushes every few months. Lubricate the chuck occasionally. Store it in a dry place. And most importantly, use it correctly. Don’t treat it like a regular drill. When you need to drive screws into concrete, our guide on how to use a drill for screws into a wall has you covered.
Final Thoughts
Mastering hammer drill work examples every contractor needs to see isn’t about having the fanciest tool. It’s about understanding the fundamentals and applying them to real-world situations.
Start with the basics: right tool, right bit, right technique. Practice on scrap material before you drill into a finished wall. Take your time. Focus on quality over speed. The speed will come naturally as you gain confidence.
Remember that every hole you drill is a promise to your client. A clean, precise hole shows you care about the job. A sloppy hole with cracked concrete shows you don’t. Your work speaks for you, even when you’re not there.
So grab your hammer drill, your safety gear, and get out there. Try these techniques on your next job. I promise you’ll work faster, cleaner, and with less frustration. And when someone asks how you did it, just smile and say you studied the hammer drill work examples every contractor needs to see.
Now go drill something.
