
To remove an arbor from a hole saw, use a wrench to grip the arbor tightly. Twist it counterclockwise until it loosens and detaches.
Removing an arbor from a hole saw can be frustrating if you don’t know the right technique. Hole saws are essential tools for creating precise holes in various materials. Over time, the arbor can become stuck due to debris, rust, or simply tight fitting.
Knowing how to effectively detach the arbor not only saves time but also extends the lifespan of your tools. This process requires minimal effort and just a few basic tools.
Understanding the correct removal method ensures you can quickly get back to your project without unnecessary delays. Let’s explore the steps to make this task straightforward and efficient.
Introduction To Hole Saw Arbor Removal
Removing the arbor from a hole saw can be tricky. Understanding the process makes it easier. This guide covers why removal is necessary and the tools you need.
Why Removal Is Necessary
Removing the arbor is important for several reasons:
- Replacing the Hole Saw: Old saws wear out over time.
- Cleaning: Dust and debris can build up.
- Storage: Easier storage when parts are separated.
- Safety: Prevents accidents caused by loose parts.
Tools You Will Need
Gather these tools for a smooth removal:
| Tool | Purpose |
|---|---|
| Wrench | To loosen the arbor |
| Screwdriver | For removing screws |
| Pliers | To grip and pull |
| Lubricant | To ease rusted parts |
| Safety Goggles | Protect your eyes |
Having the right tools saves time and effort. Ensure they are ready before starting the removal.
Credit: www.youtube.com
Safety Precautions
Removing the arbor from a hole saw can be risky. Taking proper safety precautions is essential. This ensures your safety and prevents accidents.
Protective Gear
Wearing the right protective gear is crucial. Here’s a list of essential items:
- Safety goggles: Protect your eyes from flying debris.
- Gloves: Use sturdy gloves to grip and protect your hands.
- Ear protection: Avoid damage from loud noise.
- Dust mask: Prevent inhalation of dust and particles.
Always check your gear before starting. Make sure everything fits well and is in good condition.
Workspace Preparation
A clean workspace is key for safe operation. Follow these steps to prepare:
- Clear the area of clutter.
- Ensure good lighting for visibility.
- Keep all tools organized and within reach.
- Have a first aid kit ready.
Check that your work surface is stable. This prevents tools from slipping or falling.
Stay focused while working. Avoid distractions to maintain safety.
Step-by-step Removal Process
Removing the arbor from a hole saw can seem tricky. Follow these simple steps for a smooth process. Each step is designed to help you safely detach the arbor without damage.
Securing The Hole Saw
Begin by securing the hole saw. This ensures safety and stability during the removal process.
- Find a flat, stable surface.
- Place the hole saw on the surface.
- Use a vice or clamps to hold it in place.
Ensure it is tightly secured before moving to the next step.
Twisting The Arbor Free
Next, attempt to twist the arbor free. This method works well for most situations.
- Grip the arbor firmly with your hand.
- Twist it counterclockwise.
- Apply steady pressure while twisting.
Sometimes, a little force is needed. Be careful not to damage the hole saw.
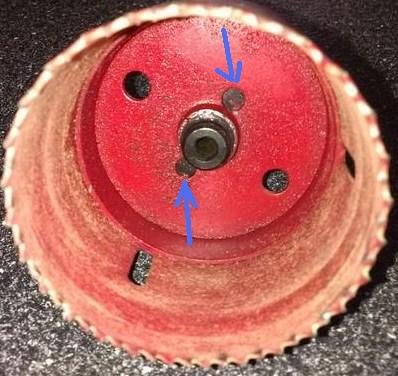
Using A Wrench For Stubborn Arbors
For stubborn arbors, a wrench may be necessary. This tool provides extra leverage.
- Select a suitable wrench that fits the arbor.
- Place the wrench on the arbor.
- Turn the wrench counterclockwise.
Apply firm, even pressure. If the arbor still won’t budge, check for any obstructions.
| Tools Needed | Purpose |
|---|---|
| Vice or Clamps | To secure the hole saw |
| Wrench | For extra leverage on stubborn arbors |
Follow these steps carefully. You’ll successfully remove the arbor from your hole saw!
Credit: www.youtube.com
Troubleshooting Common Issues
Removing an arbor from a hole saw can be tricky. Common issues often arise during the process. Here, we explore solutions to the most frequent problems.
Dealing With A Jammed Arbor
A jammed arbor can stop your work. Follow these steps to resolve it:
- Check for debris around the arbor.
- Apply penetrating oil to loosen it.
- Use a rubber mallet to tap gently on the arbor.
- Try rotating the arbor back and forth.
Use patience. A little force may help, but be careful. Excessive force can cause damage.
Rust And Corrosion
Rust can make removing the arbor difficult. Here’s how to tackle rust:
- Inspect the arbor for rust spots.
- Apply a rust remover or vinegar.
- Let it soak for 30 minutes.
- Scrub the area with a wire brush.
After cleaning, apply lubricant to prevent future rust. Proper storage helps as well.
When To Seek Professional Help
Sometimes, issues may be beyond DIY solutions. Consider professional help if:
- The arbor remains stuck after multiple attempts.
- Tools are damaged during removal.
- Uncertainty about safety arises.
Professional assistance ensures safety and proper handling. Don’t risk injury or damage to your tools.
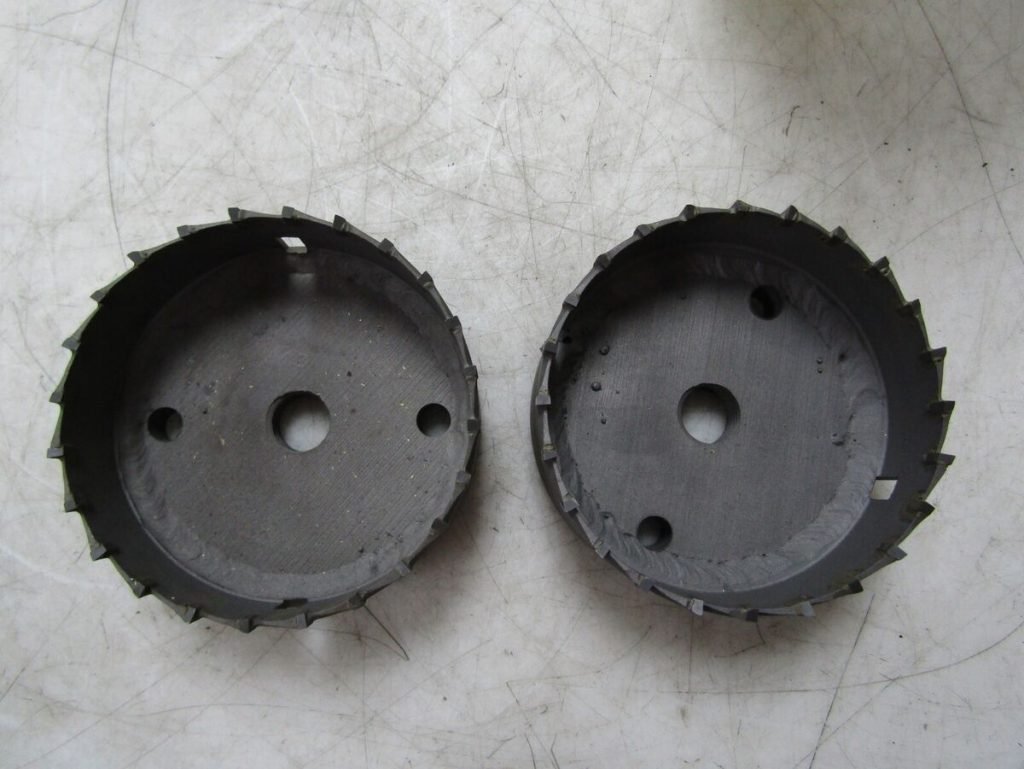
Cleaning And Maintenance Post-removal
After removing the arbor from your hole saw, proper cleaning and maintenance are crucial. This ensures tools remain effective and ready for future projects. Regular care will extend the life of your tools and improve performance.
Cleaning The Arbor And Hole Saw
Cleaning your arbor and hole saw is simple. Follow these steps:
- Rinse with warm water to remove debris.
- Use a soft brush to scrub away any stuck material.
- Apply a mild detergent for stubborn stains.
- Rinse thoroughly and dry completely.
Check for any rust or damage. If rust is present, use a rust remover. Follow the manufacturer’s instructions for best results.
Lubrication For Future Use
Lubrication helps your tools work smoothly. Apply lubricant to both the arbor and the hole saw. Here’s how:
- Choose a high-quality lubricant.
- Apply a thin layer on the arbor threads.
- Coat the hole saw’s inner surface.
This prevents rust and ensures easy removal in the future. Store your tools in a dry place to maintain their condition.
Reassembly Tips
Reassembling the arbor in a hole saw requires careful attention. Follow these tips to ensure a smooth process.
Aligning Components
Proper alignment is crucial for effective reassembly. Follow these steps:
- Check the arbor and hole saw for any damage.
- Line up the holes on the arbor with the corresponding holes on the saw.
- Use a flashlight if needed for better visibility.
Ensuring Secure Fit
A secure fit prevents any wobbling during use. Follow these tips:
- Insert the arbor into the hole saw until it clicks.
- Tighten the set screw firmly using an Allen wrench.
- Test the fit by gently shaking the assembly. It should feel sturdy.
Always double-check your work. A properly assembled hole saw is safer and more efficient.
Preventing Future Removal Difficulties
Removing the arbor from a hole saw can be tough. You can prevent this issue by following some simple steps. Proper care and usage make a big difference. Let’s explore how to keep your hole saw in great shape.
Routine Cleaning And Maintenance
Regular cleaning is essential. Dirt and debris can cause problems. Here are some tips:
- Clean after each use: Wipe off sawdust and residue.
- Use a soft brush: Remove stuck particles gently.
- Inspect for damage: Look for any wear and tear.
Proper maintenance keeps the arbor free. A clean tool works better and lasts longer.
Proper Usage To Avoid Damage
Using the hole saw correctly is crucial. Follow these guidelines:
- Choose the right speed: Use low speed for harder materials.
- Apply even pressure: Don’t force the tool. Let it cut.
- Use lubricant: Apply cutting oil for smoother operation.
These practices reduce wear on the arbor. This helps prevent future removal issues. Treat your tools with care for best results.

Credit: www.reddit.com
Frequently Asked Questions
- How Do I Remove An Arbor From A Hole Saw?
To remove an arbor, simply unscrew it counterclockwise from the hole saw until it detaches.
- What Tools Do I Need For Removal?
You typically only need a wrench or pliers to grip and unscrew the arbor from the hole saw.
- Can I Remove The Arbor By Hand?
Yes, if it’s not too tight, you can usually twist the arbor off by hand.
- Why Is My Arbor Stuck In The Hole Saw?
Debris or rust may cause the arbor to stick, making it difficult to remove without extra force.
- What Should I Do If The Arbor Won’t Budge?
Apply penetrating oil and let it sit before trying to unscrew the arbor again for easier removal.
Conclusion
Removing the arbor from a hole saw doesn’t have to be complicated. With the right tools and techniques, you can do it efficiently.
Remember to follow safety precautions and handle everything with care. Mastering this skill can save you time and effort in your DIY projects.
Happy drilling!