
To remove a retaining ring without pliers, use a flathead screwdriver or a similar tool. Carefully pry the ring open at one end and slide it off.
Retaining rings are essential components in various mechanical systems, holding parts securely in place. Removing these rings can be challenging, especially without specialized tools like pliers.
Understanding the right techniques can save time and prevent damage to components. Using simple household tools, you can effectively remove retaining rings.
This method is not only practical but also cost-effective. Whether you’re a DIY enthusiast or a professional mechanic, mastering this skill enhances your toolkit.
This guide will help you navigate the process smoothly and efficiently, ensuring you can tackle retaining rings with confidence.
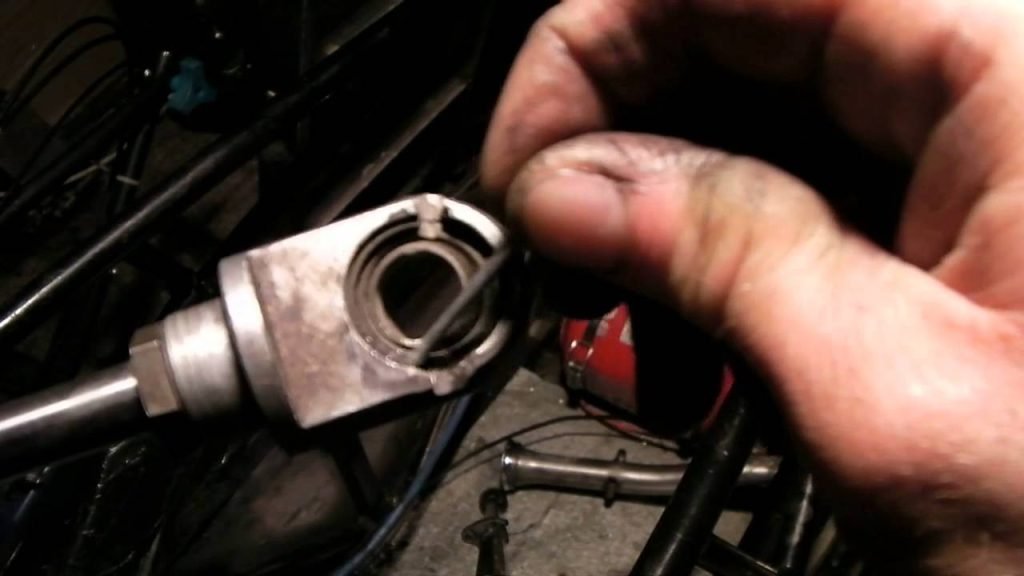
Credit: www.youtube.com
Introduction To Retaining Rings
Retaining rings play a crucial role in machinery. They hold components in place and prevent them from slipping. Understanding these rings helps in various applications. This guide will explore retaining rings, their uses, and how to remove them without pliers.
What Are Retaining Rings?
Retaining rings are circular fasteners. They fit into grooves on shafts or housings. Their main purpose is to keep parts secure.
- Available in different types:
- Internal retaining rings
- External retaining rings
- Made from various materials:
- Steel
- Stainless steel
- Plastic
Common Uses In Machinery
Retaining rings are found in many machines. They serve vital functions in assembly and operation.
| Machine Type | Function of Retaining Rings |
|---|---|
| Automobiles | Hold gears and bearings in place |
| Industrial Equipment | Secure rotating parts |
| Household Appliances | Keep components aligned |
Understanding these uses aids in proper maintenance. Knowing how to remove them safely is essential. This knowledge prevents damage during repairs.
The Challenge Of Removal
Removing a retaining ring can be tricky. Many people use pliers. Sometimes, pliers aren’t the best option. Let’s explore why and discuss alternative methods.
Why Pliers Might Not Be Ideal
Pliers are common tools for this task. They may not fit well in tight spaces. Here are some reasons why pliers might not work:
- Space Constraints: Limited room makes it hard to maneuver.
- Damage Risk: Pliers can scratch or damage the ring.
- Slippage: Pliers may slip, causing injury.
Situations Requiring Alternative Methods
Some situations call for different approaches. Consider these scenarios:
| Situation | Recommended Method |
|---|---|
| Tight Spaces | Use a hook tool or pick. |
| Fragile Components | Try using your fingers for gentle removal. |
| Stubborn Rings | Apply a bit of lubricant to loosen. |
Choosing the right method can make removal easier. Always prioritize safety and avoid damaging the components.
Preparation Steps
Removing a retaining ring without pliers requires careful planning. Proper preparation ensures safety and success. Follow these steps to get ready.
Safety Measures
- Wear Safety Glasses: Protect your eyes from debris.
- Use Gloves: Prevent injuries from sharp edges.
- Clear Workspace: Ensure a tidy area to avoid accidents.
- Keep Children Away: Maintain a safe environment.
Gathering Alternative Tools
Choosing the right tools is essential. Here are some effective options:
| Tool | Purpose |
|---|---|
| Screwdriver | Use to pry open the ring. |
| Paperclip | Can act as a makeshift tool. |
| Hook Tool | Helps to lift the ring out. |
| Thin Metal Rod | Useful for pushing and pulling. |
Gather these tools before starting. Make sure they are in good condition. Check for any rust or damage.
Credit: www.learnitaly.us
Method 1: Flathead Screwdriver Technique
The Flathead Screwdriver Technique is a simple way to remove a retaining ring. This method uses common tools found in most households. It’s effective and requires minimal skill. Let’s explore how to do it safely and efficiently.
Tools Needed
- Flathead screwdriver
- Safety goggles
- Lubricant (optional)
- Cleaning cloth
Step-by-step Guide
- Put on your safety goggles to protect your eyes.
- Clean the area around the retaining ring with a cleaning cloth.
- Apply a little lubricant to make removal easier, if needed.
- Insert the tip of the flathead screwdriver under the edge of the retaining ring.
- Gently pry the ring upwards, applying even pressure.
- Once the ring lifts slightly, push it off the shaft with your fingers.
- Check for any damage and clean the area before reassembly.
Method 2: Using A Makeshift Hook Tool
Removing a retaining ring can be tricky. A makeshift hook tool simplifies this task. This method requires minimal materials. It’s perfect for those without specialized tools.
Creating Your Hook Tool
Follow these simple steps to create your hook tool:
- Gather materials: a sturdy wire or a coat hanger.
- Cut a piece of wire about 6 inches long.
- Bend one end into a hook shape.
- Ensure the hook is small enough to fit into the ring.
Here’s a quick table summarizing materials:
| Material | Description |
|---|---|
| Sturdy Wire | Flexible yet strong enough for pulling. |
| Coat Hanger | Common household item that works well. |
Procedure For Removal
Once your hook tool is ready, follow these steps:
- Locate the retaining ring.
- Insert the hook into the ring gap.
- Pull gently to lift the ring.
- Keep pulling until the ring comes off.
Ensure you are careful during this process. The ring may pop off suddenly. Wear safety glasses for protection.
This method is effective. It’s a quick way to remove retaining rings without pliers.
Method 3: The Tape Trick
The Tape Trick is a clever way to remove a retaining ring. It uses simple tape to grip the ring. This method is effective for those without pliers.
Selecting The Right Tape
Choosing the right tape is crucial for success. Use tape that is strong and sticky. Here are some options:
- Duct Tape: Very strong and versatile.
- Electrical Tape: Flexible and easy to wrap.
- Masking Tape: Good for light-duty tasks.
Make sure the tape is wide enough. A wider tape provides better grip.
Detailed Instructions
- Prepare the Area: Clean the workspace. Remove any debris.
- Cut a Piece of Tape: Cut about 6 inches of tape. Make it long enough for wrapping.
- Wrap the Tape: Carefully wrap the tape around the retaining ring. Ensure it covers the ring completely.
- Apply Pressure: Press down firmly. Make sure the tape sticks well.
- Twist and Pull: Gently twist the tape while pulling. The ring should come off easily.
Using the Tape Trick is simple and effective. Follow these steps for best results.
Tips For Success
Removing a retaining ring without pliers can be tricky. Use these tips to make the process easier and safer. Follow these simple guidelines for success.
Maintaining Ring Integrity
Preserving the integrity of the retaining ring is crucial. Follow these steps:
- Inspect the Ring: Look for any signs of damage.
- Use Proper Tools: Choose tools that won’t scratch or bend the ring.
- Apply Gentle Pressure: Avoid excessive force to prevent deformation.
Keeping the ring intact ensures it functions well after removal.
Avoiding Common Mistakes
Many people make mistakes while removing retaining rings. Here are common pitfalls to avoid:
- Skipping Safety Gear: Always wear gloves and goggles.
- Forgetting to Clean: Clean the area before removal to avoid slips.
- Using Improper Tools: Avoid using makeshift tools that can cause damage.
- Rushing the Process: Take your time to avoid errors.
By avoiding these mistakes, you ensure a smoother removal process. Stay focused and patient.

Credit: www.youtube.com
After Removal: Next Steps
Removing a retaining ring is just the first step. After you successfully take it out, you need to check the ring and the assembly. Proper inspection helps ensure everything is in good condition.
Inspecting The Ring And Assembly
Start with a thorough inspection of the ring and assembly. Follow these simple steps:
- Examine the Ring: Look for any signs of wear or damage.
- Check the Assembly: Ensure all parts are intact and functioning.
- Clean the Area: Remove dirt or debris to prevent issues.
Use a magnifying glass for detailed inspection. Check for:
- Cracks
- Corrosion
- Deformations
Make notes of any problems. This helps in making informed decisions.
When To Seek Professional Help
Not every situation can be handled alone. Consider professional help when:
| Condition | Action |
|---|---|
| Visible Damage | Replace the ring |
| Complex Assembly | Consult an expert |
| Unfamiliar Parts | Seek guidance |
Professional help can save time and avoid mistakes. Always prioritize safety. Properly functioning components ensure durability and performance.

Credit: www.amazon.com
Frequently Asked Questions
- How Can I Remove A Retaining Ring Easily?
Using a flathead screwdriver or a pick can help you pry off a retaining ring without needing pliers.
- What Tools Are Needed To Remove A Retaining Ring?
A flathead screwdriver, pick, or even a small hammer can assist in safely removing a retaining ring.
- Is It Safe To Remove Retaining Rings Without Pliers?
Yes, it’s safe if done carefully with the right tools to avoid damage or injury.
- Can I Use Household Items For Removing Rings?
Yes, items like a flathead screwdriver or a credit card can work effectively for removing retaining rings.
- What Precautions Should I Take When Removing Rings?
Always wear safety glasses and ensure the area is clear to prevent injury during the removal process.
Conclusion
Removing a retaining ring without pliers is entirely possible with the right techniques. Using alternative tools can make the process easier and safer.
Always ensure you have a clear understanding of the steps involved. With practice, you’ll gain confidence and efficiency in this skill.
Happy DIY-ing!